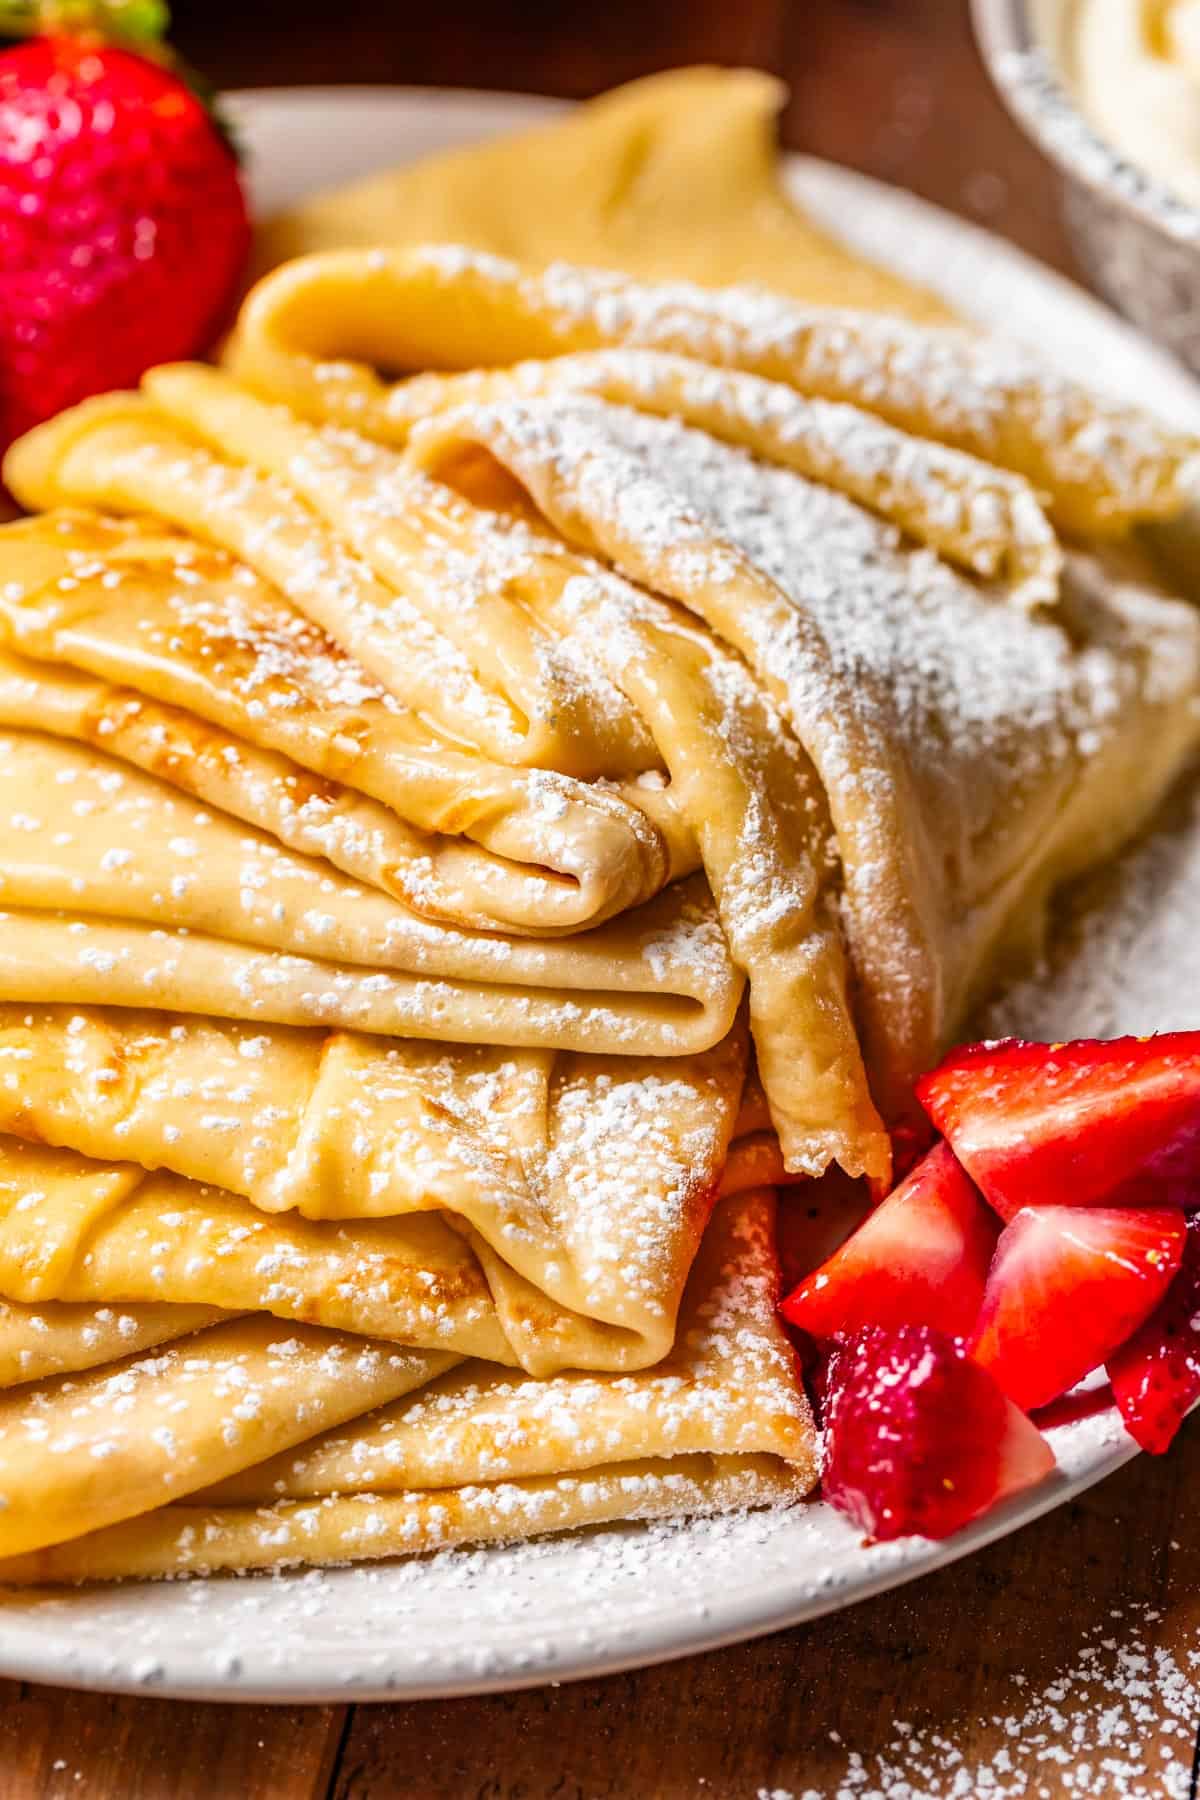
Frequently asked questions for crepes
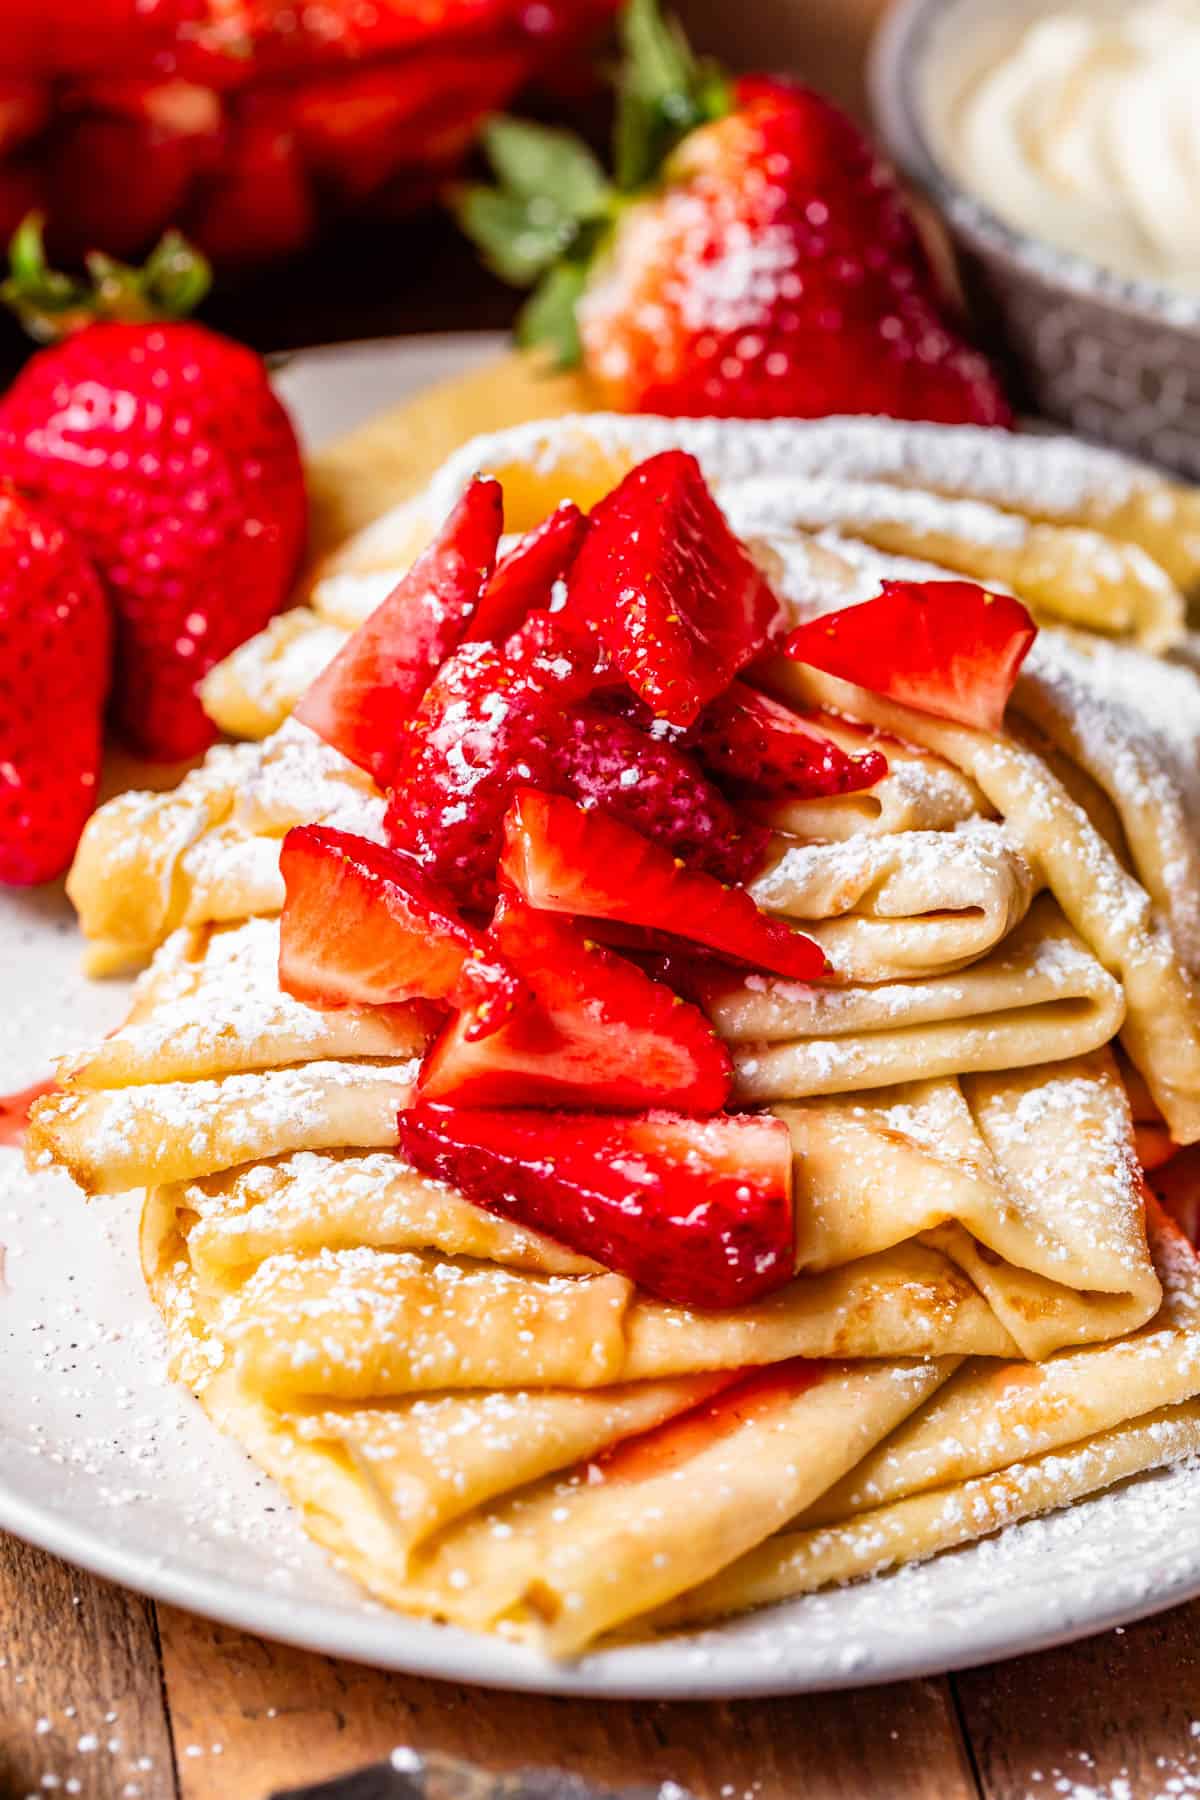
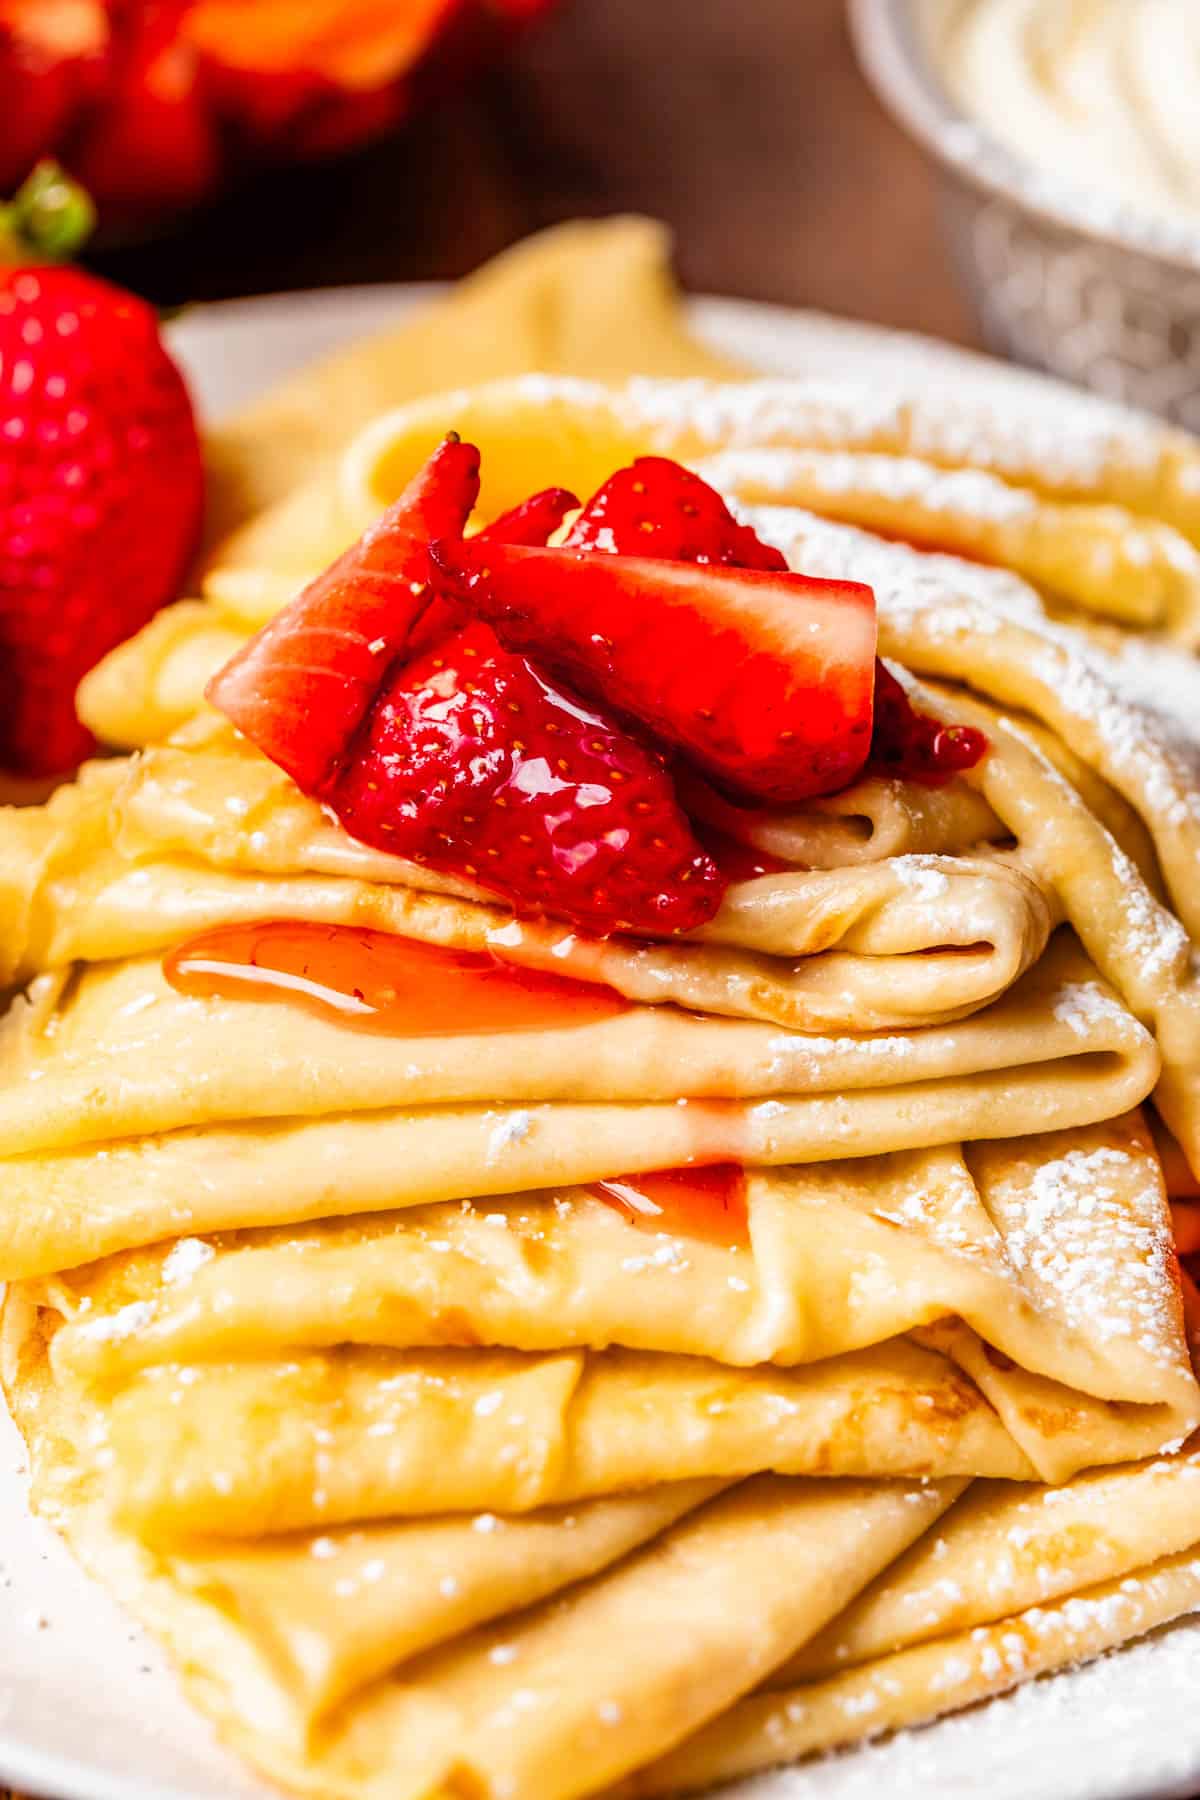
Facebook | Pinterest | Instagram Mom and Dad left us with a wad of cash that was our “Emergency Money.” No discussions were had about what exactly constituted an emergency. We were pretty good kids, though. They knew we weren’t going to be throwing any crazy parties. But, I mean, we were teenagers. Not exactly above temptation. On the way home from the pool one afternoon, we saw him: the strawberry man. If you’ve ever been to California in the summer, you know what I’m talking about. The strawberry sellers start popping up every spring (the first one just hit the streets in my neighborhood this week. I practically tripped in my rush to find some cash). The fun part is that you never know exactly what corner they will be on, or how long they will be there, so you have to act fast. This exact thing happened to my brother Nathan and I. When we saw the strawberry man, our pupils were replaced with little tiny strawberries, and we rushed home to get the “Emergency Money” because by golly THIS WAS AN EMERGENCY. We bought $40 worth of strawberries (because apparently we needed an entire flat of 10 pounds of strawberries for each of us??) We came home and made these crepes. Sooooo many crepes. With strawberries inside, strawberries on top, strawberries on the side, and some strawberry jam and soft cream cheese for good measure. All these years later and I can still taste them. I’ve done my best to recreate what we had that day, but I don’t know if I will ever be able to match the vibe of a teenage summer day with a best friend and Emergency Money and no responsibilities, no schedule, and more strawberry crepes than anyone could possibly eat. I’ve landed on my go-to crepe-for-all-occasions that is
easy and FAST to make has incredible flavor (thank u butter 🥹) is sturdy enough to NOT tear constantly (while still being incredibly delicate) and can be adapted for both sweet AND savory fillings.
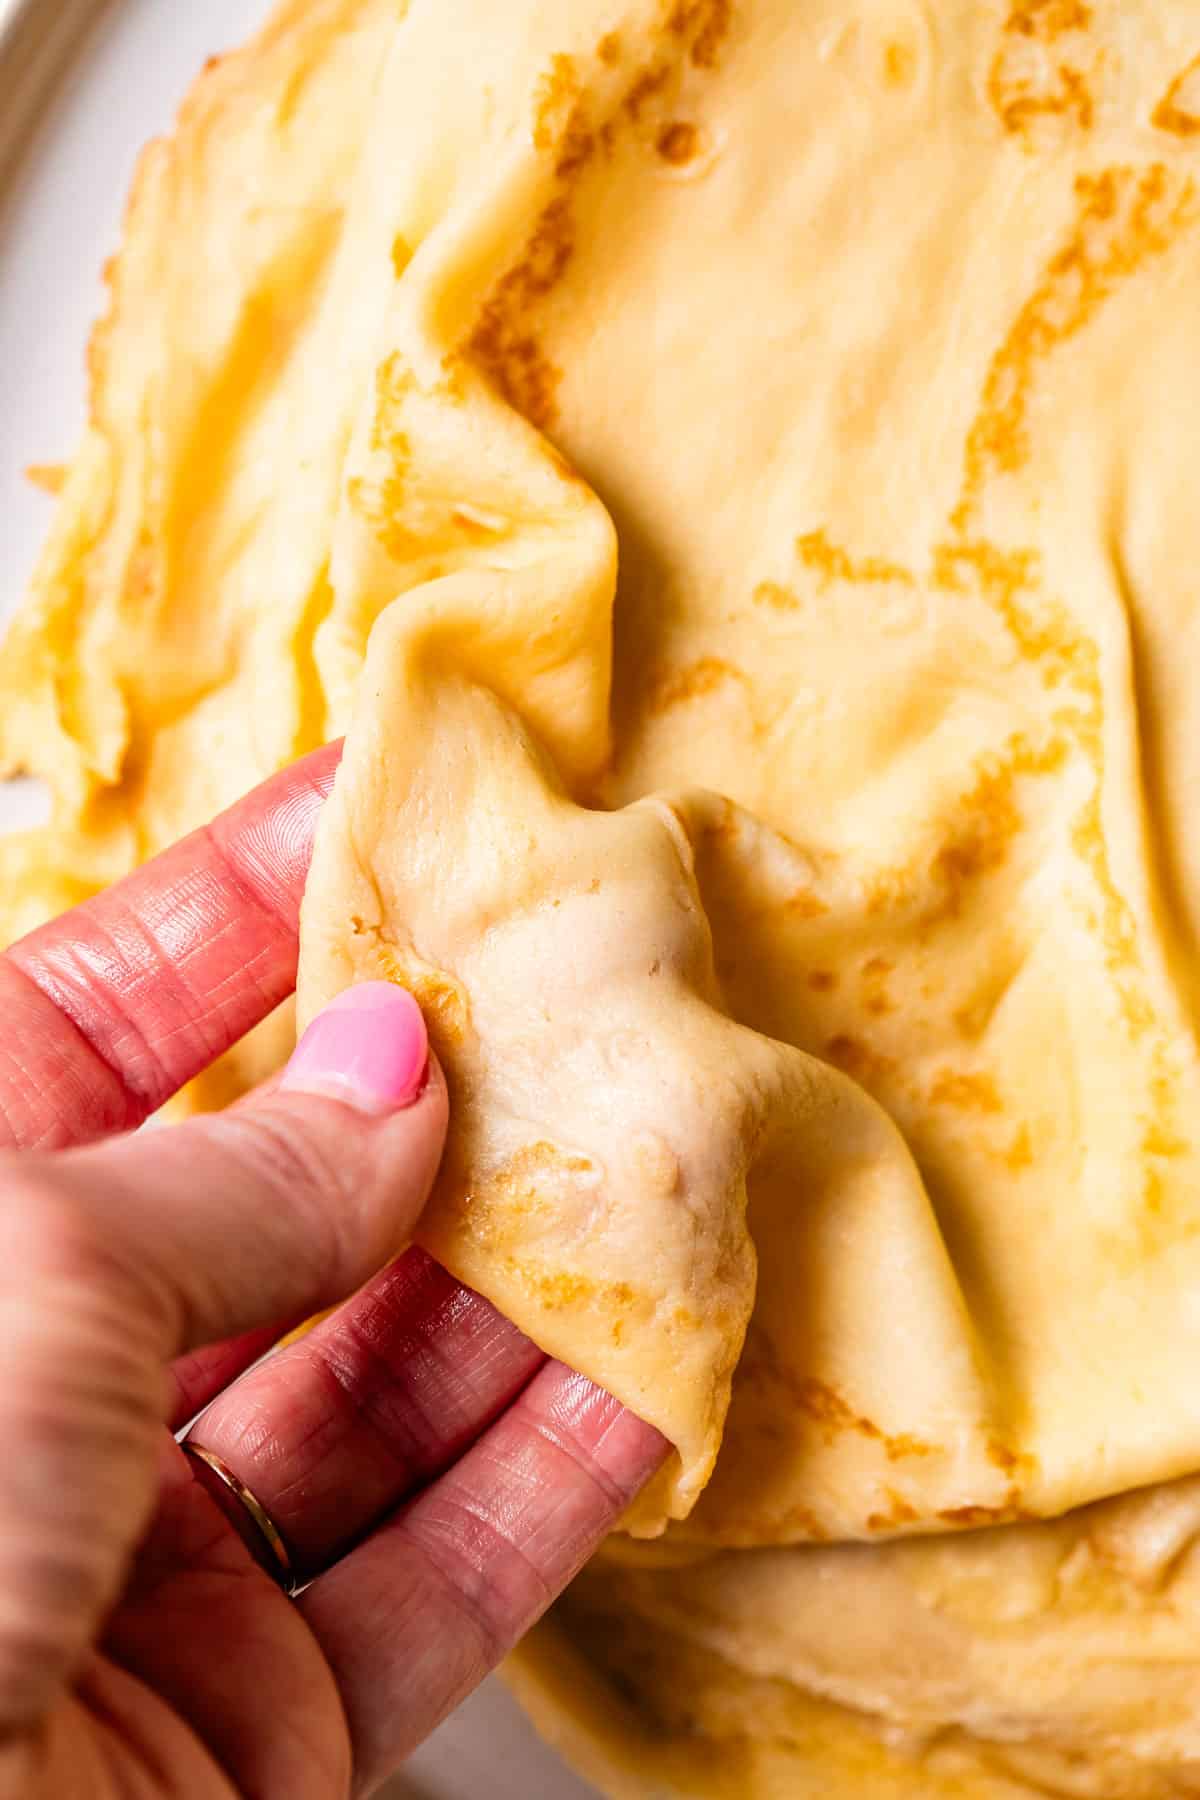
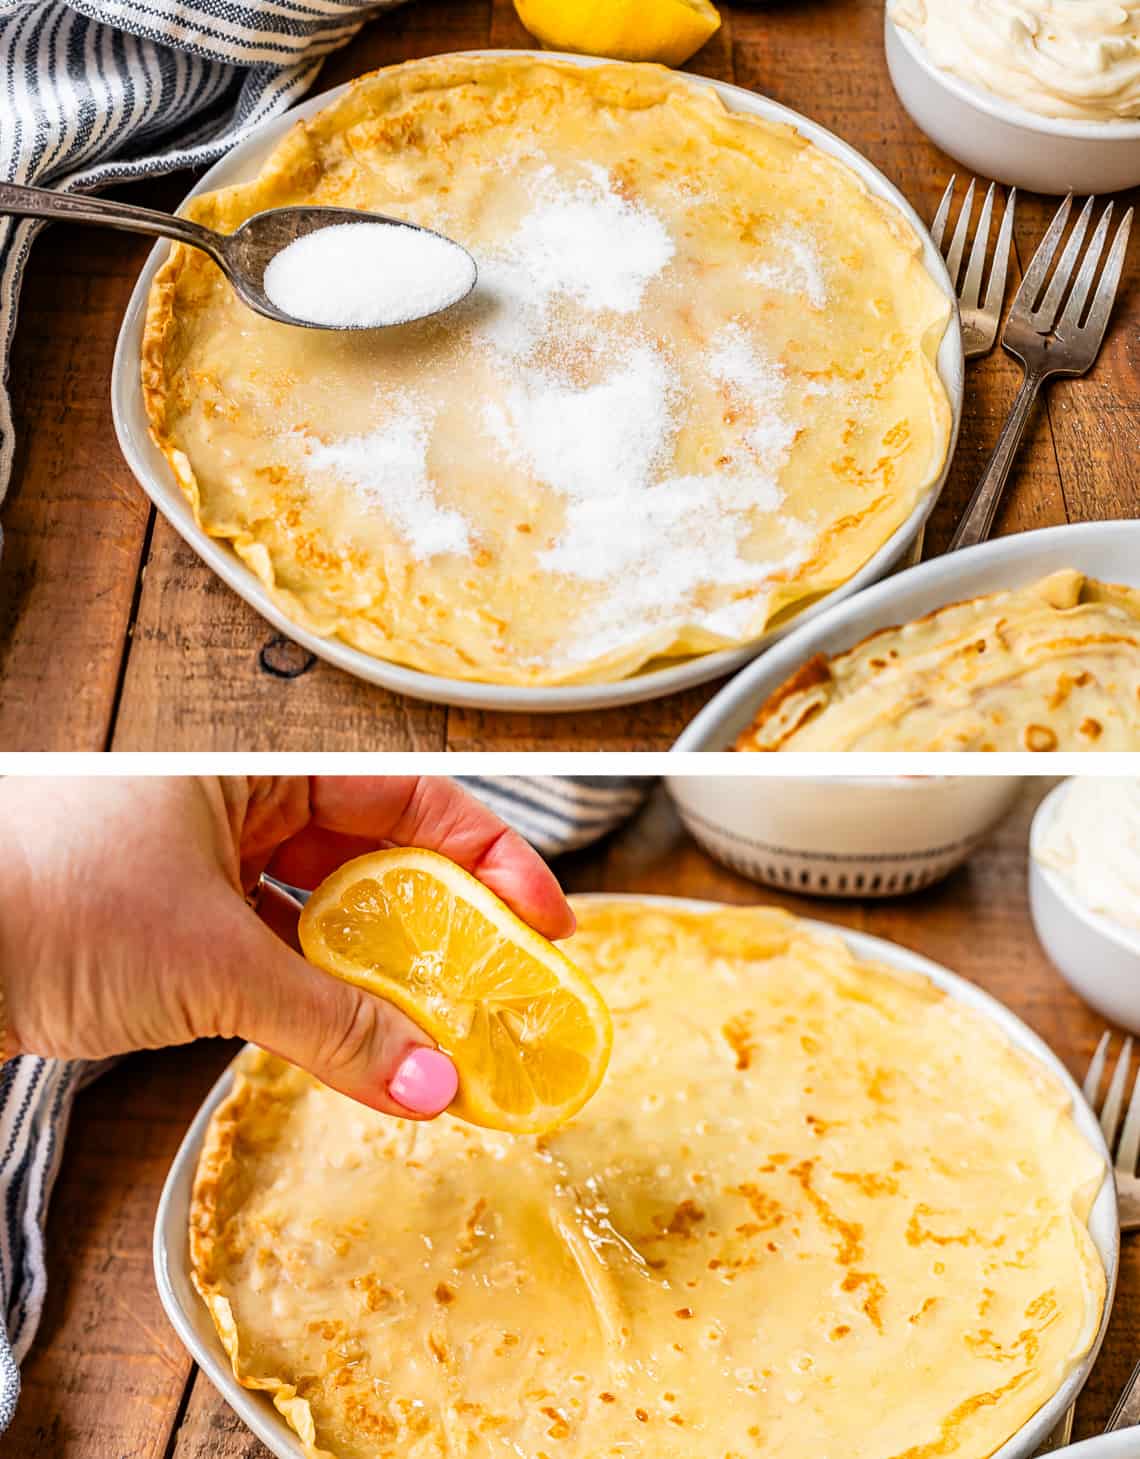
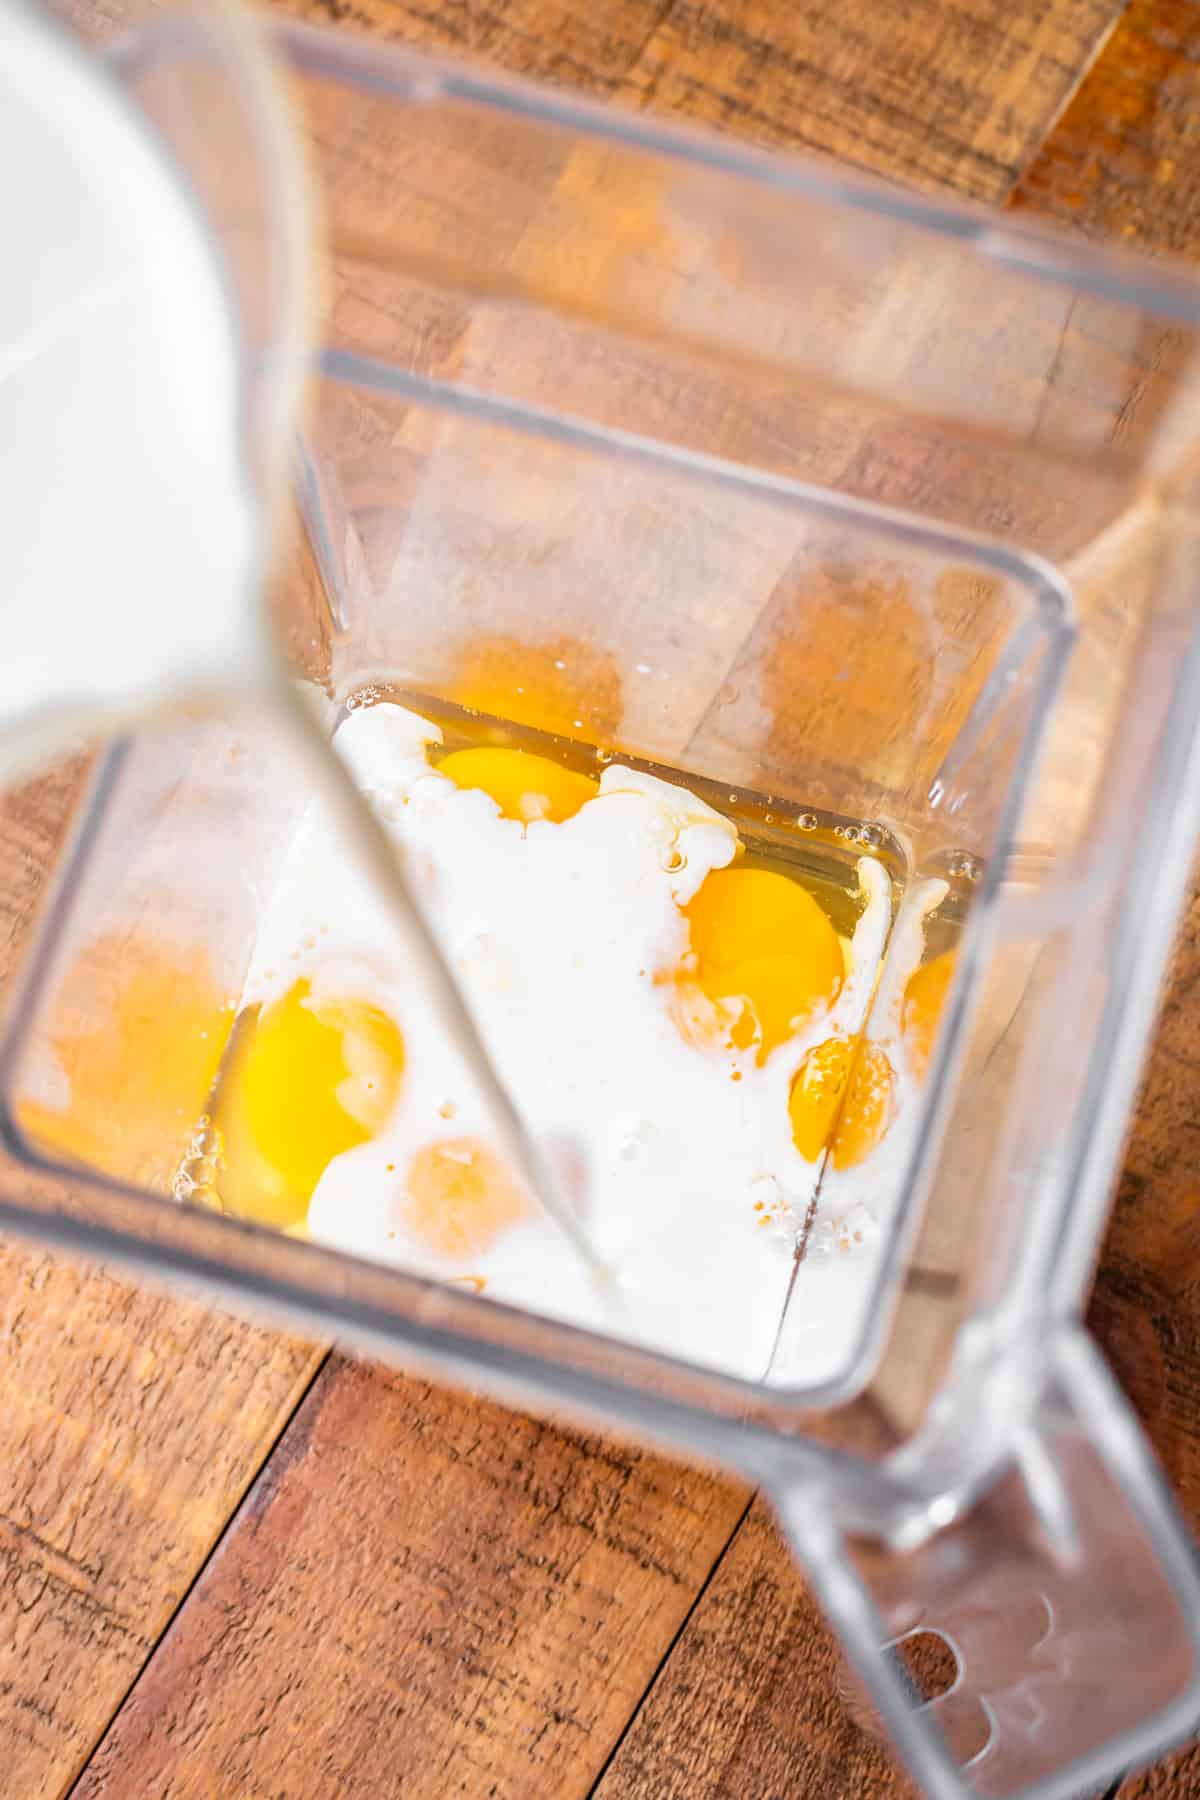
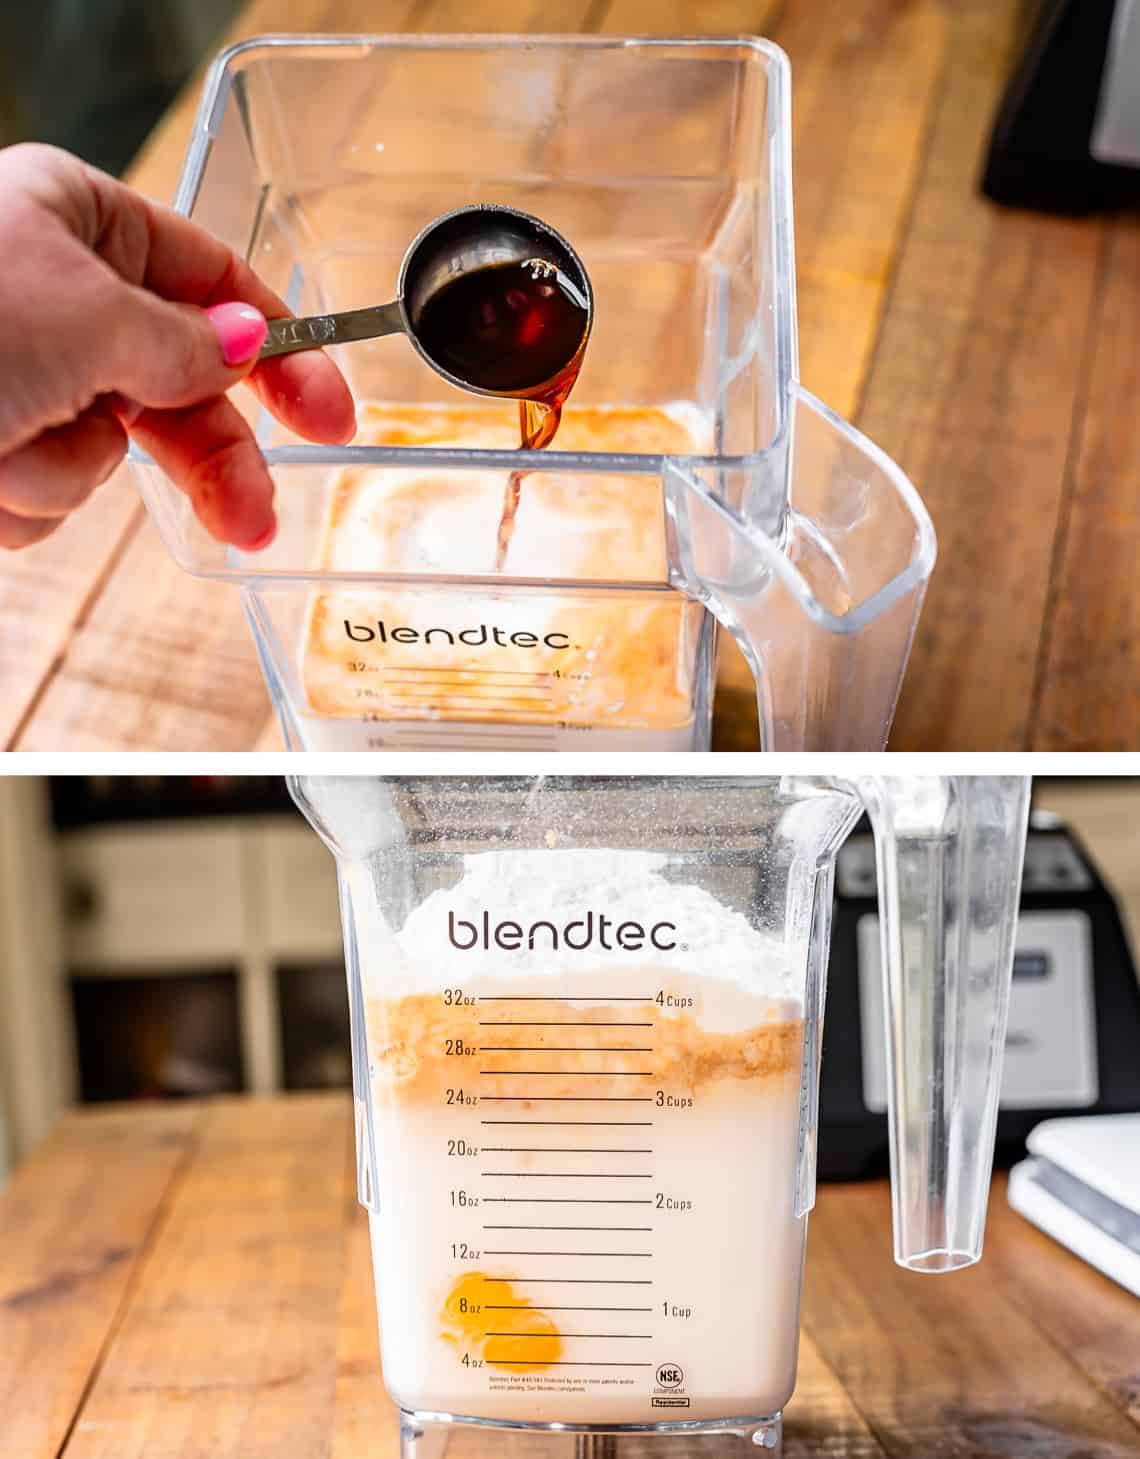
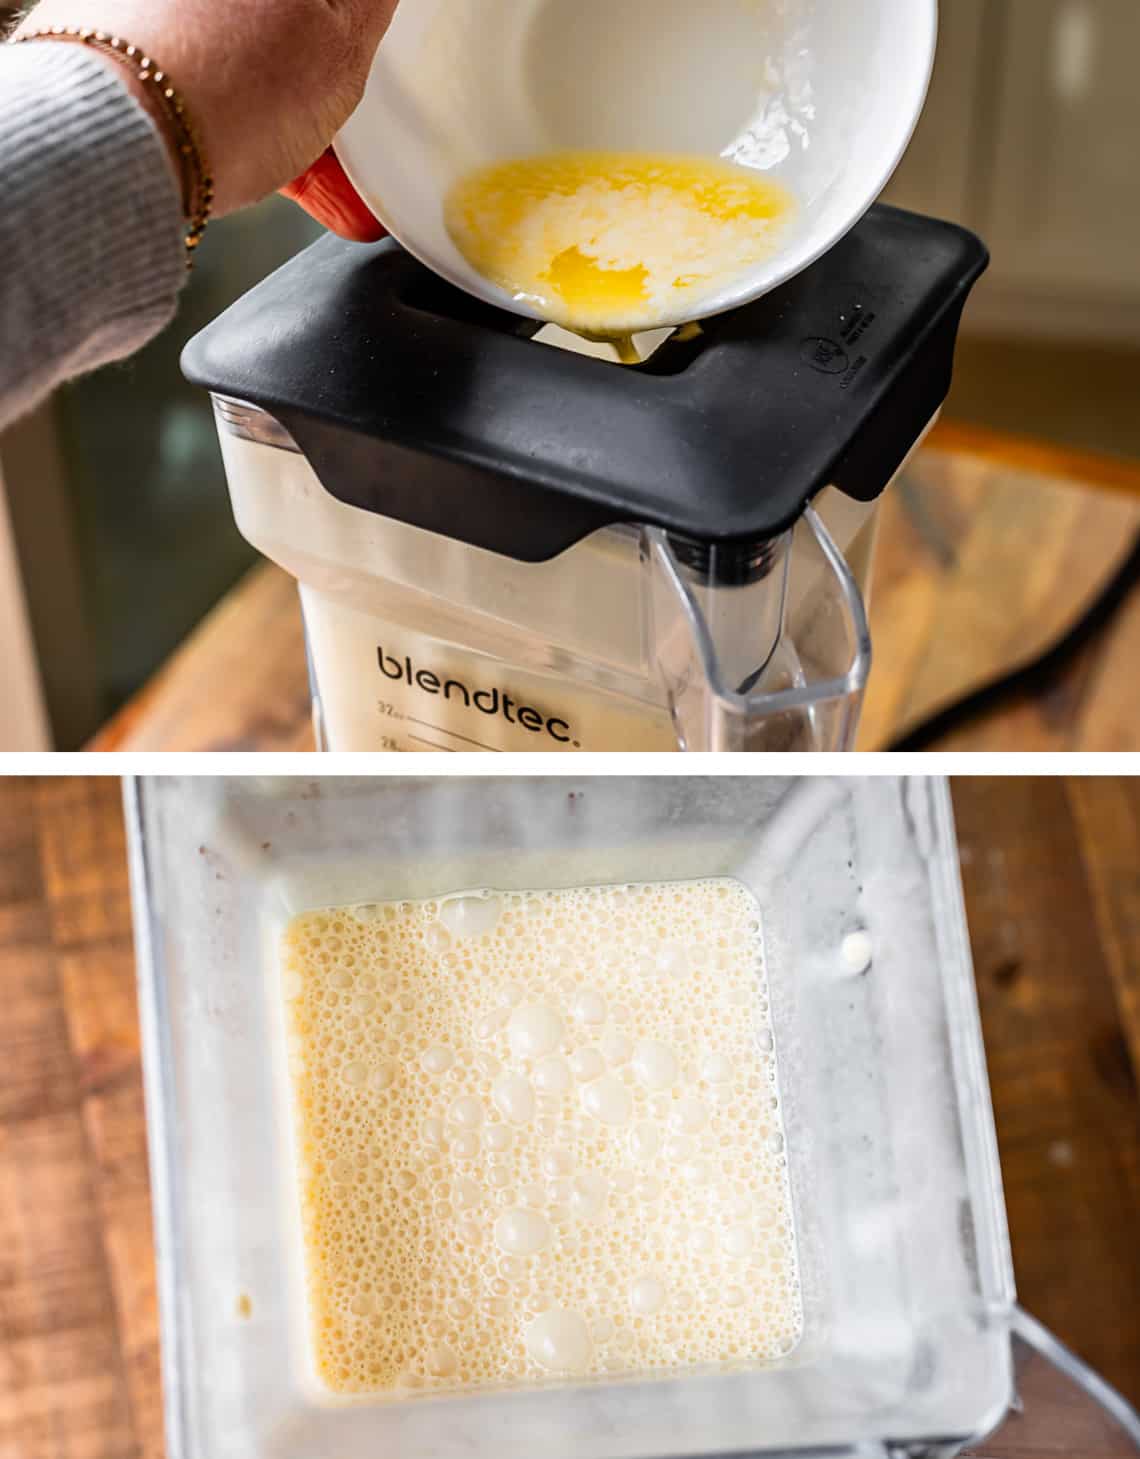
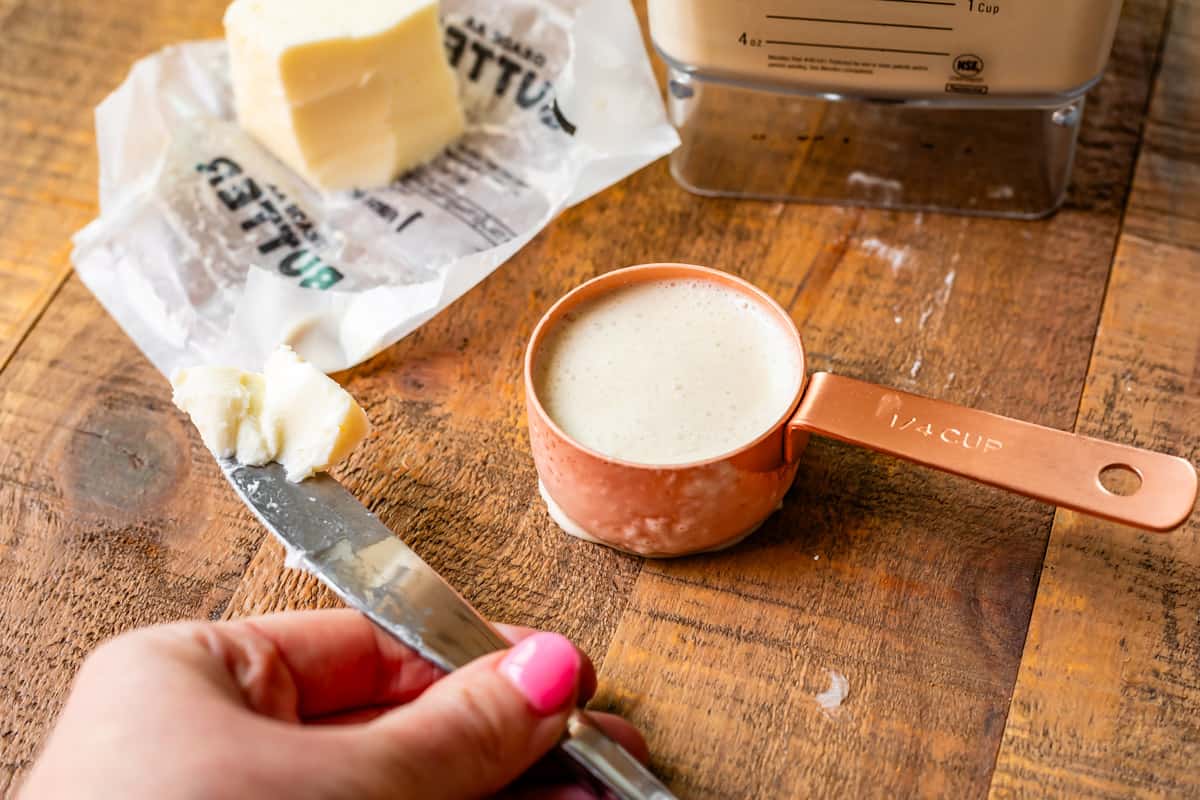
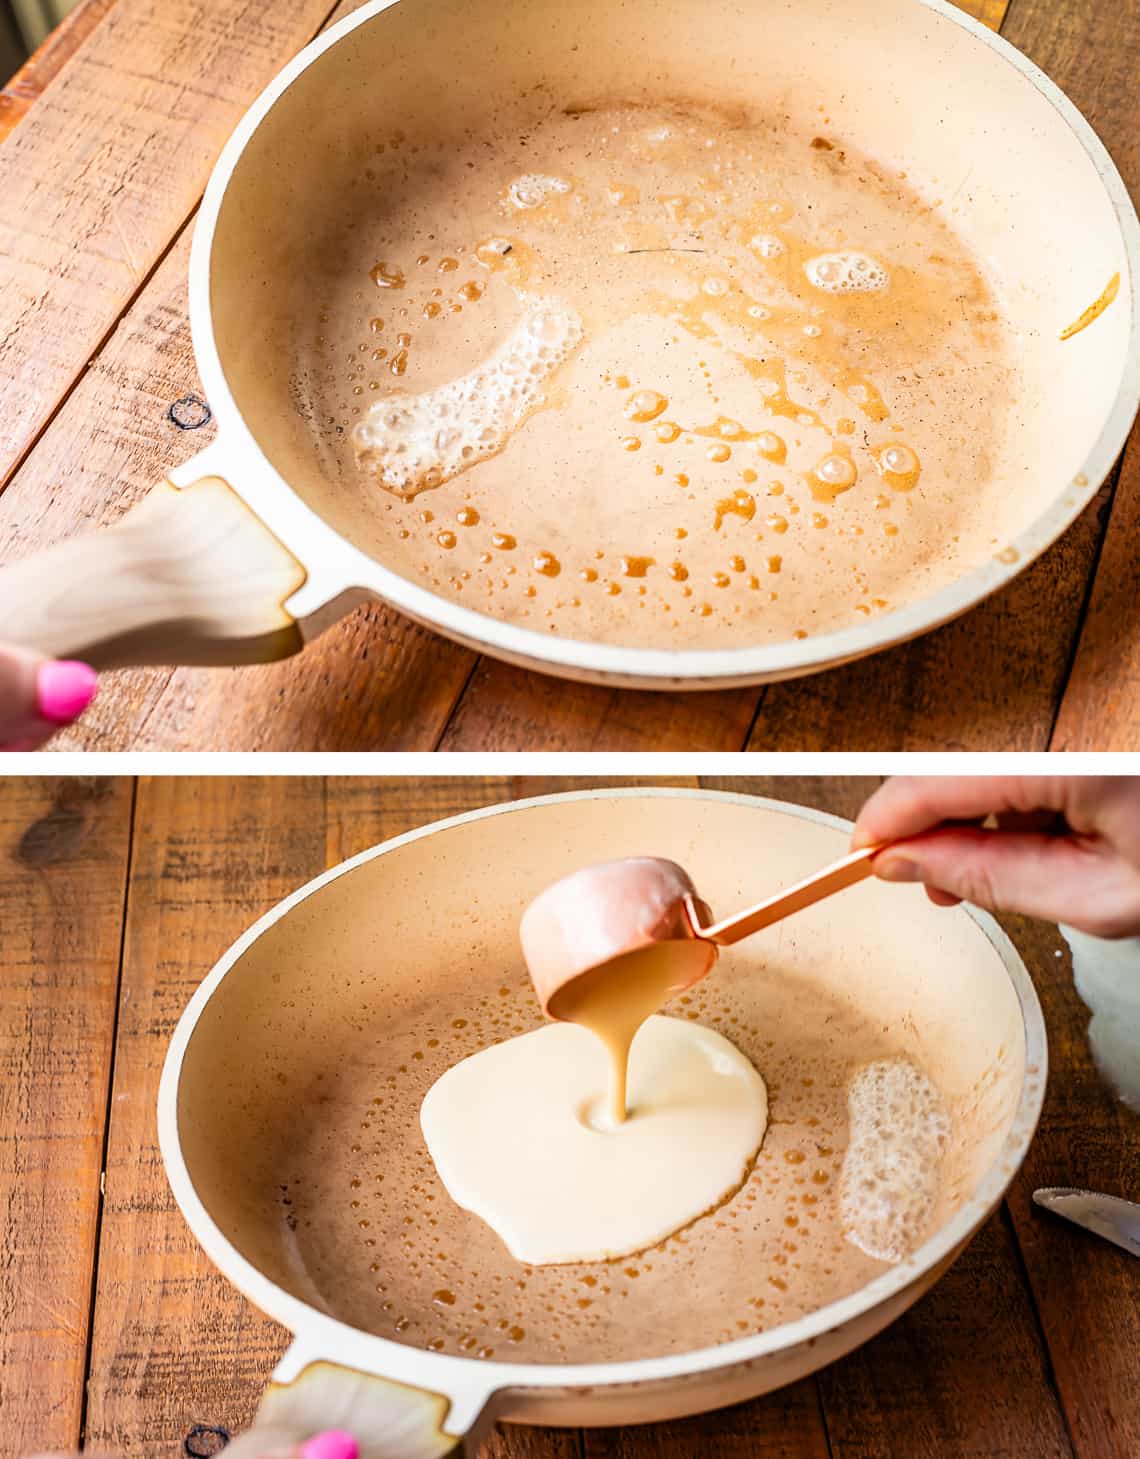
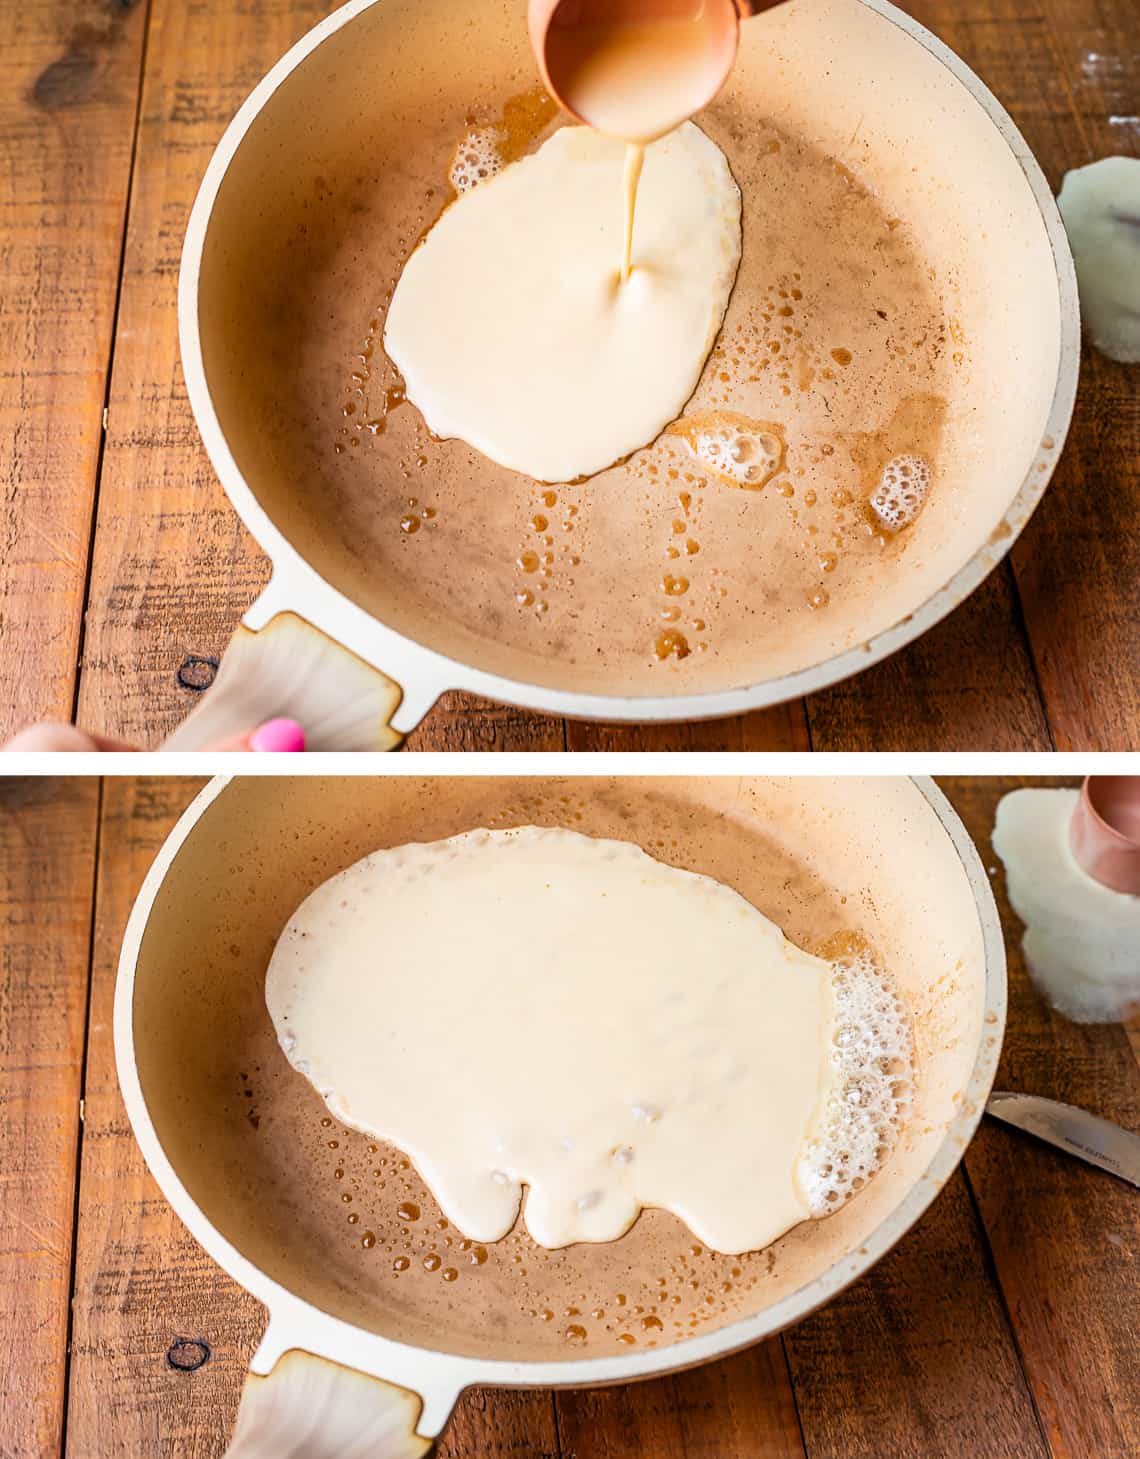
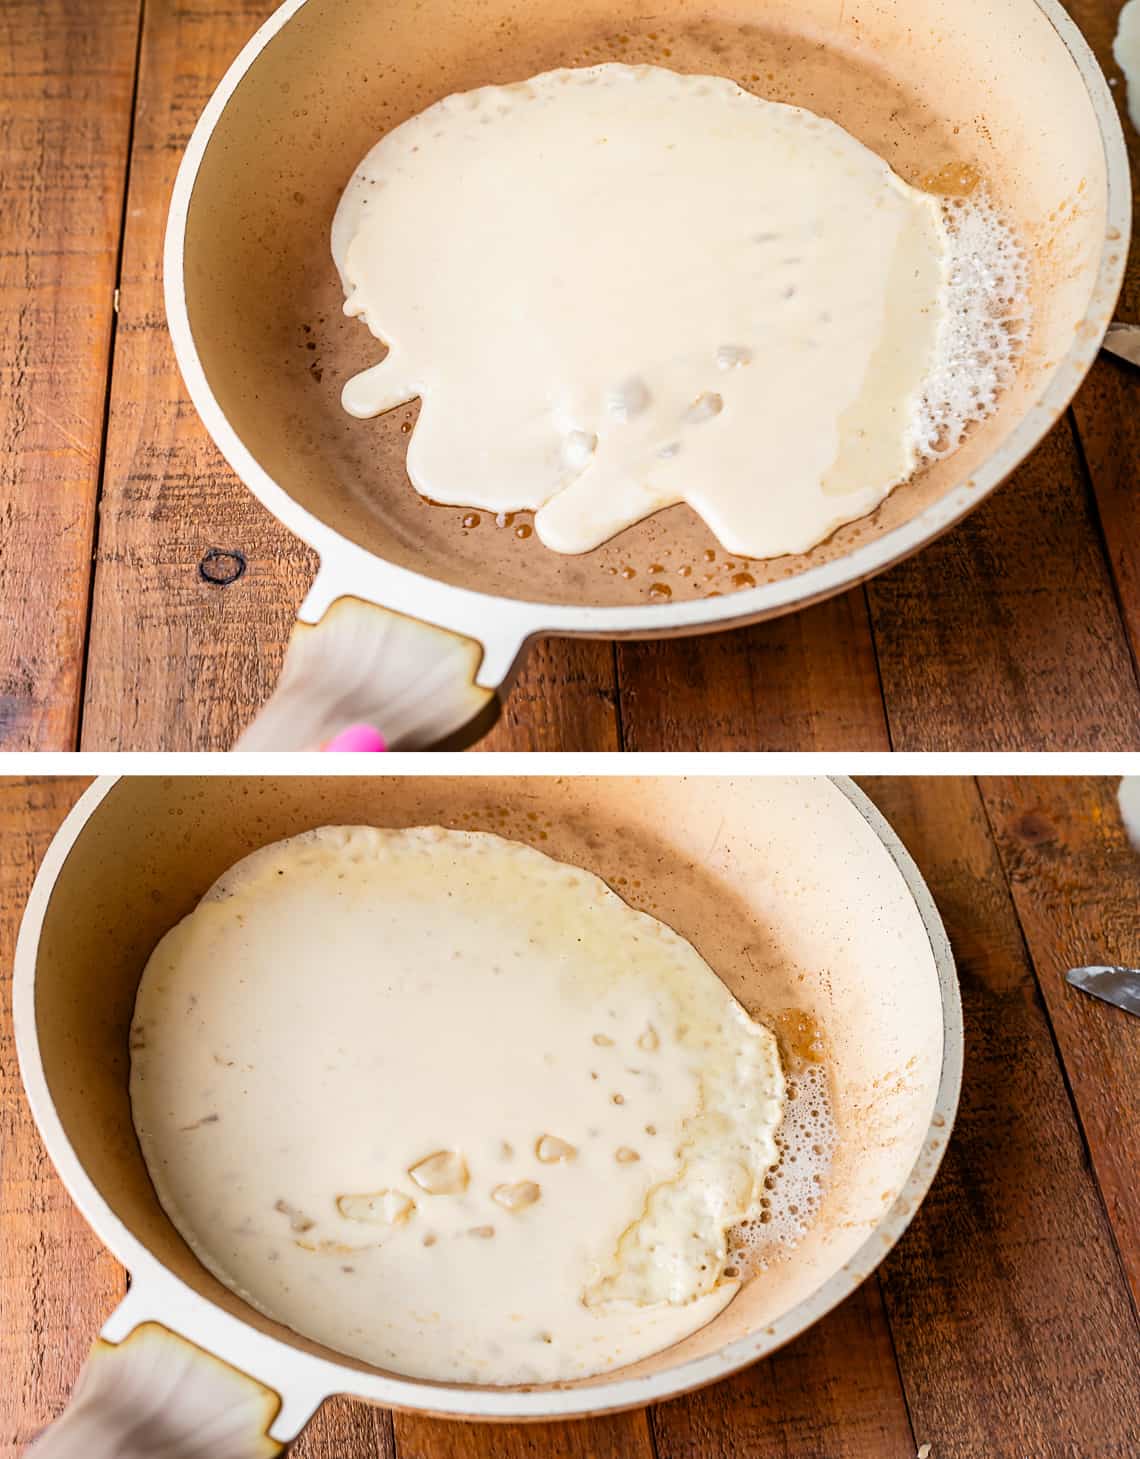
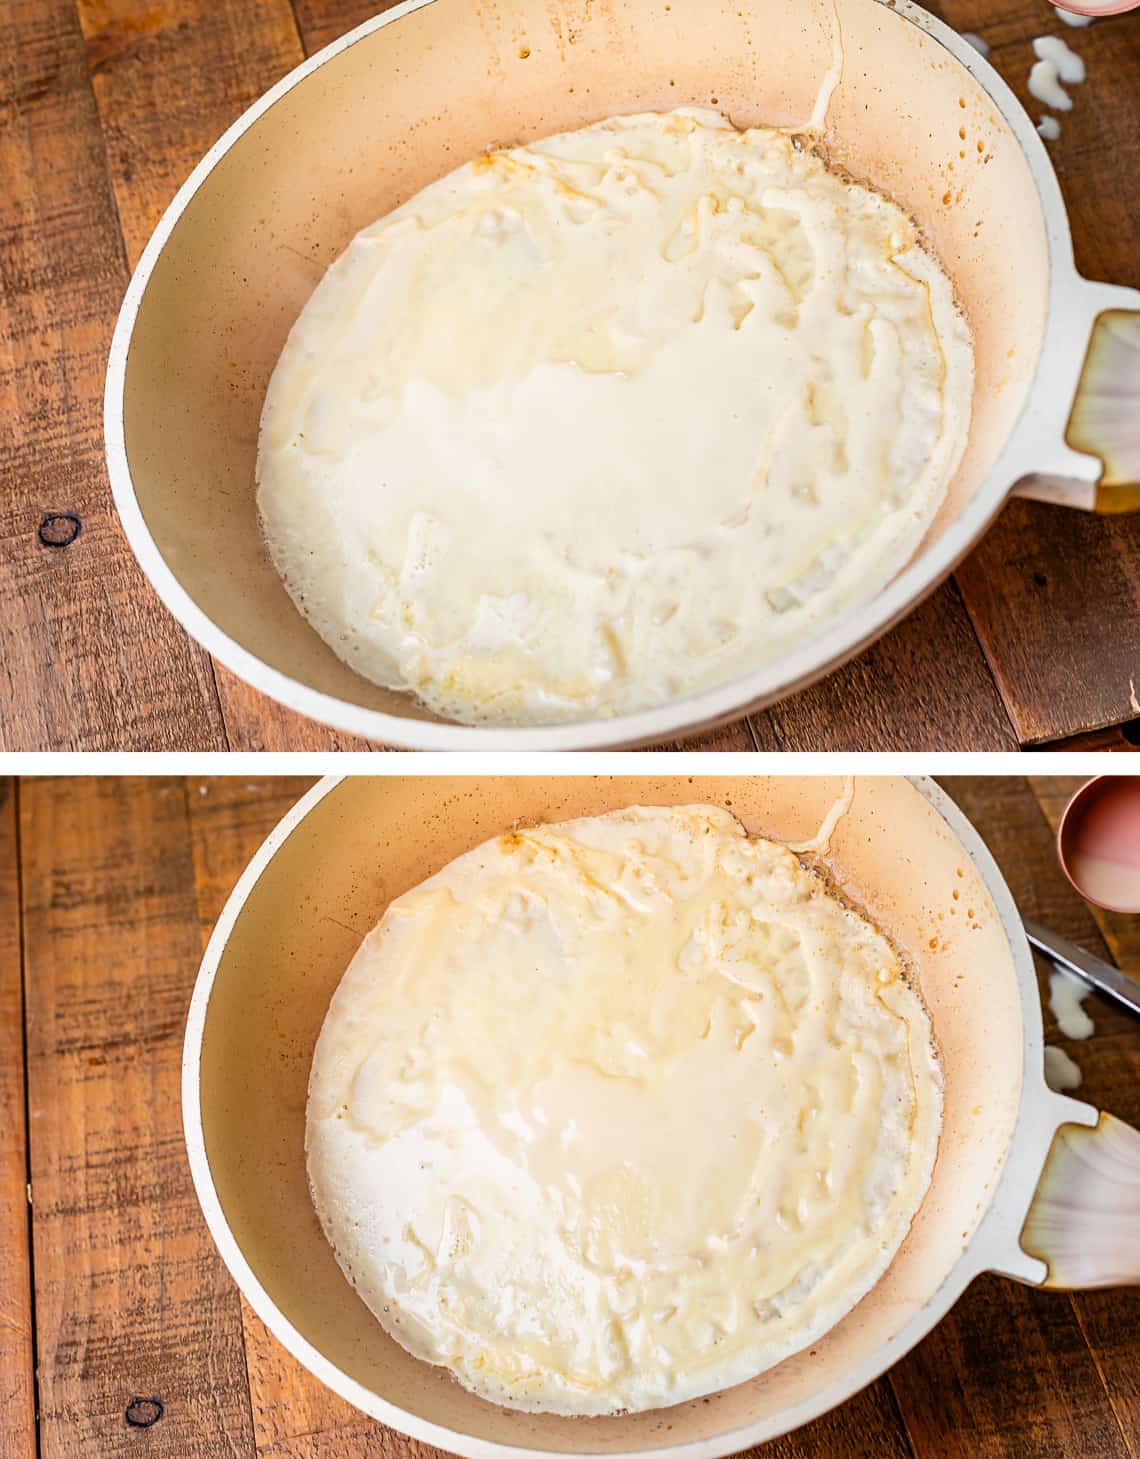
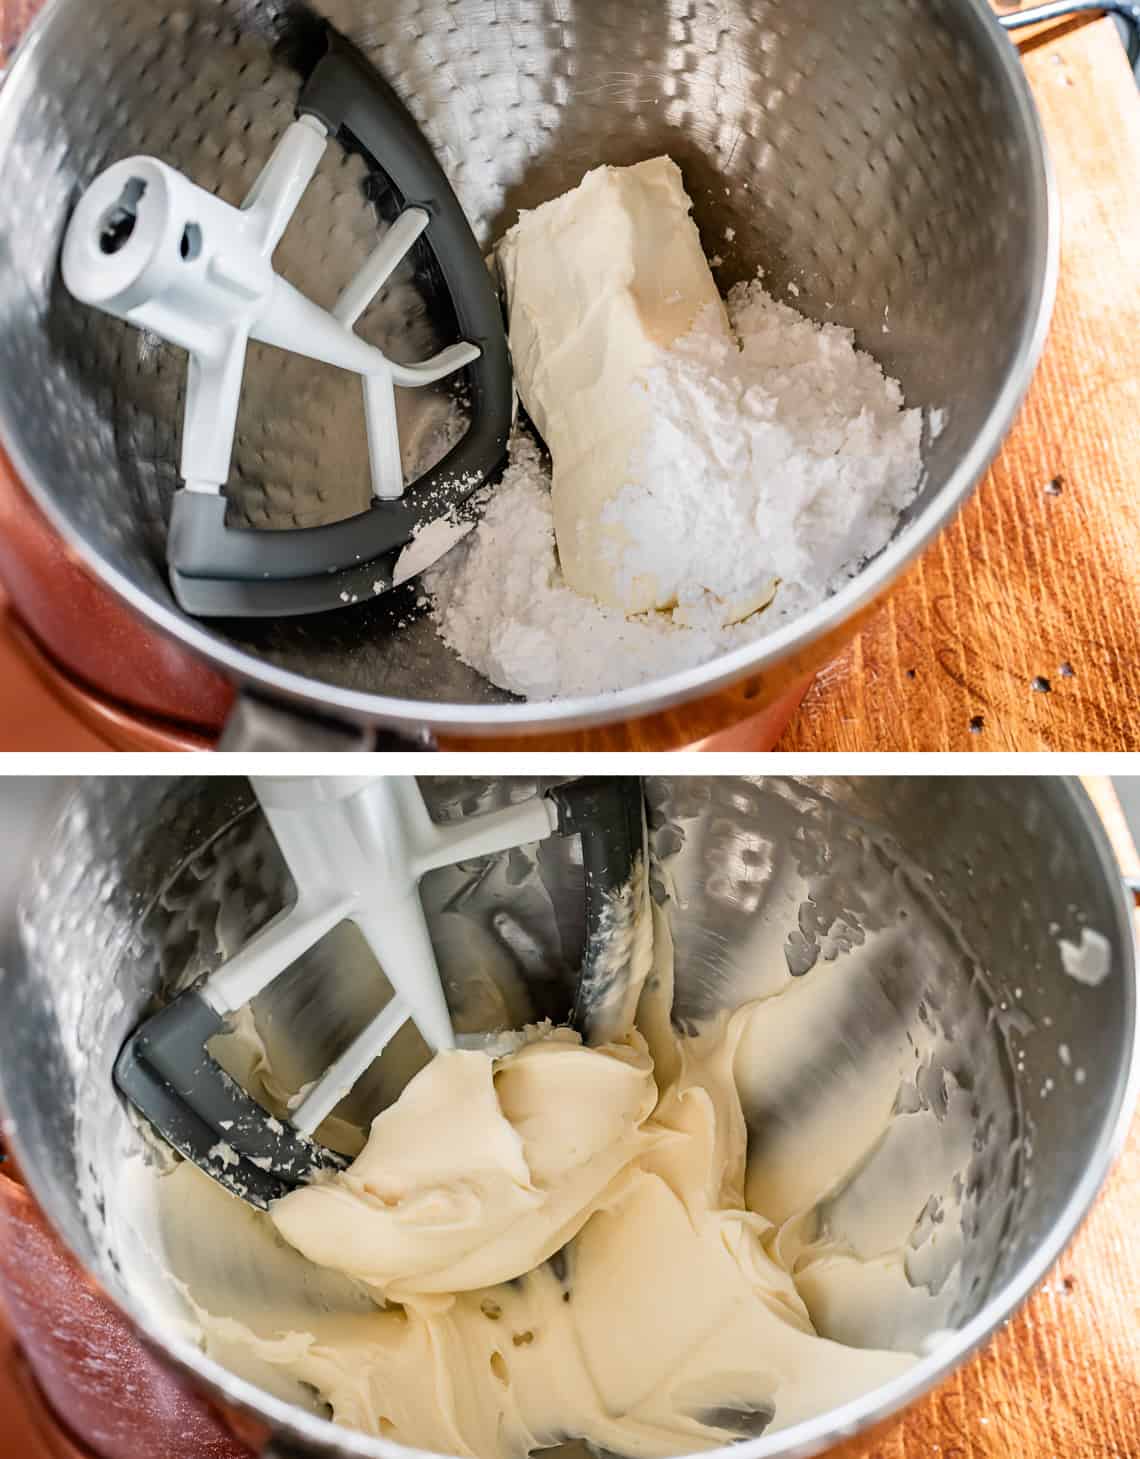
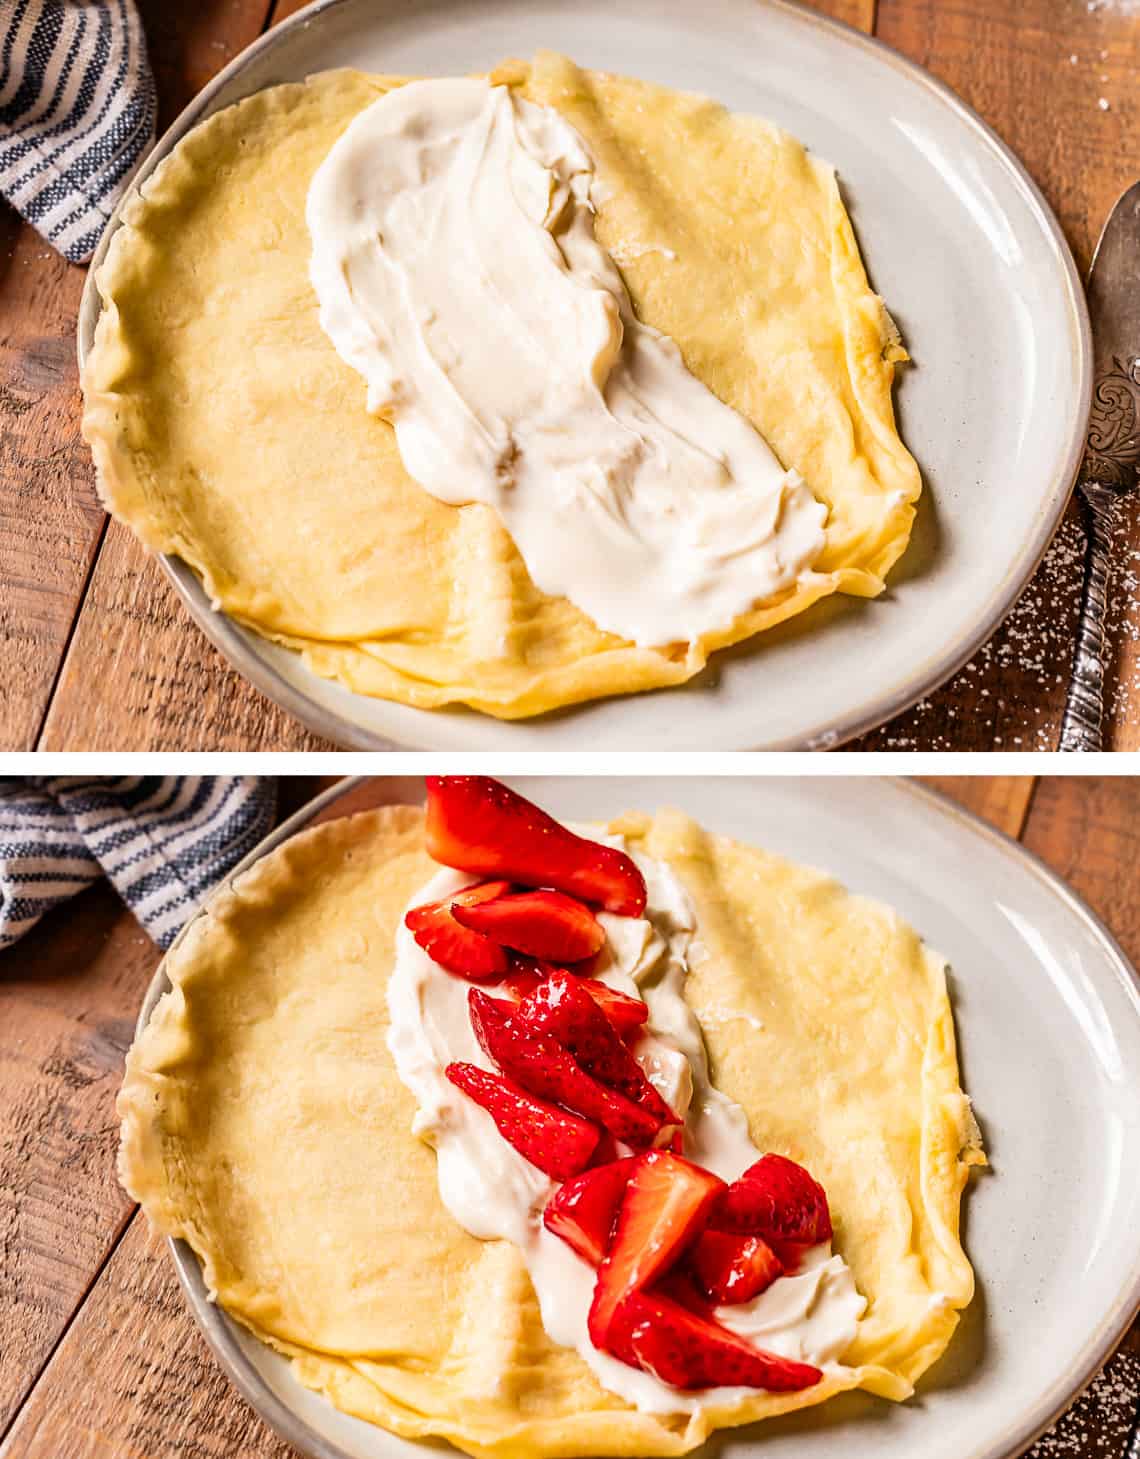
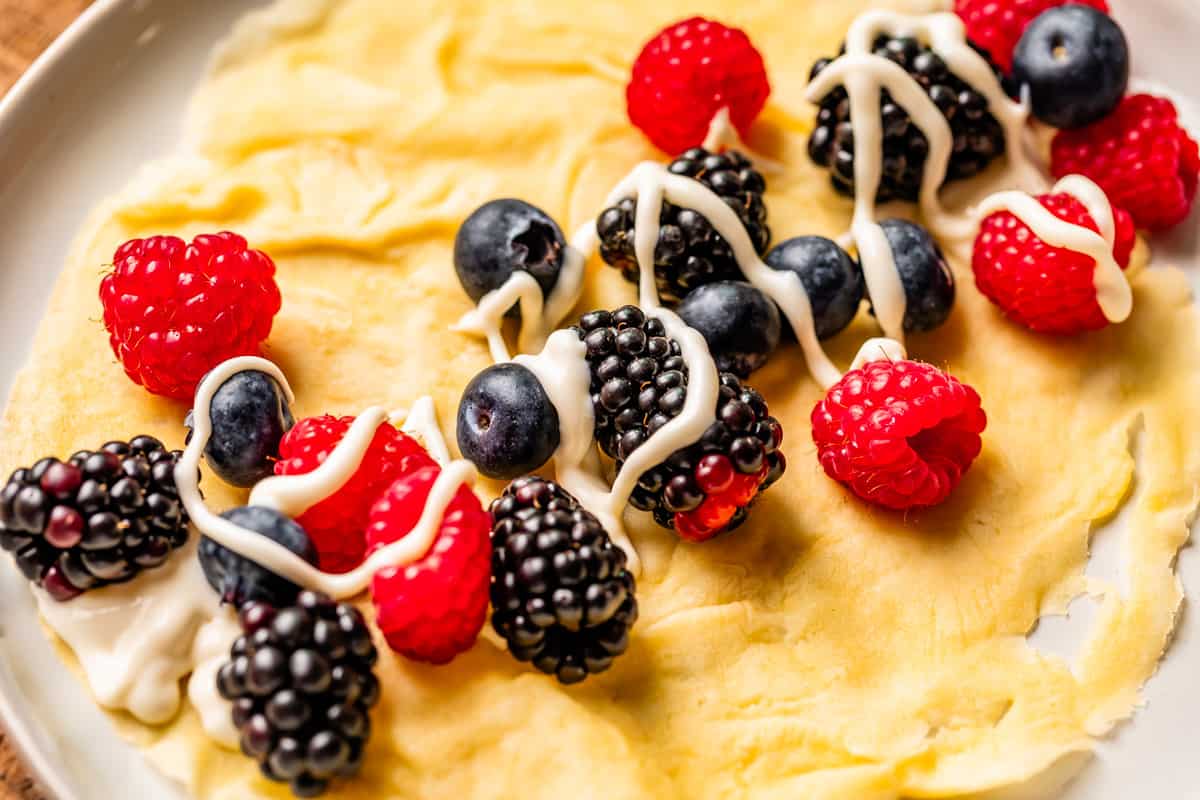
I know you think of dessert when you think of crepes but DO NOT underestimate the amazingness of a savory crepe. I grew up eating my mother’s Chicken Crepes, which are kind of like enchiladas, EXCEPT MADE WITH CREPES (you dump straight-up cream on top and add Pepper jack cheese, and you might die and go to heaven, literally, from all the artery clogging that’s going on, but by golly you will die happy.) Crepes are not hard to make, but there are some particular techniques you need to know to get the flipping part right. Crepes that are too thick (when you pour too much batter into the pan) are not the right texture. You want to pour them as thin as humanly possible, which can get a little dicey when you have to use a spatula to flip it 30 seconds later. Rips and tears happen, especially when you’re first starting out. Crepe pouring, swirling, and flipping takes some practice. The trick is to just eat the first few that you mess up, right out of the pan, before anyone notices, then you can just present the perfect ones to your family or guests and they will never know. Follow me for more kitchen tips and tricks! 😂 We rushed over and ordered lemon crepes. The guy poured the batter in the pan, used his fancy T-tool to spread out the batter, and moments later a fresh, real-French crepe was being laid on a plate. He sprinkled it with some sugar and then…reached over to a yellow squeeze bottle and squirted FAKE LEMON JUICE all over my precious crepe. Like I mentioned, the method for cooking crepes requires some solid technique to get a crepe that’s ultra thin and flexible, and not a crispy mess. I will show you everything in the how to section below! For the crepes For the filling We are using an entire tablespoon of vanilla in these babies. Bring on the flavor!! Dump the flour and salt on top, then blend away. Once it has come together, open the top spout and pour in your melted butter, with the blender on low. And voila! That’s seriously it. It takes 5 minutes to whip this up. You can put a lid on this and keep it in the fridge for a few days if you like! Whisk (or blend again) before using, adding a little milk if it’s thick. Now it’s time to cook. You can start cooking these right away, the batter does not need to rest. Set a stick of butter by the stove and heat up your 8 inch pan. Dunk a 1/4 cup measuring cup right into the blender, you don’t need to fill it all the way. 1/4 cup is 4 tablespoons. So anywhere between 3-4 tablespoons of batter is what you want. Add about 1-2 teaspoons butter to the pan and swirl it around to melt. My pan was hot enough that it browned the butter right away, this is fine. You can turn the heat down if you aren’t into browned butter (weirdo. I’m judging you.) Then dump your batter in all at once. Immediately lift the pan with your other hand and start turning. You want to keep the pan moving constantly to create a VERY thin layer of batter on the bottom of the pan, in as close to a large-circle shape as you can manage. You might think it’s time to stop tilting now, but not for me. I despise thick crepes. Don’t stop tilting the pan until the batter no longer drips. This might mean that you don’t end up with a perfect circle. That’s ok! Add in a couple drops of batter in the empty spots to fill it in. Or, scrape off the edges that are uneven if that’s easier. See? Now we’re cookin. A perfect circle. Even when I tilt the pan all the way up, the batter won’t drip around at this point. Wait just a moment longer…until the batter no longer looks shiny on top, like the photo below. As soon as it starts to look matte, or a little bit dried, it’s time to flip. Can you see the difference? Then shove a spatula underneath as far as you can, and flip. I can’t believe I don’t have a better photo of a flipped crepe in the pan. Look at this poor guy, he’s all mushed! That’s kind of the deal with crepes though, they are not always perfect, and that’s okay. They still taste amazing. If we had the fancy pan and crepe-T-tool, they would look better. But I promise, these taste great and the texture is perfect. You would not believe how many times I made Eric help me take these process photos. We probably shot the swirling technique for about 10 crepes, with me taking a thousand photos each time. It’s kind of hard to capture this process in photos, even with a buddy! At least for me, ha, I’m no pro. We don’t have enough light for photos by our stove, so we would heat the heck out the pan, walk all the way over into the other room by the window, and pour the batter in, doing the swirling over the wood board photo backdrop that you can see underneath. Don’t be like us. Stay right by your stove 😂 My one plea: do NOT over cook your crepes. You want them to just be barely browned, or not at all, depending on what you like. But if you have gotten to the point that the crepe has enough structure to stay flat as you flip them, then you have cooked too long. They should be floppy flexible. You can see this one has spots that are a little too dark. It’s no biggie you guys. You better believe I still ate the heck out of that crepe. It’s just a little darker and crisper than is ideal. Okay! Now it’s time to fill our crepes!! The best part! Add some soft cream cheese and powdered sugar to a mixing bowl and beat it up. Add in some vanilla and a lil salt. Then spread some down the middle of your crepe… And top with your strawberry filling. I have a simple recipe for macerated strawberries below, but if you want to take it even one step further, try my recipe for Fresh Strawberry Topping. It’s the same strawberry recipe I put on Strawberry Shortcakes, and it’s unbelievably juicy and fresh. Or you could go with simple mixed berries and cream cheese. It’s really hard to go wrong at this point?? Just look around your kitchen, you will find something to fill your crepes with. Often with leftovers the next morning, I spread crepes with peanut butter and sprinkle with sugar, for a little protein. My kids love it! ↓ here are some more ideas:
Hashbrowns Bacon, sausage, or ham Creamy Scrambled Eggs for a Crowd a fruit tray or fruit salad Strawberry Spinach Salad Best Ambrosia Salad Recipe Classic Waldorf Salad from Foodie Crush
If you plan to store them for a couple days, keep them in a gallon size ziplock bag, squeezing out as much air as possible before sealing. The seal on the bag helps keep the crepes moist. You can also store them in an airtight container, but I don’t have one big enough to keep them flat, which I prefer. They will stay good in the refrigerator for 2-3 days. To reheat, put a nonstick skillet over medium heat. Once it’s hot, add each crepe individually and warm on each side for 30-60 seconds. Remove to a plate, add your fillings, and you’re good to go! If you are adding a savory filling, be sure to warm the filling up separately in the microwave before adding to the hot crepe. To eat them after freezing, let the bag sit on the counter for an hour or two (or in the fridge overnight) until they are pliable enough to separate. Add one crepe at a time to a skillet over medium heat and warm for about 30 seconds to a minute until the crepe is totally heated through.
Best Pancake Recipe EVER » the fluffiest, most tender, stackable pancakes of your life The Only Breakfast Burrito Recipe You Need (Freezer friendly!) » just like a crepe, the possibilities for filling are endless. A total go-to from the freezer for any meal around here Easy French Toast Recipe (Caramelized) » legit the only french toast recipe I truly love Best Breakfast Casserole Recipe with Sausage » everything you love about breakfast all wrapped up in one casserole dish Best Waffle Recipe from Scratch » I’ve been making this waffle recipe for 16 years now, it’s the best!! Easy Quiche Recipe with Bacon and Spinach » the more delicate, sophisticated sister of a breakfast casserole Best Recipe for Sour Cream Coffee Cake » my absolute favorite coffee cake, it’s incredible Shakshuka from Downshiftology Breakfast Pizza from Small Town Woman


![]()