You guys! It’s almost the Wednesday before Thanksgiving! Am I the only one who gets excited about this?? I feel like we should have a special name for this day, kind of like Christmas Eve. Christmas is such a big deal that even the night before gets a title. (The Brits even have a name for the day after!) Well what about Thanksgiving, HMM?? I just googled what to call the day before Thanksgiving and found out that some people call it Blackout Wednesday. I thought at first it was a precursor to Black Friday shopping (which by the way, did you see that last year Old Navy was trying to rename it a “Big Friday Sale”? Psh. Stop trying to make fetch happen, Old Navy.) Anyway, apparently Blackout Wednesday refers to people getting drunk and blacking out because of the holiday the next day. L-A-M-E. Can’t we do better than this?? Crazed college students should not get to dictate the festivities for WBT. (Wednesday before Thanksgiving, come on, keep up.) I feel like Thanksgiving Eve is a little too predictable. Any ideas? What about Pie day? That’s the day everyone makes their pies, right? Oh wait March 14 is Pi Day. Shoot. (Although I do have one friend who throws a pie night party every WBT, because everyone is always too full on actual Thanksgiving to eat all the pie they really would like to have. Genius.) I have another friend who has a party every Wednesday before Thanksgiving, where everyone brings appetizers because no one feels like doing any real cooking after all the Thanksgiving prep. (We always ordered pizza growing up!) Maybe we should just call it Cram day, where we all try to eat enough to enlarge our stomachs in preparation for the Big T. If we follow tradition in my family, we would call it Stay-Up-Until-1:30-AM-Finishing-All-The-Pies-Day. Thank you, mom, for all your lessons in procrastination. The tradition lives on!! Well, enough of that. Whatever you call WBT, in my book it’s practically a holiday. What else do you call a marathon cooking day? The best kind of day!! (This is why I’m a food blogger I guess!)
The Perfect Traditional Stuffing Recipe
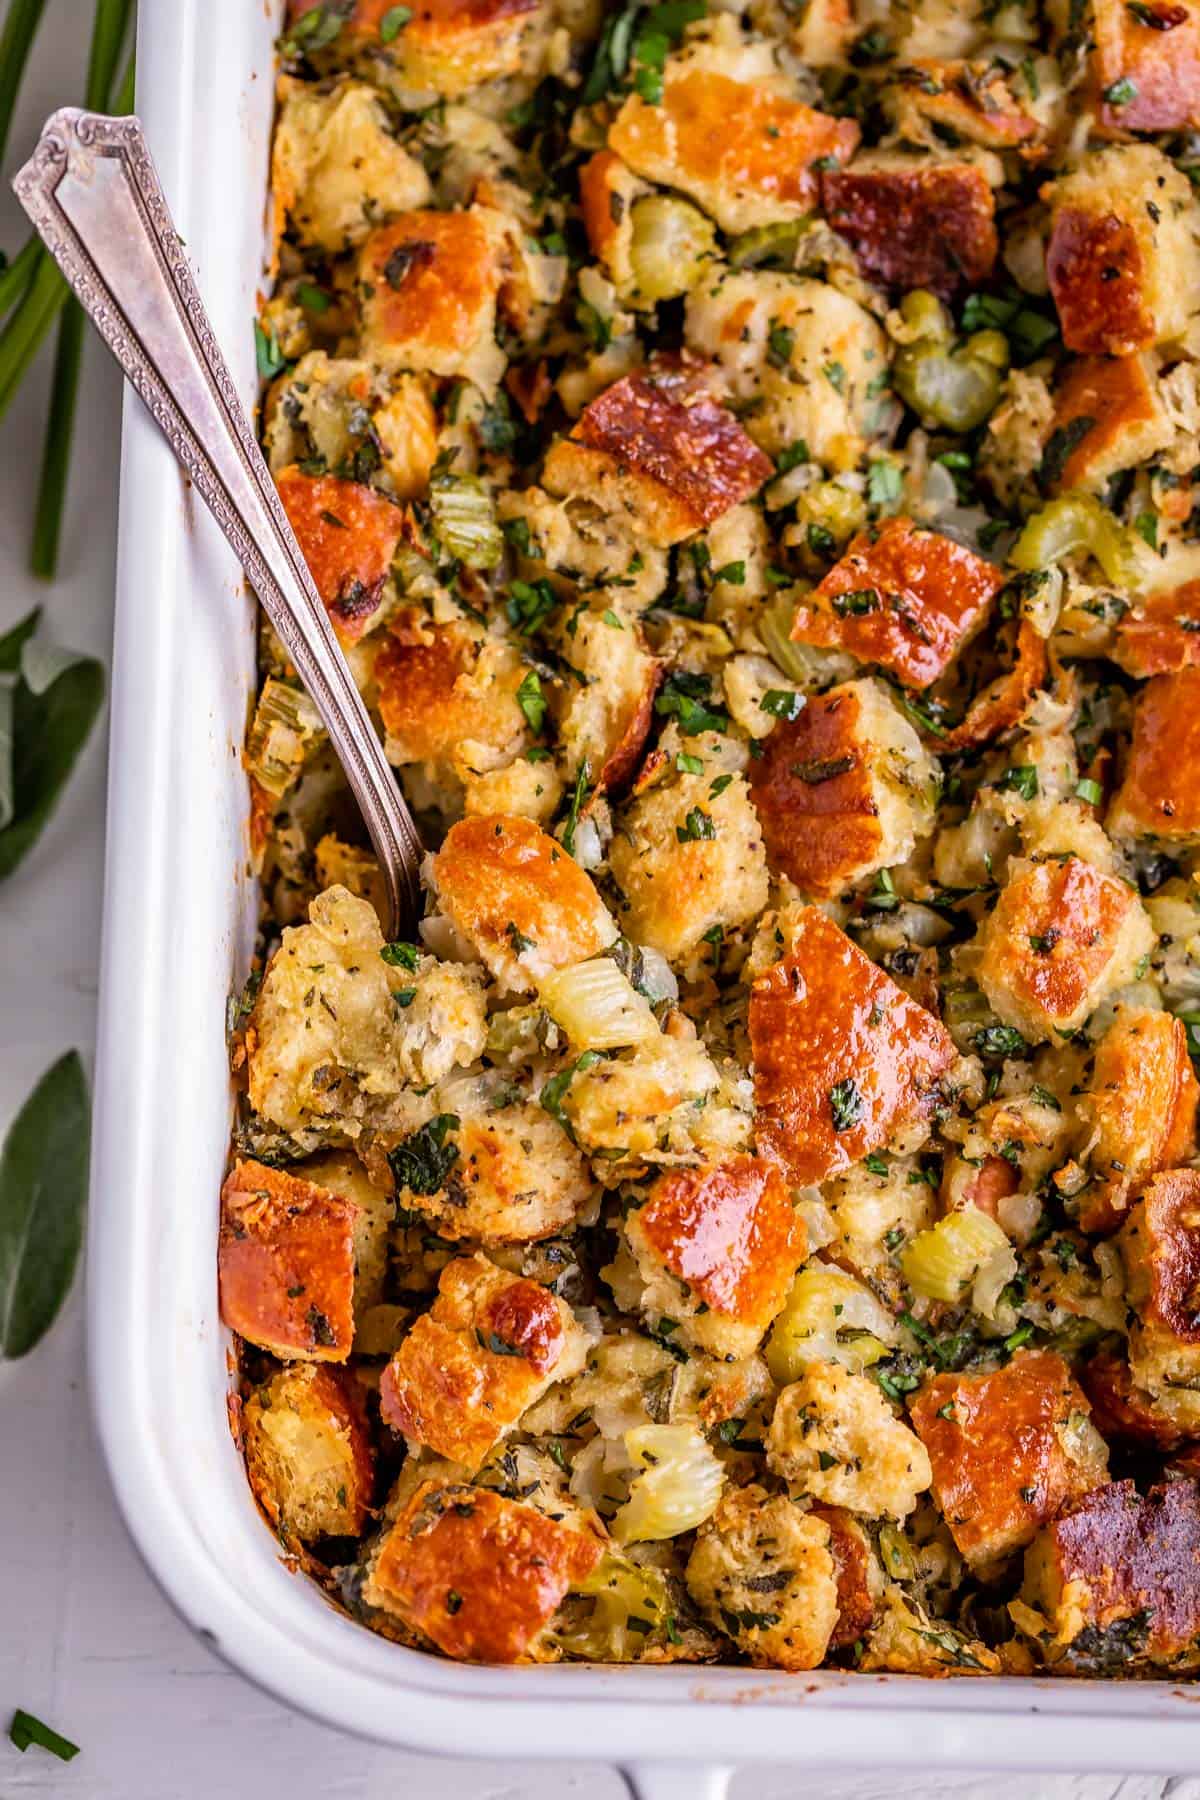
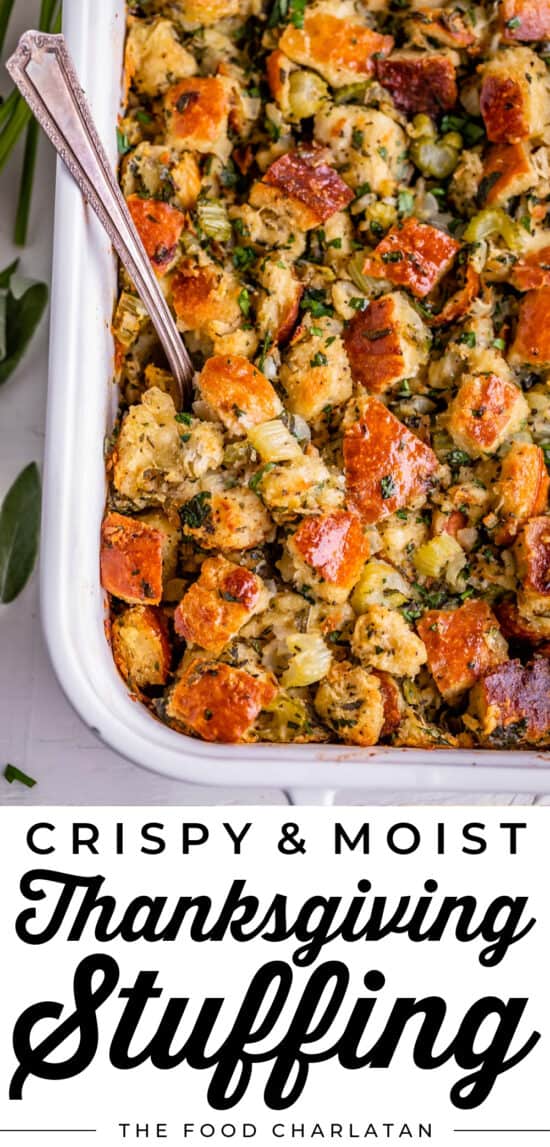
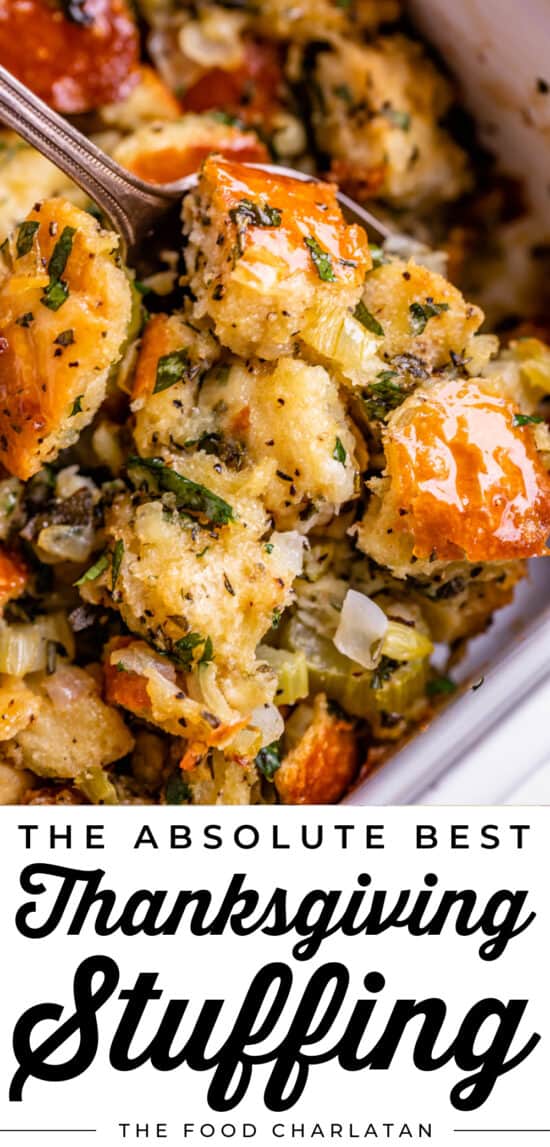
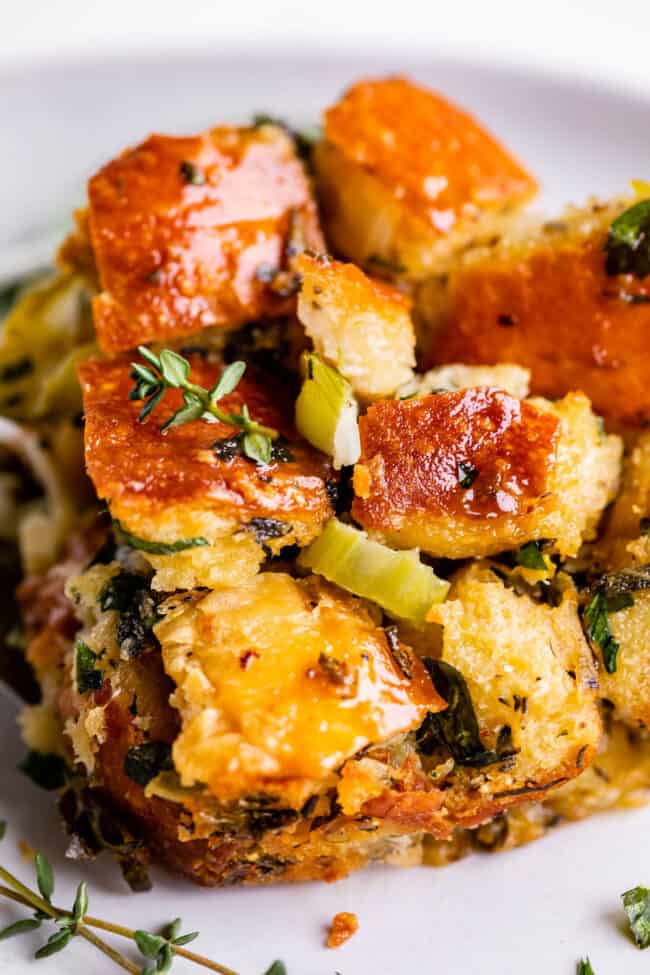
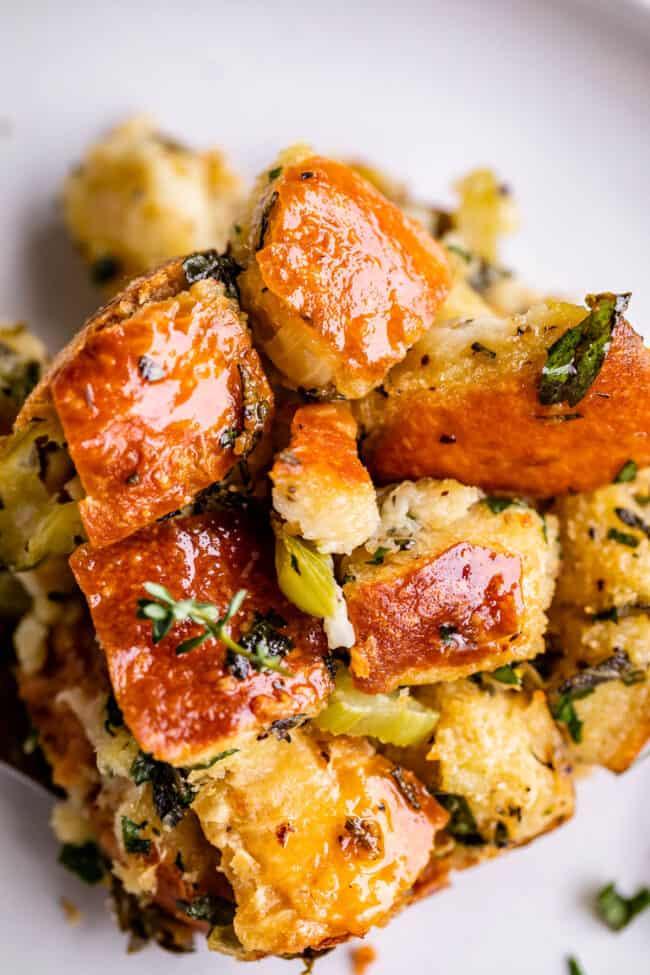
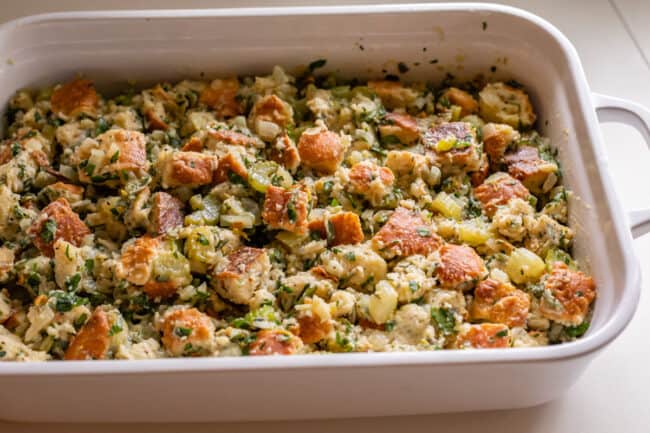
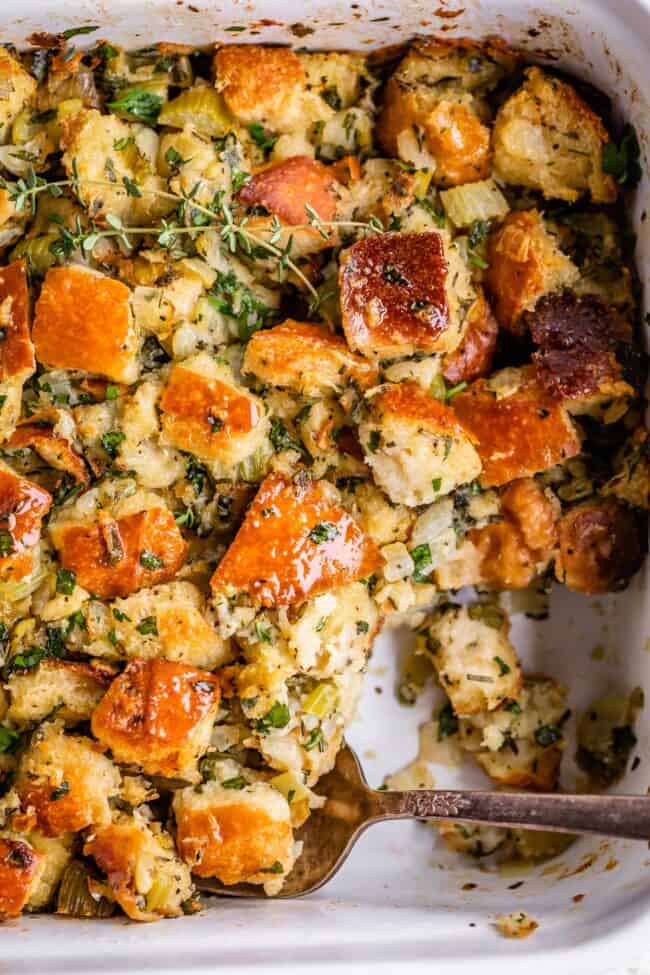
Today I have a stuffing recipe for you. BUT NOT JUST ANY STUFFING OH NO. I’ve been working on this recipe for over a year now and I’ve finally got it down. It is buttery. It is herby. It is soft and tender in the middle while being irresistibly crispy on those glorious edges. Once you start, you really can’t stop until it’s gone. As a former stuffing hater (just like Sweet Potato Casserole! What is it with me and all my childhood Thanksgiving menu hate!), I bring you the best of the best that surely will convert the masses. This recipe is just like grandma’s. Please save your sausage, your cranberries, your cornbread, and your walnuts for a fancier day. This is hometown comfort food, just butter and herbs and onions and good homey bread. Let’s do this!!
How to make homemade stuffing
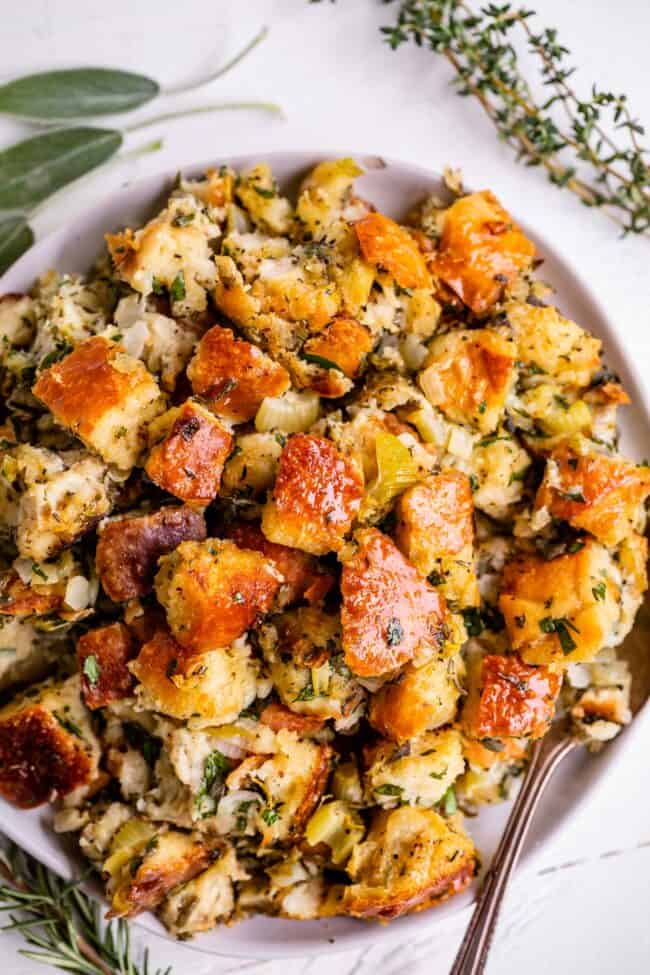
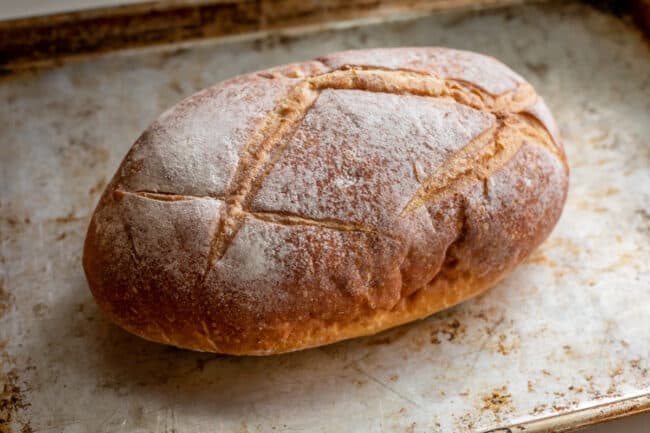
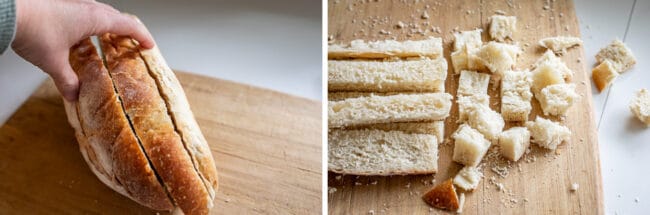
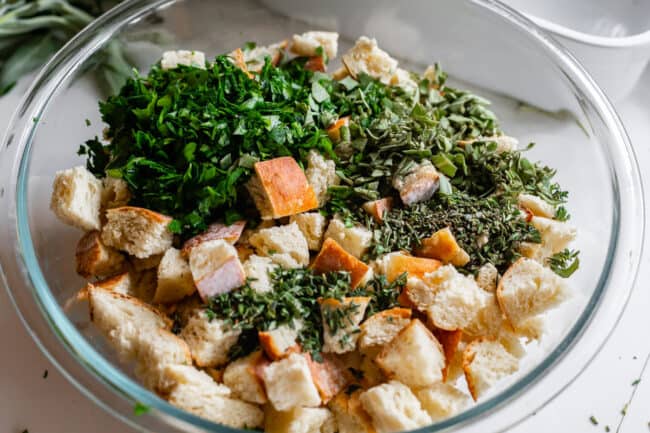
Here is the step by step process so you know exactly how to make the best stuffing ever! The first step is choosing your bread. This is KIND OF A BIG DEAL. I have made this stuffing with ciabatta, French bread, and white bread. You can use sourdough, an Italian loaf, baguettes, or whatever you want! Sky is the limit here. I tend to prefer simple white bread, with a relatively soft crust (that is not too chewy) so that the stuffing just melts in your mouth. You can also try using two different kinds of bread in your stuffing for variety of texture!
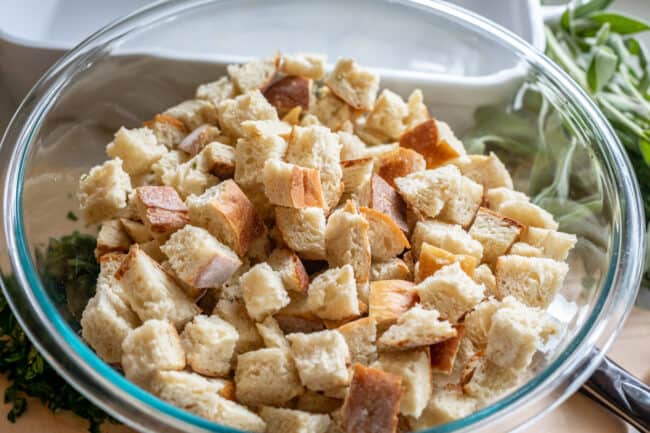
Toasty bread is not the same as stale bread
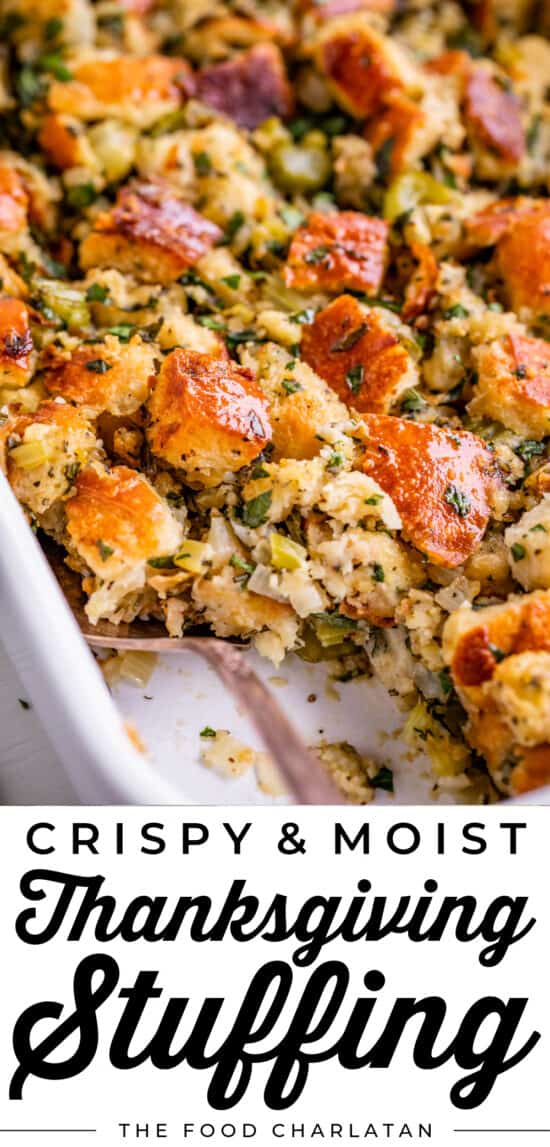
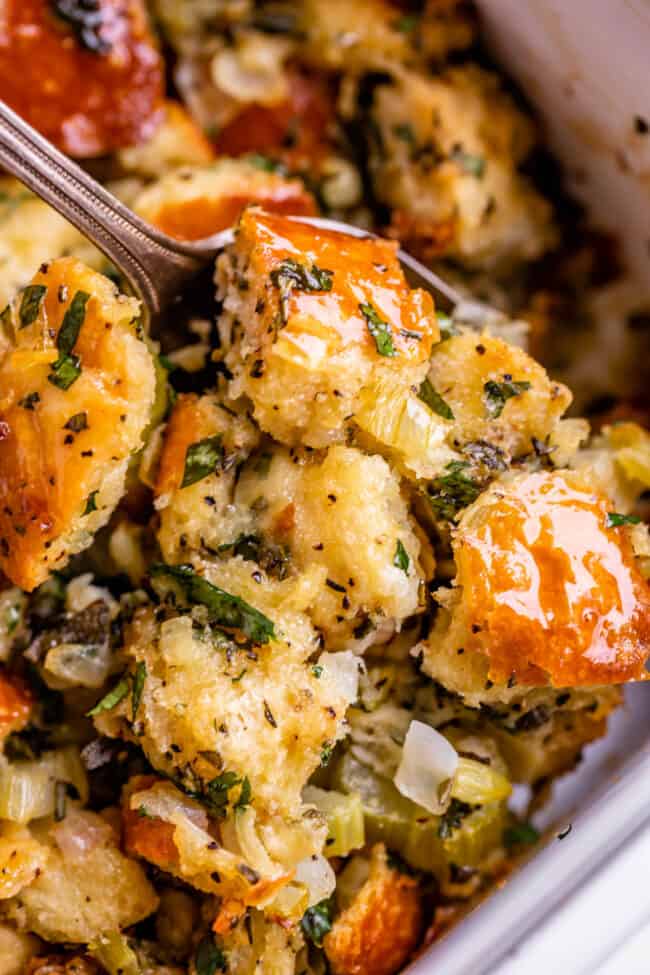
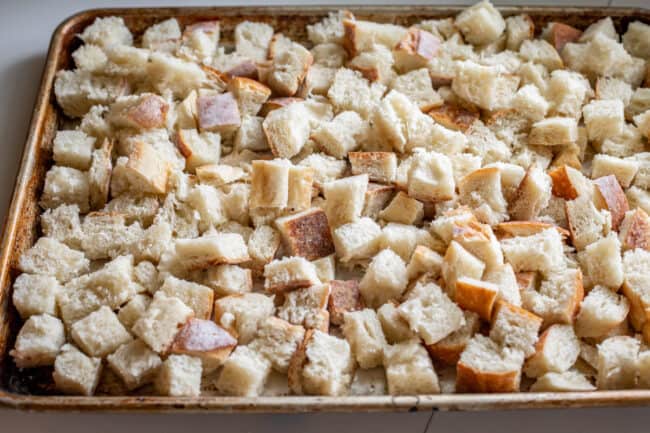
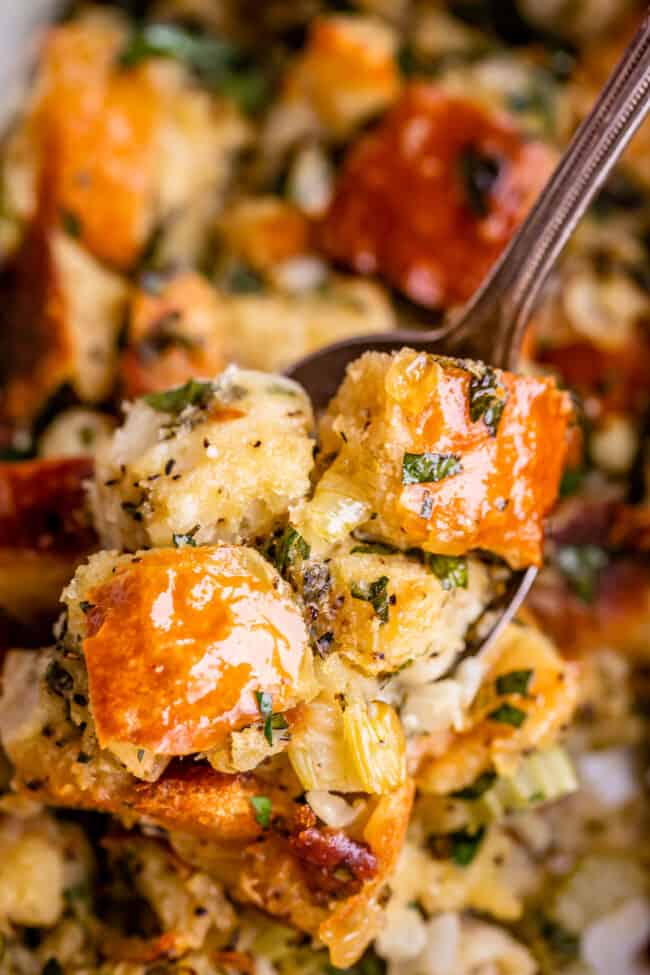
Many stuffing recipes call for cutting or tearing up your bread and simply leaving it out overnight. To me, this just makes bread STALE. Stale bread is tough and leathery, and STILL does not absorb as well as toasted bread. See this Panzanella recipe from Serious Eats for a detailed discussion about this! Instead, we are going to TOAST our bread. This makes for bread pieces that are crisp yet still TENDER and melt in your mouth. All it takes is about an hour in the oven, set to 250 F. We don’t want it to brown or get burned: just nice and light and crispy, ready to absorb all that flavorful chicken broth in our stuffing, without being leathery or overly chewy.
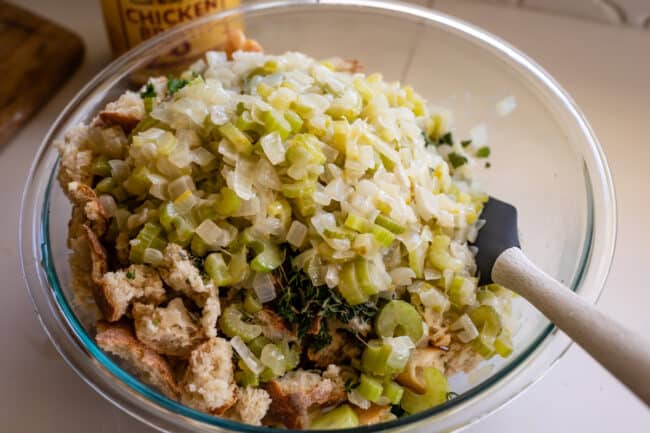
Butter: the secret to a great stuffing
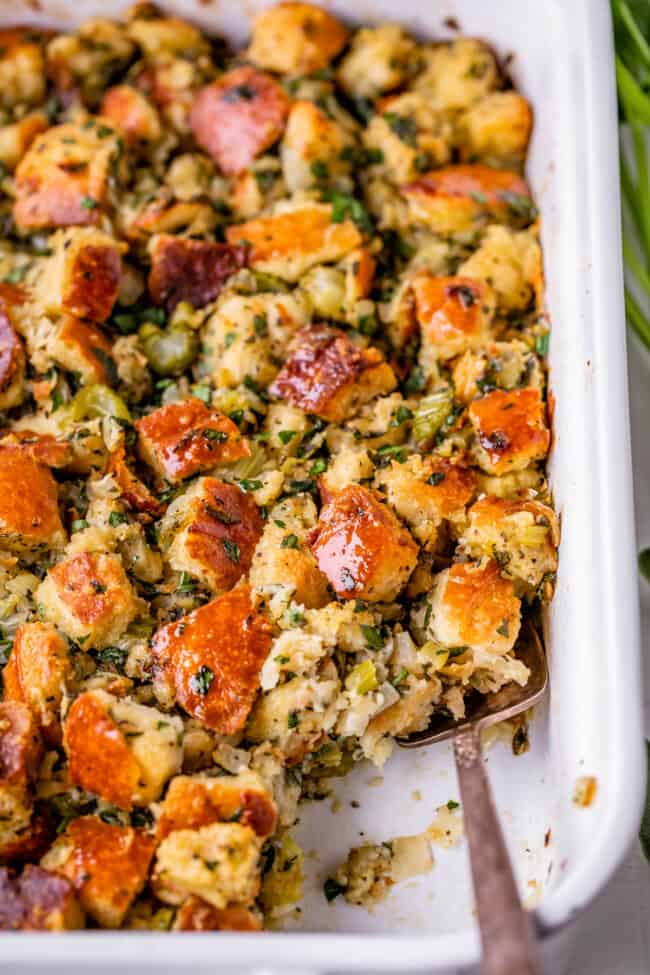
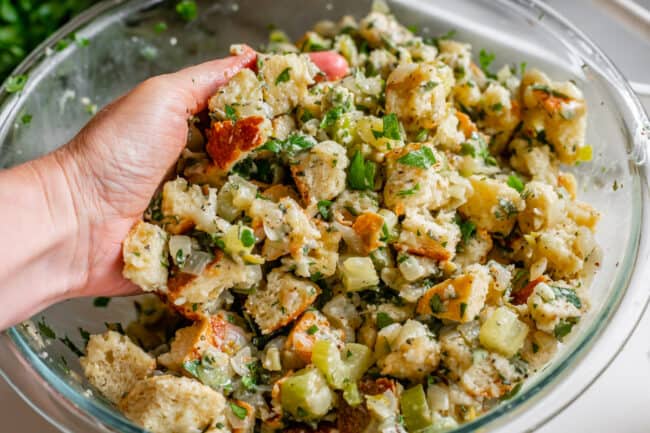
The bread should be moist but not soaked. Squeeze it to test. There should NOT be liquid pooling at the bottom of the bowl. You might need up to a half cup of extra broth. BUT! You might not even need all the broth/egg mixture in the first place. You definitely should be using most of it, but don’t be worried if you have a couple tablespoons leftover if your stuffing is feeling quite moist.
Traditional Stuffing Recipe Variations
You can make the Best Thanksgiving Stuffing ahead of time
Yes, you really can make stuffing (any stuffing!) ahead of time! Hallelujah!
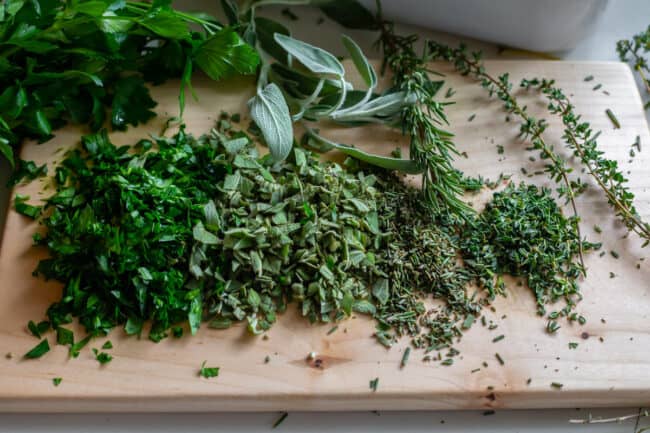
Choose the right bread Don’t stale your bread by leaving it out overnight. That just makes it tough. Toast bread in the oven instead. Use lotsa butter Use discretion adding broth. Don’t add too much or your stuffing will be soggy (Don’t add too little or it will be dry!) Chop herbs small. You are not a rabbit. We want flavor, not leaves.
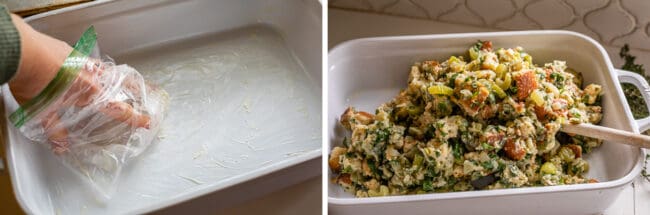
Overnight Stuffing Instructions: Follow the instructions through adding the unbaked stuffing to the buttered pan. Wrap it tightly in plastic wrap to lock in moisture, then store in the refrigerator for up to 24 hours. To bake the overnight stuffing, preheat the oven, remove the plastic wrap, and follow the baking instructions as usual. (Be sure to cover with foil for the first half of the bake.) If you plan on baking more than 24 hours after preparing the stuffing, I recommend freezing the stuffing instead, as it will start to dry out in the refrigerator air over time. To reheat, pull the stuffing out of the freezer and let sit on the counter for about 15 minutes, or 30 minutes if you used a glass pan. Preheat the oven to 350. Remove any plastic wrap. Cover the stuffing with foil. Bake at 350 for about 45 minutes, then remove the foil and bake another 10-15 minutes, until crisp and warmed throughout. Because it’s already been cooked, be careful to not bake too long or it will dry out for sure! When you’re ready, preheat the oven, take the tray out of the freezer, remove any plastice wrap, cover tightly with foil, and bake according to normal instructions. Don’t thaw it out first, that will make it super soggy! You may need to add 10-15 minutes to the total bake time, just keep an eye on it. Then wrap your dish well in both foil and plastic wrap. If you have 2 gallon ziplock bags ( I love these!!) then put the wrapped stuffing in that too! The stuffing will be good in the freezer for about 3 months.
How to use Leftover Thanksgiving Stuffing
Oh my gosh, so many options!
Add some to your leftover turkey sandwiches. Made with Buttery Dinner Rolls, of course. And a bit of Cranberry Sauce too! Yes please! Crisp leftovers up in a skillet and eat as a hash with eggs for breakfast! Use chopped stuffing in place of the breadcrumbs/oats in meatballs or meatloaf. Stuffing Waffles: Add a bit of broth to make it more wet, then crisp up in a waffle iron. Serve with a fried egg and gravy/cranberry sauce. I love this idea!! Add leftover stuffing to bell peppers and bake! See my Classic Stuffed Peppers recipe for reference. Make Zucchini Boats! Fill zucchini with stuffing, top with cheese and bake. Serve with gravy! Stuffing Shepherds or Pot Pie: layer stuffing, leftover turkey, and leftover vegetables in a pie dish, pour on a layer of gravy, and then top with either mashed potatoes (Shepherds Pie) or a pie crust (Pot pie)
More Thanksgiving side dishes you are going to love!
Facebook | Pinterest | Instagram


![]()