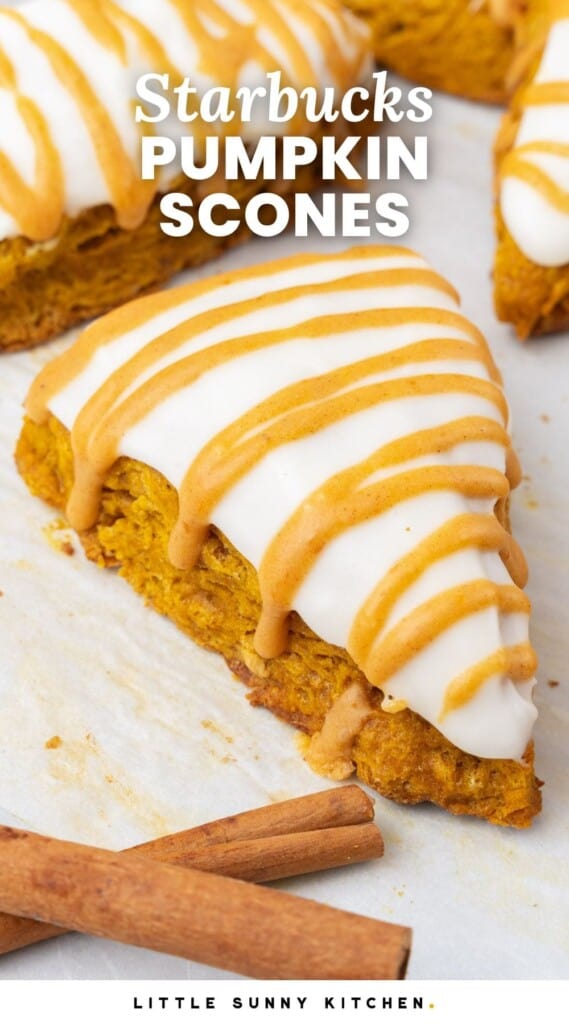
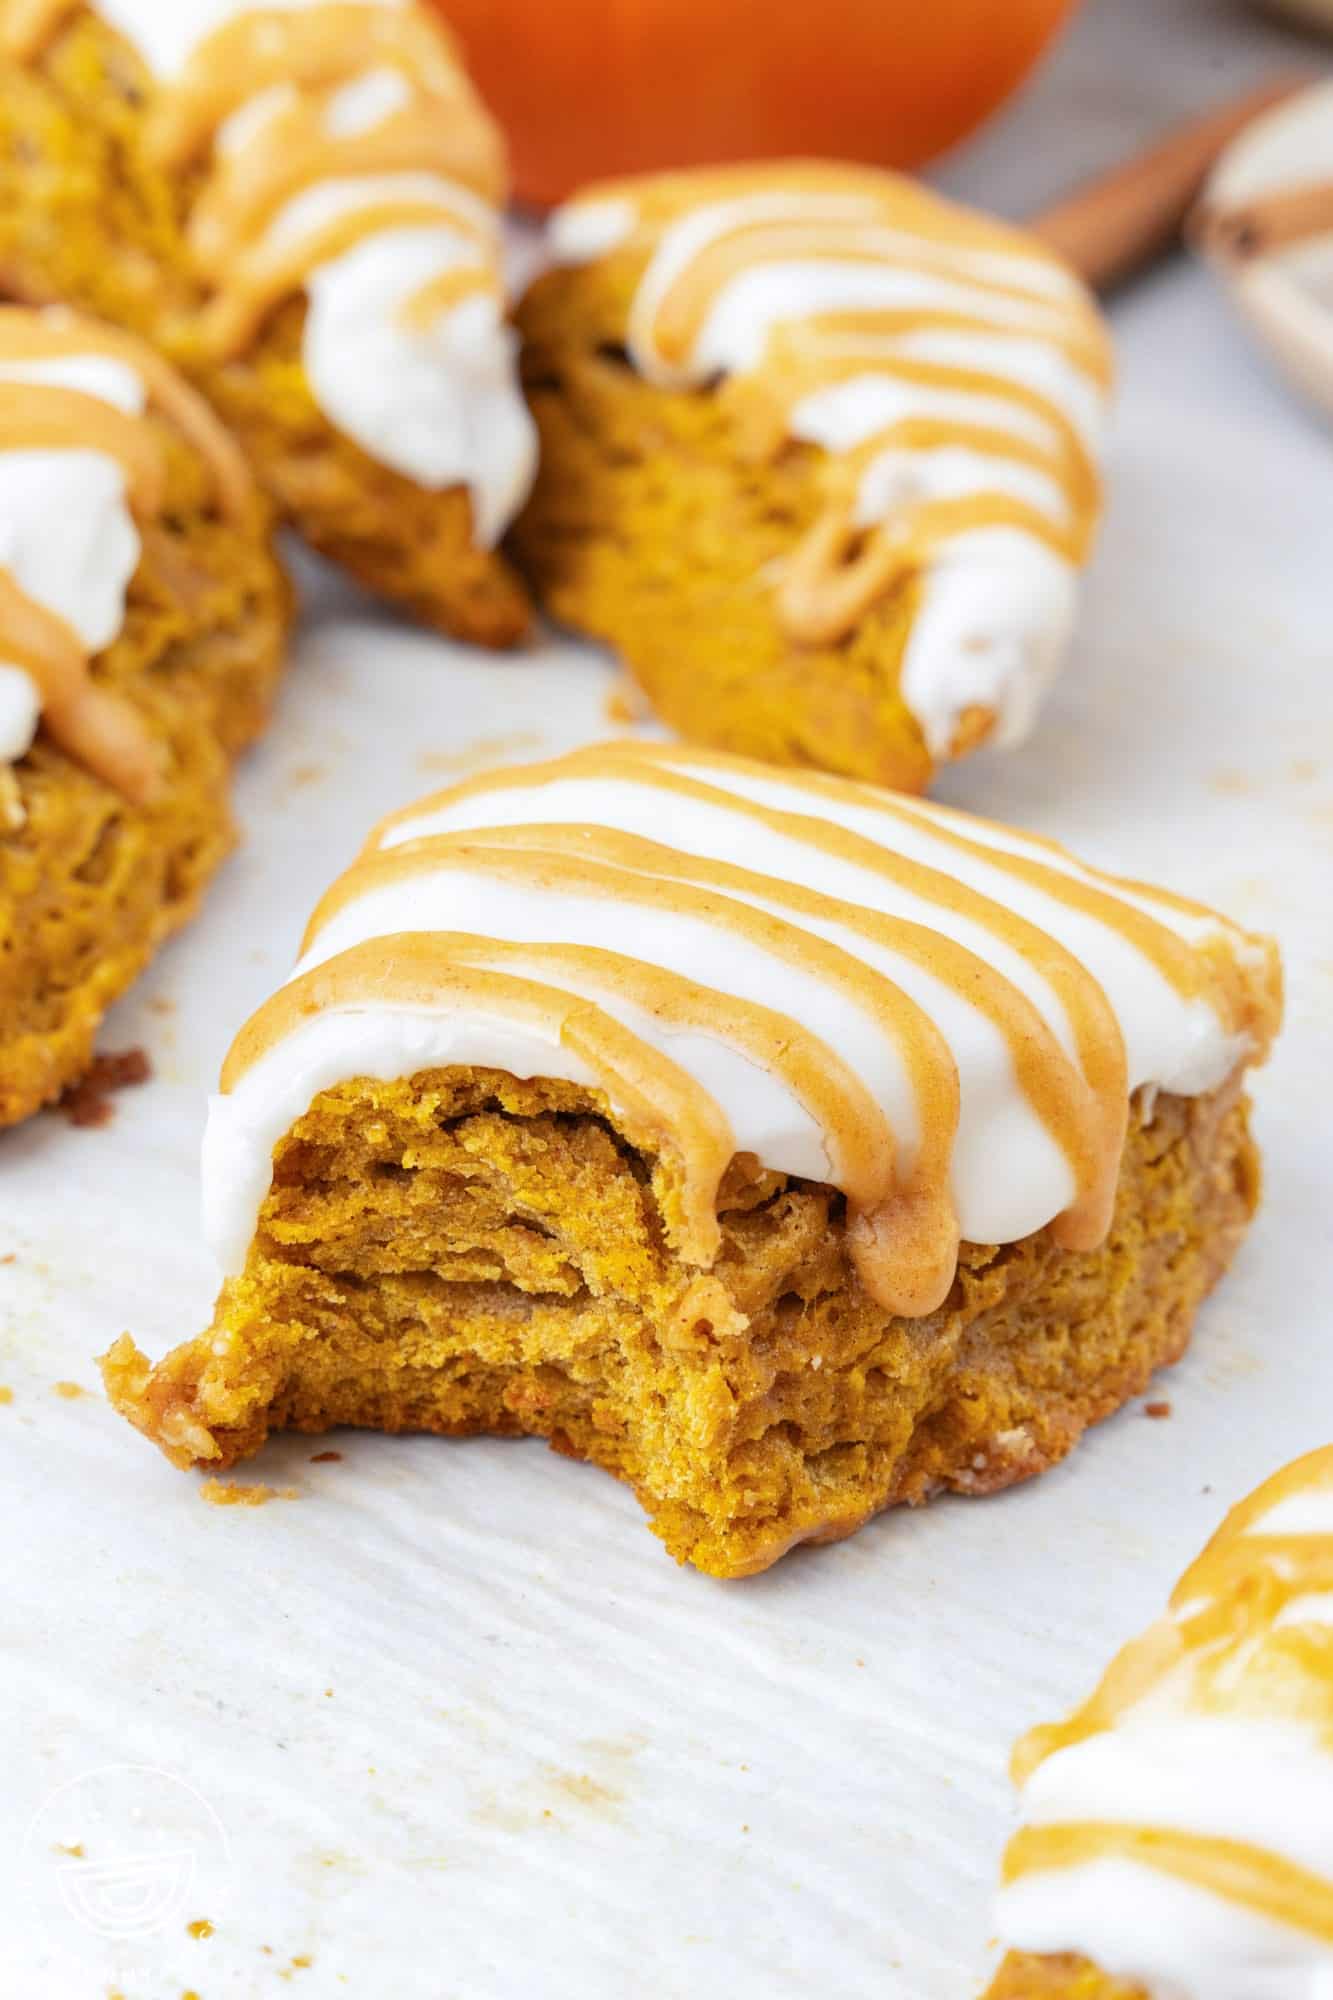
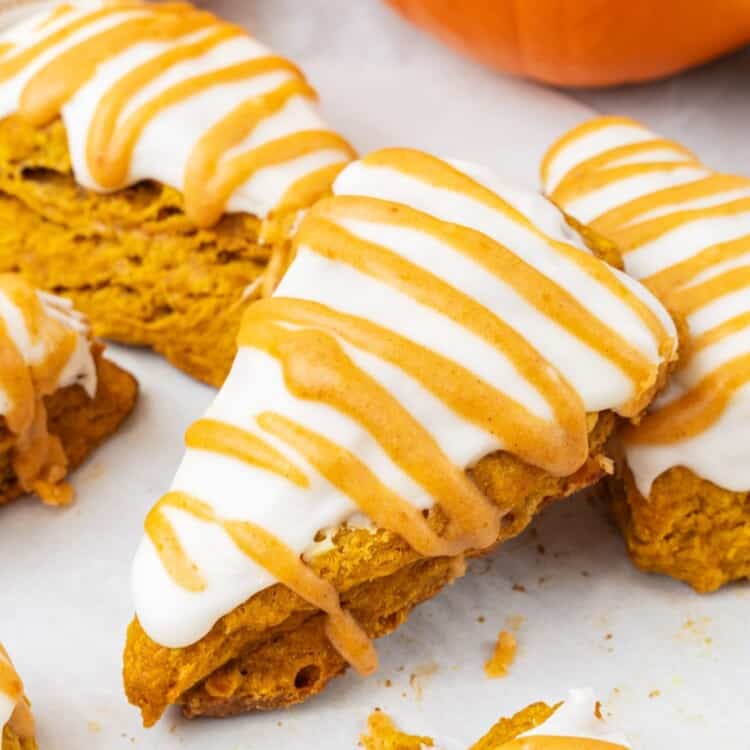
These moist, soft cinnamon pumpkin scones are topped with a sweet and spiced glaze that makes them absolutely irresistible. You might already know by now that Starbucks has removed pumpkin scones from its fall menu. What! How dare they!? If you’re disappointed with that decision, don’t be! This recipe for pumpkin scones is just like Starbucks, but it tastes even better because it’s homemade. A Starbucks Pumpkin Scone is the perfect sweet treat to go with a pumpkin spice latte or a warm chai tea. Enjoy a scone for breakfast, or save it for an afternoon pick-me-up or after-school snack. Scones are fun that way because they’re delicious any time of the day! Be sure to try my easy recipe for Strawberry Scones too. They’re packed with real berries and super simple to make. My Cranberry Orange Scones are another fall favorite that you can try next! Tina
Why You’ll Love This Recipe
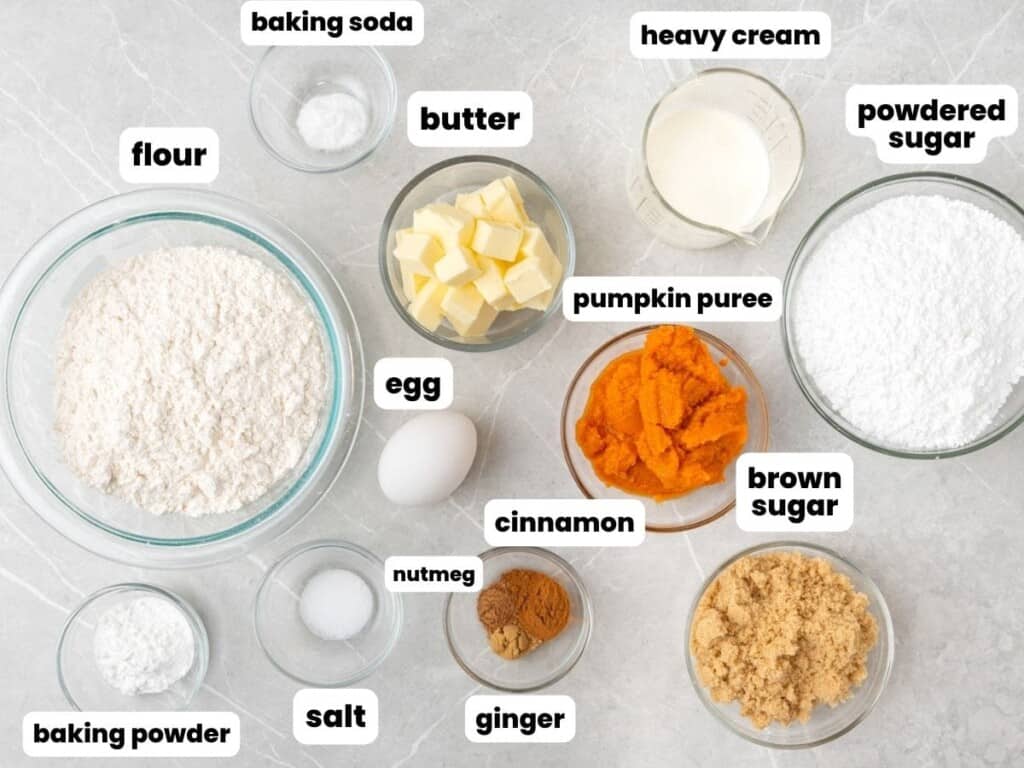
Key Ingredients
Here’s what you need to make these copycat Starbucks pumpkin scones:
Butter: This is what will make the scone dough flaky and tender. Use cold, unsalted butter that is cut into small cubes. Egg: Allow your egg to sit on the counter for 20 minutes or so before mixing up the scones. A room-temperature egg will mix more easily into the dough. Baking Powder and Baking Soda: This gives the scones a nice bit of lift. Pumpkin Puree: Use pure pumpkin, and be careful not to accidentally pick up canned pumpkin pie filling. These two are usually next to each other on the shelf and are easy to confuse! Sugar: Brown sugar adds the best kind of sweetness to pumpkin spice desserts, and powdered sugar is the base of our sweet, thick scone glaze. Heavy Cream: This adds moisture to the scones and more cream is brushed over them just before baking to promote browning. Spices: Cinnamon, Nutmeg, and Ginger at the amounts listed in the recipe card give these scones the perfect copycat Starbucks flavor! You can also use pumpkin pie spice if that’s what you have on hand.
Complete list of ingredients and amounts can be found in the recipe card below.
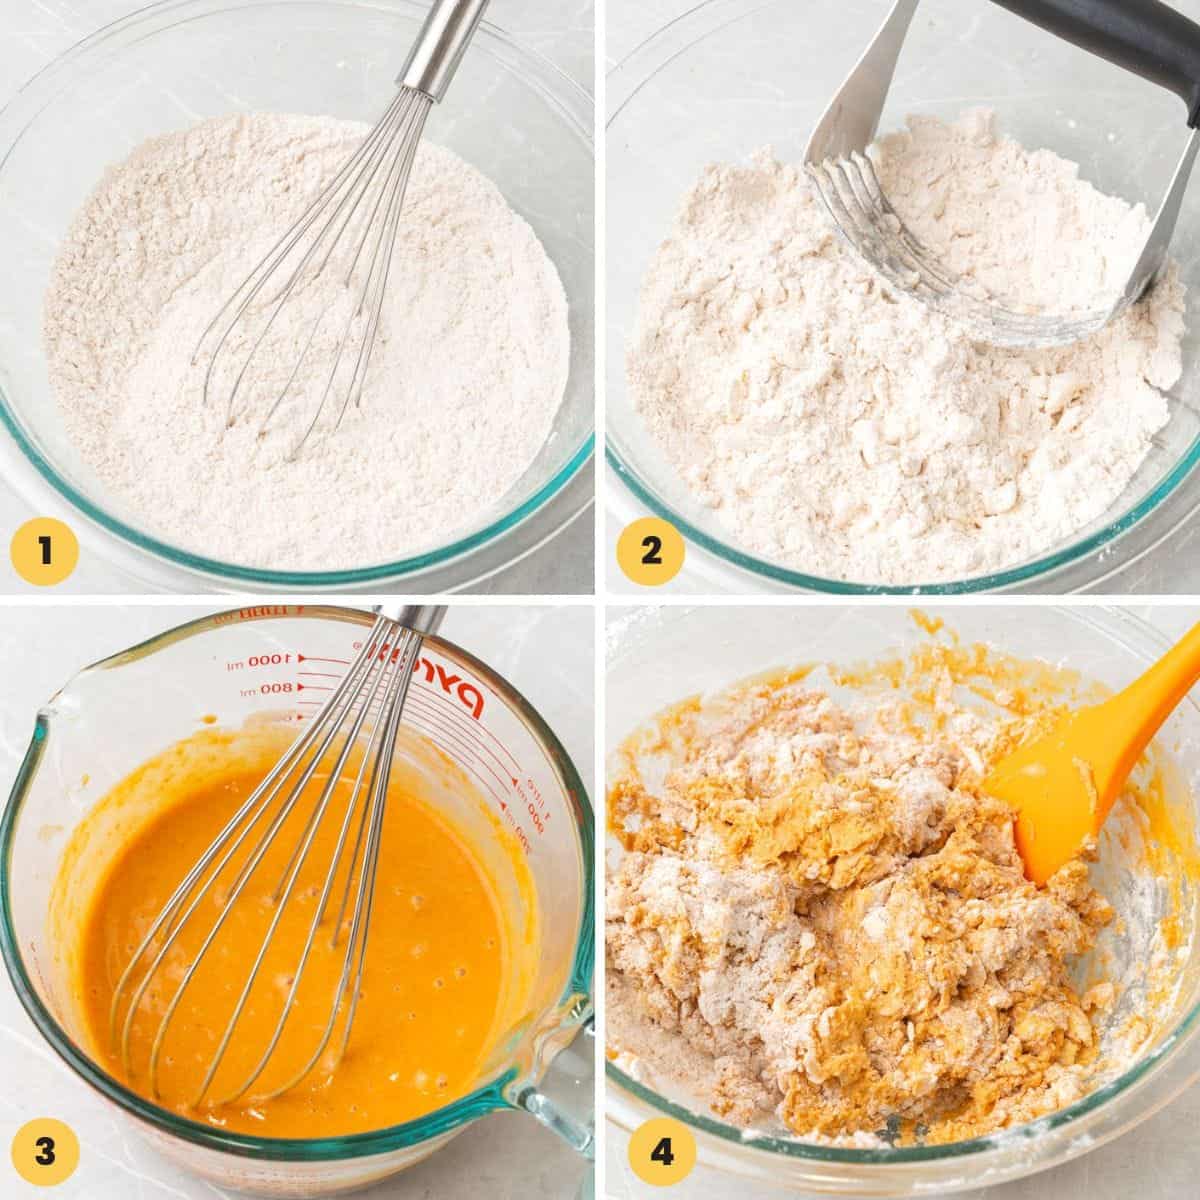
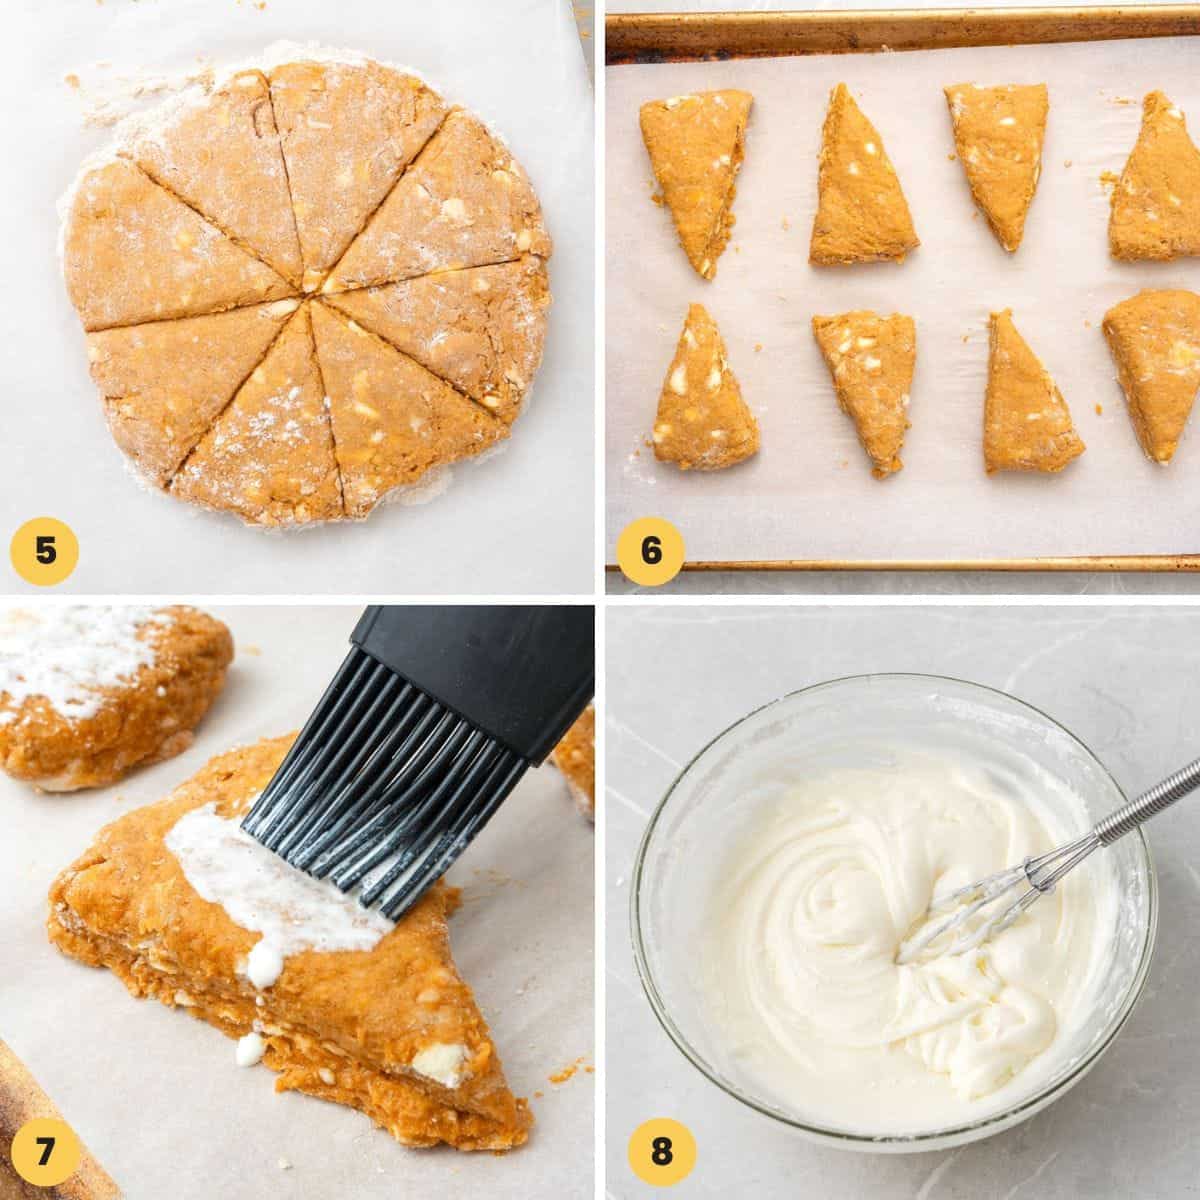
How To Make Starbucks Pumpkin Scones
Recipe Tips
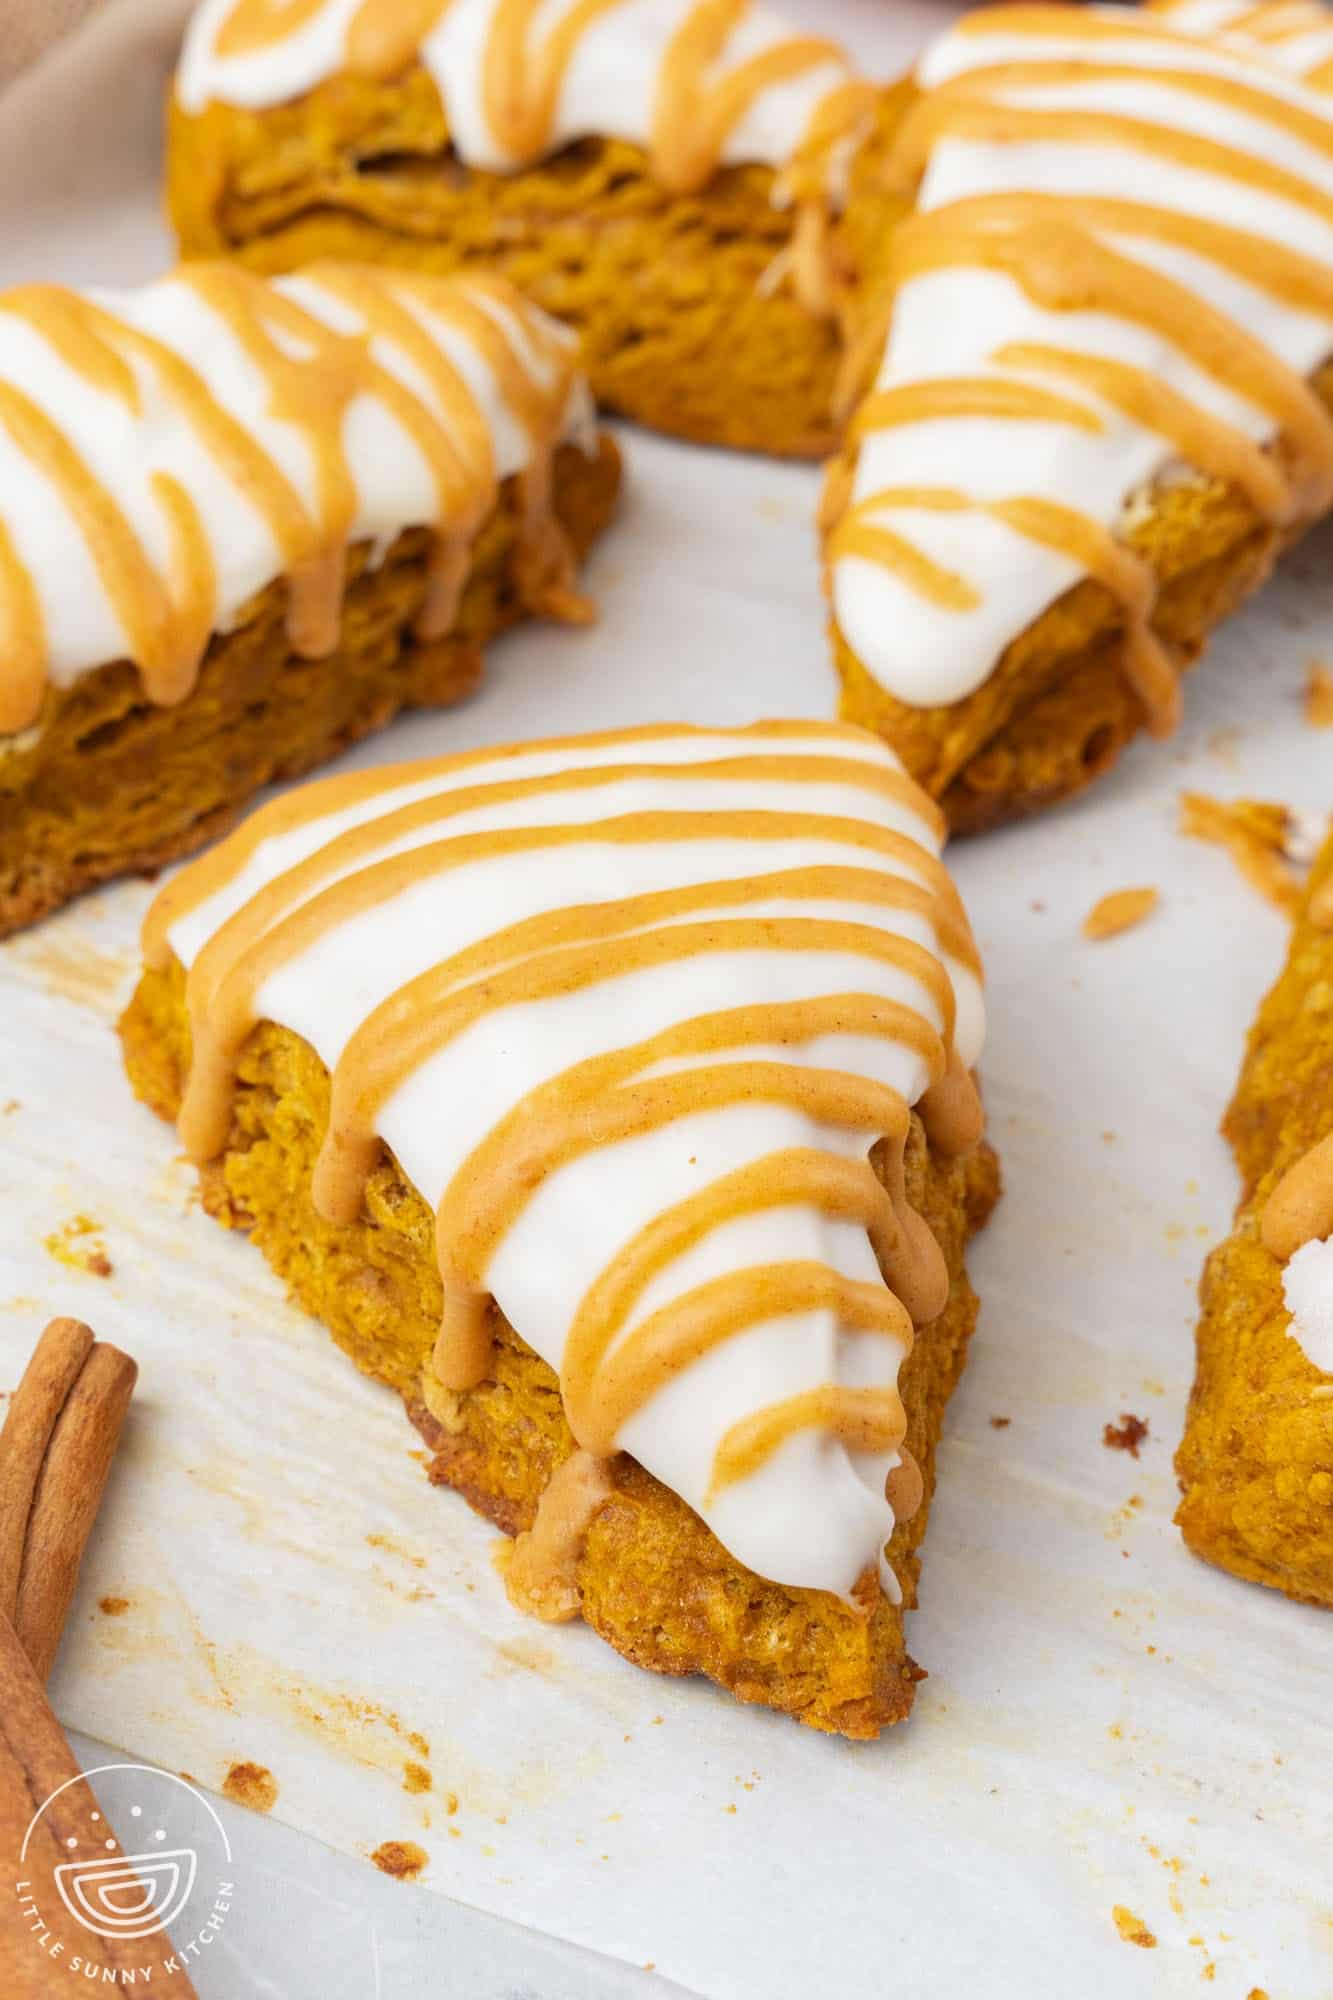
Use Cold Butter: Similar to pie crust and pastry recipes, cold butter is coarsely mixed in with the flour to create a flaky, tender baked good. Don’t Overmix: You want to mix the ingredients for the scones very gently, and only until they are combined. Overmixing will leave you with tough, chewy scones. Try Other Shapes: While triangle-shaped scones are classic, you can just as easily cut the dough into squares or rectangles too.
Storing Tips
Try to eat your pumpkin scones right away – they are best when they’re fresh! Leftovers can be stored in an airtight container at room temperature for up to 2 days though if needed.
Can I Freeze Pumpkin Scones?
Yes! Allow the icing on the scones to set completely, then freeze the scones in a single layer on a baking sheet for an hour. Once firm, wrap each scone individually and freeze for up to 2 months. Allow the scones to thaw in the fridge overnight and enjoy!
Can I Freeze Scones Before Baking?
Scone dough freezes very well. Follow the pumpkin scone recipe up until the point where you cut the scones into wedges. Place the raw scones on a baking sheet, freeze until solid, then transfer to a freezer bag or container. The scones will keep this way for up to 1 month. To bake frozen pumpkin scones, thaw them overnight in the fridge and then bake as directed! Make your own copycat Starbucks Pumpkin Scones with this simple and delicious recipe! Don’t forget to Pin the recipe so more pumpkin lovers can find it too. © Little Sunny Kitchen