Facebook | Pinterest | Instagram This is Edison, my 4-year-old, with his cherub face shining. I look over at the bed, and he has indeed done a total B+ job making it, not bad for a lil pipsqueak. Seeing my delight, he immediately moves in. “Can I watch Bluey??” EXCUSE ME. Does anyone know a church that offers midweek Sunday School. Because this kid needs some lessons. Once a week isn’t enough. 🤣 Just kidding, I love my church, I’m guessing I’m the problem here!! Who’s raising these animals anyway?? I had to break it to him… “Mitul, those are not energy bars, they are full of sugar and peanut butter, so sorry!!” And he was like, well I felt really energized after eating them so I’m going with it. Ha! Respect, Mitul. The things we tell ourselves right. Have you ever tried Lunch Lady bars though?? You will be willing to tell yourself whatever story you can come up with to justify making these again and again. My friend Stacy made these for my daughter’s church activity a couple months ago on a random Thursday. I tried one bite, and knew my life would never be the same. Ok maybe that’s dramatic, but you know when you try something someone made and you just KNOW it’s going to become a part of your permanent repertoire? I immediately asked for the recipe and made them myself at home within 24 hours. Stacy, you will always be my Lunch Lady and I love you forever for sharing!!
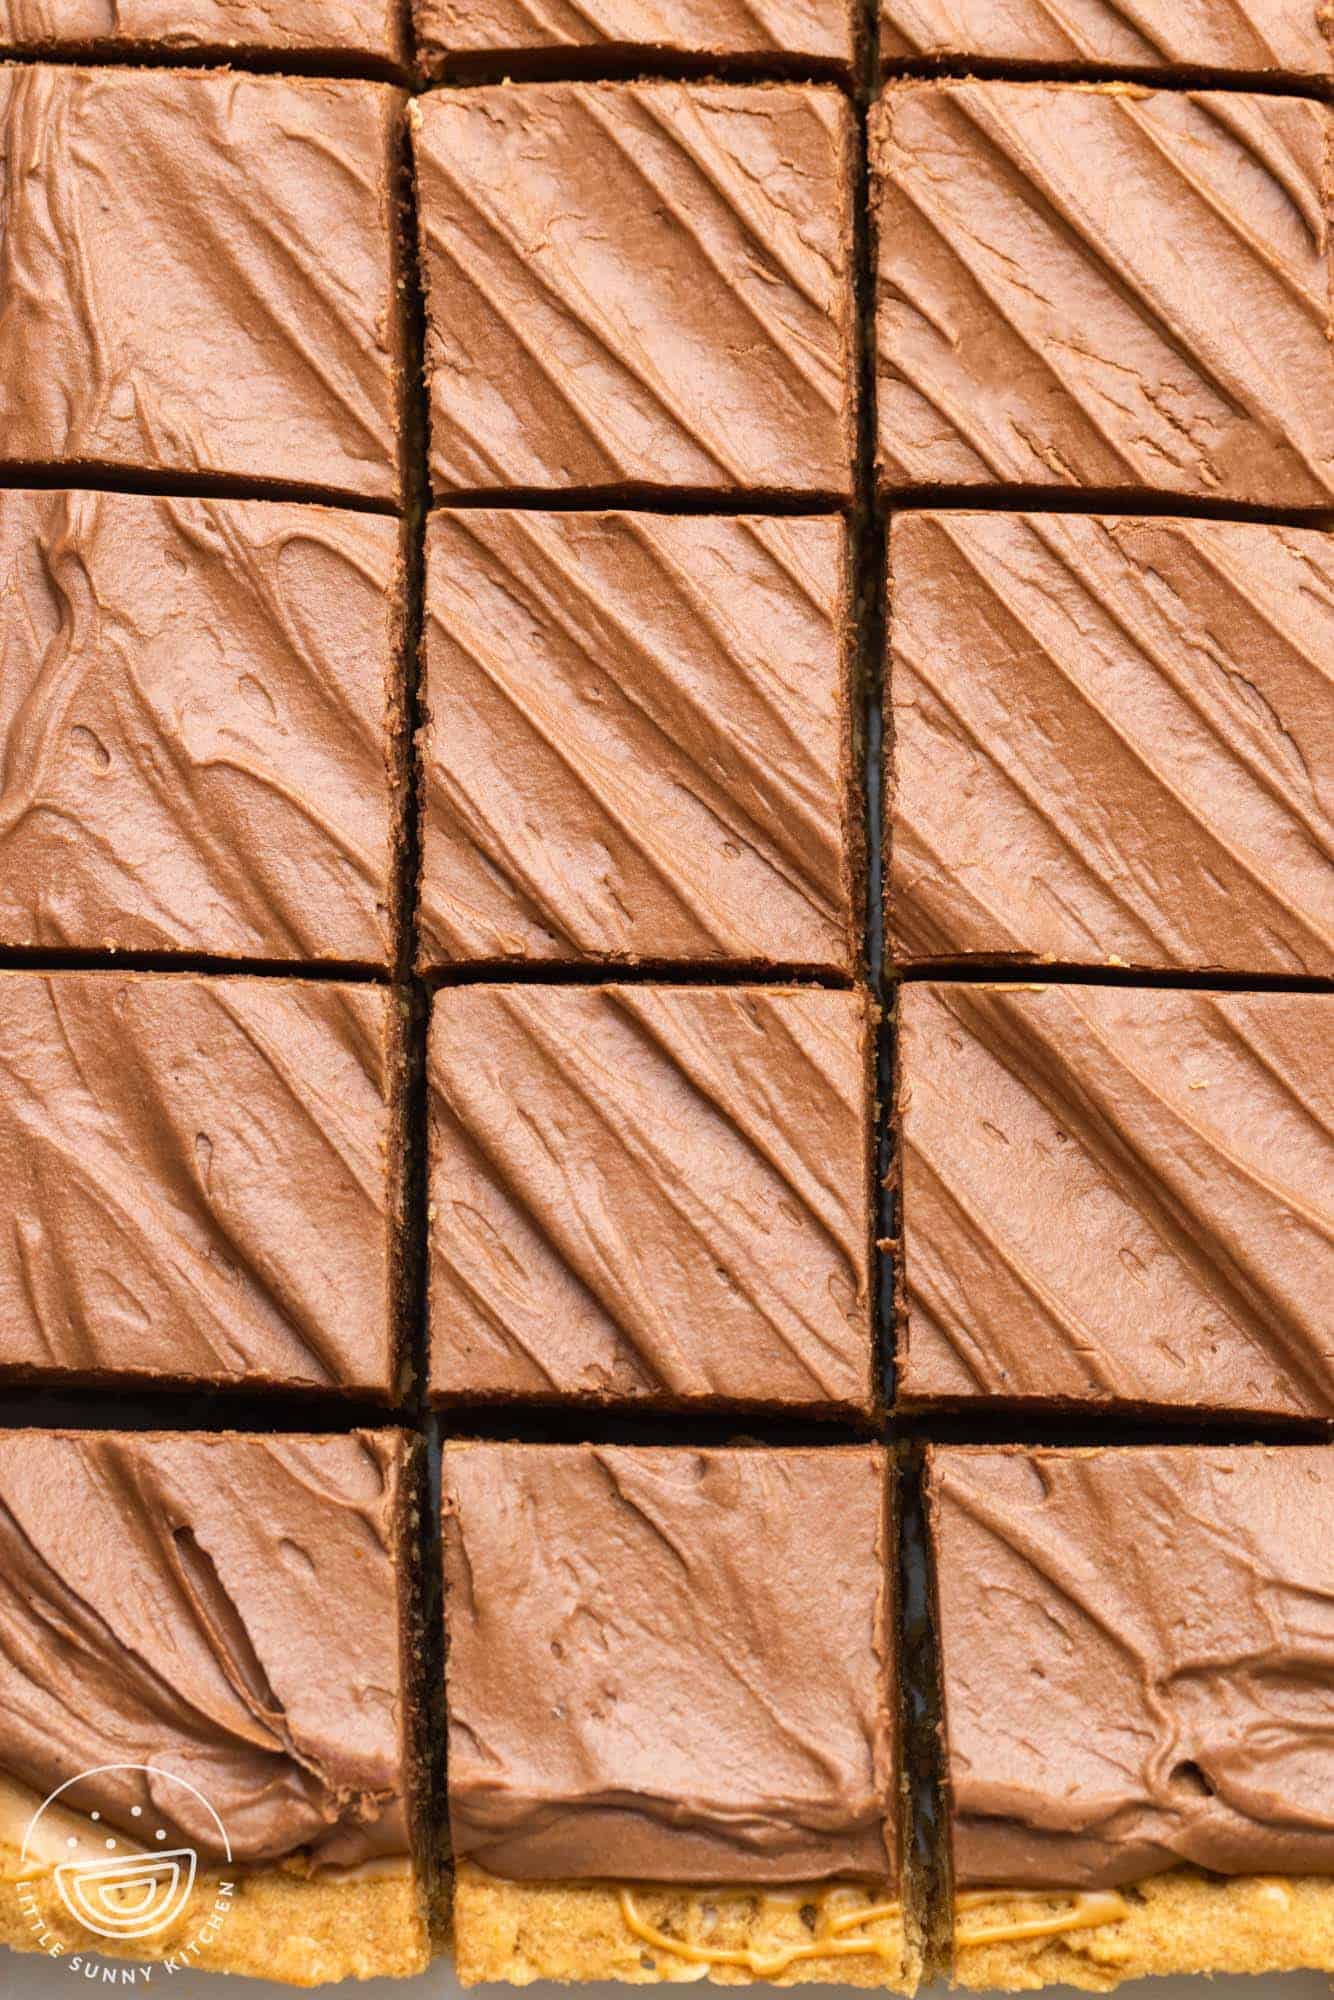
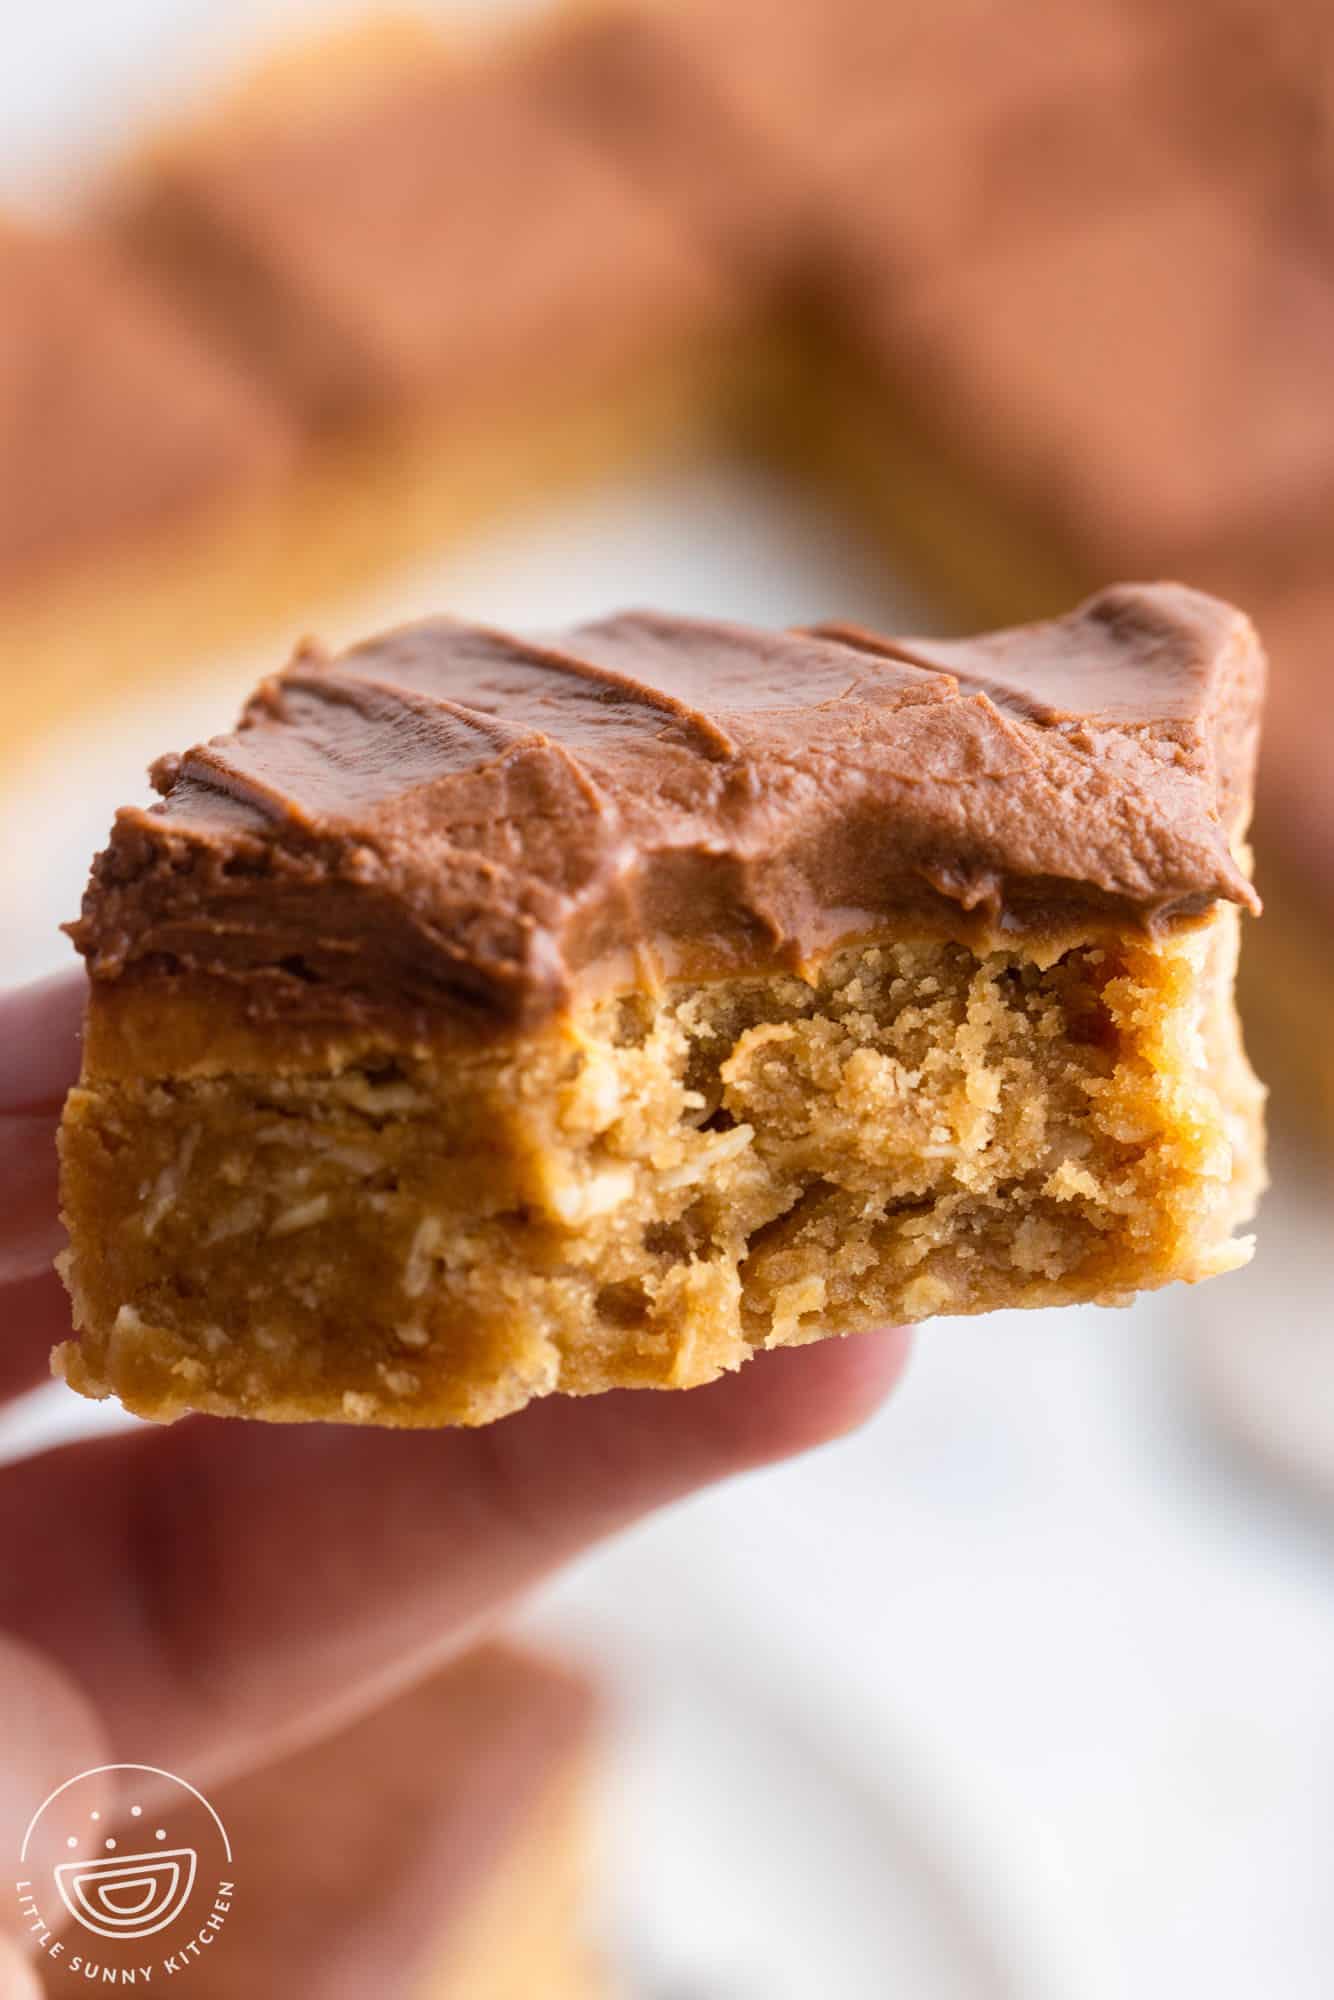
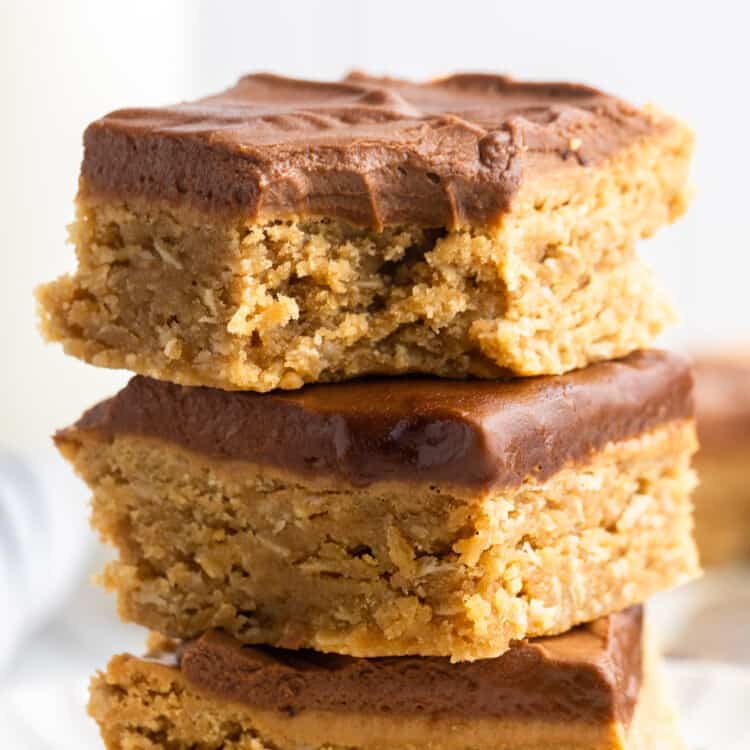
We start off with a thick, chewy oatmeal peanut butter base, using quick oats and old-fashioned oats for the BEST texture. It’s basically like these PB Oatmeal Cookies (fan fav) but in bar form. Then, a layer of straight up peanut butter. You are vindicated for all those times you stuck your spoon directly into the peanut butter jar for a “snack”. You’re no fool. Peanut butter = frosting, now we know. THEN we go and top it with a rich, creamy chocolate frosting with a special ingredient, sour cream, to add tang, fullness, and creaminess! It’s exactly like my frosting for Texas Sheet Cake. It’s crackly and rich and perfect.
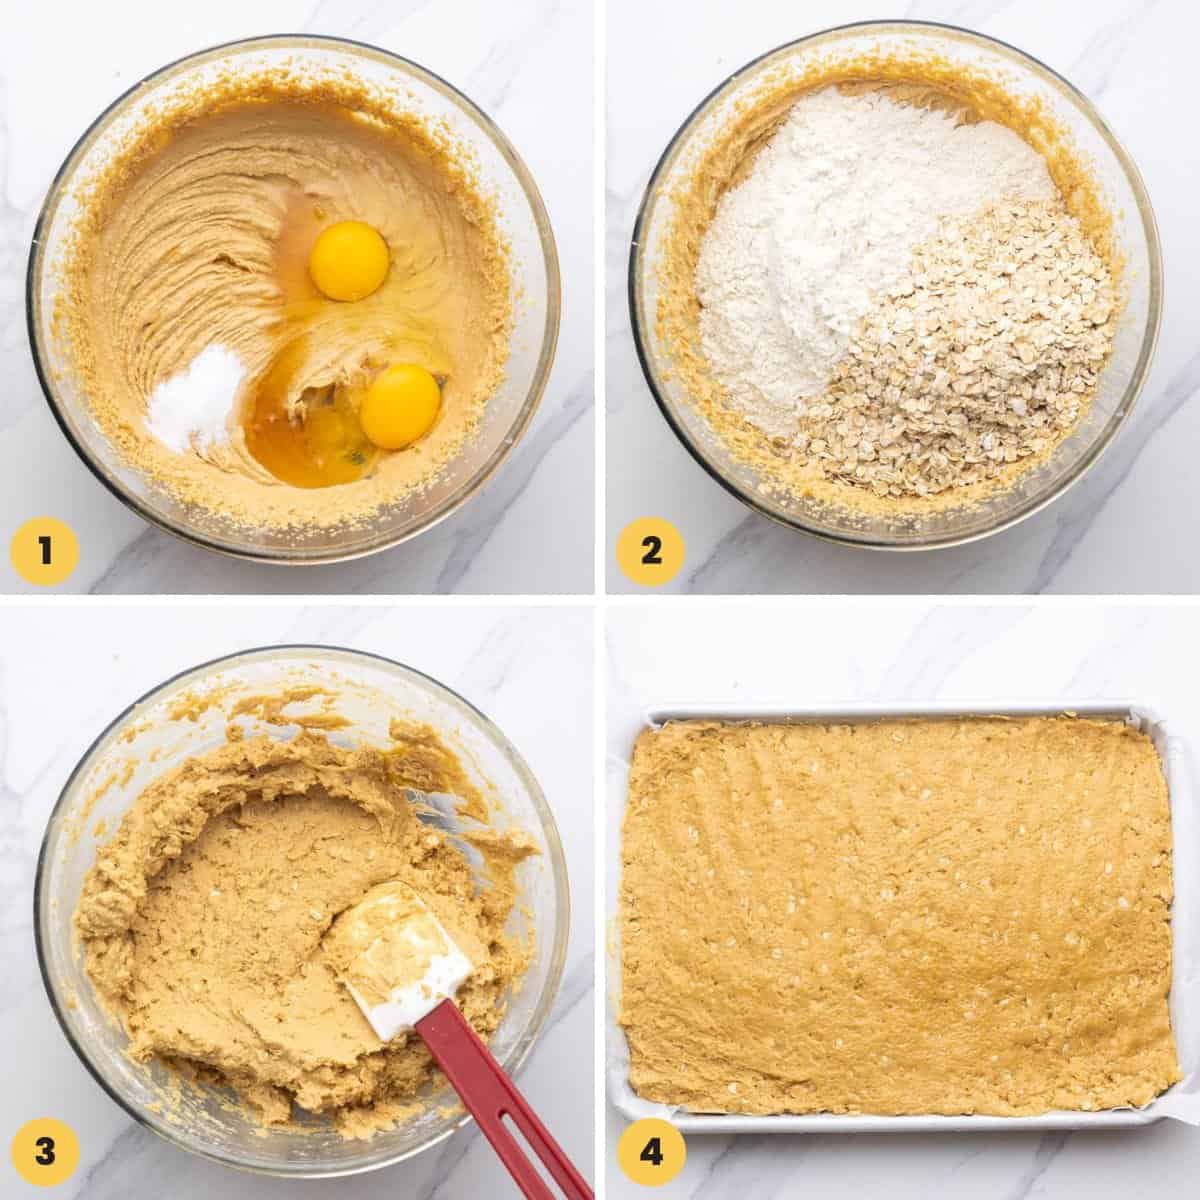
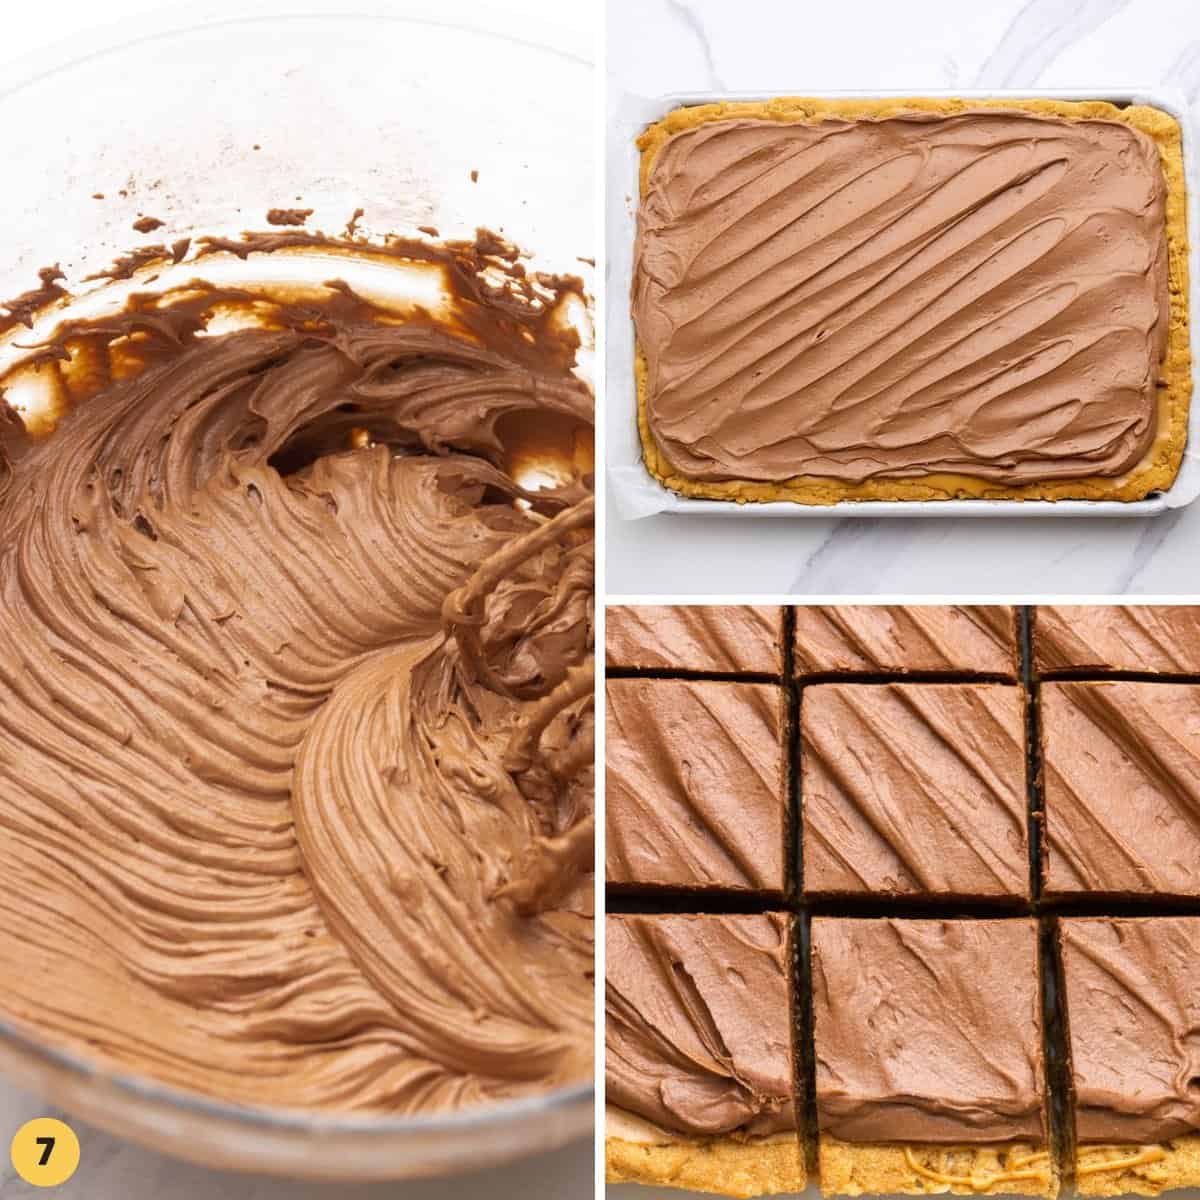
Add it all up, and somehow, magically, the whole is greater than the sum of its parts. We are going full Greek philosophy here. I really do think that Aristotle was referencing the peanut butter/chocolate combo when he said that. You will NOT be able to stop eating these. I read recently that dopamine is not really a happiness chemical. It’s a “give me MORE” chemical. Lunch lady’s got it in spades. I like to beat the butter and sugars together before adding the peanut butter. I find that when I beat the butter and peanut butter together first, sometimes I end up with butter lumps, especially if my butter was not perfectly softened. So butter, sugars, THEN peanut butter. Add the eggs and vanilla: Get a little buddy to help you with the mixing! Edison’s in that stage where you tell him to smile for a picture and he has no idea what to do with his face, so he starts screaming and jumping and flailing his arms. Anyone with a 4-year-old can relate I think 🤣 Add in your flour and oats, as well as the salt and baking soda. Mix up those dry ingredients! And then, here is the dough all mixed, it’s pretty sticky. Scrape it onto a parchment lined sheet pan. Get your hands a little wet and press the dough into the pan, or fight with your spatula, you do you. And bake for about 15 minutes, it doesn’t take long. Then, bust out your Jif. I don’t care if you pronounce it jif of gif, we can still be friends. We’re using a full cup and a half, and melting it a bit so it spreads easy. Get your buddy to inspect your work again. Set aside the bars and let the peanut butter come to room temperature, or you could even pop them in the fridge for a few minutes. You just don’t want to chocolate frosting to swirl too much with the peanut butter. (Or maybe you do??) Now it’s time for some frosting, because one layer isn’t enough, clearly! Melt some butter and cocoa. Add in some of the powdered sugar to cool down the butter. Then add in some sour cream, vanilla, and salt. Then add in the rest of the powdered sugar. I like to beat the frosting at the end to get it really smooth, but a whisk and some elbow grease will do ya just fine. Pour it on your bars… and ta-da!! That’s it! Slice em up and call over every single one of your neighbors. This batch feeds a small army. Or be prepared to eat your weight in peanut butter bars. (No judgment. Been there done that. These are “energy bars,” right Mitul?) You can also serve these bars chilled, if you’re into that. Store covered in the fridge. I have to say, I’m normally a room temp dessert girl, but these are so moist and frosting-y and intensely rich, that chilling is a fabulous option. Make sure the seal is very tight or the bars will dry out faster than you can say glass a water. If you want to freeze the bars for longer, I suggest cutting any leftover cooked and cooled bars into individual pieces. Leave them on the sheet pan and flash freeze (freeze uncovered) for about 30 minutes or so. Once they are cold enough to not smear everywhere, wrap each individual piece in plastic wrap and add it to a ziplock freezer bag. Once full, squeeze out as much air as possible, seal the bag, and put in the freezer. Wrapped this way, the bars should last about 3 months!


![]()
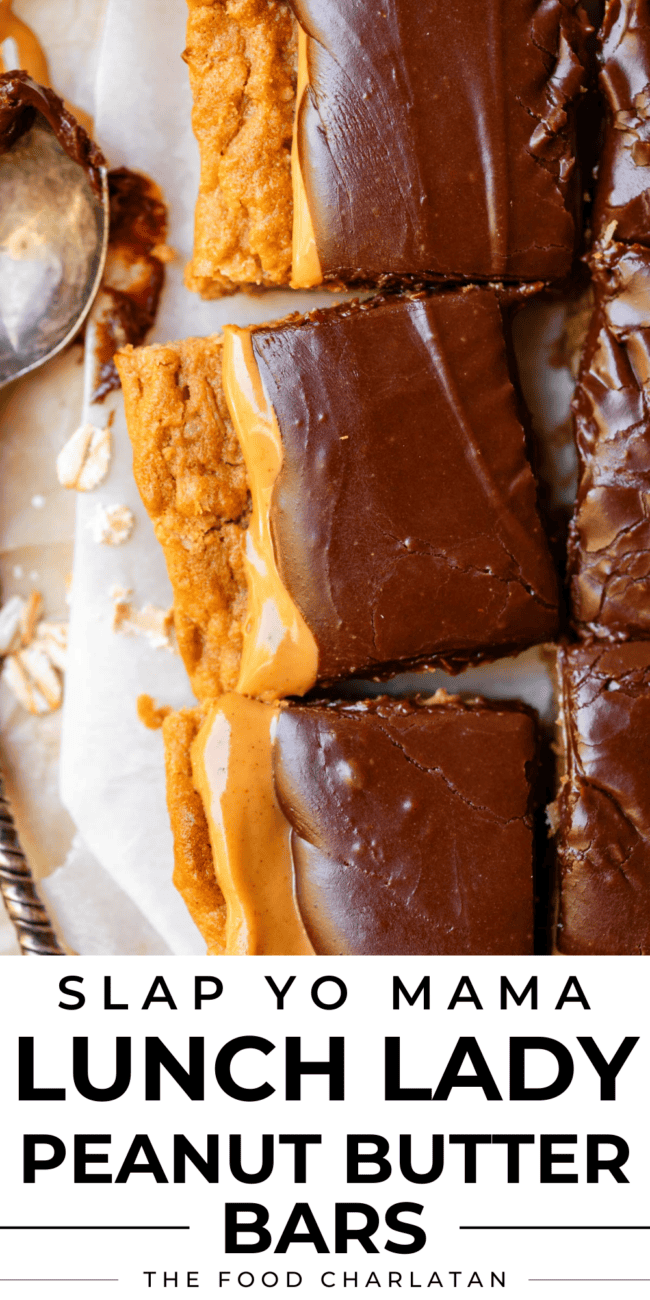


title: “Lunch Lady Peanut Butter Bars” ShowToc: true date: “2024-09-26” author: “Eric Murphy”
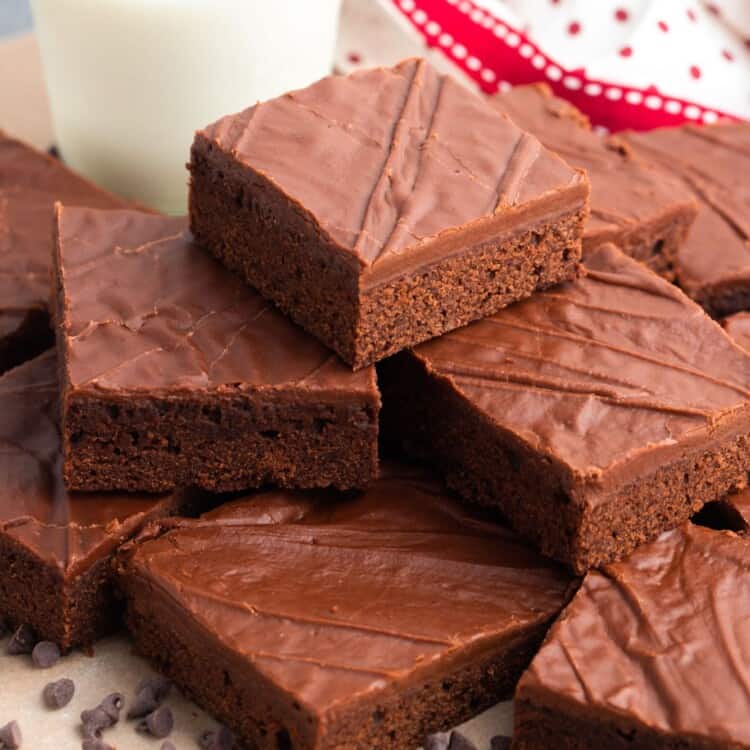
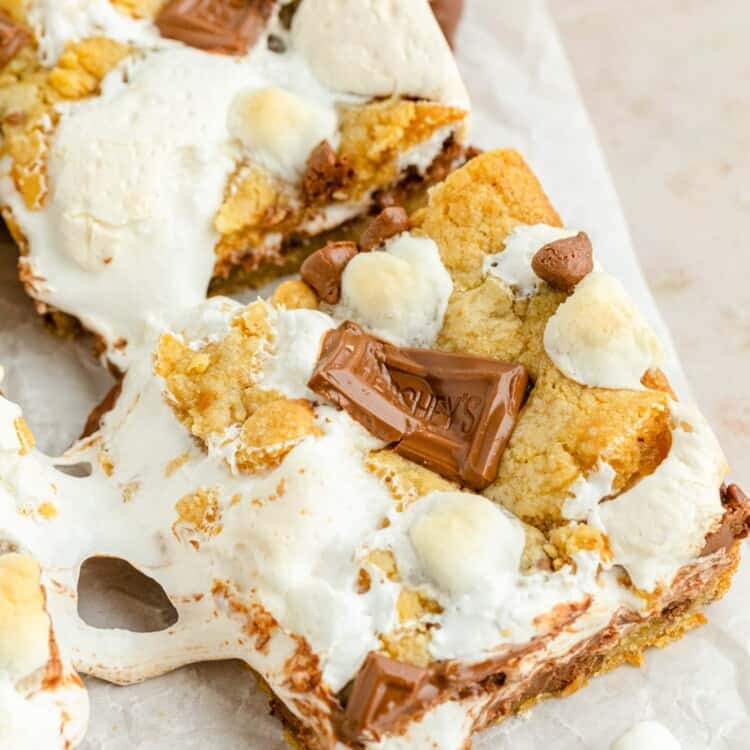
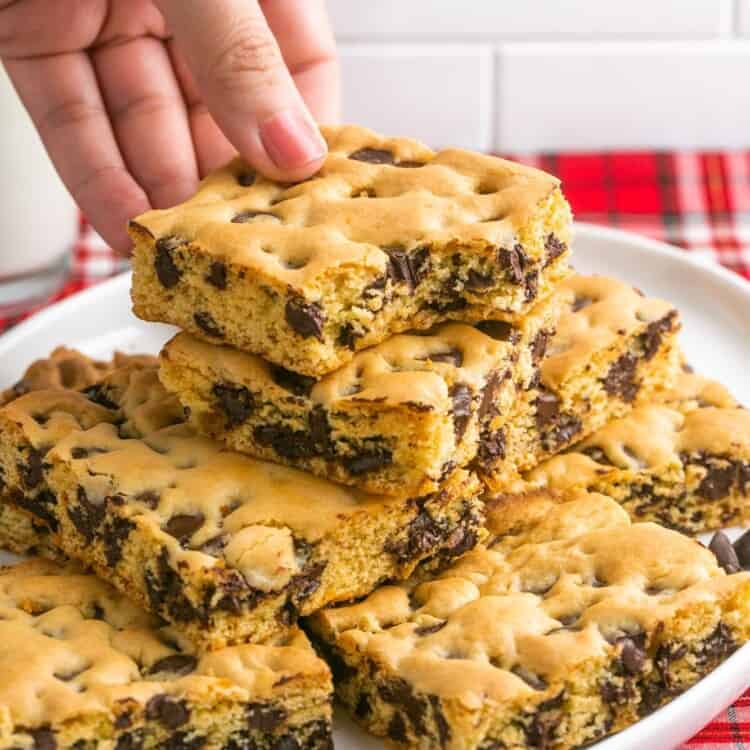
With a chewy peanut butter oat base, creamy peanut butter center, and rich chocolate buttercream topping, these cafeteria-style peanut butter chocolate bars are the best, and so simple to bake. I don’t really know what kind of desserts they serve in school nowadays, but back in the day, the school cafeteria was known for having the best desserts! Lunch Lady Brownies, Lunch Lady Peanut Butter Cookies, and these Chocolate Peanut Butter Bars all get their name from the wonderful people who used to bake them for us. Those ladies really knew what they were doing! If you’re a big fan of chocolate and peanut butter together, you’re in luck! I have plenty of other sweet treats for you to make. My Chocolate Peanut Butter Oatmeal Bars are a no-bake recipe that comes together quickly and easily. There’s also Buckeye Brownie Cookies, Peanut Butter Pie, and snackable Peanut Butter Pretzel Bites.
Why You’ll Love This Recipe
Key Ingredients
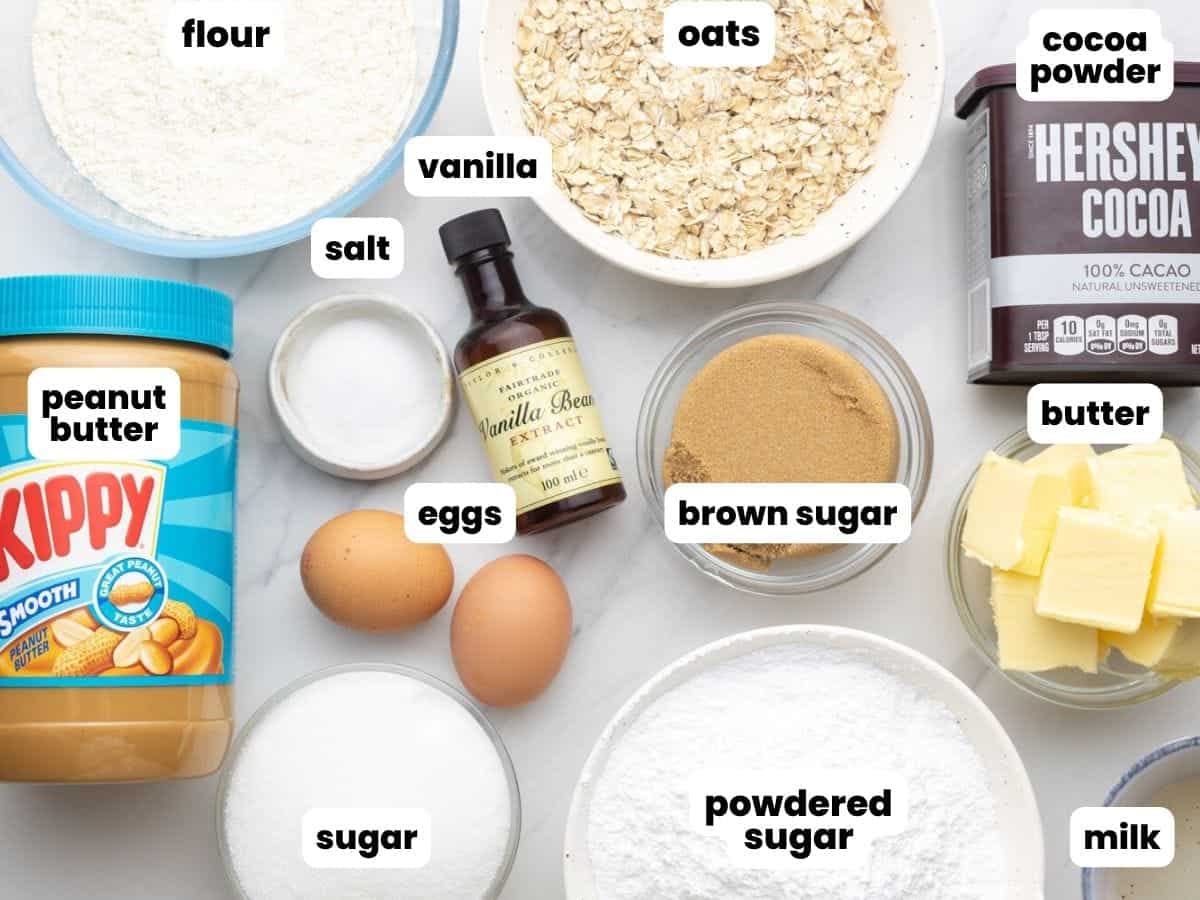
Here’s what you need to make the best Lunch Lady Peanut Butter Bars:
Rolled Oats: The cookie base for these bars includes old-fashioned oats. Oats give the bars a chewy, wholesome texture. Peanut Butter: Choose traditional smooth peanut butter for this recipe, rather than all-natural versions. Brown Sugar: Both granulated sugar and brown sugar go into the cookie recipe. Brown sugar helps to keep the bars moist and chewy, while regular sugar allows the outside edges to get crispy. Butter: Choose unsalted butter for baking. You’ll need melted butter for the base and softened butter for the frosting. Cocoa Powder: To make a simple and delicious chocolatey buttercream.
Complete list of ingredients and amounts can be found in the recipe card below.
How To Make Lunch Lady Peanut Butter Bars
Start by preheating the oven to 350°F (180°C). Grease a 9×13-inch baking pan and set it aside.
Recipe Tips
Choose the right oats: Quick or instant oats don’t have the right texture for this recipe. Be sure to use old-fashioned rolled oats for the best result. Pay attention to the chilling steps: You want the base to be mostly cooled before adding the peanut butter, and you want the peanut butter to be set before adding the frosting. Before cutting into the bars, give them at least an hour in the fridge to set and cool fully. Starting the frosting on the stove actually helps to bloom the cocoa powder, which makes the frosting extra rich and decadent. If you don’t want to do it that way, try my classic chocolate buttercream recipe instead. Try some toppings! Cover the top of these peanut butter chocolate bars with chopped Reese’s cups, chocolate chips, or sprinkles to make them extra tasty and festive.
Storing Tips
Keep your frosted peanut butter bars in an airtight container. They’ll stay at room temperature for up to 5 days.
You can also store these in the fridge for the same amount of time. They’re actually very delicious when served chilled!
Freeze individual lunch lady peanut butter bars for up to 3 months. I suggest freezing them first on a baking tray, then wrapping each bar well with plastic wrap and adding them to a freezer bag. This way they won’t stick together.
Just like you remember, these Lunch Lady Peanut Butter Bars are amazingly tasty! And even if you never at a peanut butter bar at school, you’ll be glad that you found this easy recipe.
© Little Sunny Kitchen