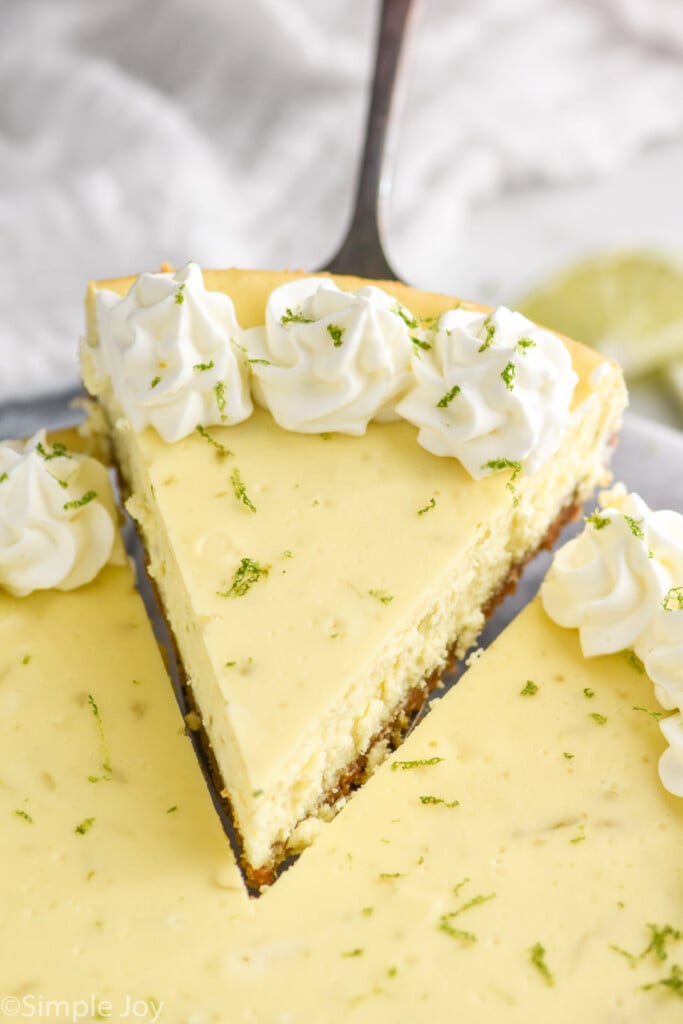
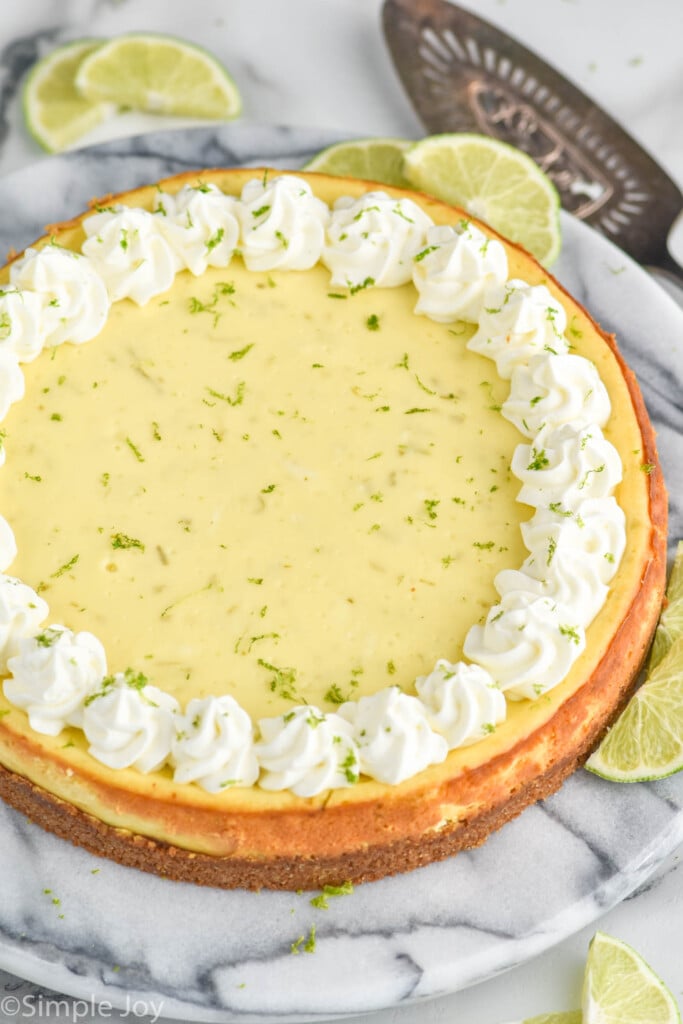
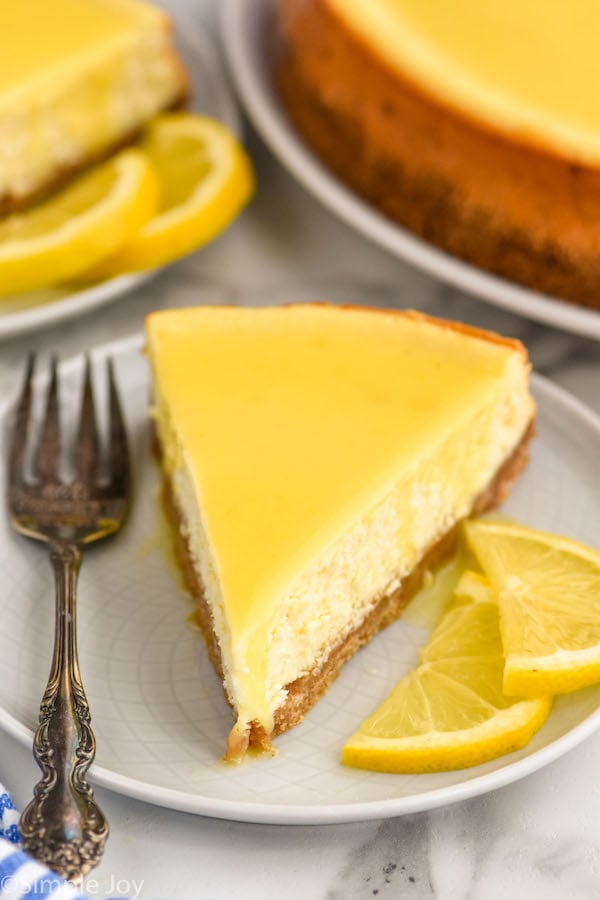
A few years ago, I was lucky enough to spend a day on Key West, and I was amazed at all the key lime flavored goodies I found. I of course tried the pie, but I found the best shortbread cookies that I still think about. From my great love of the flavor of key lime comes this delicious key lime cheesecake. It gets the perfect flavor from key lime juice and lime zest and you will be delighted by this creamy perfect dessert.
Key Lime Juice
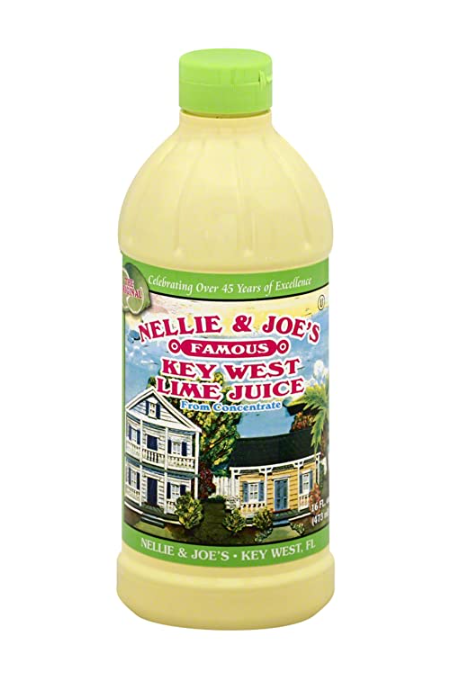
Key lime juice is a vibrant, zesty ingredient that adds a burst of tangy flavor to recipes. Derived from the small, aromatic key limes native to the Florida Keys, this juice is known for its intense citrus punch and slightly sweet undertones. It boasts a distinctively tart taste compared to regular limes, which is why it is important to use key lime juice and not regular fresh lime juice in this cheesecake to get that signature key lime flavor. Following my simple steps will prevent the top of your cheesecake from cracking without the need for a water bath! You will want to whip up homemade cheesecakes for every event because it is so easy and the end result is so impressive.
Adding flour: Just a couple tablespoons of flour helps keep the eggs from coagulating (or solidifying), which then prevents shrinking and cracking. A shorter baking time: This cheesecake is only actively baking for 35 minutes, which keeps it from drying out and shrinking, two things that can lead to cracking Leave the cheesecake in the oven: While the hands-on time for this recipe is fairly short, it is extremely important to use patience with the cooling process of your cheesecake. Leaving the cheesecake in the oven after you turn it off helps it continue to slowly cook and slowly cool. This gradual process is what sets this recipe apart. With a little patience, you will have the best homemade cheesecake ever!
How to Serve
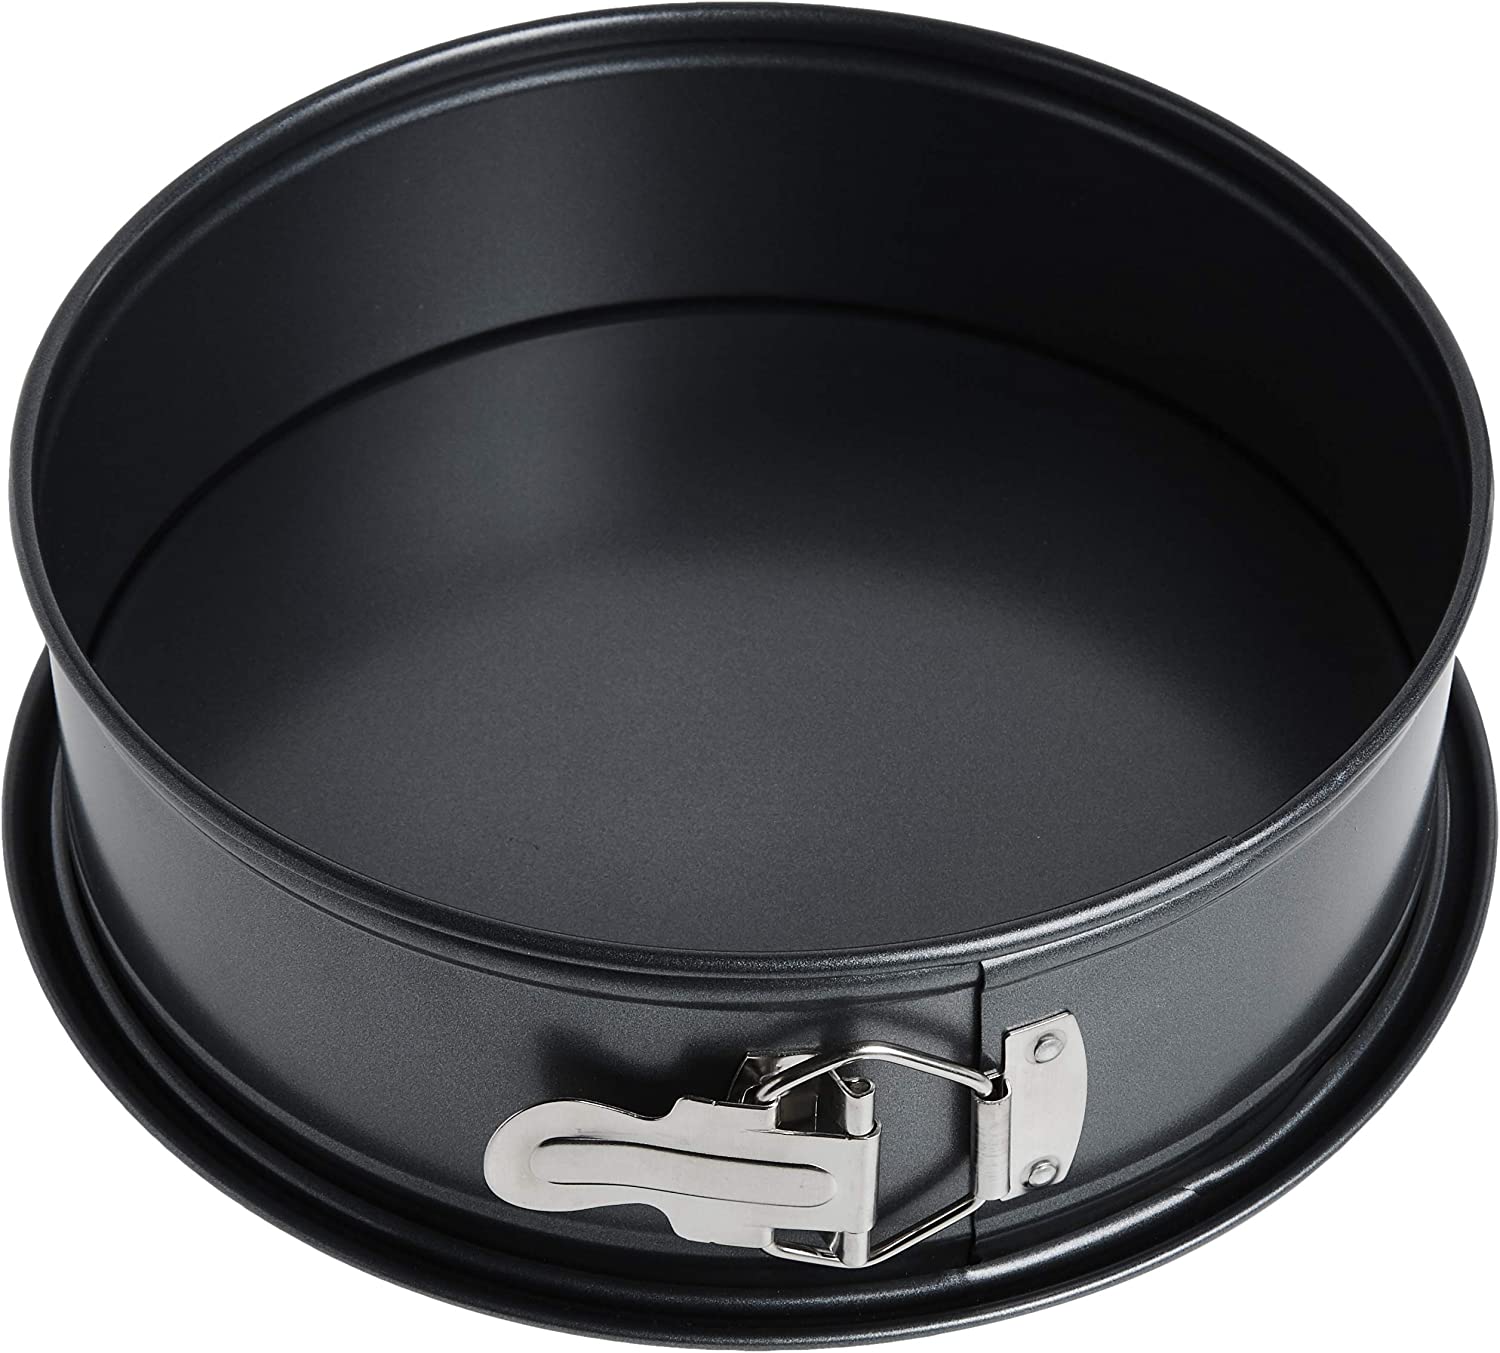
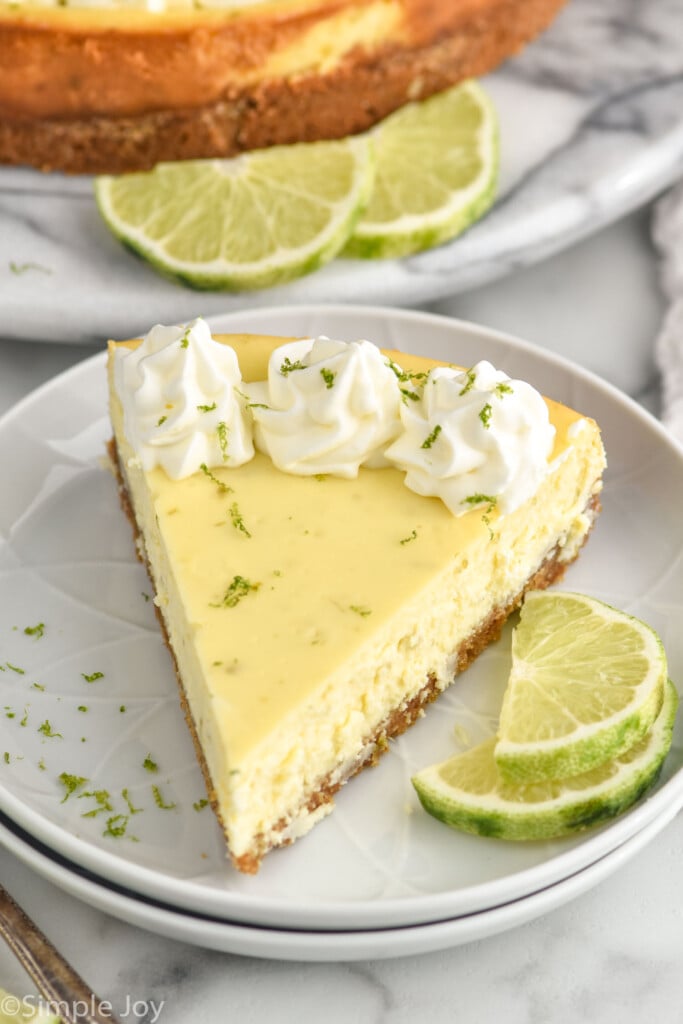
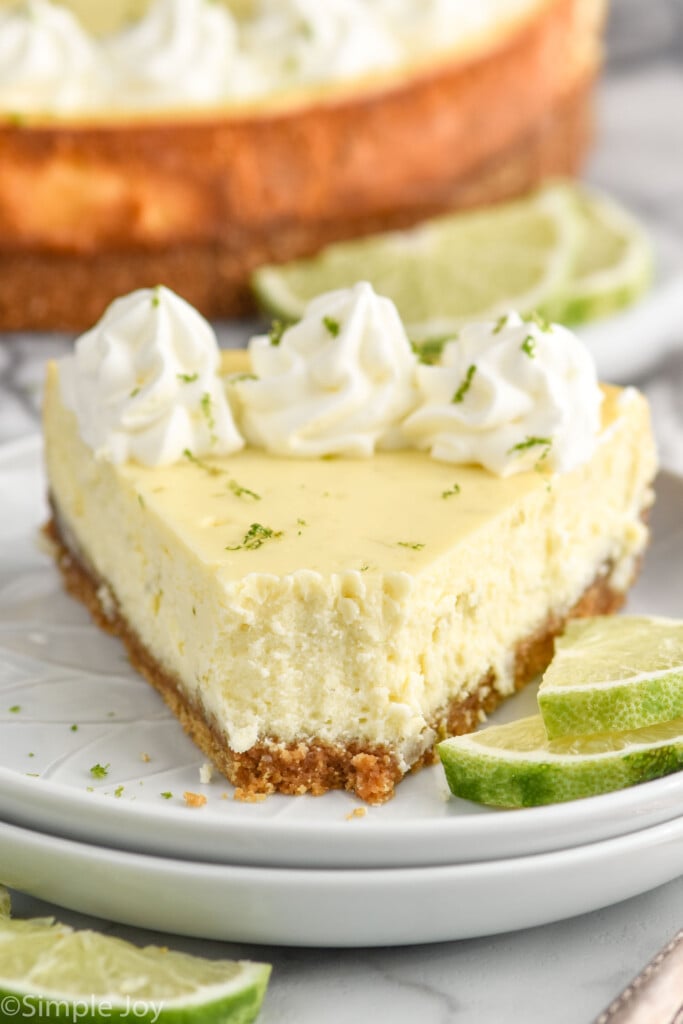
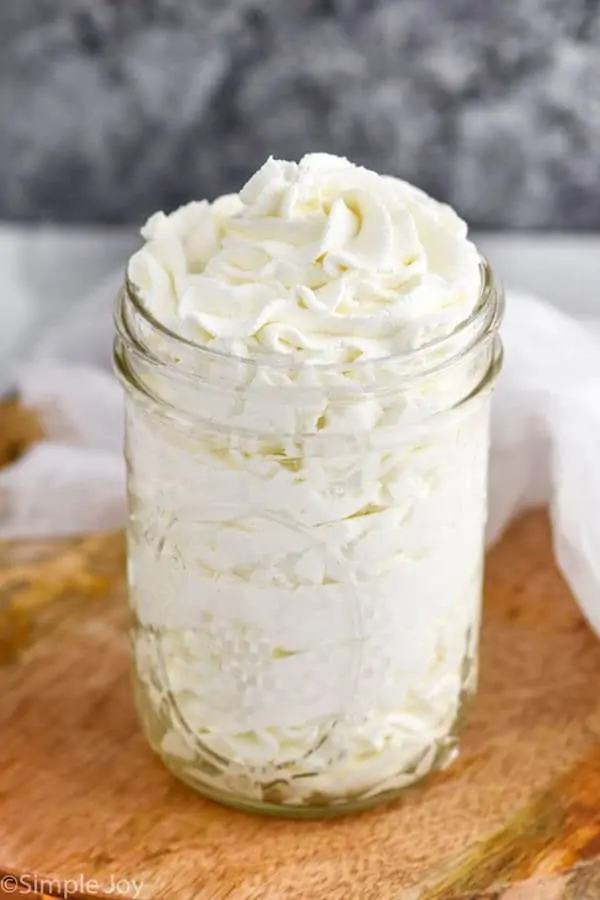
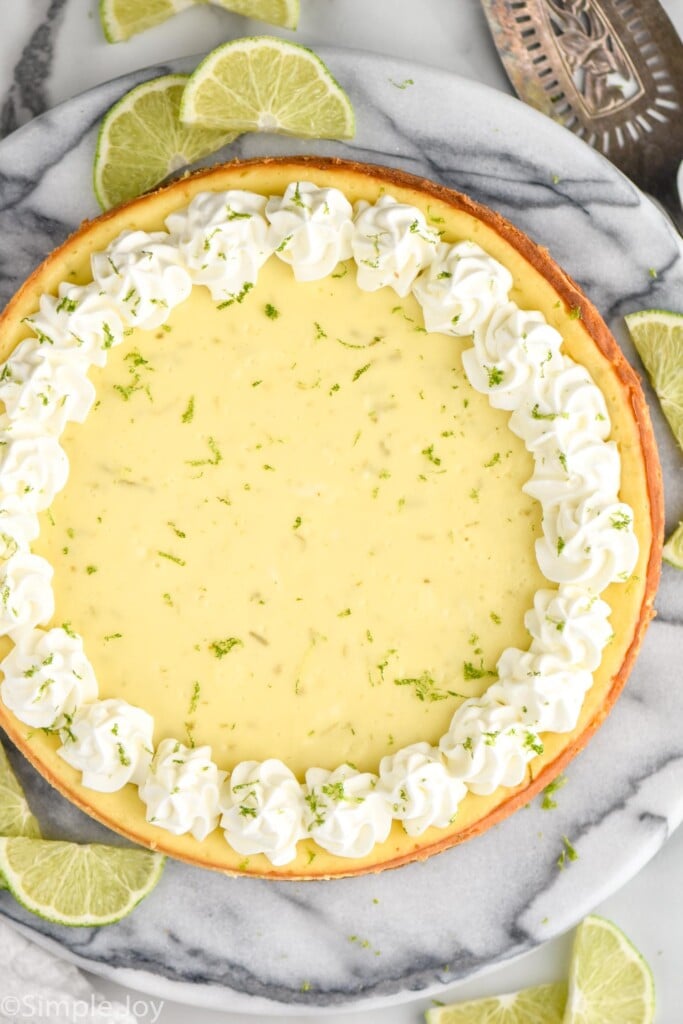
Keep your key lime pie cheesecake in the fridge until you are ready to serve. When you are ready to cut and serve your cheesecake, remove the sides of the springform pan. Garnish with stablizied whipped cream, lime zest, and lime slices. To make your cheesecake look like the pictures, pipe your whipped cream around the outside edge of your key lime cheesecake using a piping set. Then top it with additional lime zest. Slice, serve, and enjoy! When zesting a lime, you will zest the green peel just until you hit the white rind. Then, move to a different area of the skin so that you are only zesting the green areas. Choose limes that are firm and bright green. You will need two or three limes to get enough zest for this cheesecake.
Storing and Freezing Cheesecake
Leftover cheesecake should be stored in the refrigerator, covered, for up to four days. I like to store it in the springform pan that it was baked in, covered with foil. This will allow the top to stay pretty while keeping the leftover cheesecake from drying out in the refrigerator. Always use your best discretion with leftovers. If you want to freeze this key lime cheesecake, allow it to cool completely and cover tightly with foil and plastic wrap. You may want to consider slicing cheesecake before freezing so when you want to eat it you can pull out just the piece you want to eat. Store in the freezer for up to three months. You can enjoy the cheesecake right from the freezer, or allow it to thaw in the refrigerator overnight.
Other Key Lime Recipes
Key Lime Cake Key Lime Pie Key Lime Martini
If you give this key lime pie cheesecake a try, let me know by leaving a comment. It makes my day to hear from you all!