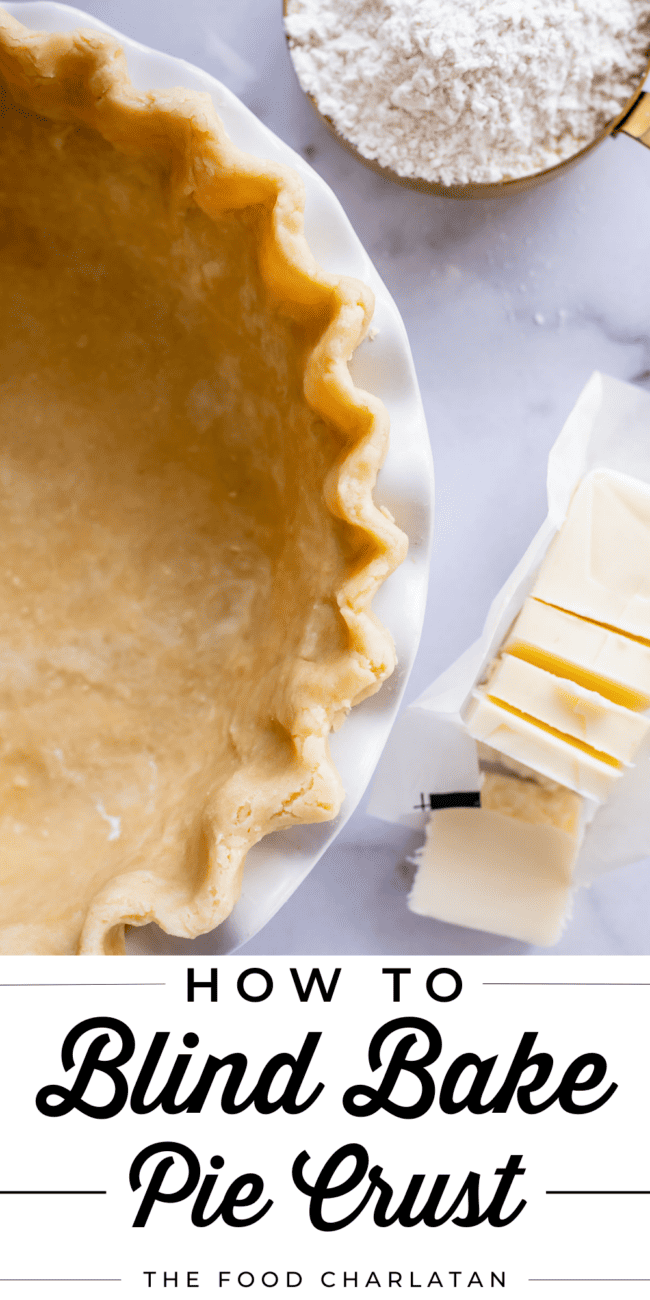
Facebook | Pinterest | Instagram Even with pie weights, my edges were always sagging. So sad! Nobody wants saggy pie! So I finally sat down to research it, baked a whole buncha pie, and came up with these great tips so that I never have to deal with slumpy pie crusts again. Bring on the pie!
What is a Par-Baked Pie Crust?
I will also show you how to par-bake a pie crust. This is when you blink bake a crust but not quite as long, for recipes that need to go BACK in the oven to finish baking. Examples include Pumpkin Pie and Sweet Potato Pie! This method ensures that you won’t end up with a soggy bottom crust, who wants that? I’m firmly in the anti-soggy-bottom-club.
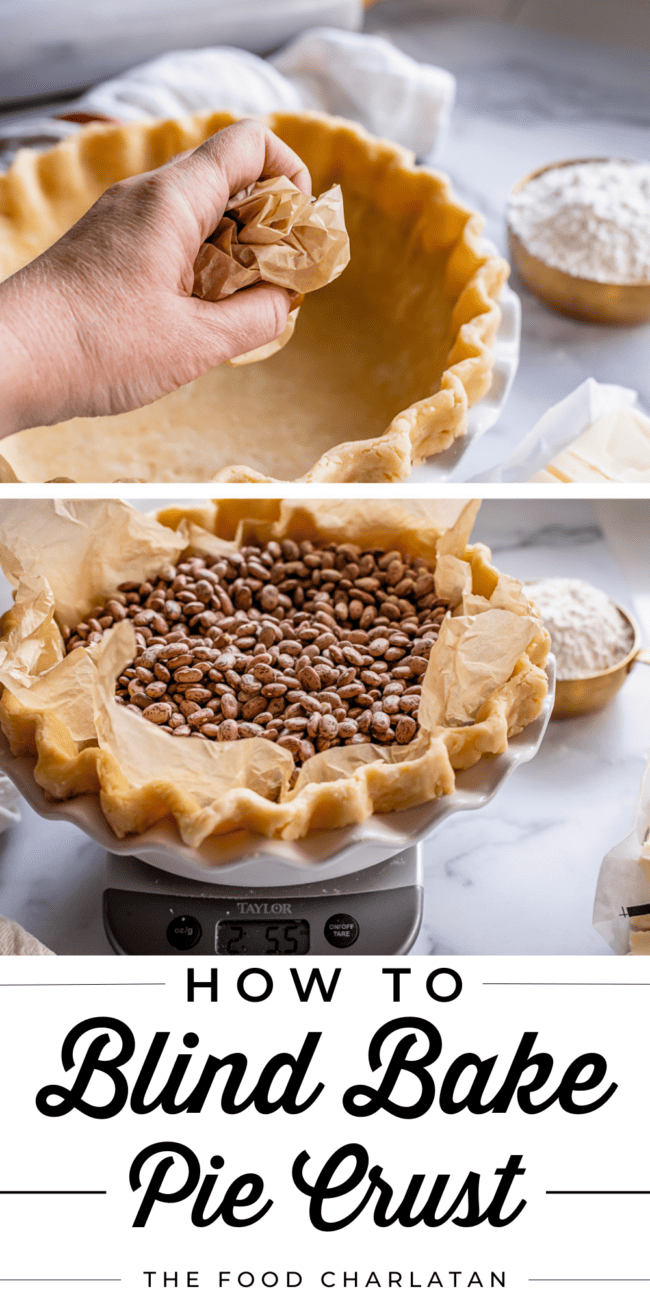
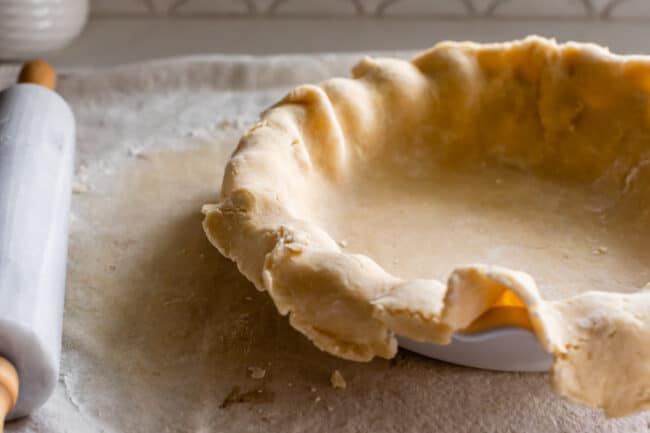
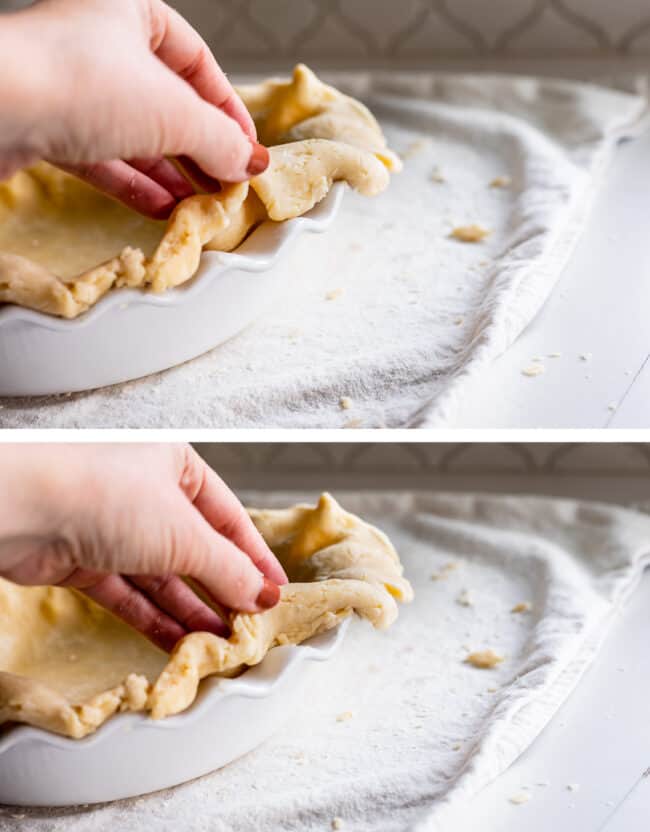
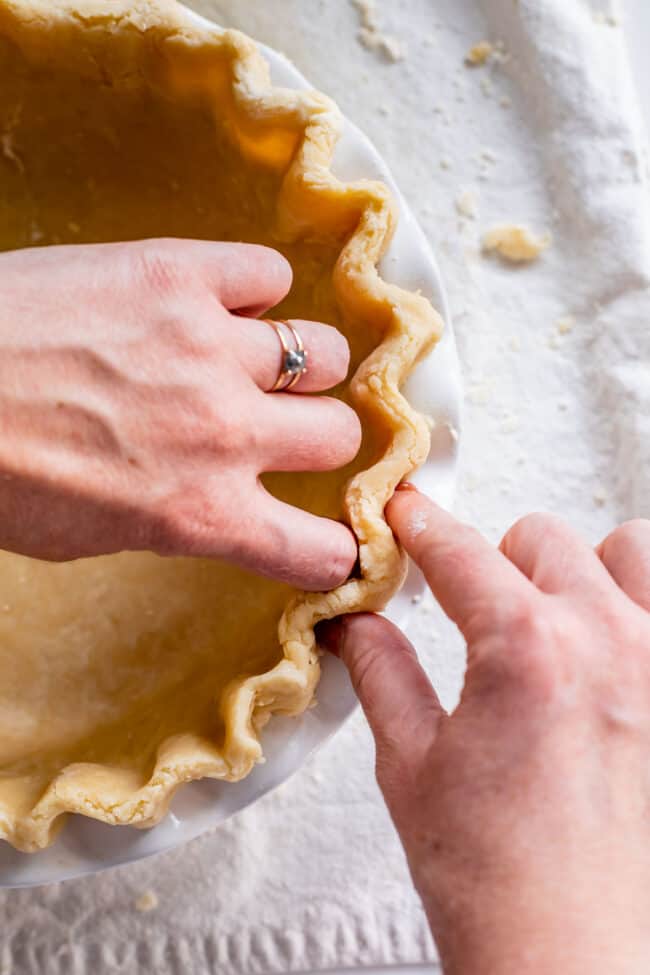
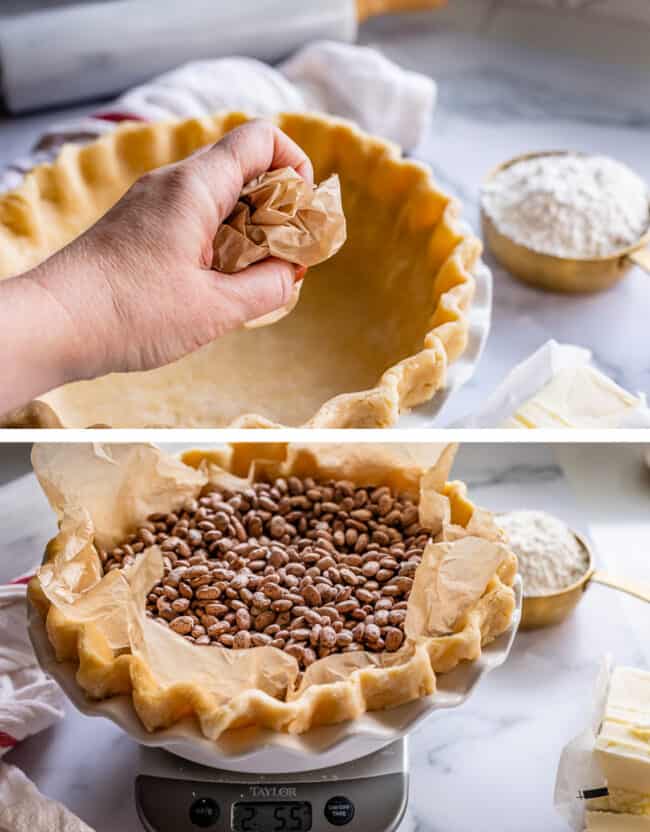
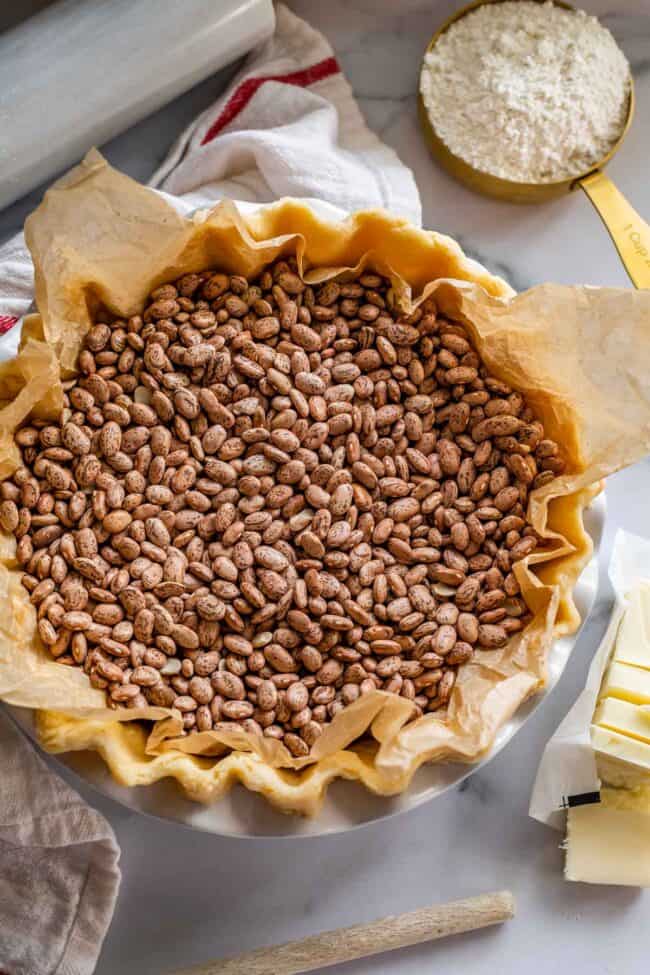
chill your pie dough before baking fill with pie weight to prevent bubbling, and to keep the edges from slumping down double bake. This means bake once, remove the weight, then finish baking
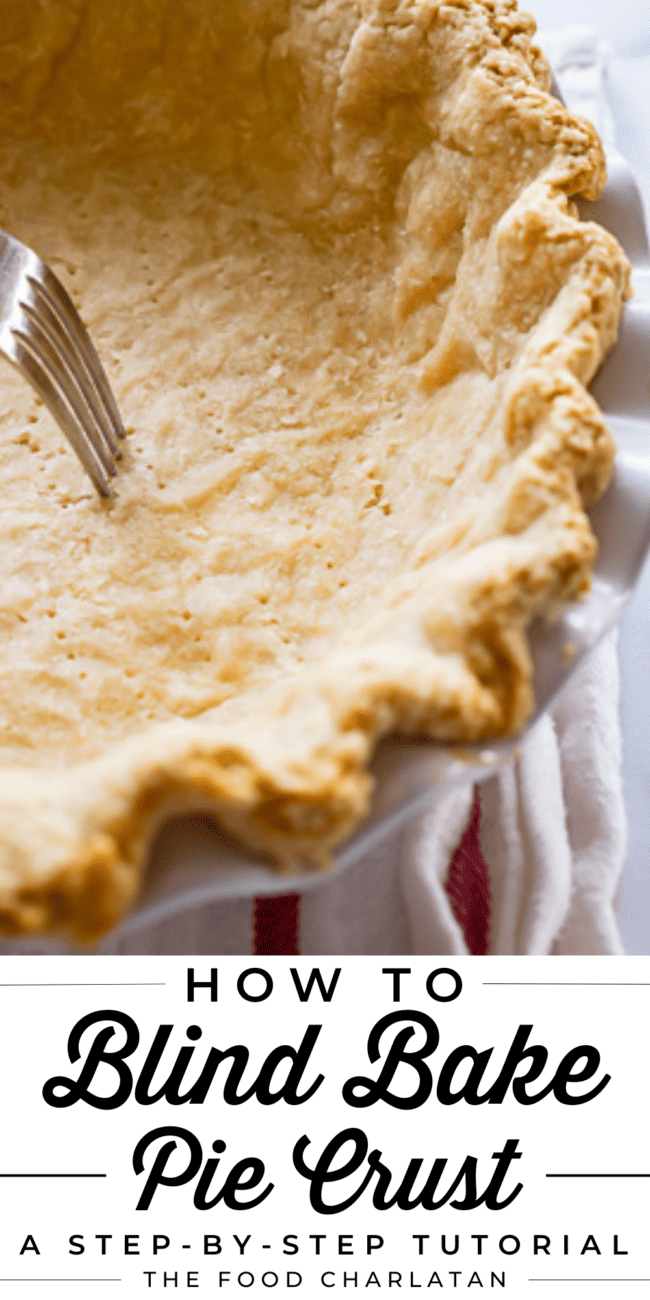
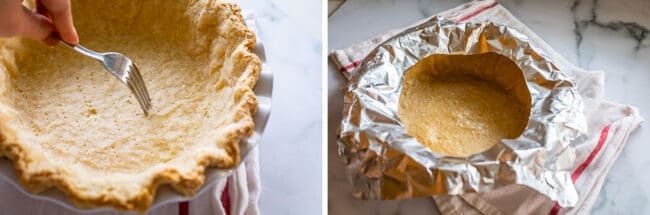
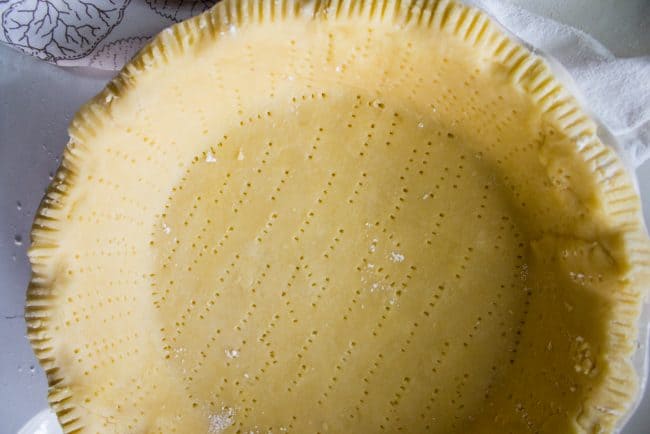
Exactly how long you bake will depend on how hot your oven is, the position of the pie in the oven, the crust recipe you used, and what you’re using the crust for, so read through all my notes and instructions to get the ideal blind baked crust. Use a fork to prick the bottom of the crust so that it doesn’t bubble up. At this point, I like to cover the edges with a crust shield to make sure the edges don’t get too brown. This is optional, especially if you like a very crispy crust.
Double bake a Par-baked crust for just 2-3 minutes
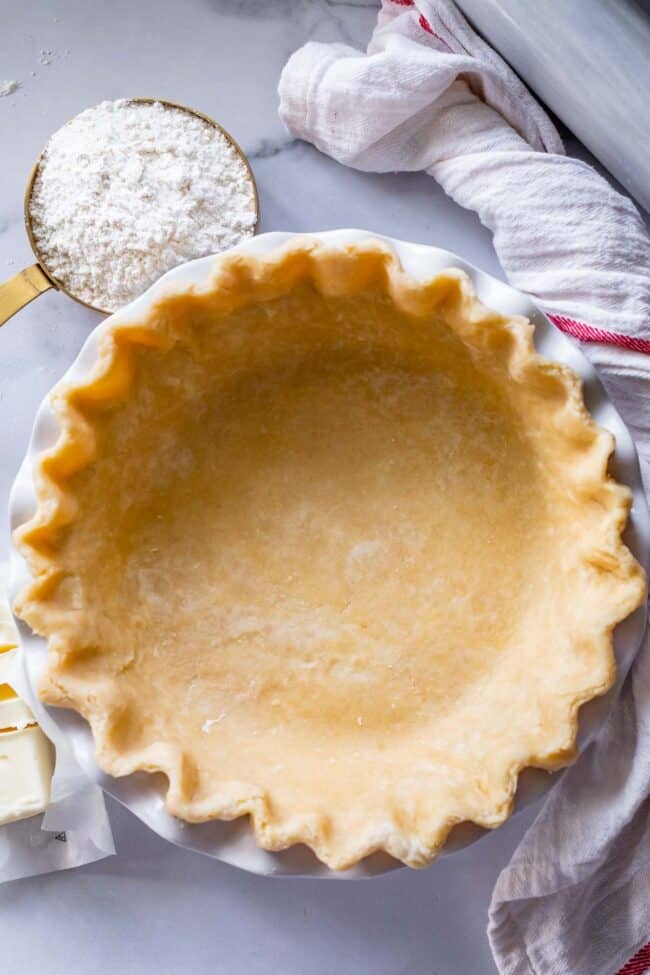
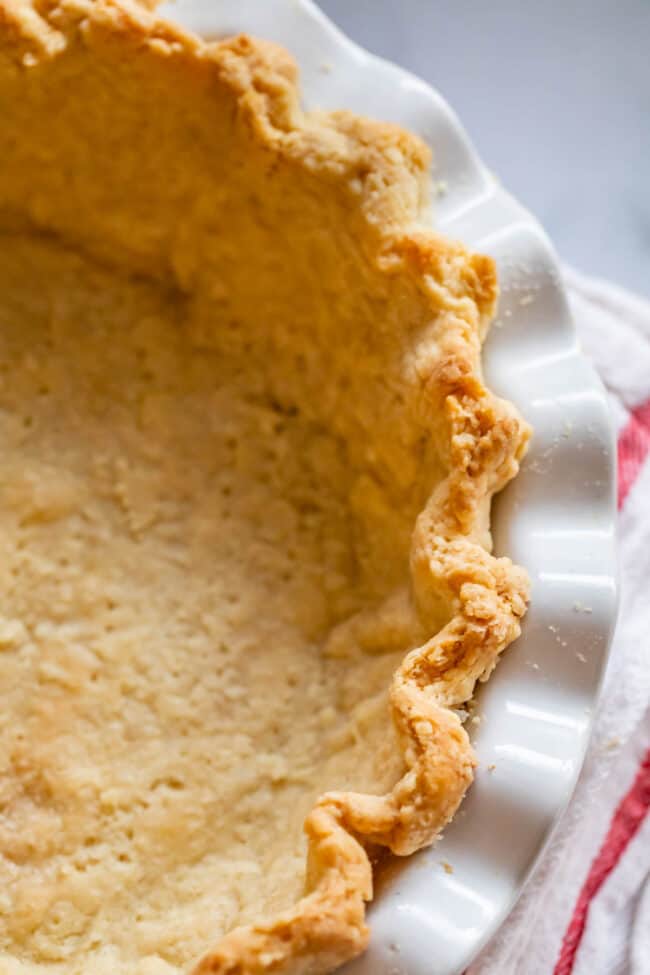
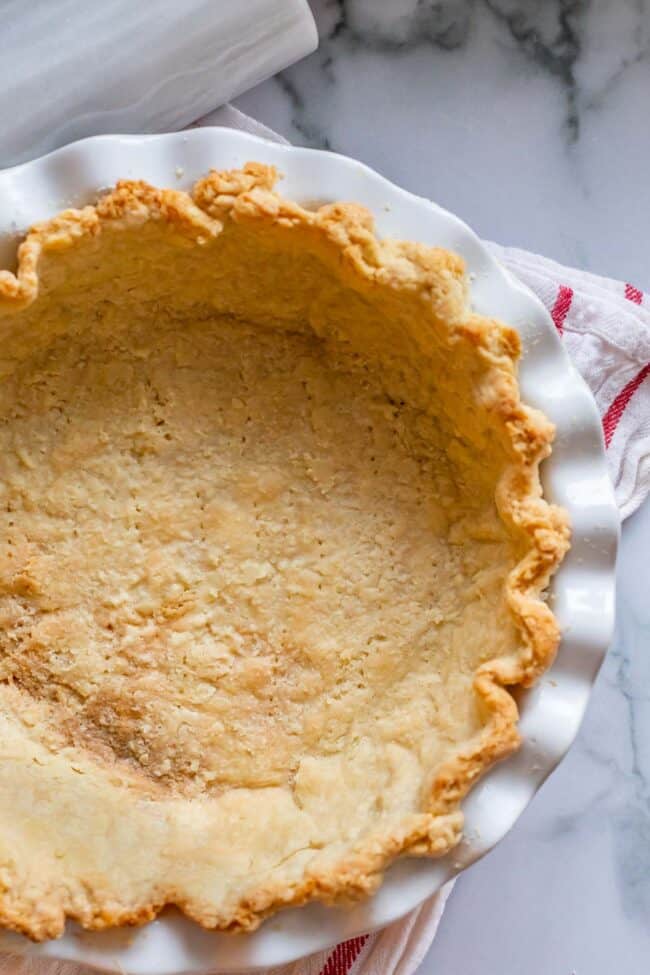
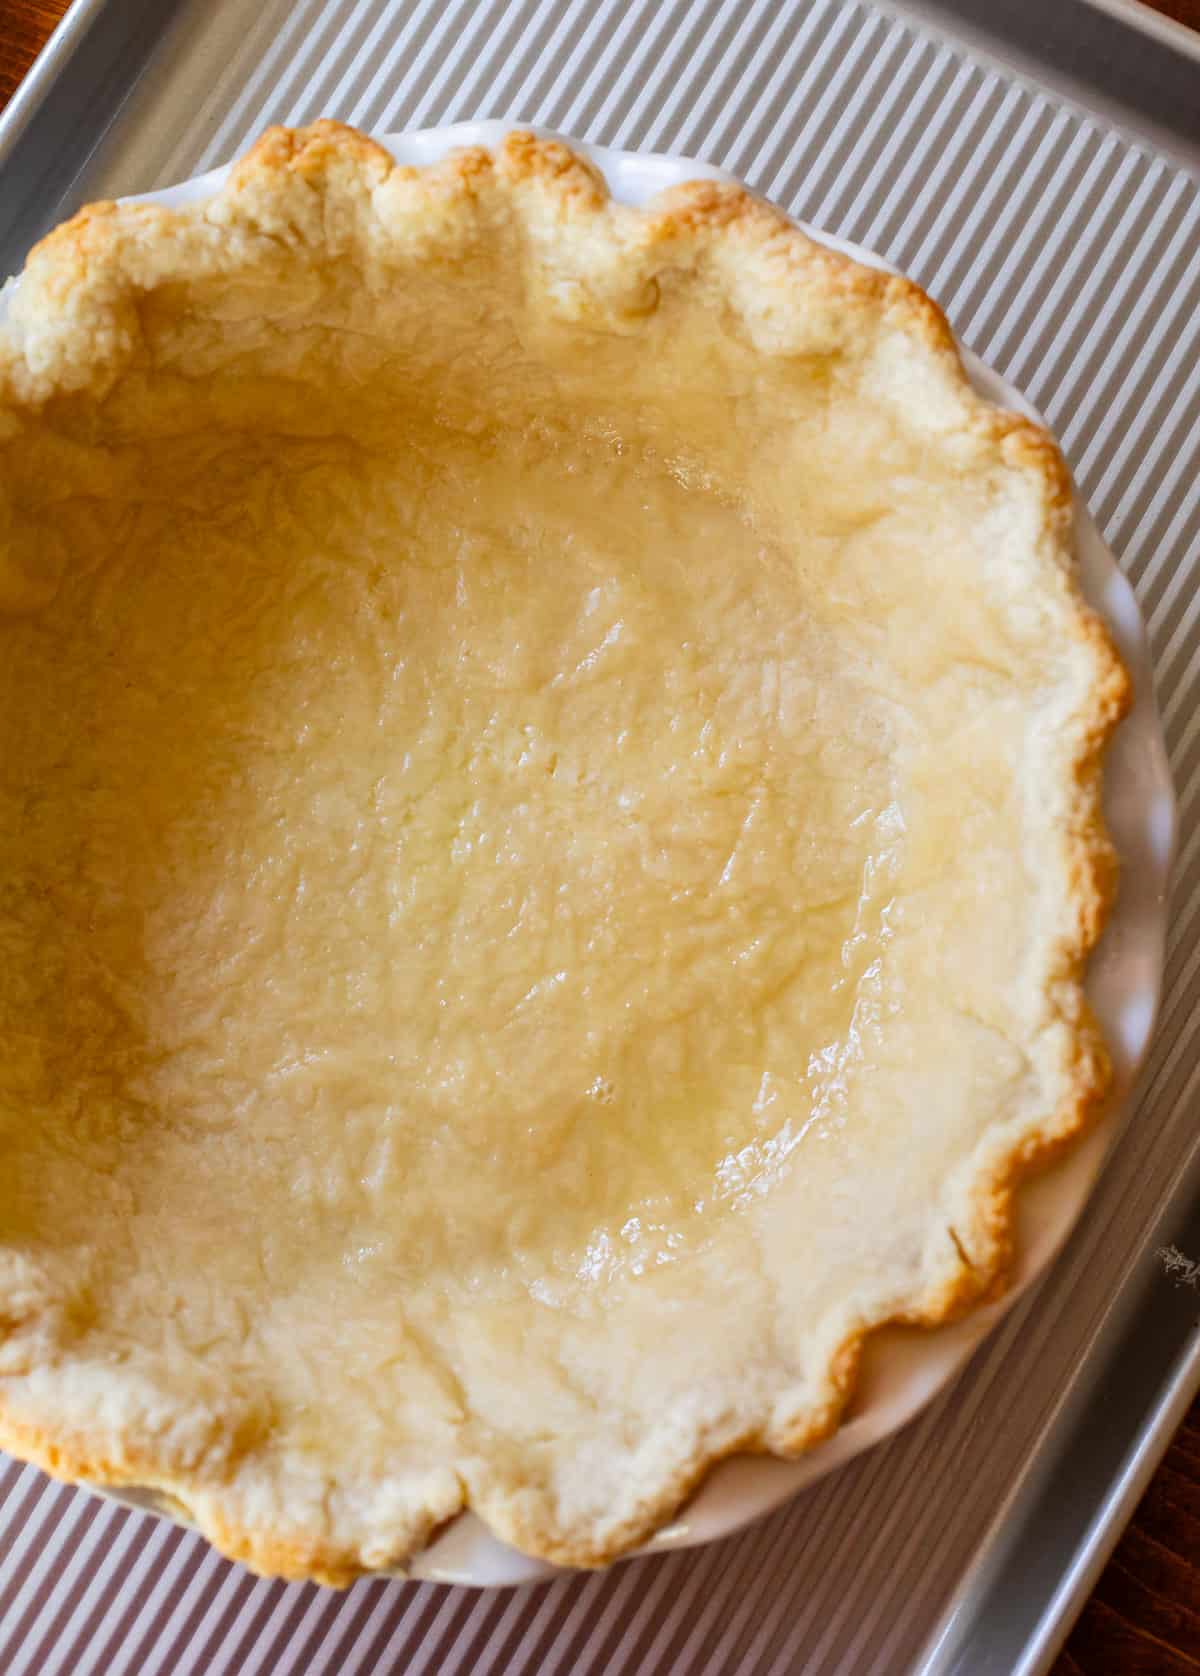
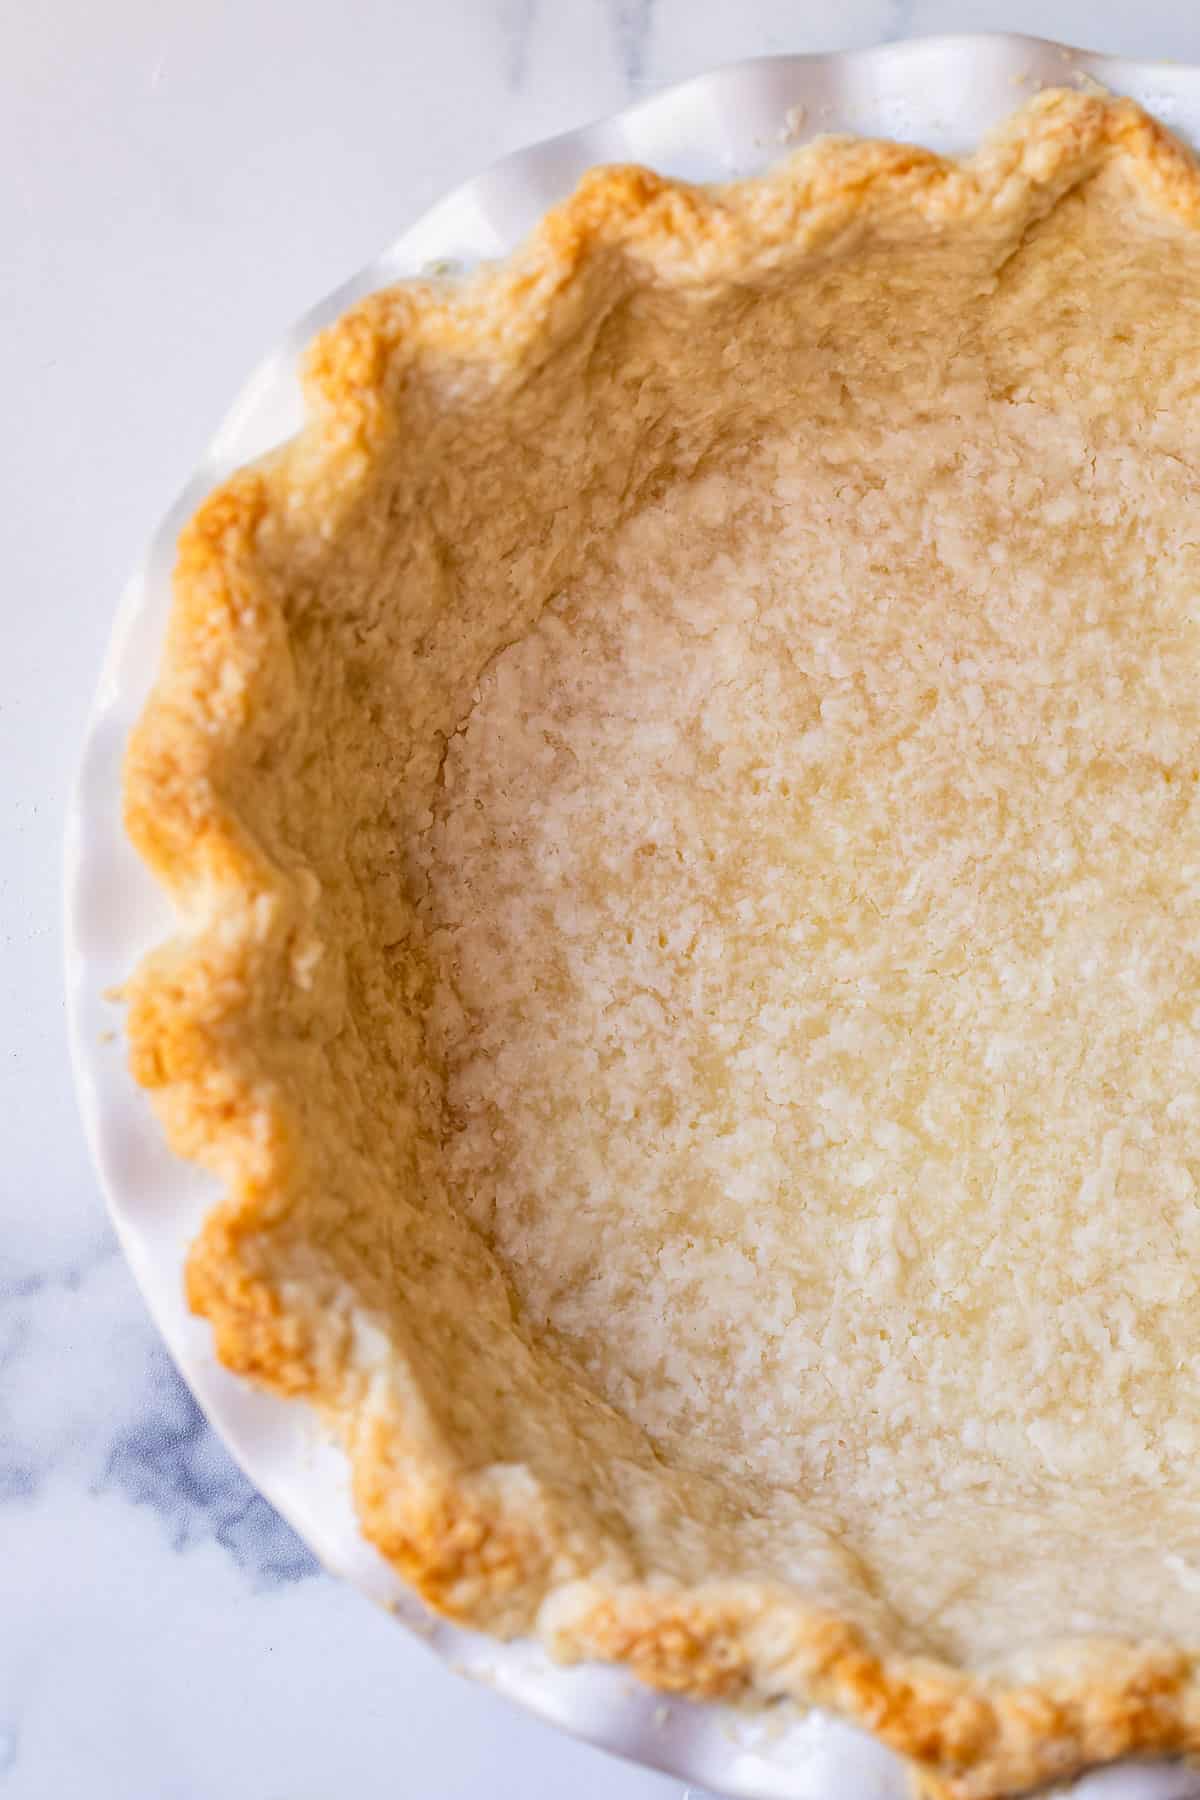
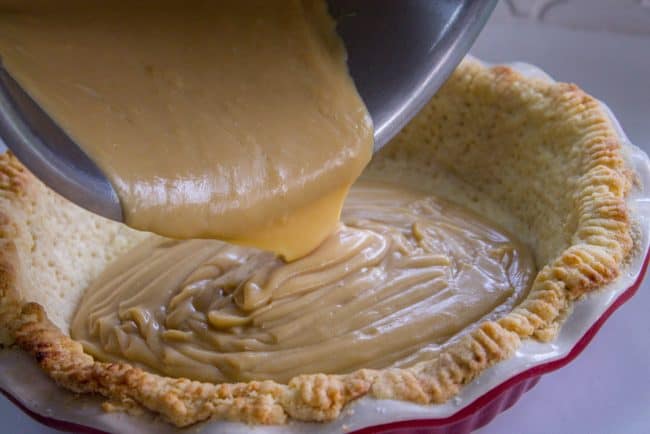
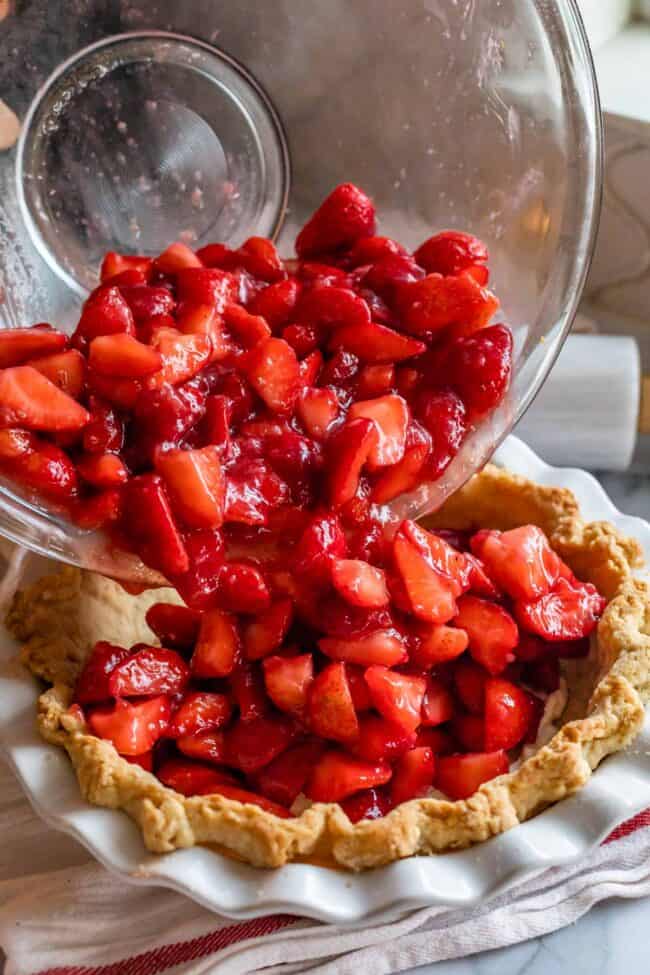
If you are pre-baking your pie but the filling ALSO needs to bake for a while in the partially-baked crust (like for Lemon Meringue Pie, or Sweet Potato Pie where you need to put it back in the oven to bake again), you need to make sure the edges are golden and the center of the crust is matte and not shiny. This only takes about 3 minutes! Here is my crust after 15 minutes in the oven right after taking out the weights: Do you see how it’s totally uncooked on the bottom? Pop it back in at 425 for about 3 minutes until it looks like this: You are looking for a blonde color (NOT brown) and for the crust in the bottom of the pan to be matte, no longer shiny. This Butterscotch Pie with Meringue Topping goes back in the oven after filling, to bake the meringue. For the second bake after removing the weights, I only baked 3 minutes. The center was not browned. Then I added the filling. I made sure to fully blind bake the crust for this Fresh Strawberry Glace Pie until it was nice and brown in the center (12-18 minutes after weights are removed), because it’s not going back in the oven once the fresh strawberries are added. Can you see how I pricked it all over, even the edges? This allows steam to escape while the crust is baking. It is essential to chill the crust completely if you want to use this method. Without weights, you always run the risk of your pie crust shrinking and the sides slumping down the edges of the pan. I much prefer using weights, but don’t let some food blogger tell you what to do. And that’s it! Now let’s make some pie! How to Make Flaky Pie Crust « here is my favorite pie crust recipe! How to Make a Lattice Pie Crust « such a pretty way to do a double crust pie.
French Silk Pie « Can’t beat this chocolatey classic! The Best Zesty Key Lime Pie « So, so tart. No Bake Cherry Cream Cheese Pie « I love this pie and it’s so easy to make! Dulce de Leche Cream Pie « Have you ever made your own dulce de leche? It’s so easy! Turn it into a pie.
![]()