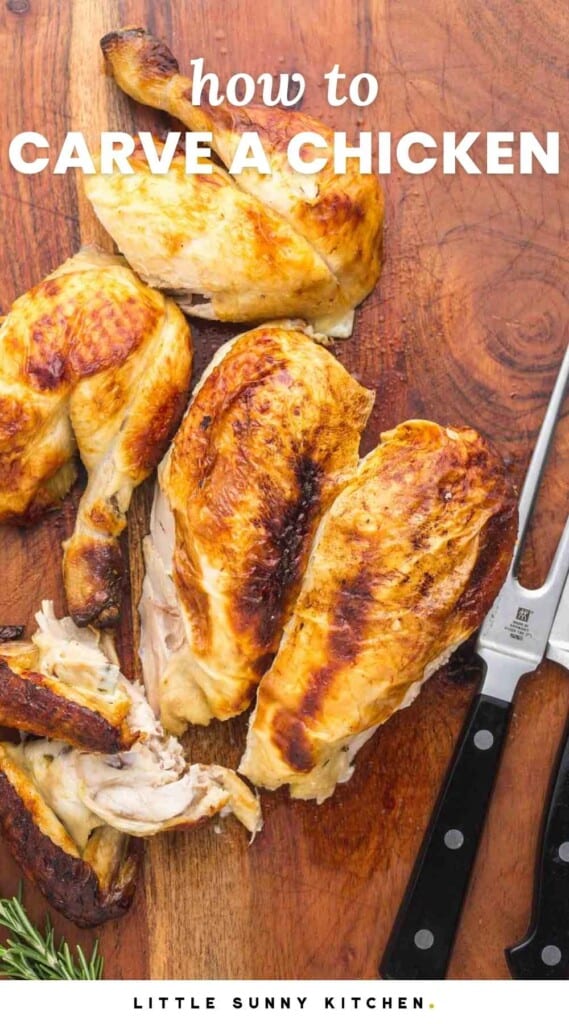
Learning how to carve a roast chicken is a very useful skill that all home cooks should learn. If you follow my simple steps and tips, you will learn how to carve a chicken like an expert and you’ll enjoy doing it every time. This is a part of my Back To Basics series where I teach you all the techniques you need to be confident in the kitchen. There are many useful tutorials covering topics on how to handle poultry. Want to learn how to break down a whole chicken, brine or spatchcock a chicken? You’ll find everything you need there!
What You need To Carve a Chicken
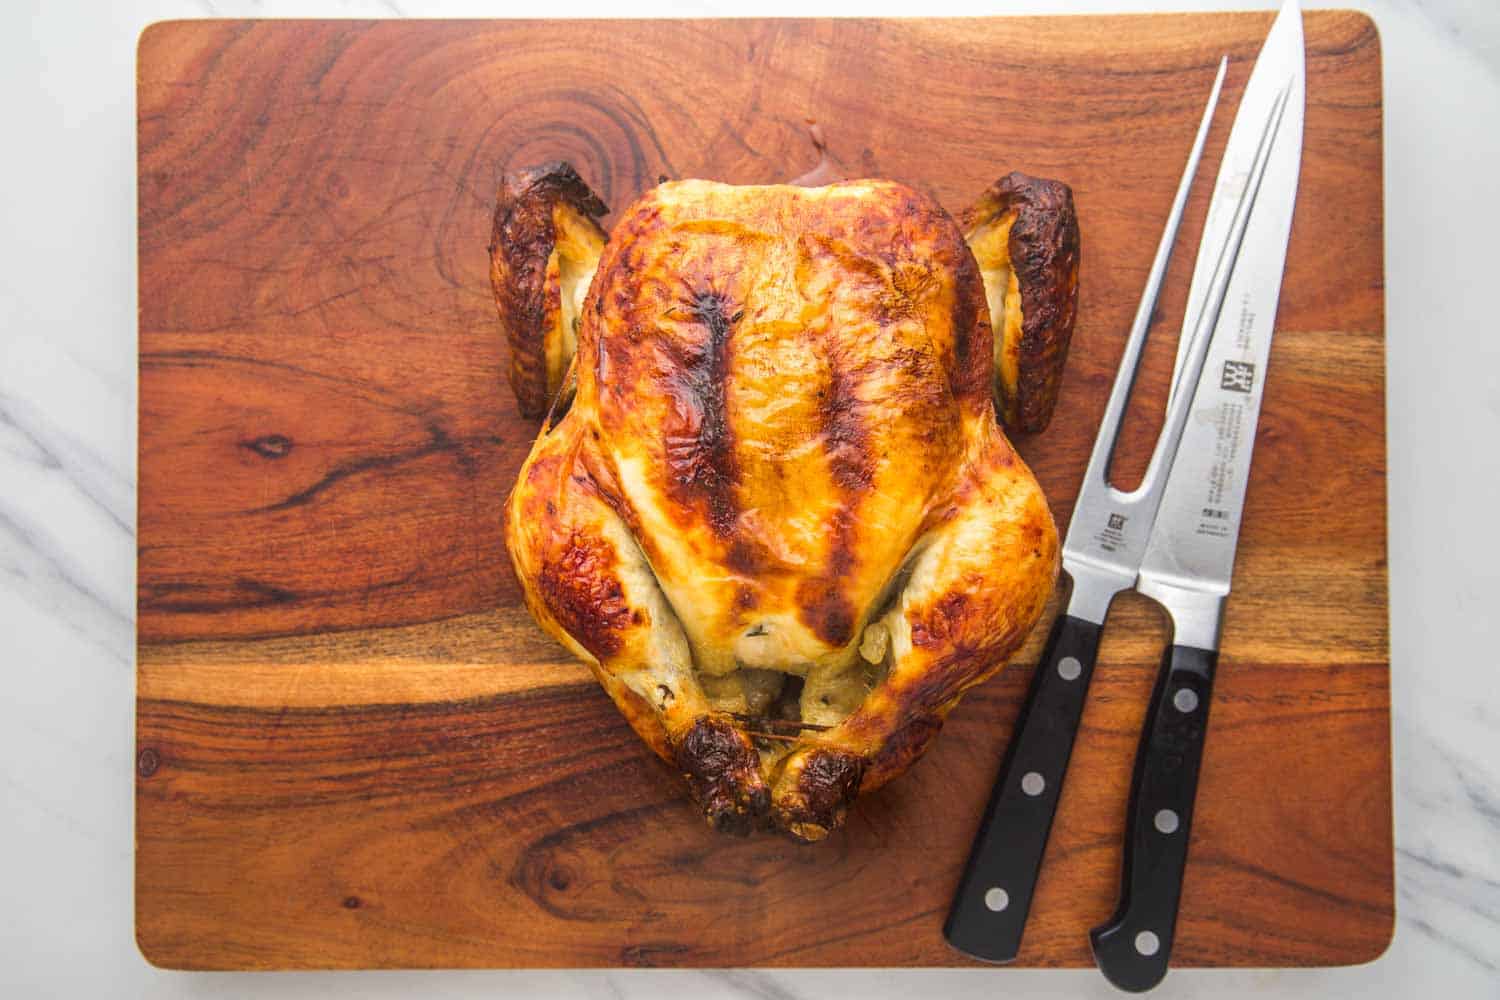
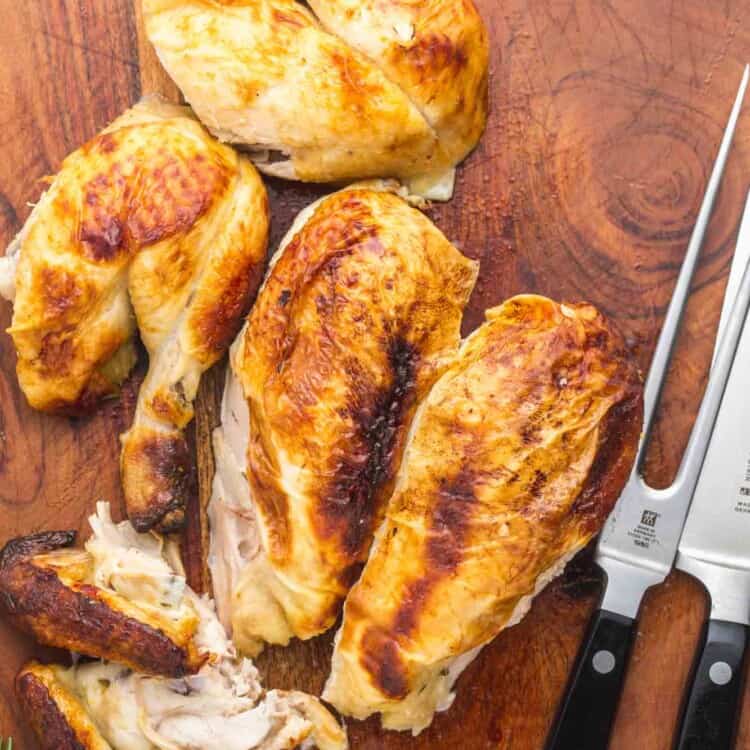
Roast Chicken: Choose your favorite! Maybe you’re carving a store bought rotisserie chicken, or you made my easy Roast Chicken, Buttermilk Roast Chicken, Peruvian Chicken, Dutch Oven Roast Chicken, or a Smoked Chicken. Chicken Under a Brick is another tasty method. Whichever you cooked, I’m sure it’s delicious! Cutting Board: Make sure that you’re using a clean cutting board, secured by a damp towel underneath it to avoid the cutting board from moving around. In the images of this post, I’m using an inexpensive butcher block that I bought for $25. Carving Set: You will need a sharp carving knife or a chef’s knife, and a carving fork. I recommend this Zwilling Set that you see in my image above, and this Wüsthof set is also great. Paper Towels: Something that every home cook should always have in the kitchen. You will use it to clean the cutting board as you carve the chicken, and keep your hands dry (not slippery) as you work.
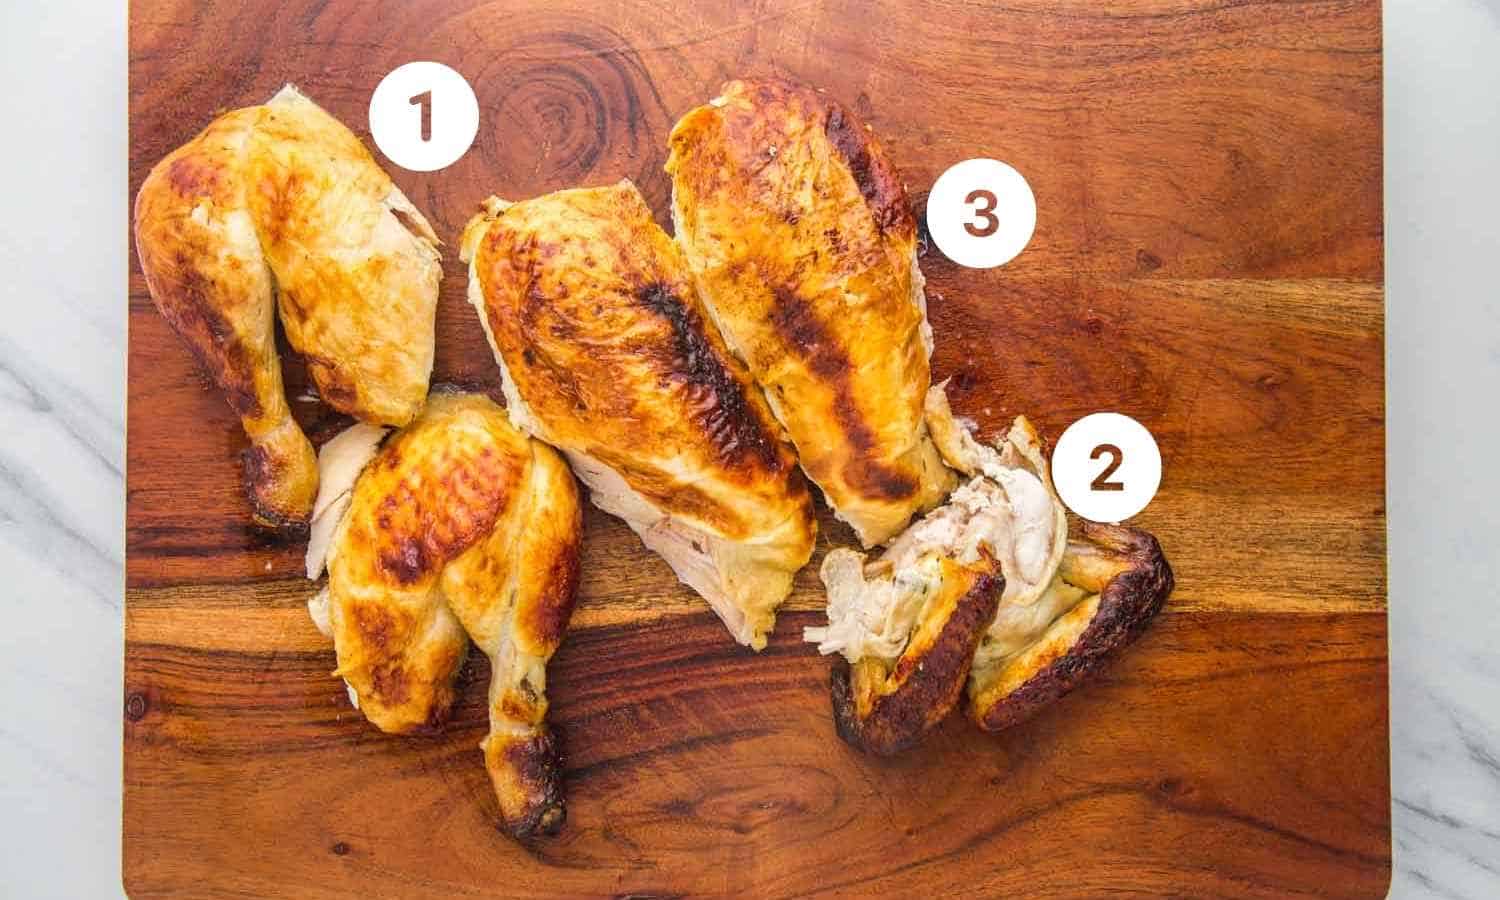
Carve in the following order
To make carving a chicken easier, it’s best to follow this order:
How to Carve a Chicken
Prep your cutting board and paper towels, get your carving set, and place the roast chicken breast side up on a cutting board.
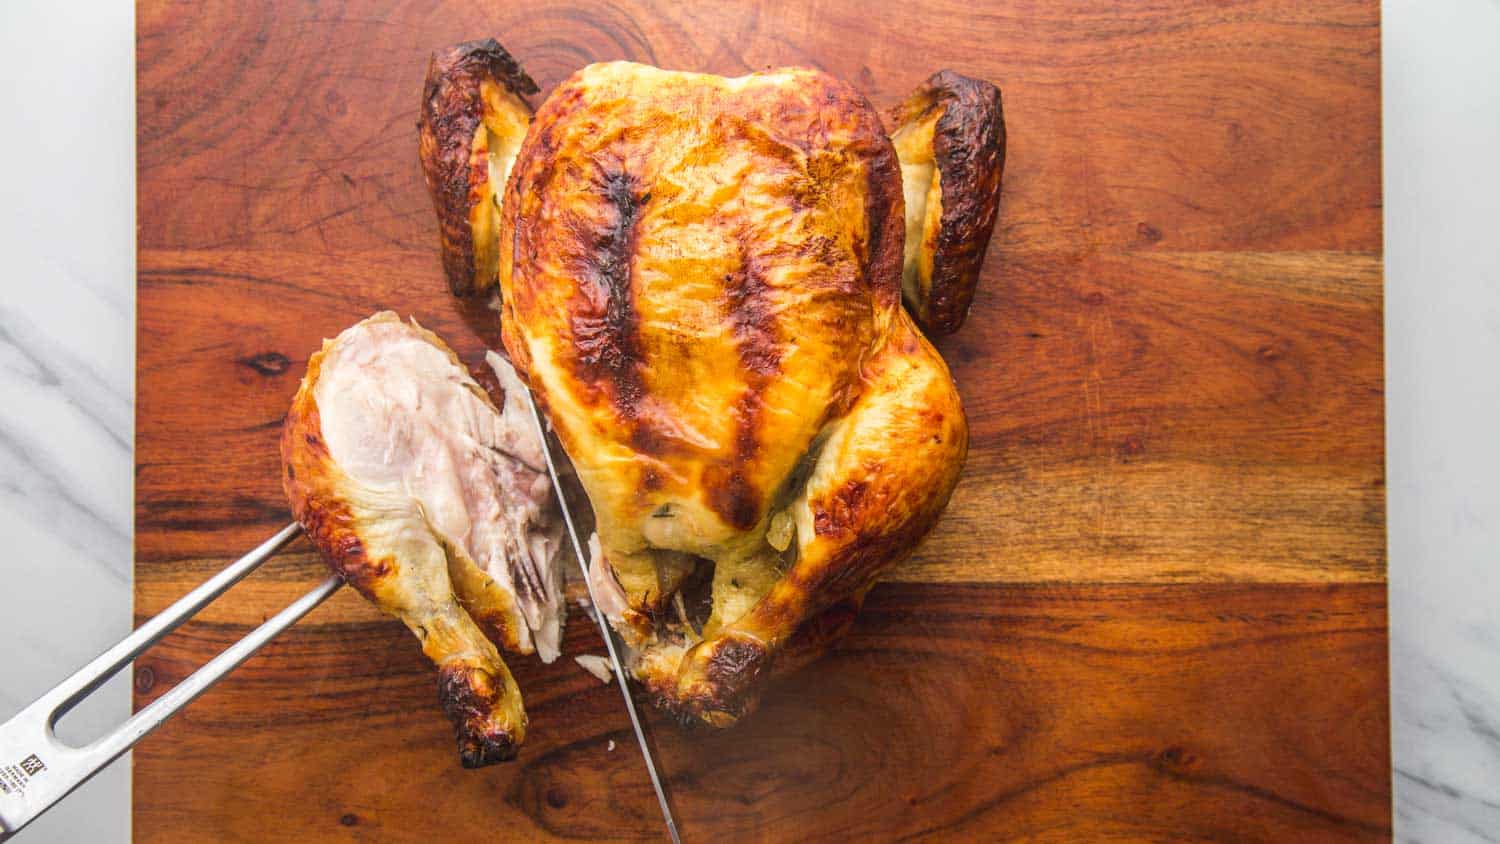
Slice the skin between the thigh the body.
Hold the body at the breastbone area with the carving fork, and use the knife to slice the skin between the thigh and the body. When you cut the skin, you will be able to see the joint and cut through the joint rather than cutting randomly. This will separate the thigh from the body. Repeat to remove the other side as well. If you wish to separate the leg from the thigh, use your hands and pull the leg to expose the hip joint. You can use your fingers to locate and move the joint, and see where you need to cut, then cut between the joints to separate the drumstick and thigh.
Moving on to the wings.
Remove the wings from the body by pulling them away from the breast, and cutting through the joint. Cut off the wing tips as there isn’t much meat to eat, then separate the wingette from the drumette by cutting through the joint again. Repeat with the second wing.
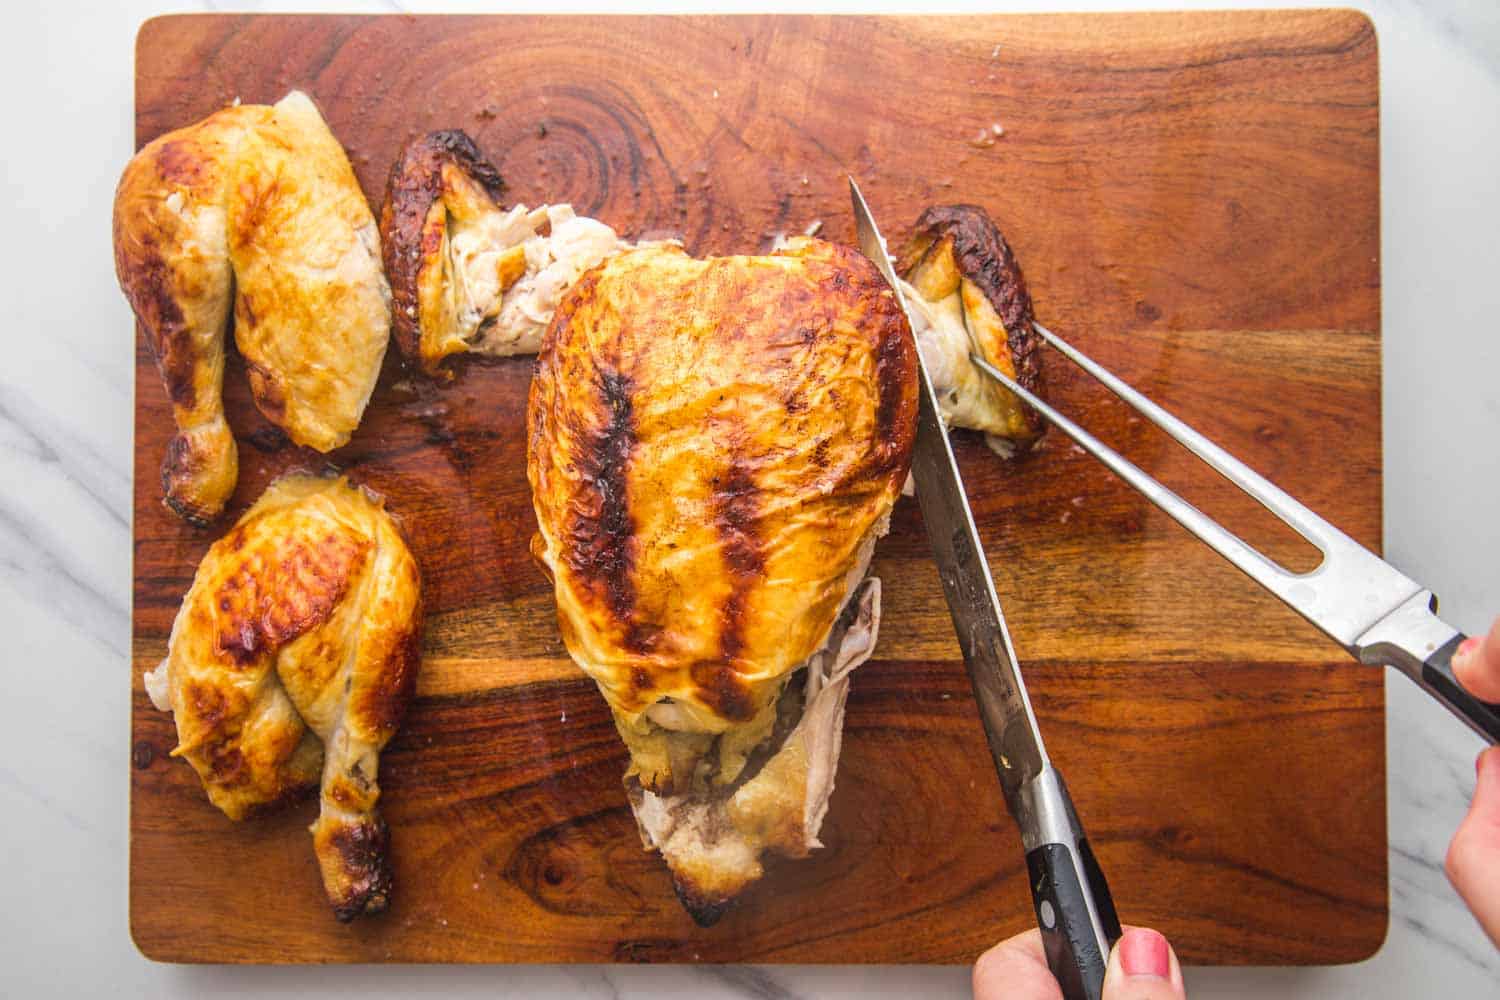
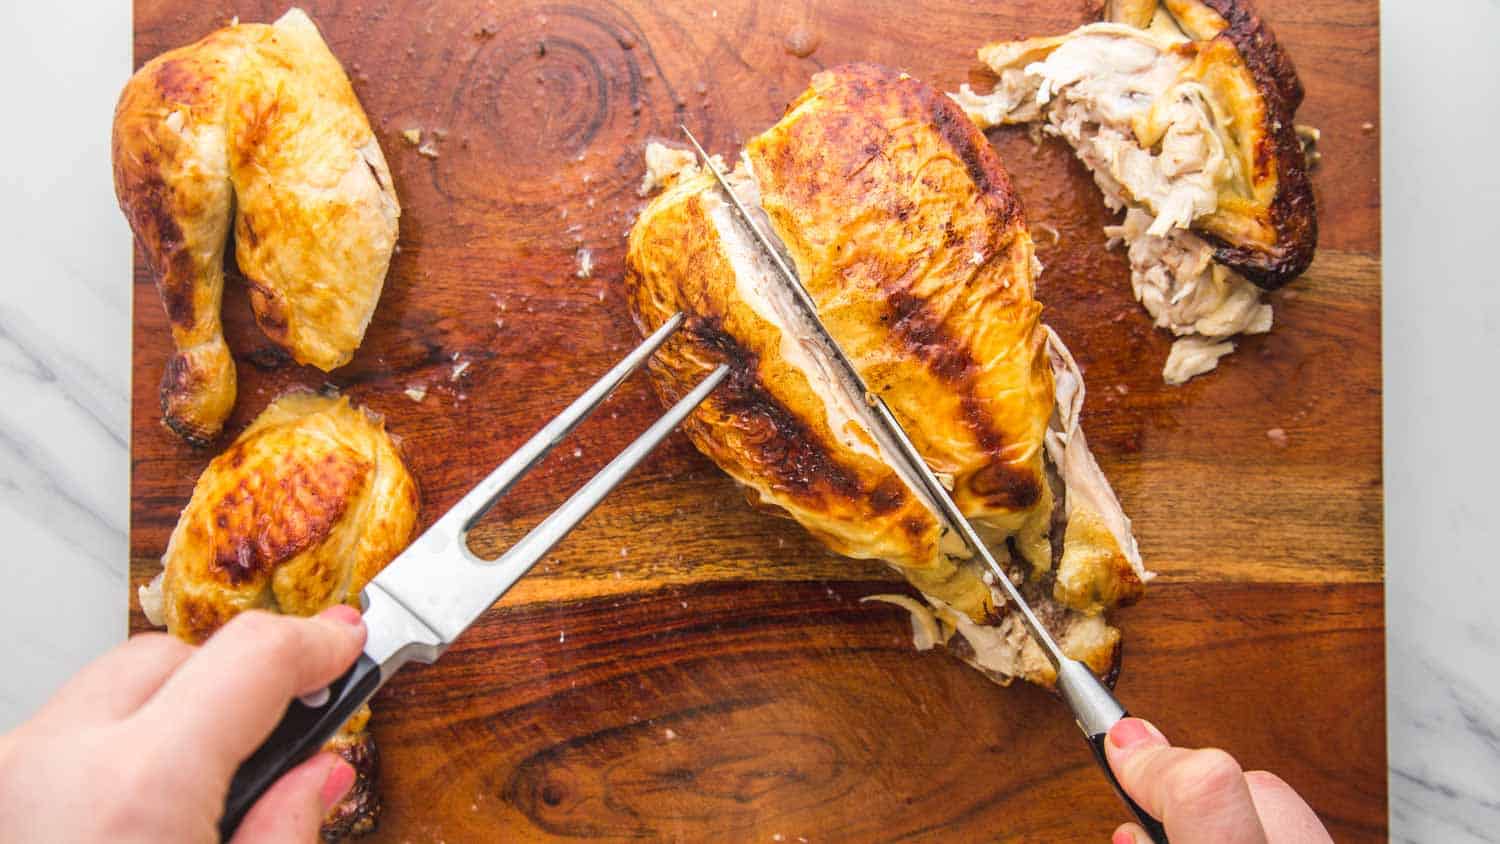
Cut The Breast Meat.
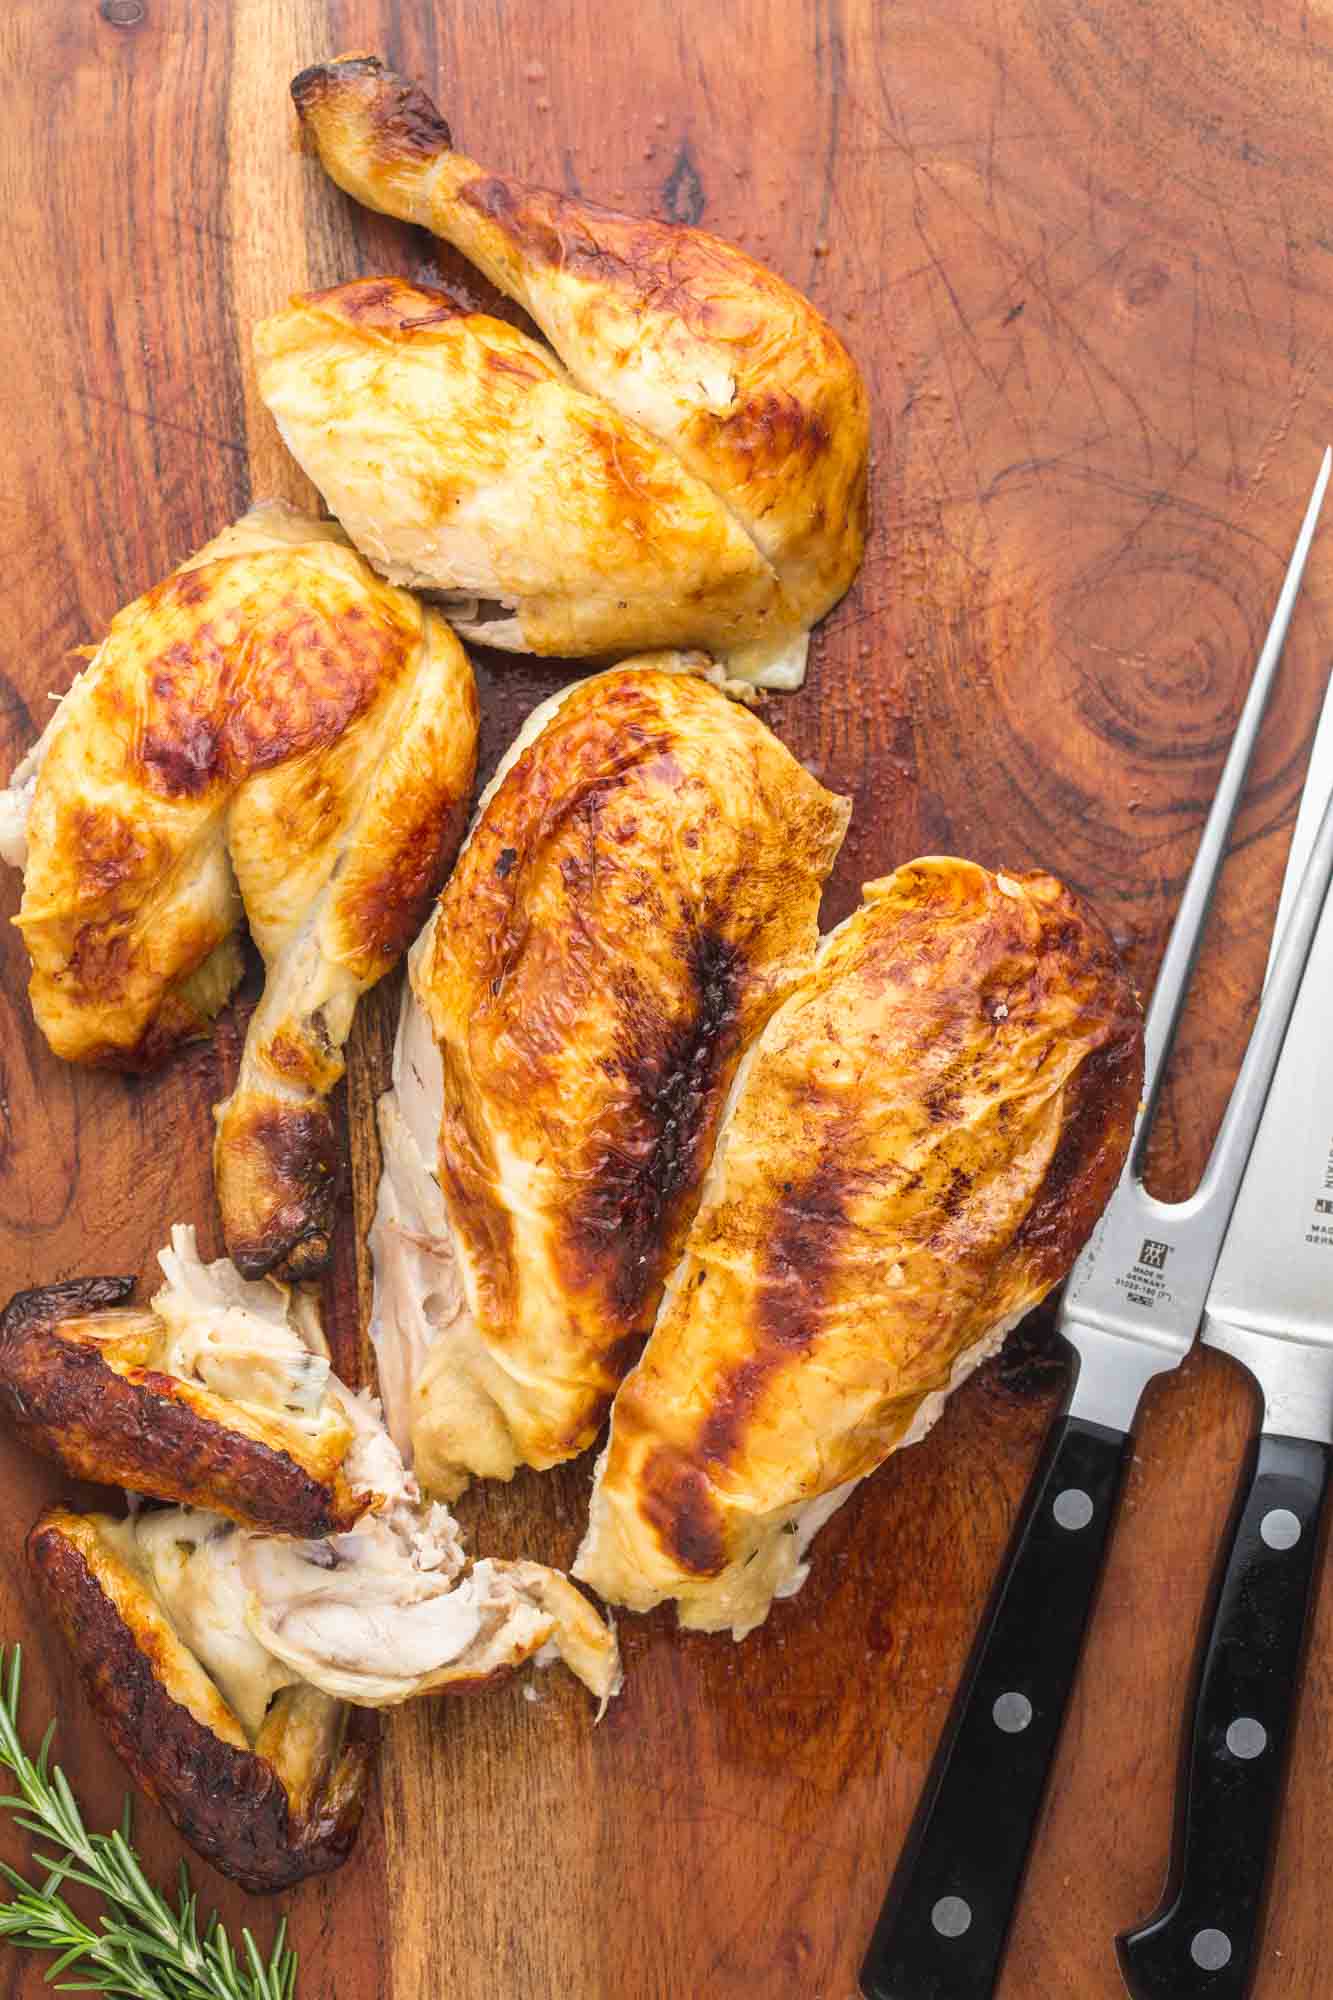
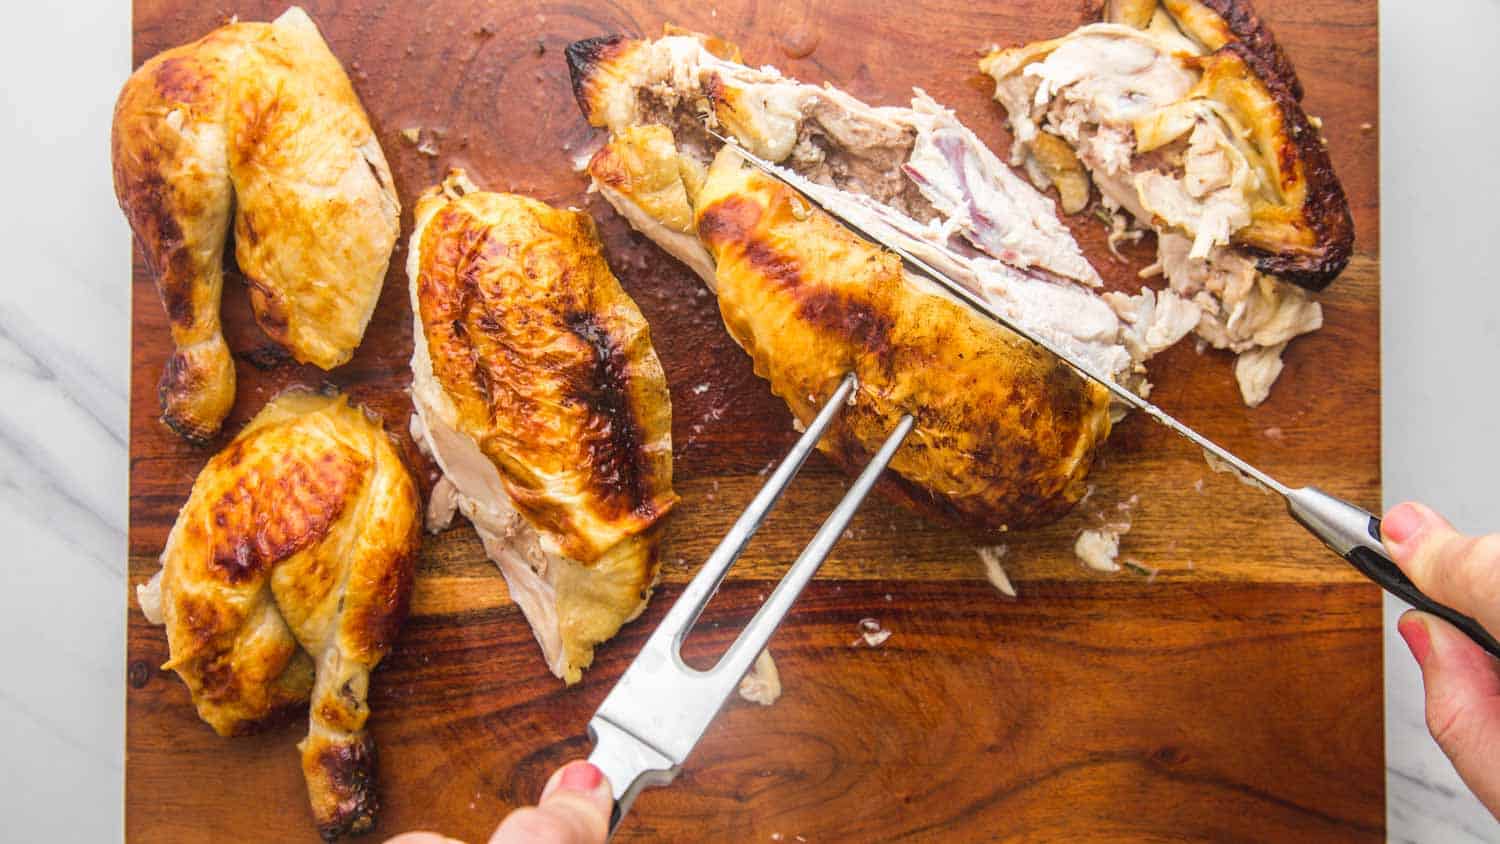
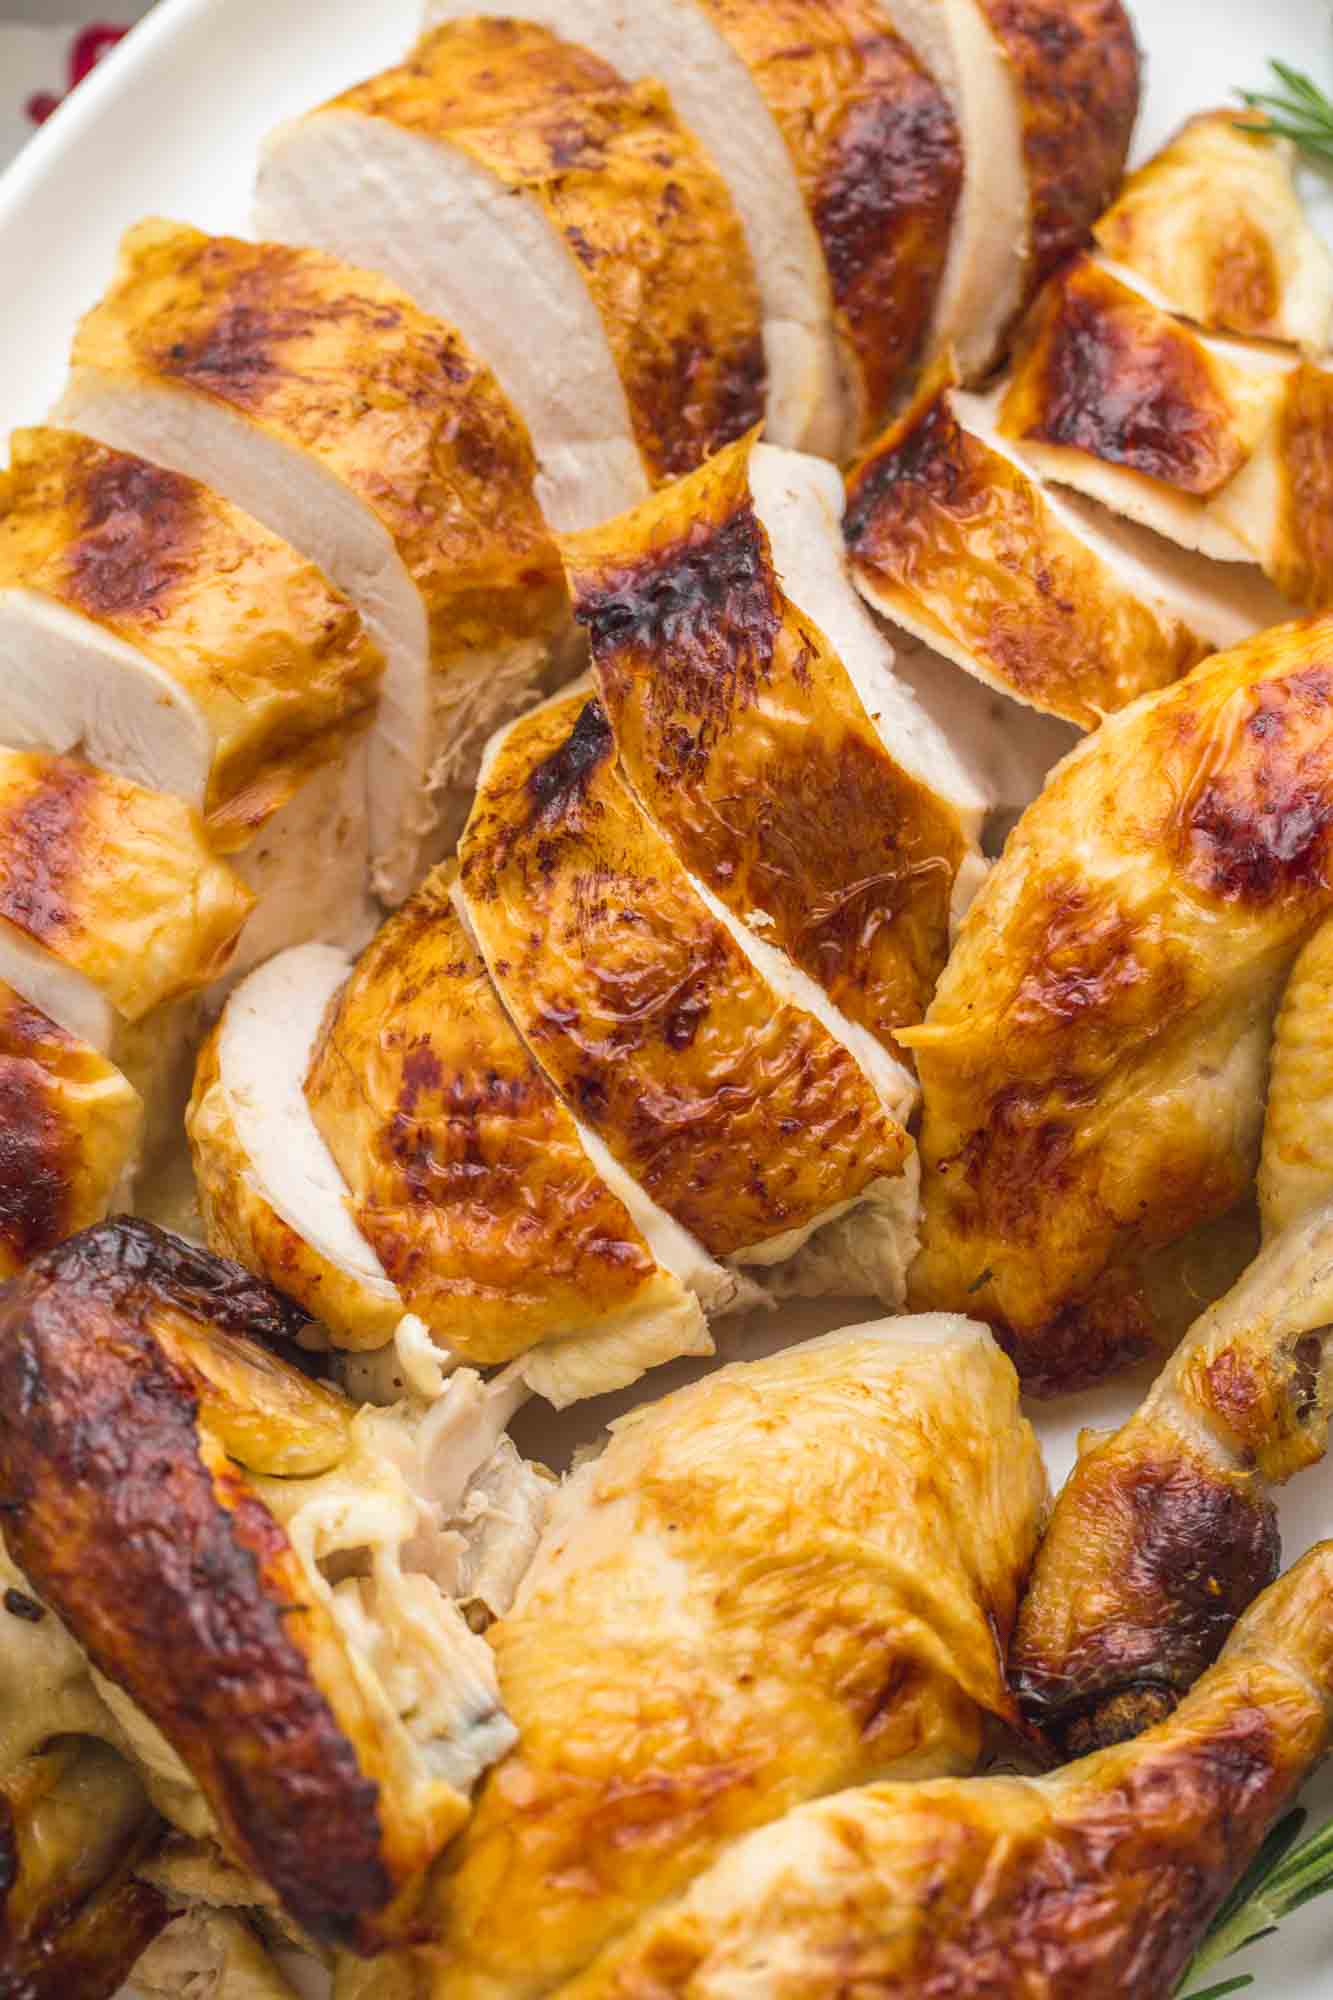
Using your carving fork, hold the left breast and with your knife carefully slice along the breast bone. Keep going until the left side of the breast is released entirely from the rib cage. Repeat with the right side of the breast. The breast bone will stay in the middle of the carcass. If you wish to slice the breast, slice it into diagonal slices carefully to keep the crispy skin intact. This is not crucial but great for sharing white meat, I also like to do it for presentation purposes.
Plate it.
Choose a large plate to plate your whole carved and sliced chicken! I personally love oval plates, but round or square ones can also look great. Serve with a side of mashed potatoes, gravy, and broccoli or green beans for a complete meal.
What to Do with the carcass
Do NOT throw the carcass away, it’s perfect for homemade chicken stock that you can easily make and use in soups, sauces, to cook flavorful rice, casseroles, and much more!
What to do with the leftovers
Leftover chicken is always great in my house! Use them to make Lemon Chicken Orzo Soup, throw them in a Caesar Salad, make Baked Chicken Tacos, or an easy Chicken Wrap. Now that you’re a pro at carving a whole chicken, you will enjoy being in charge of dinner when it’s roast chicken. Don’t forget to pin this post to easily find it later! © Little Sunny Kitchen