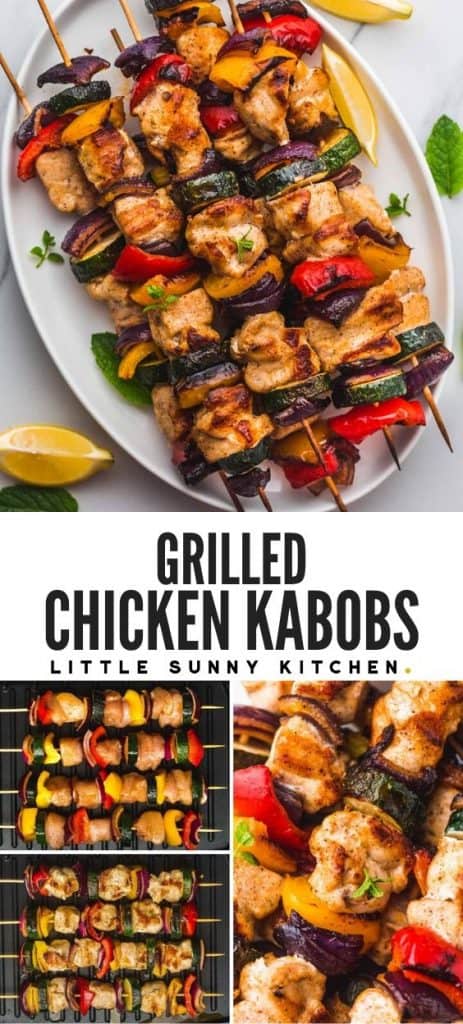
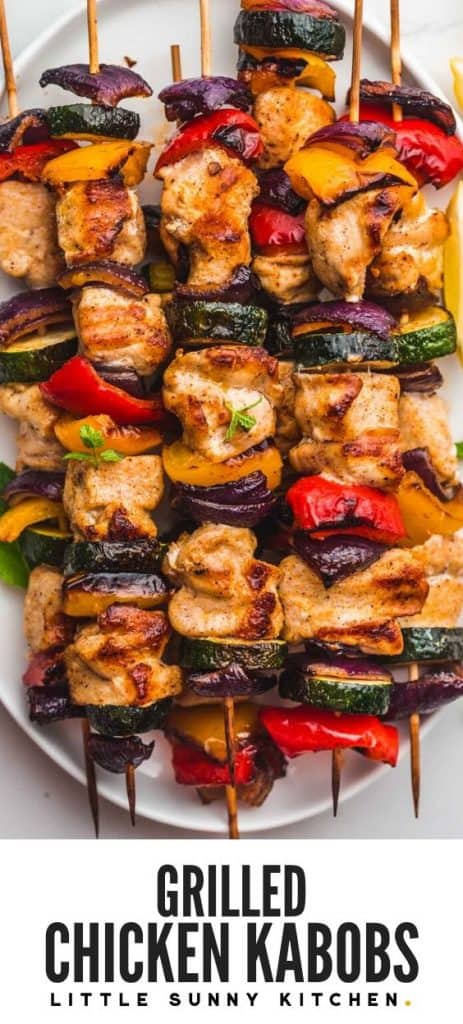
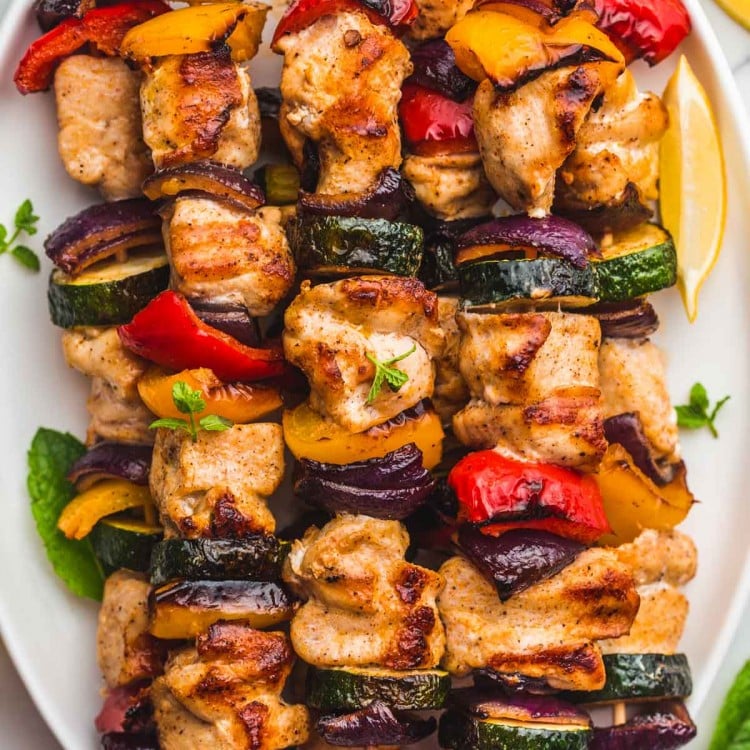
Grill and oven instructions included. The grilling season is still not officially here, but it’s getting warm and sunny, and our grill and skewers are now dusted off and are ready for the season! These grilled chicken kabobs are a summer classic that I always make, I use the simplest seasonings that are flavorful and make sure that the chicken stays juicy and tender. I also always make grilled shrimp kabobs, and these delicious grilled veggie kabobs for the vegetarians in our family, so make a mix of both for an awesome grilling feast! For a different version of these chicken skewers, try my fajita chicken kabobs recipe. Another grilled chicken skewer recipe that I love is this Lebanese Shish Tawook, chicken is marinated in a lemon garlic yogurt-based marinade then grilled under juicy and tender.
Recommended Tools for Grilling
Skewers – If using wooden skewers like these, I recommend soaking them in water for 20-30 minutes prior to grilling as they can get burnt really easily over a hot grill. If using metal skewers, make sure that you handle them with care using a hot pad or kitchen tongs as they will get pretty hot.Grill – Use a proper grill, a BBQ, a grill pan, or an oven.
The Ingredients
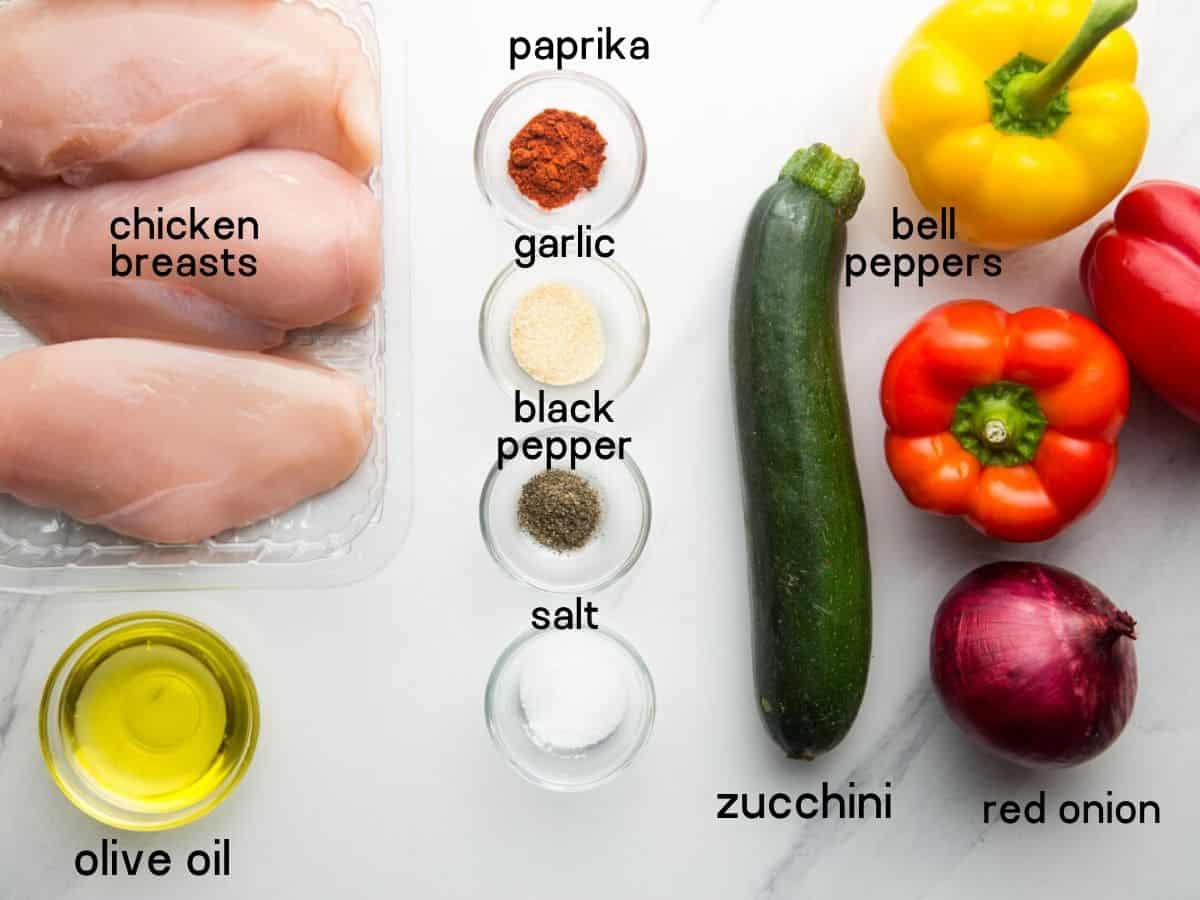
Chicken breasts – boneless and skinless. Check the label if the chicken is brined, if not then read below for instructions on how to brine the chicken. You can also use chicken thighs. If using frozen chicken, then thaw completely in the fridge overnight.Vegetables – I like to use things like zucchini, bell peppers, and sweet red onion. I don’t recommend grilling things like carrots or broccoli on skewers as they have different cooking times.Seasonings – Smoked paprika, garlic, black pepper, and salt. You can also use Italian seasoning, dried herbs, or even a spicy blend such as a fajita seasoning.Oil – I prefer olive oil and buy the one with a high smoke point, but feel free to use other kinds of oils with high smoke points such as avocado oil, or grapeseed oil.
How to Brine Chicken Breast Prior to Cooking
Brining the chicken prior to grilling, roasting, and smoking helps the chicken keep its moisture. It takes just 15 minutes of your time for such small pieces of chicken, and although it’s optional, it’s totally worth it in my opinion. You CAN buy brined chicken at the grocery store, so make sure to check the label. But if not, you can totally do this yourself. To brine the chicken, you will need to dissolve ¼ cup of salt in 4 cups of room temp water. That is enough for 4 chicken breasts. Brine for at least 15 minutes (but you can do 2 hours if you have time), then rinse the chicken with fresh water and pat dry with paper towels. To learn more about brining, check out my chicken brine recipe post. It’s a basic skill that every home cook needs to know about and take advantage of!
How to Cook Chicken Kabobs
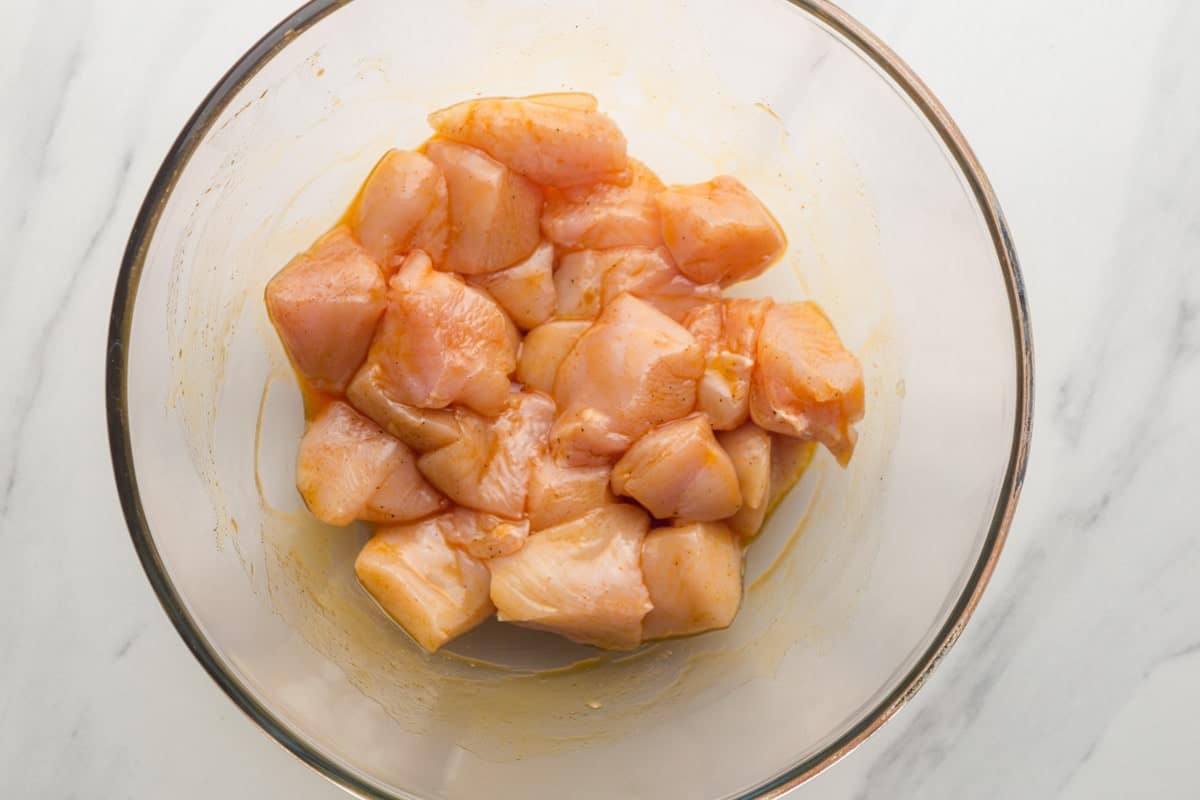
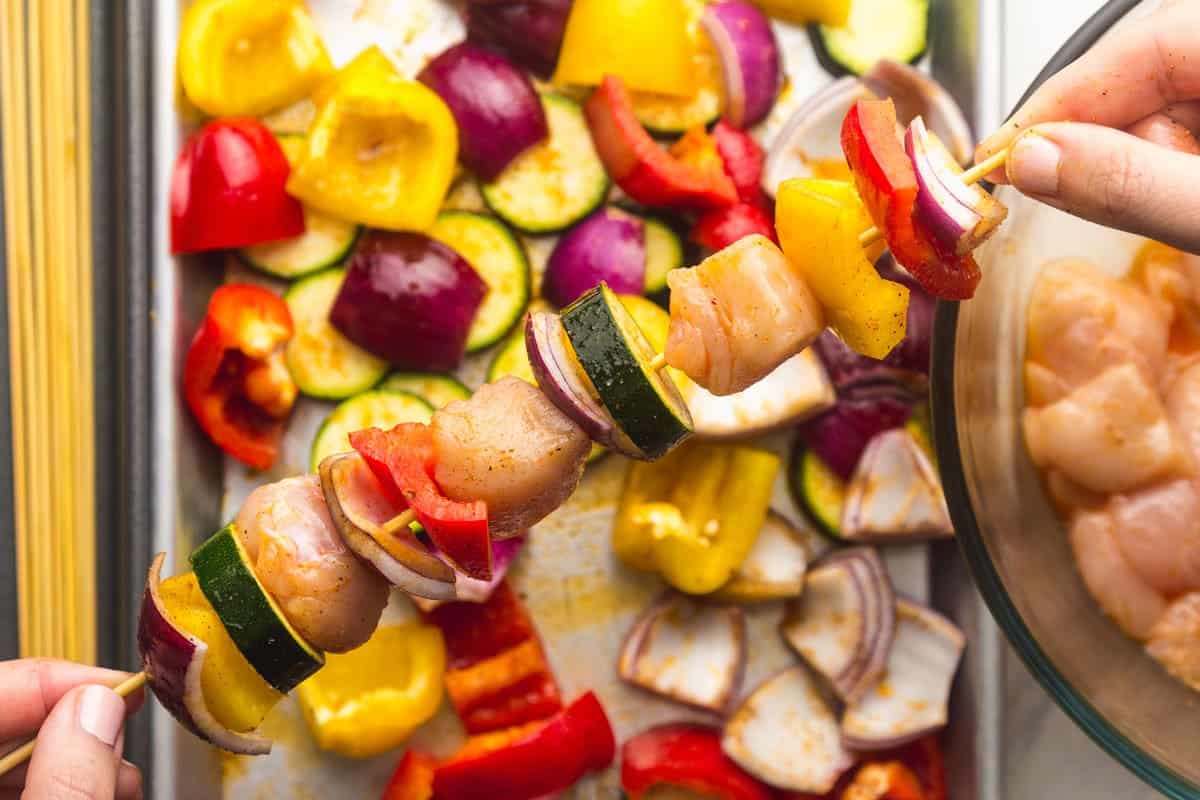
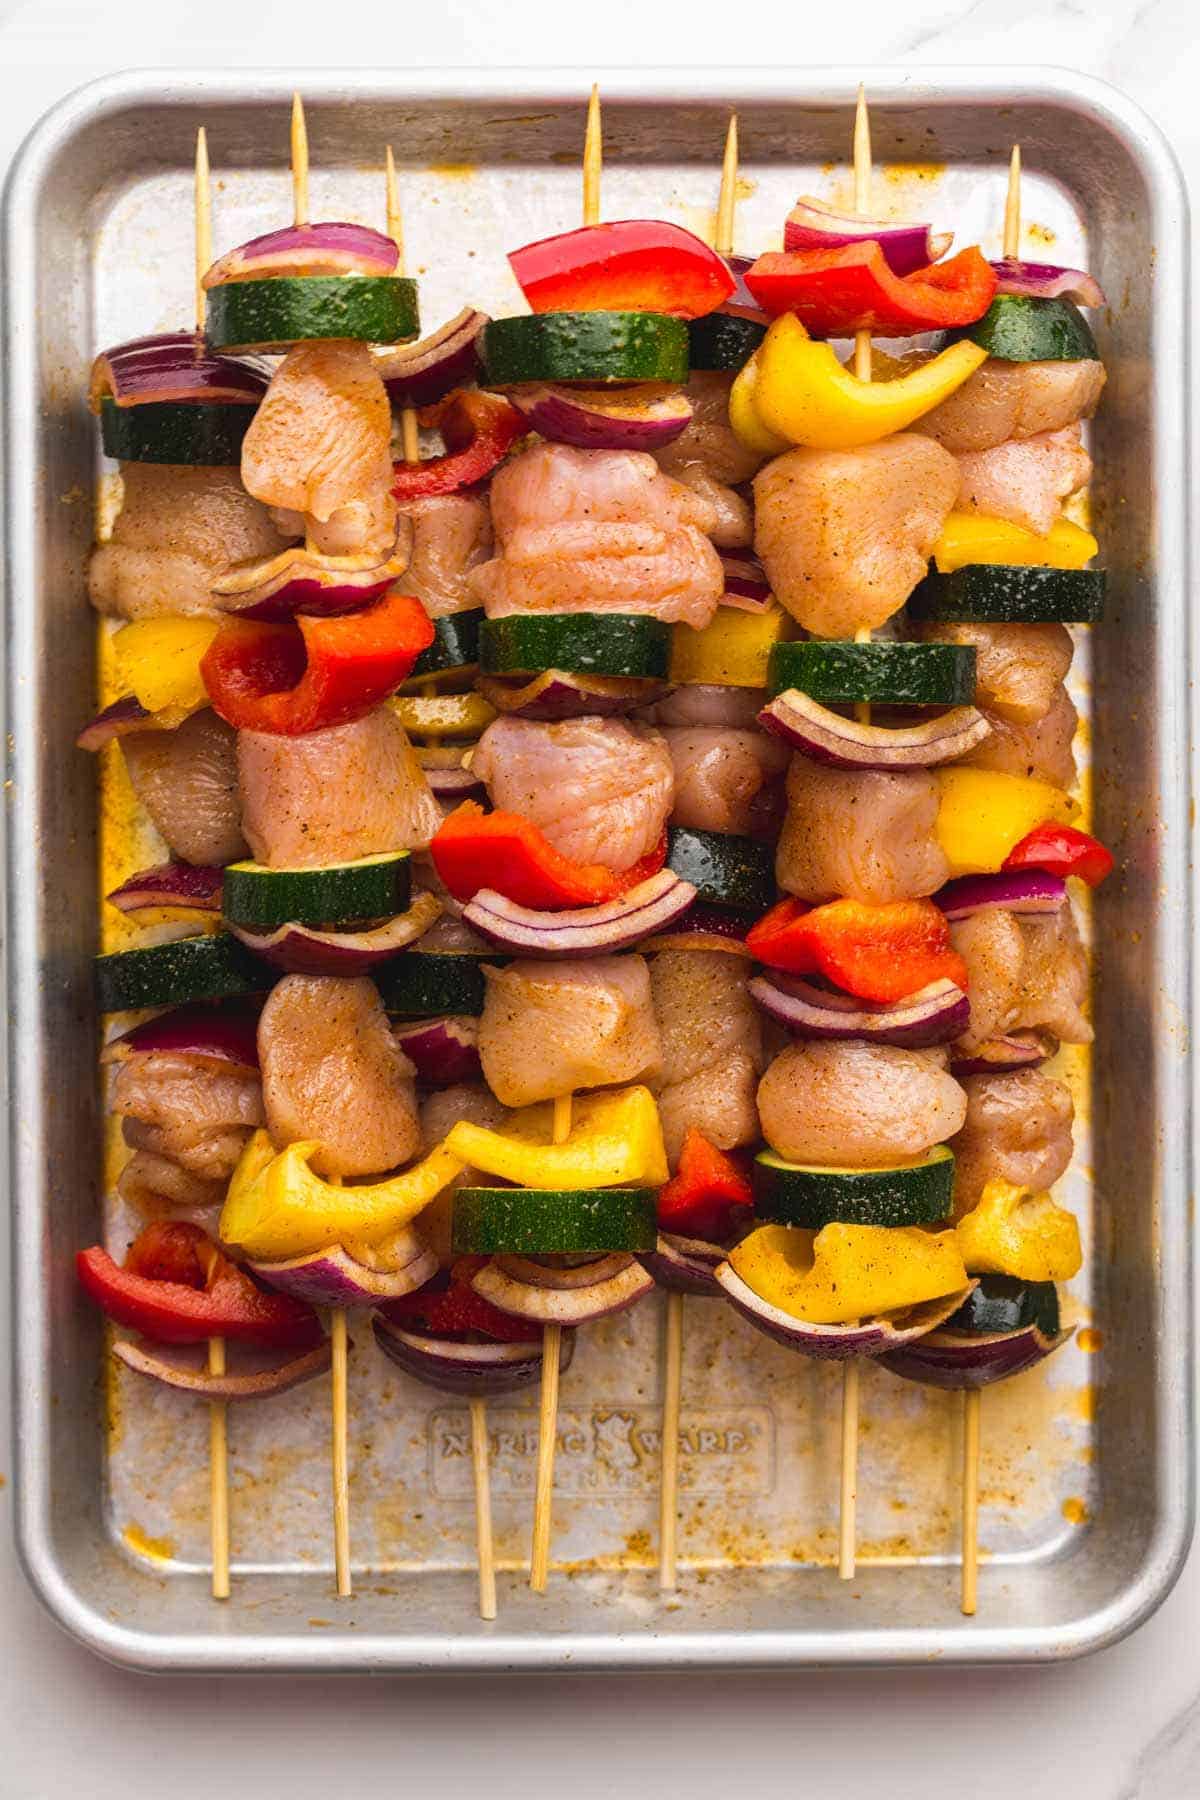
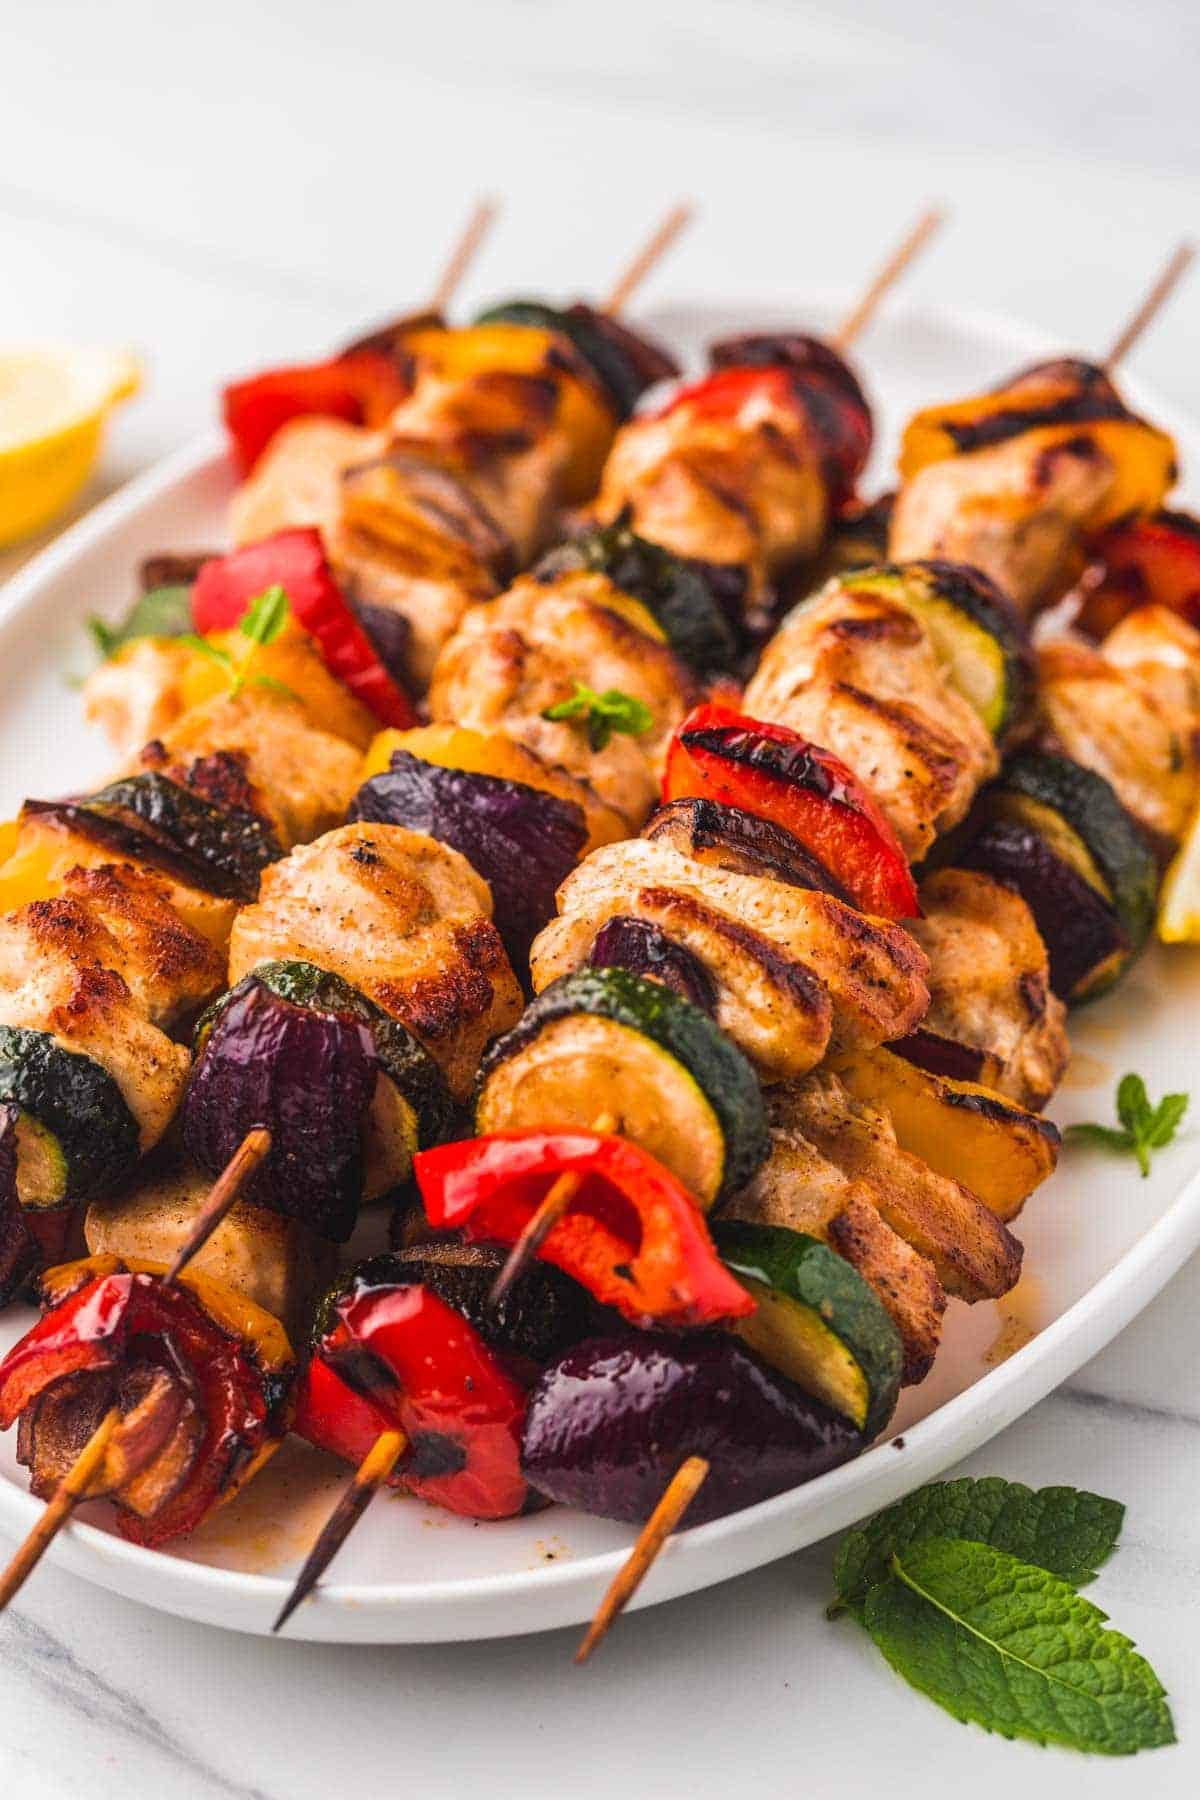
Prep the vegetables and the chicken. Cut the brined chicken into 1-inch cubes, and cut up the vegetables into similar size. You want to think about how the chicken and the vegetables will be threaded on the skewers, and have a similar size so they cook evenly. Make the marinade. To make the marinade, combine all of its ingredients in a small bowl. Season the chicken and the vegetables. Toss the vegetables in half of the marinade, and add the rest to the chicken and give it a good mix so the chicken is coated evenly and well seasoned. Heat up the grill on medium-high heat or 375℉ (190℃). Thread the chicken and vegetables onto your skewers. I do this randomly but try to alternate between chicken and different colors of vegetables. I like to use red onions at the beginning and end of each skewer as they are the firmest vegetable. You can prep the skewers ahead of time, cover with plastic wrap, and store in the fridge for up to 3 hours. I noticed that after 3 hours the chicken will start breaking down, so I don’t recommend marinating it for longer than 3 hours. But if you would like to prep this a day before, you can chop everything up and prepare the marinade then marinate and thread onto skewers on the next day.
How Long to Grill Chicken Kabobs
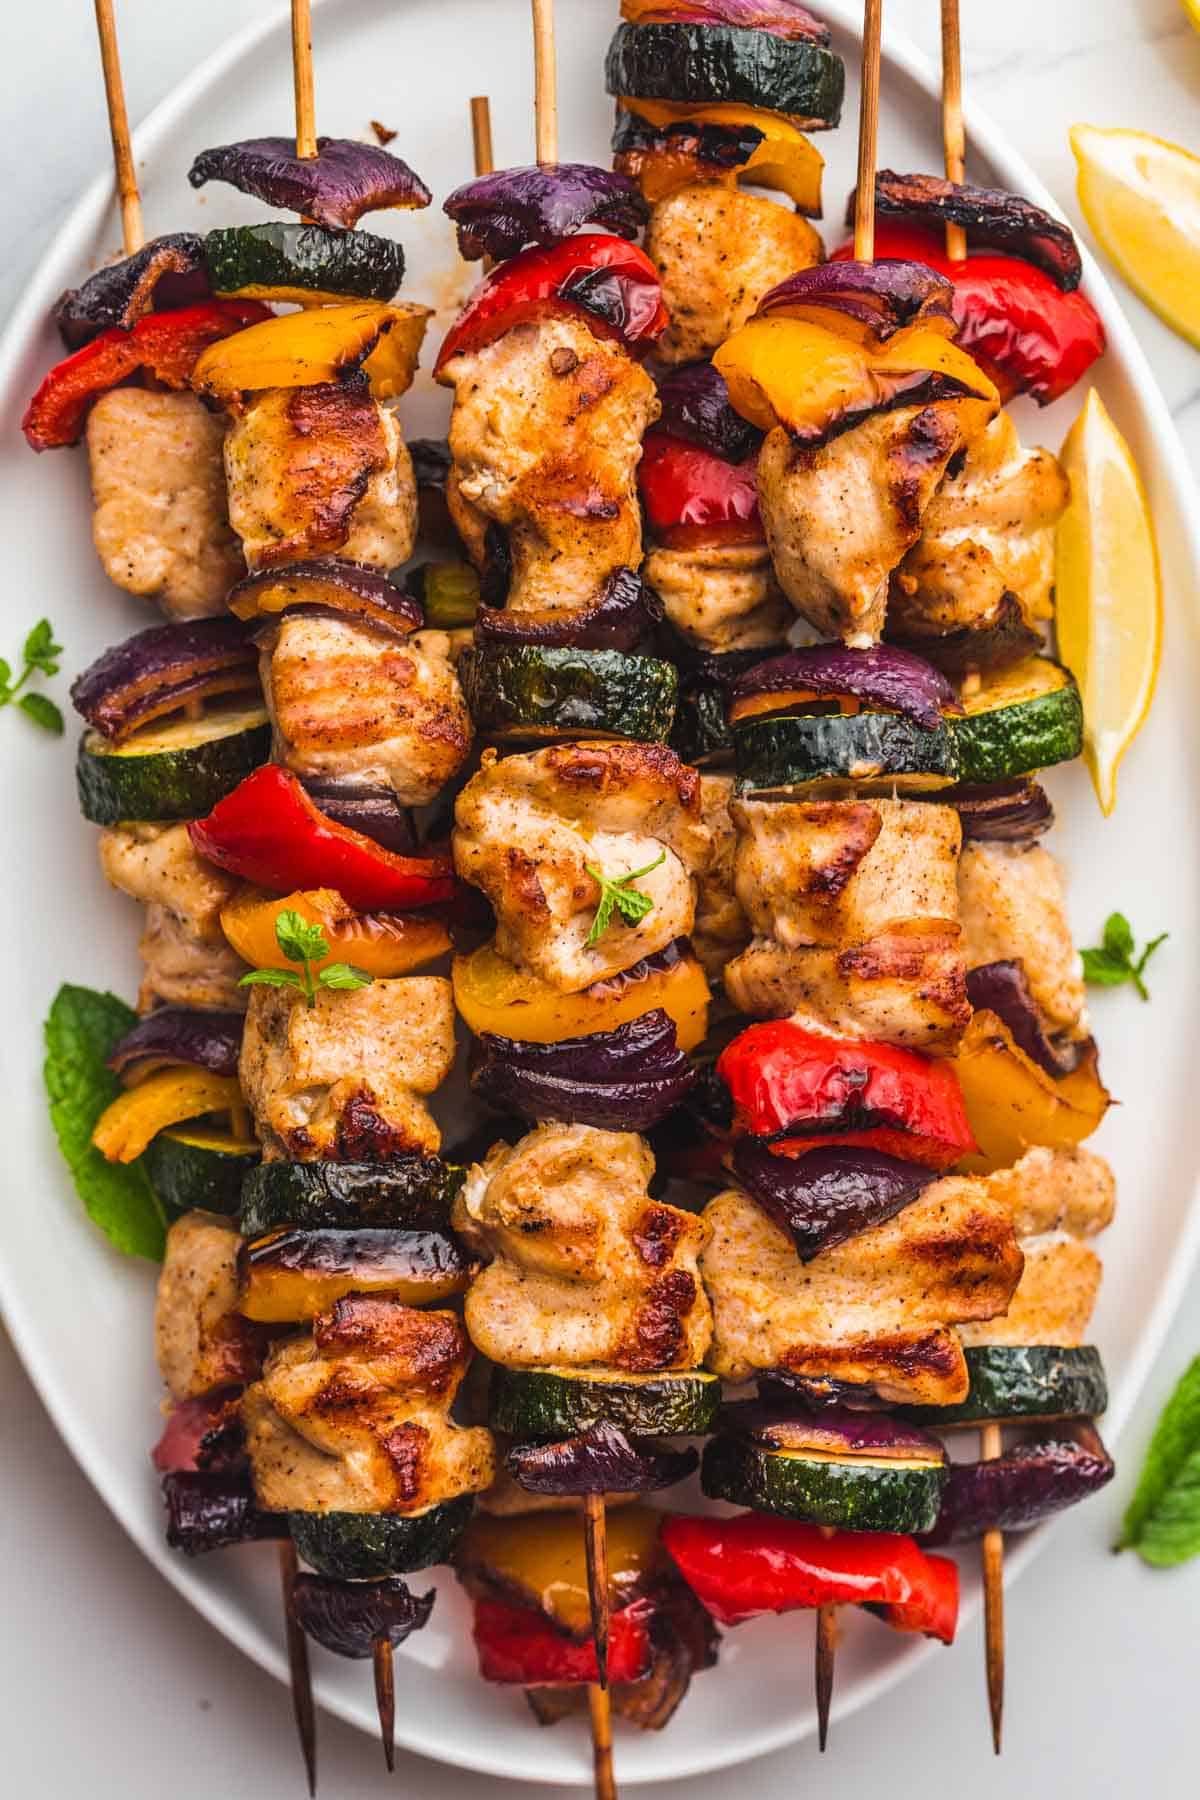
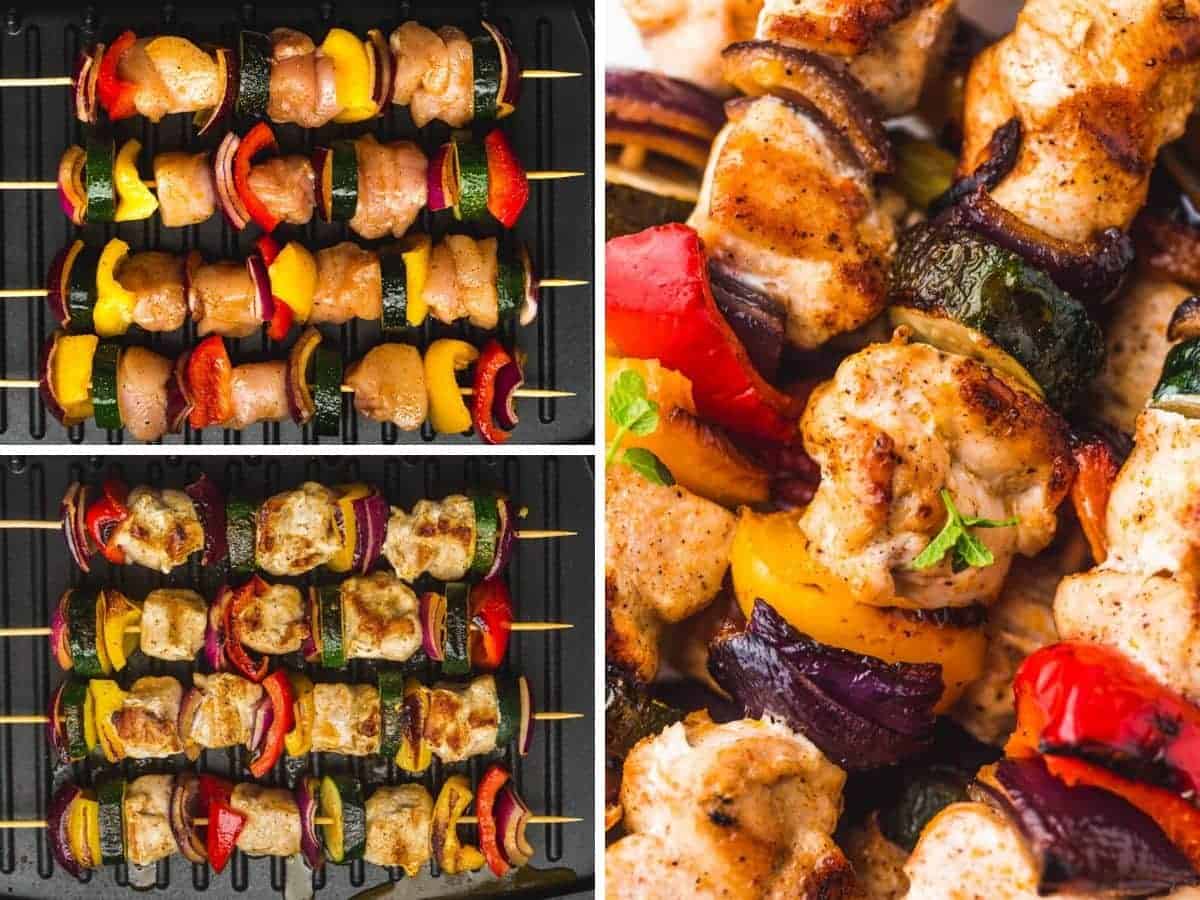
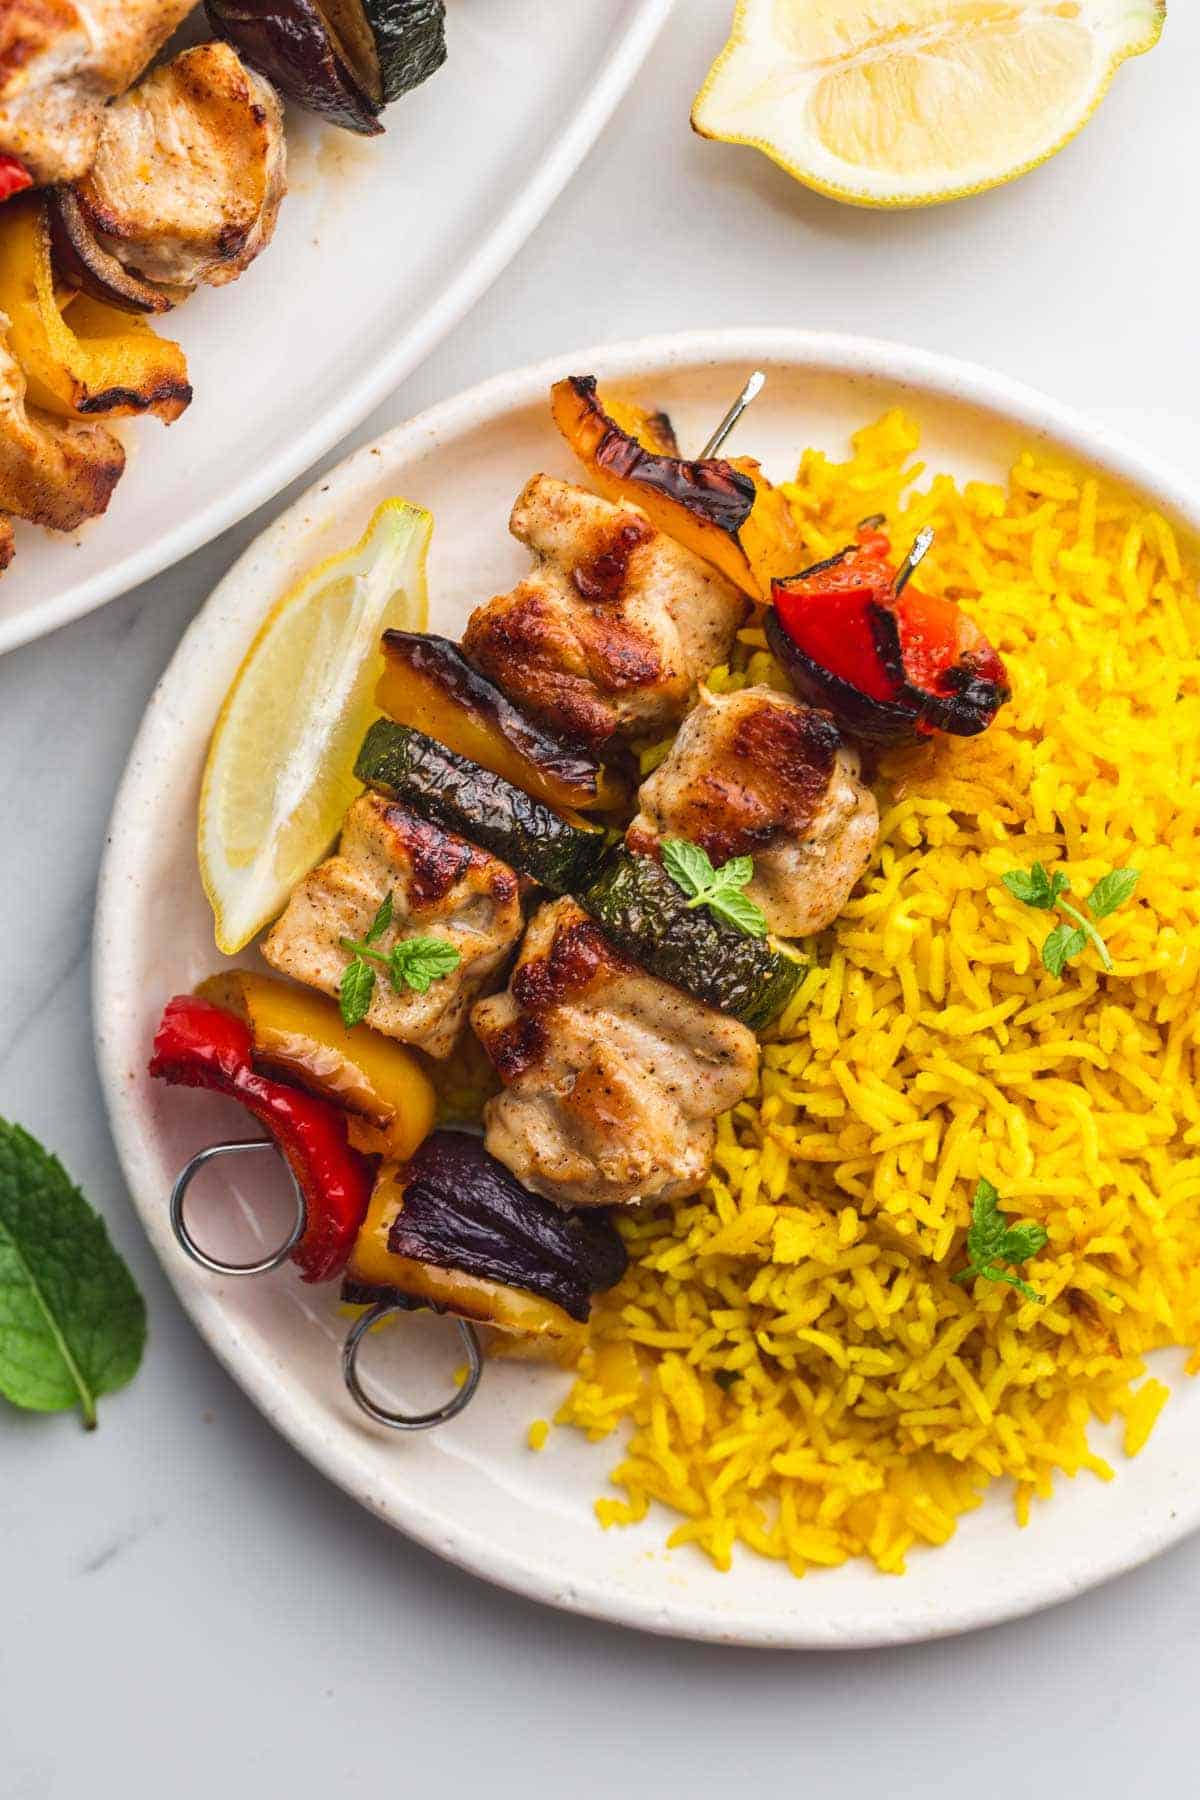
Grill! Place the skewers on your preheated grill, the grilling will take around 10-15 minutes turning halfway through (about 5-7 minutes per side). Make sure that the chicken is cooked through and is golden brown, but avoid overcooking the chicken as it can dry out and become tough. So keep a close eye on the chicken. Serve – serve the chicken kabobs warm while they’re still tender and juicy. I usually serve grilled chicken kabobs with turmeric rice for its vibrant color and summer taste with a squeeze of fresh lemon or lime juice.
How to Cook Chicken Kabobs in the Oven
If you’re not grilling, you can totally make this in the oven for an easy dinner on a summer (or spring) day! Preheat the oven to 450°F (230°C), and cook for 20-25 minutes turning halfway through.
How to Check the Doneness of the Chicken
The best way to check the doneness of the chicken is by inserting a kitchen thermometer in the center of the chicken piece, and the internal temperature of the chicken should read 165°F or 75°C. If you don’t own a kitchen thermometer, I highly recommend that you invest in one to use for chicken, meat, bakes, and candy making. The one that I’ve been using for the past 6 years is this one, it gives you accurate instant readings within 3 seconds. And I really love it!
Serving Chicken Kabobs and Vegetables
You can serve these grilled chicken kabobs on their own, but I like to jazz things a little and add things like rice, salad, and dips to create a complete meal. Here are my favorites:
Turmeric rice – a great way to add even more color to the food, and it’s just like sunshine on a plate!Creamy coleslaw! A classic that works great with any type of grilling.Hummus – serve with garlic hummus, or beet hummus as a dip on the side.Salad – A potato salad is always on the menu, this tahini salad is great with chicken kabobs, and a simple pasta salad for the little ones! Greek Orzo Salad or Pearl Couscous Salad are both perfect with kabobs too. Baked potatoes on the grill and grilled portobello mushrooms are also amazing!
© Little Sunny Kitchen