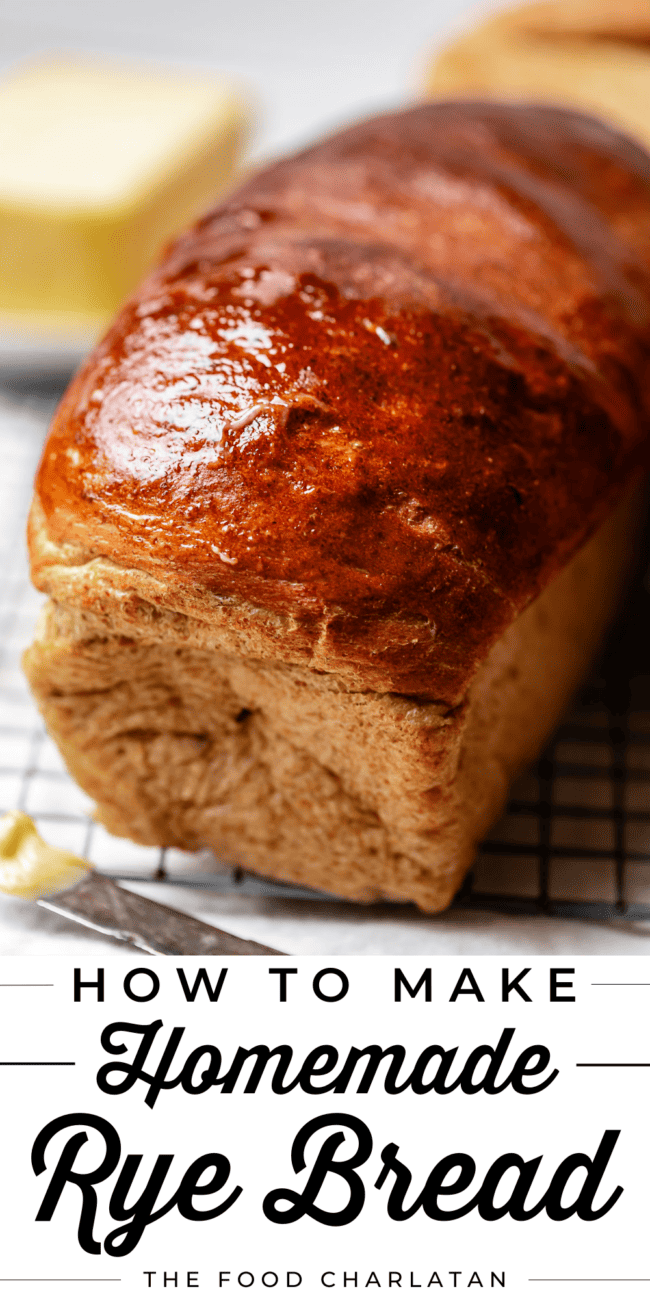
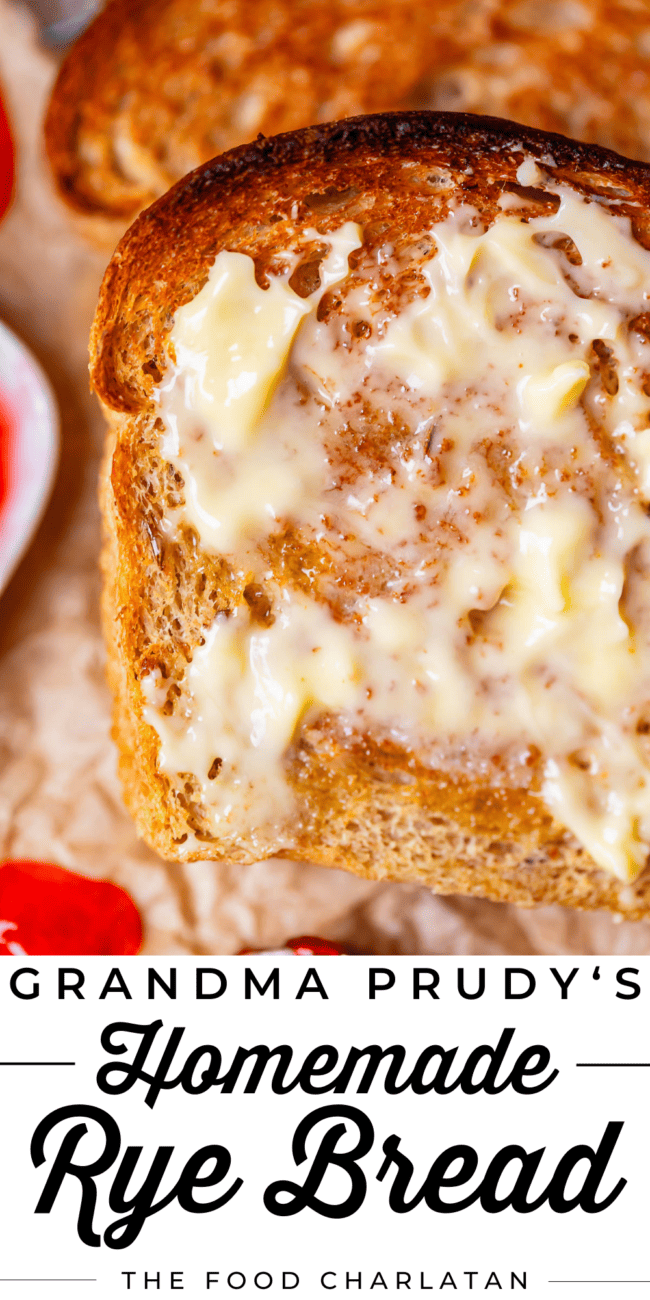
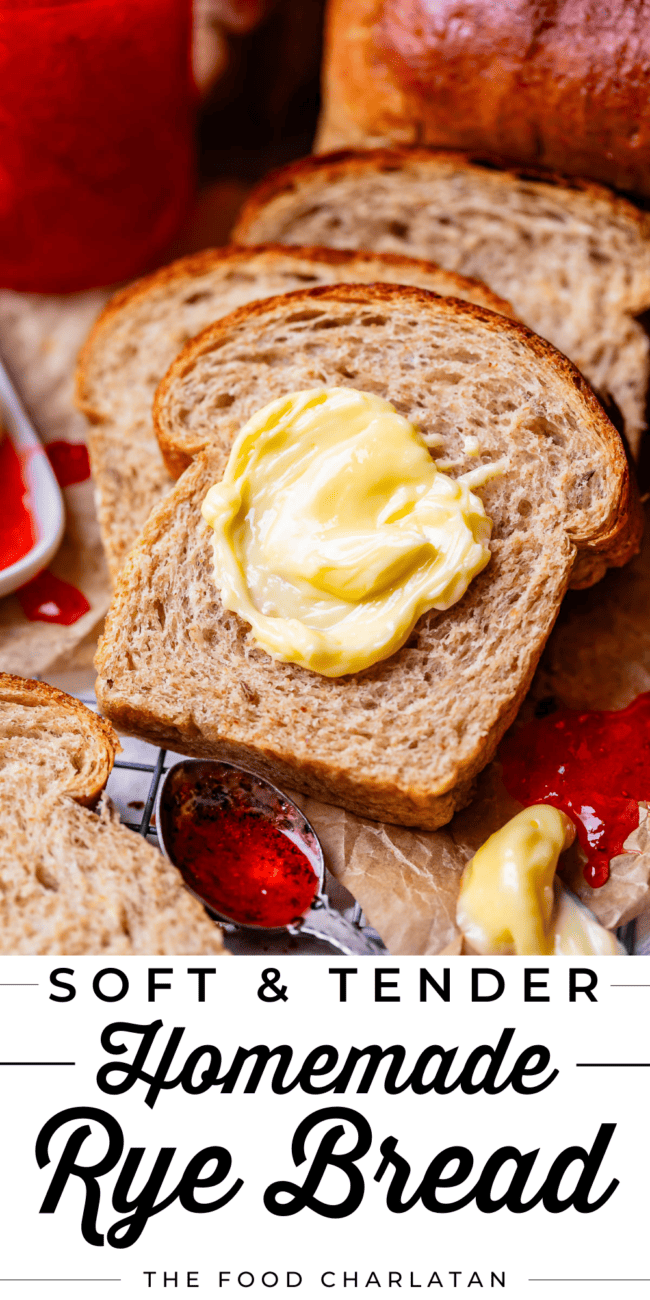
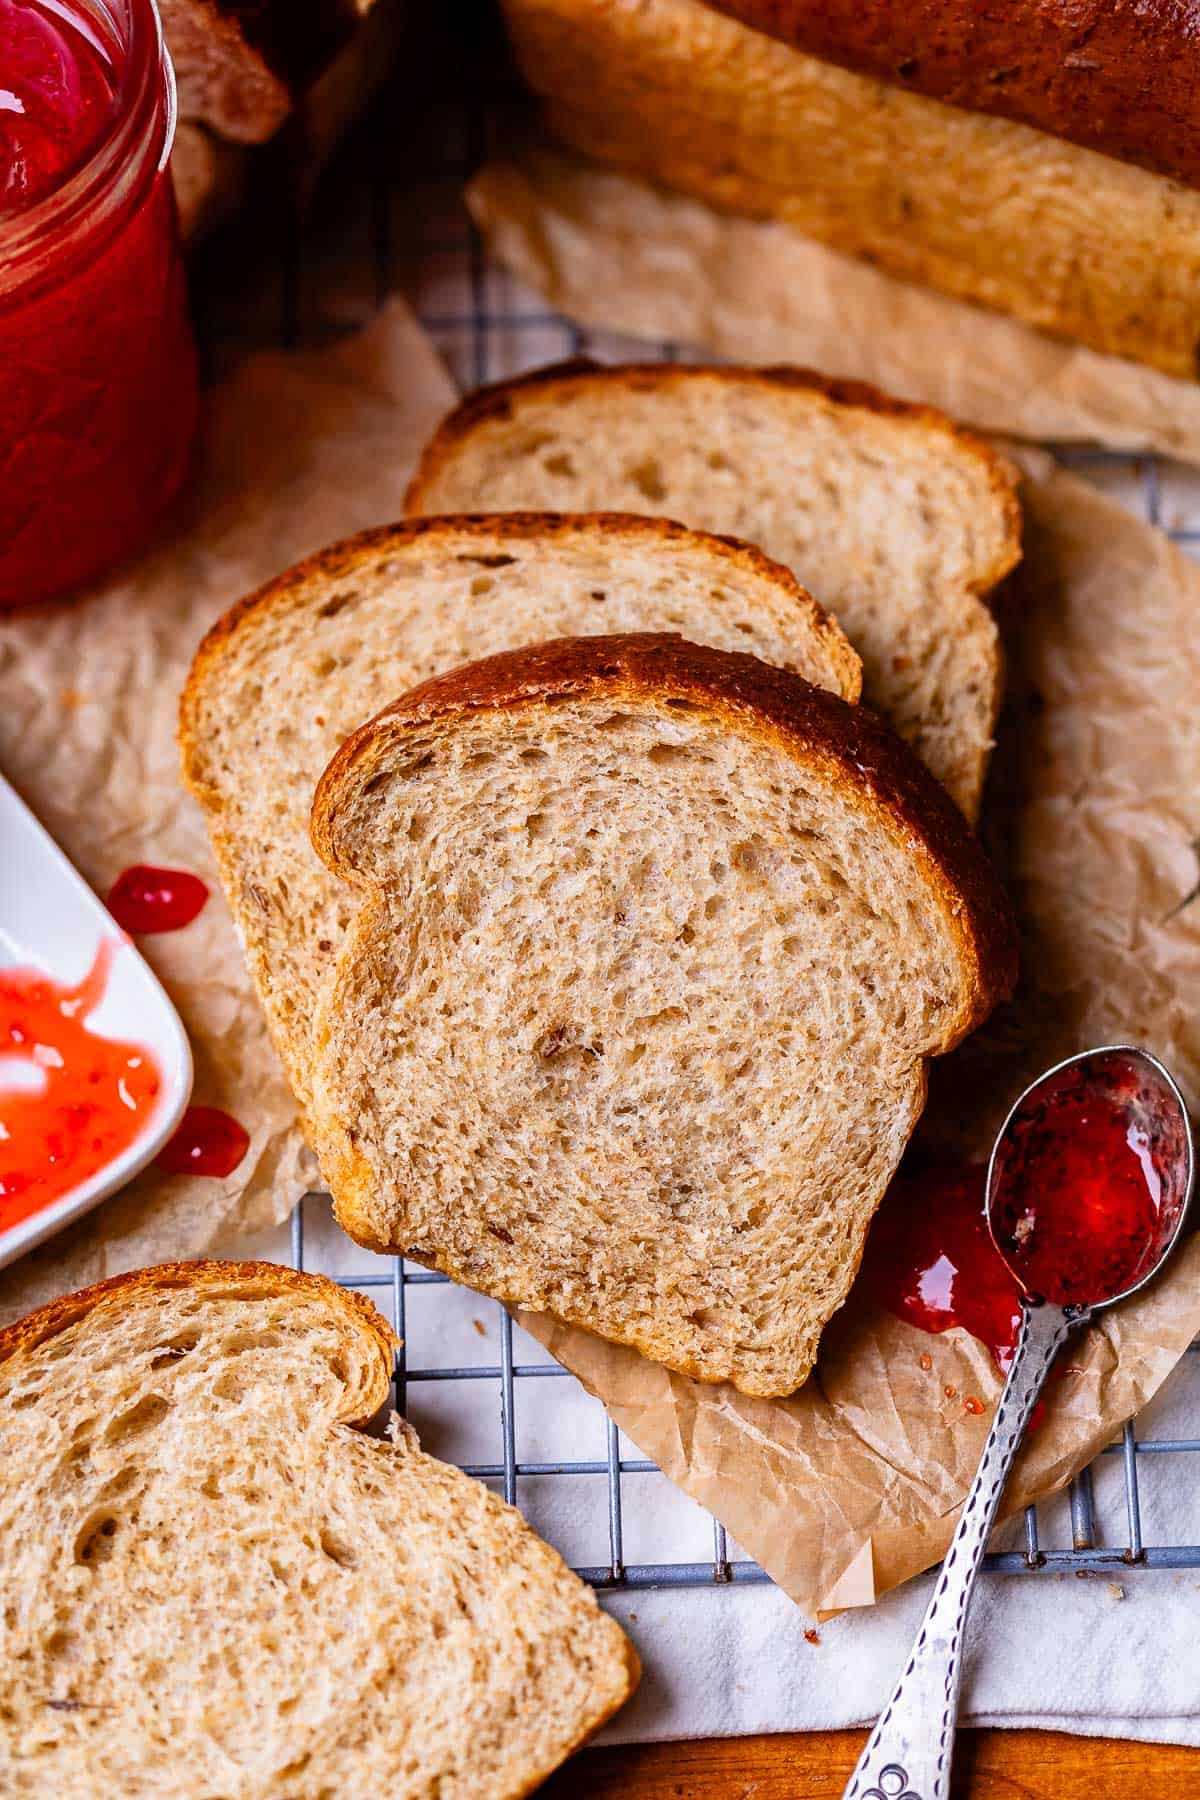
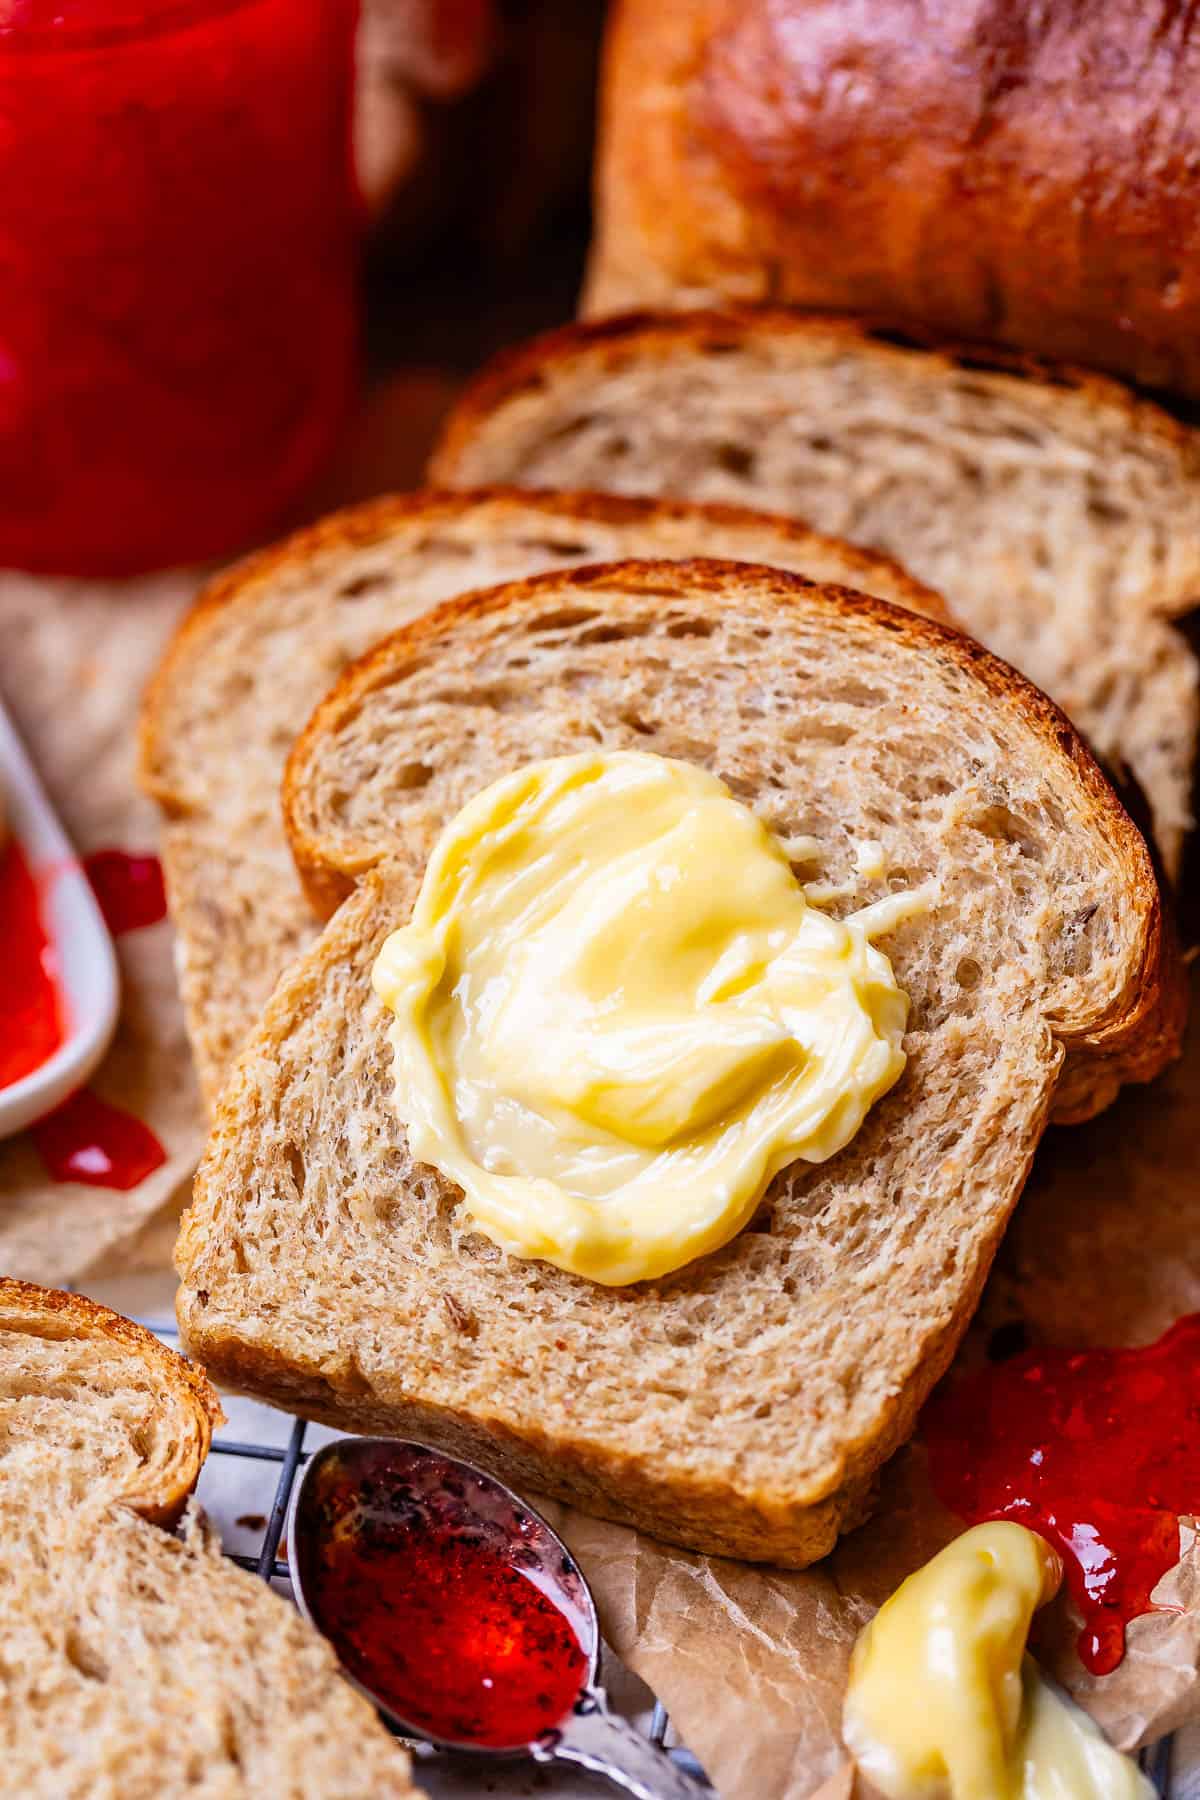
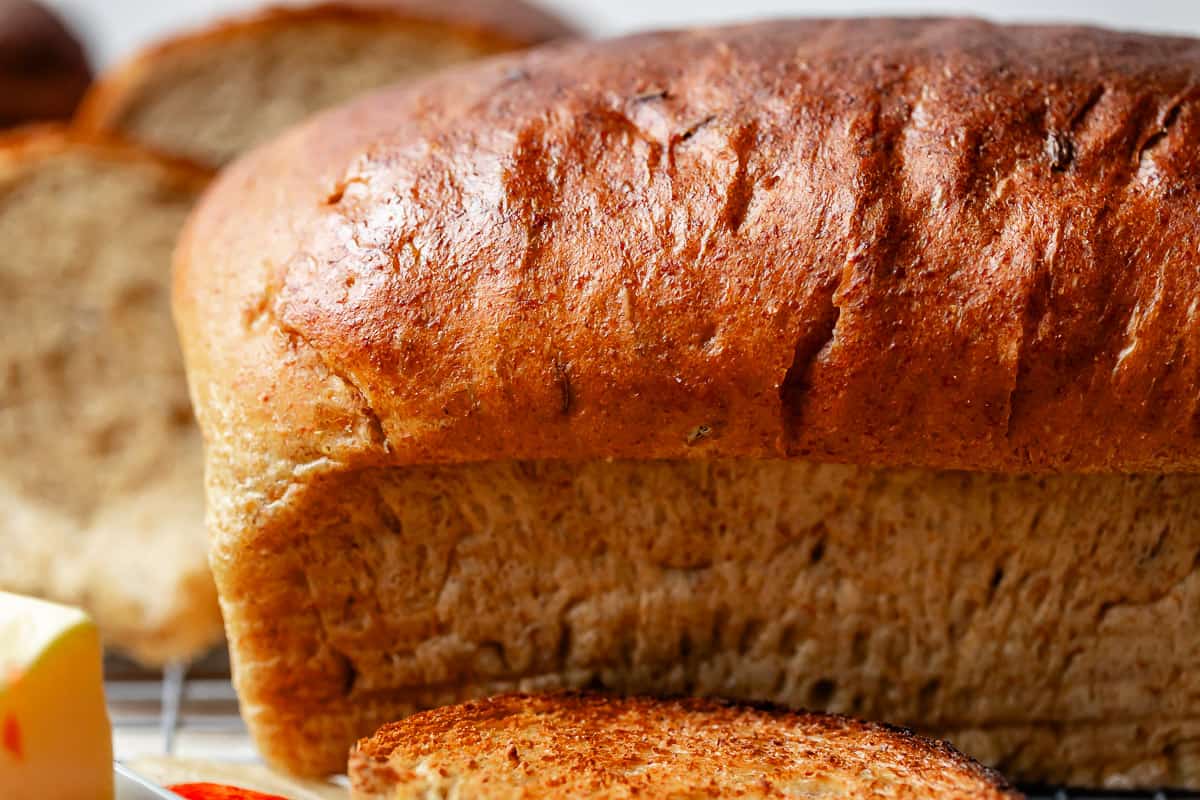
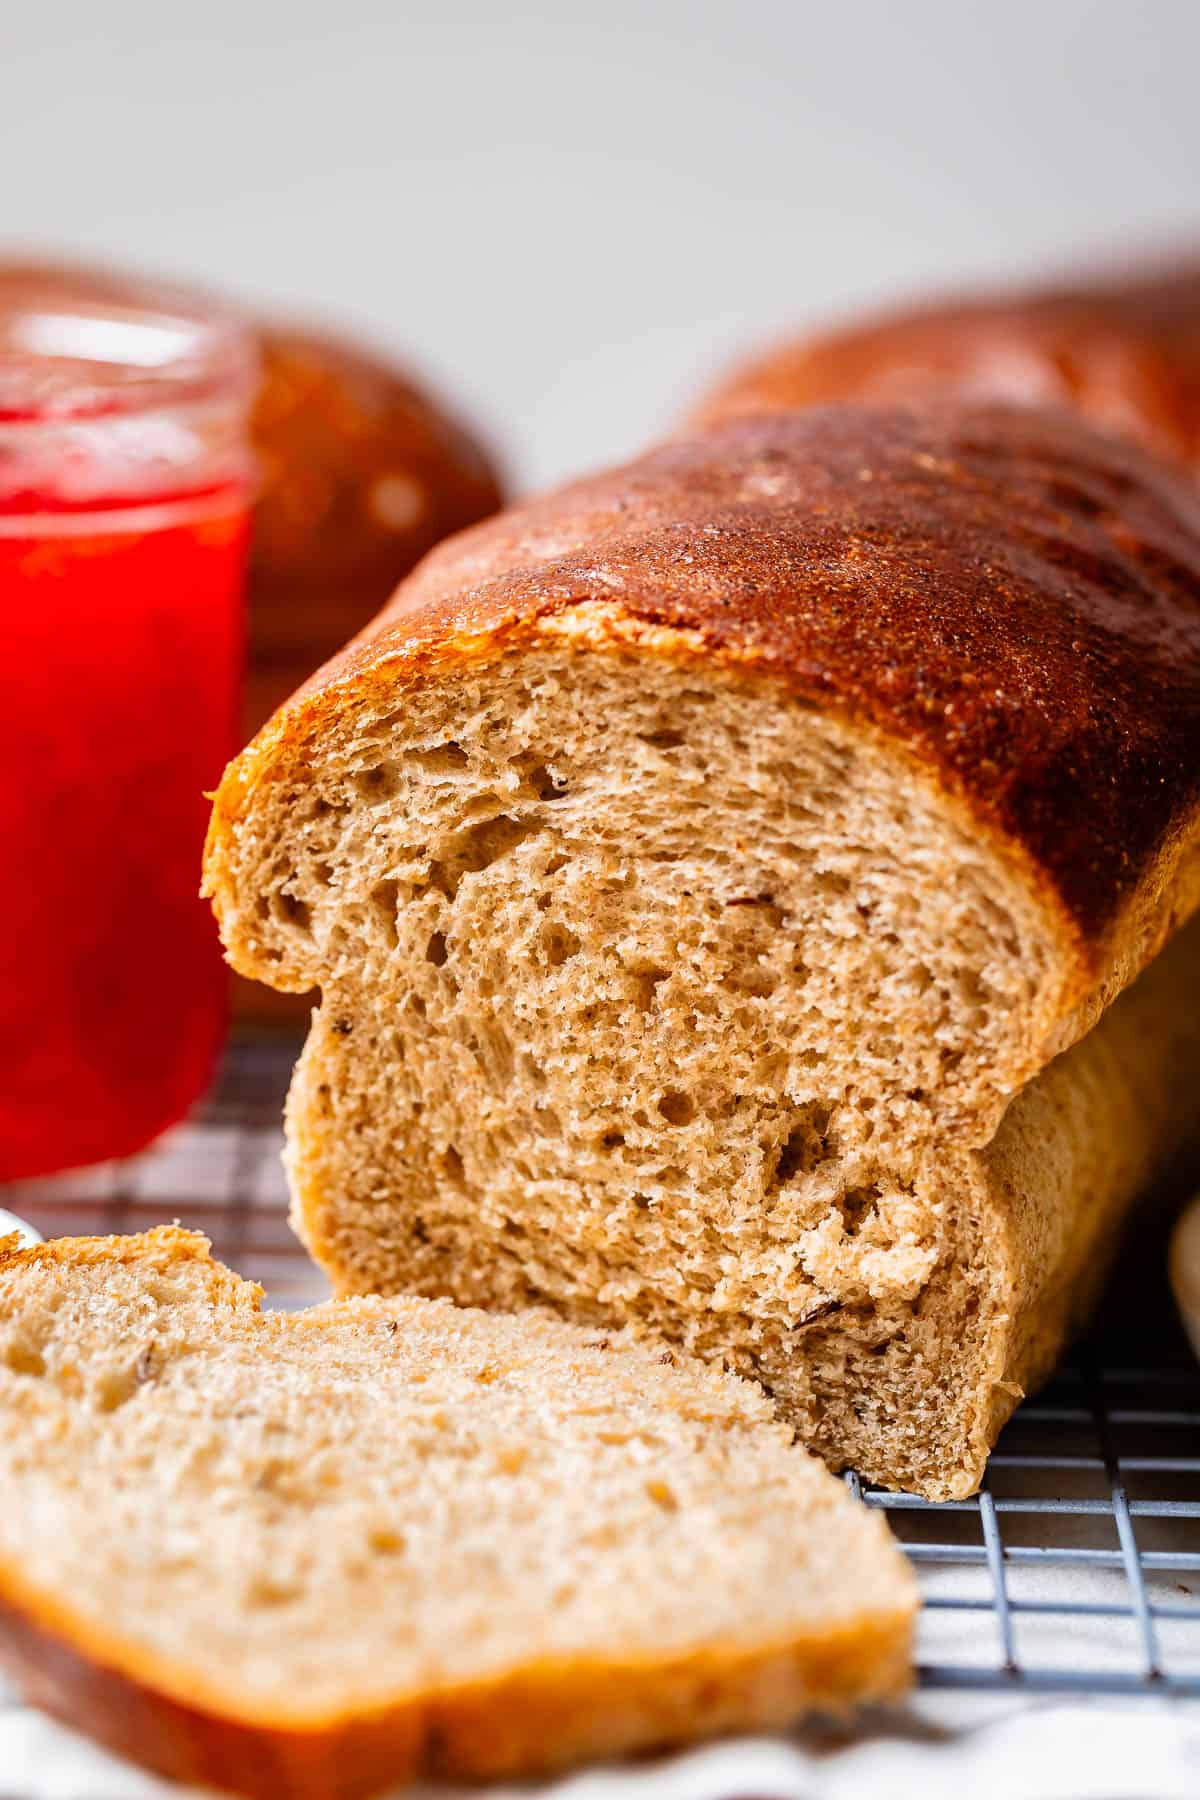
When I married into my husband Eric’s family 15 years ago, one of the first things I found out (besides their cutthroat competitiveness over board games, insistence on using cloth napkins at every meal, and obsession with Spritz cookies), was that Swedish Rye Bread is 100% worth the family fights I kept witnessing over who got to eat the last slice. When they first said Spritz Cookies, Cardamoms, and Butter Pecans, I smiled and nodded. I pictured those pointless cardboard cookies you can buy at the drugstore in little tins at Christmastime. I have since learned the error of my ways. Nothing compares to a freshly baked Swedish cookie. When they first said Rye Bread, I pictured the dark, heavy, swirly-looking bread that is chocolate-dark, like pumpernickel bread. I only knew about Jewish or German style rye bread, made for a sturdy Reuben sandwich. It is not at all like the tiny, fluffy-like-a-cloud slices I could not stop toasting, slathering with butter, and shoving in my mouth on repeat. Needless to say, the bread heritage on my side of the family is a little underwhelming. (Except aunt Shirley, she’s really is the queen. She gave the world these Homemade Dinner Rolls.) One of the best parts about getting married is doubling your family, and I’ve made it my life’s mission to master all the old Swedish recipes Eric’s family loves so much. Facebook | Pinterest | Instagram Here is Prudy, on the right with her husband Carl, at their son’s wedding (Eric’s grandpa) in 1955. A legend, right? Honestly, this is the kind of community-building I aspire to. I can’t wait to meet Prudy one day! “That’s hard to do…it’s nuttier. Somehow it seems seedier. It’s kind of like whole wheat, without it being whole wheat if that makes sense?” It is indeed the color of whole wheat bread, but it is much lighter and softer than whole wheat bread. It is not dense, at all. It is soft as a cloud, yet somehow chewy and hearty, with a nutty, earthy flavor. It is more complex and flavorful than regular white bread. It honestly is kind of hard to describe. When was the last time you ate anything with rye flour in it? It’s just unique. The bread has caraway seeds in it, which I absolutely love, but you can leave them out if you don’t like caraway. Technically rye is a savory bread, but that doesn’t stop Eric and I from slathering it with jam every chance we get. Kris thinks this is weird with the caraway, but maybe I’m just a little obsessed with jam, okay? I say it’s good any way you slice it. See below for more ideas on what to serve with rye bread.
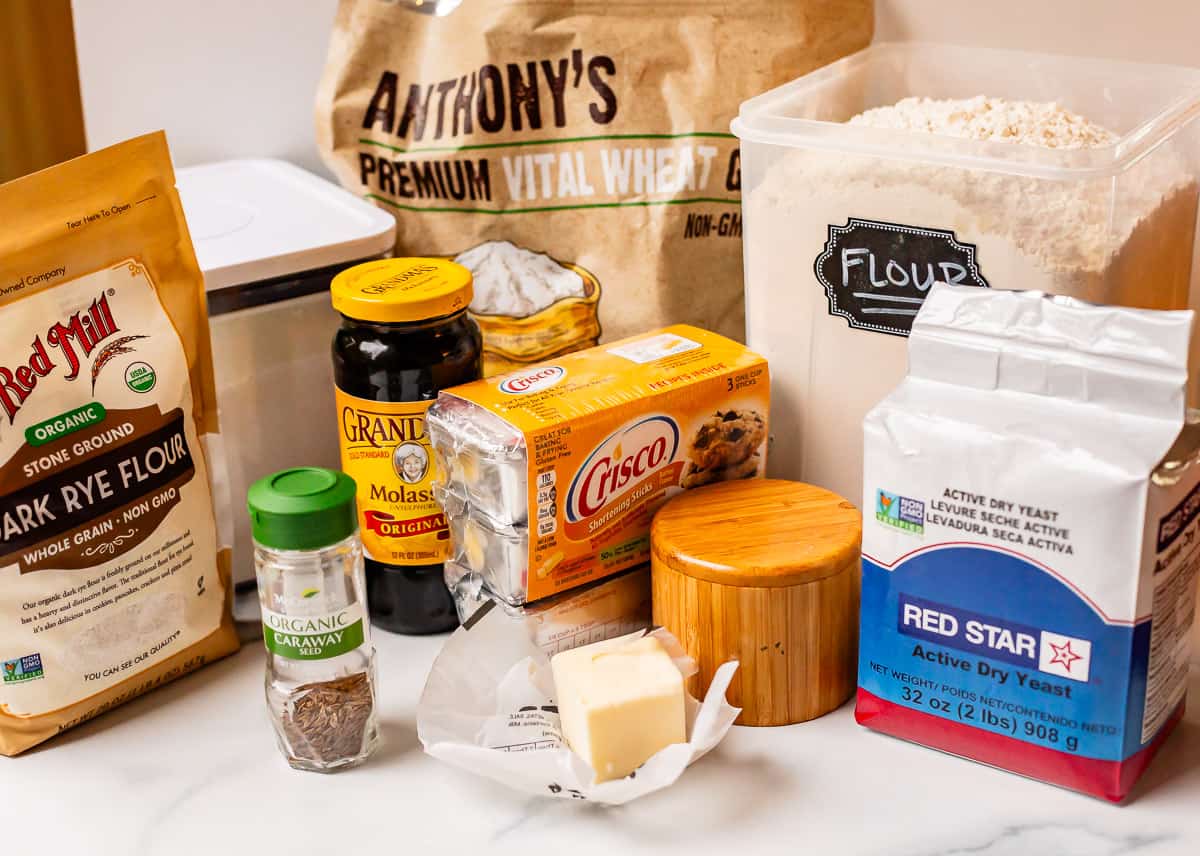
Triple rise. Most breads call for one rise in the bowl, then shaping into loaves to rise again, then baking. This rye bread recipe calls for TWO rises in the bowl before shaping the bread, one hour each, and then a third rise in the pans. This is annoying, yes, but not really optional. Rye flour is very low in gluten, meaning it does not rise as well as breads made with wheat flour. We make up for it in time and another special ingredient: Vital Wheat Gluten. This added protein helps make up for the lack of gluten in rye flour mentioned above. I’m obsessed with vital wheat gluten and add it to ALL my breads, even ones with all wheat flour, like this Homemade White Bread recipe. It provides structure in your dough, providing a nice home for the gas emitted from the yeast to live; this CO2 hanging out in between bread proteins is what makes your bread puff up. Not adding too much flour. This dough is not the same as regular wheat bread dough. It is way more sticky. With most bread recipes you need to add flour until the dough is no longer sticky, until it’s workable and you can handle it easily. Rye bread is different. If you add enough flour that it’s not sticky, you will get a dense, heavy loaf every time. We don’t even shape the bread on a floured surface, we use an oiled workspace instead. Molasses gives the best robust flavor and is a classic sweetener in rye bread Shortening makes the bread super soft. You can replace it with butter, but it won’t make your bread quite as pillow soft as shortening. Kosher salt. I add at least 2 teaspoons. Salt acts as a magnifier for the other flavors in the bread (and indeed, in anything.) If you only have table salt, add 1 and 3/4 teaspoons. In her later years, Grandma Prudy’s doctor told her to reduce her sodium intake, and Prudy was not messing around. She eliminated ALL salt from ALL of her recipes. Kris talks all the time about how nothing was the same after that 😂 I promise, the salt you add to your baked goods is not your sodium problem.
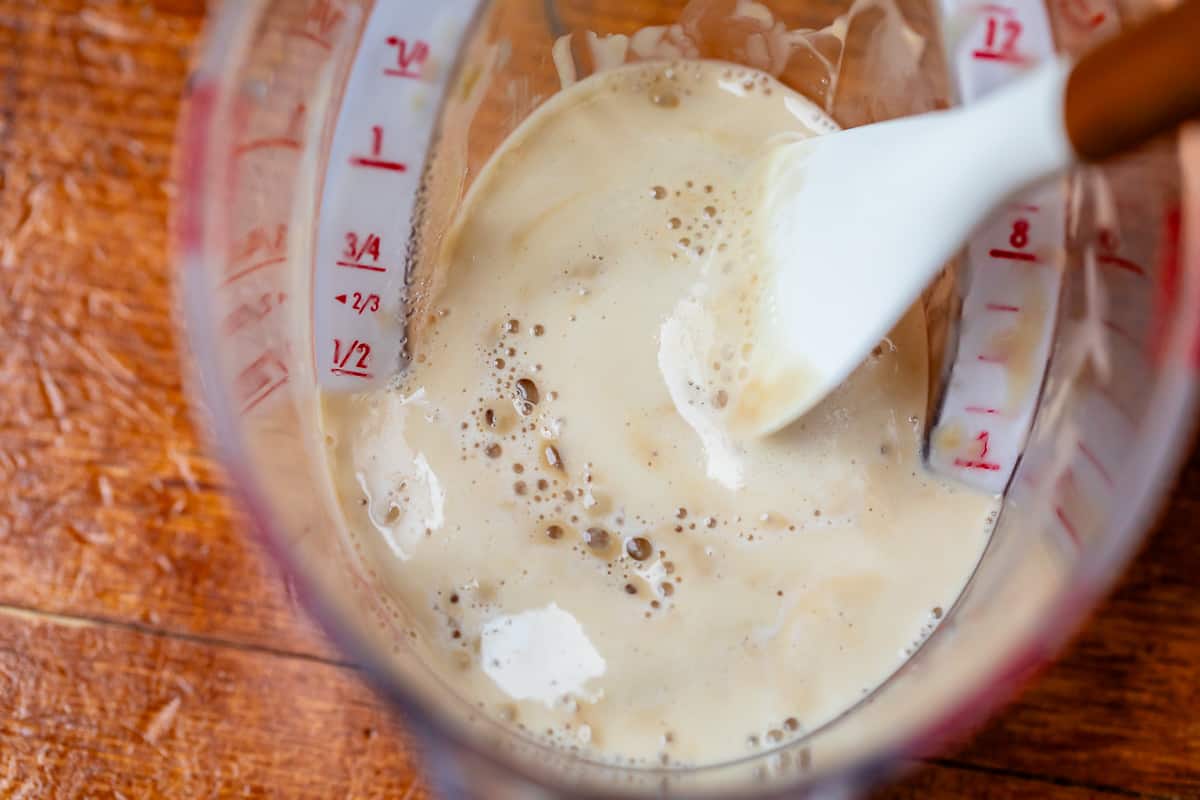
Once you see bubbles coming up out of your yeast mixture, you know it’s alive and well. If there are no bubbles, ya done killed it, dump it and start over. Tasteful infanticide joke here? Nah
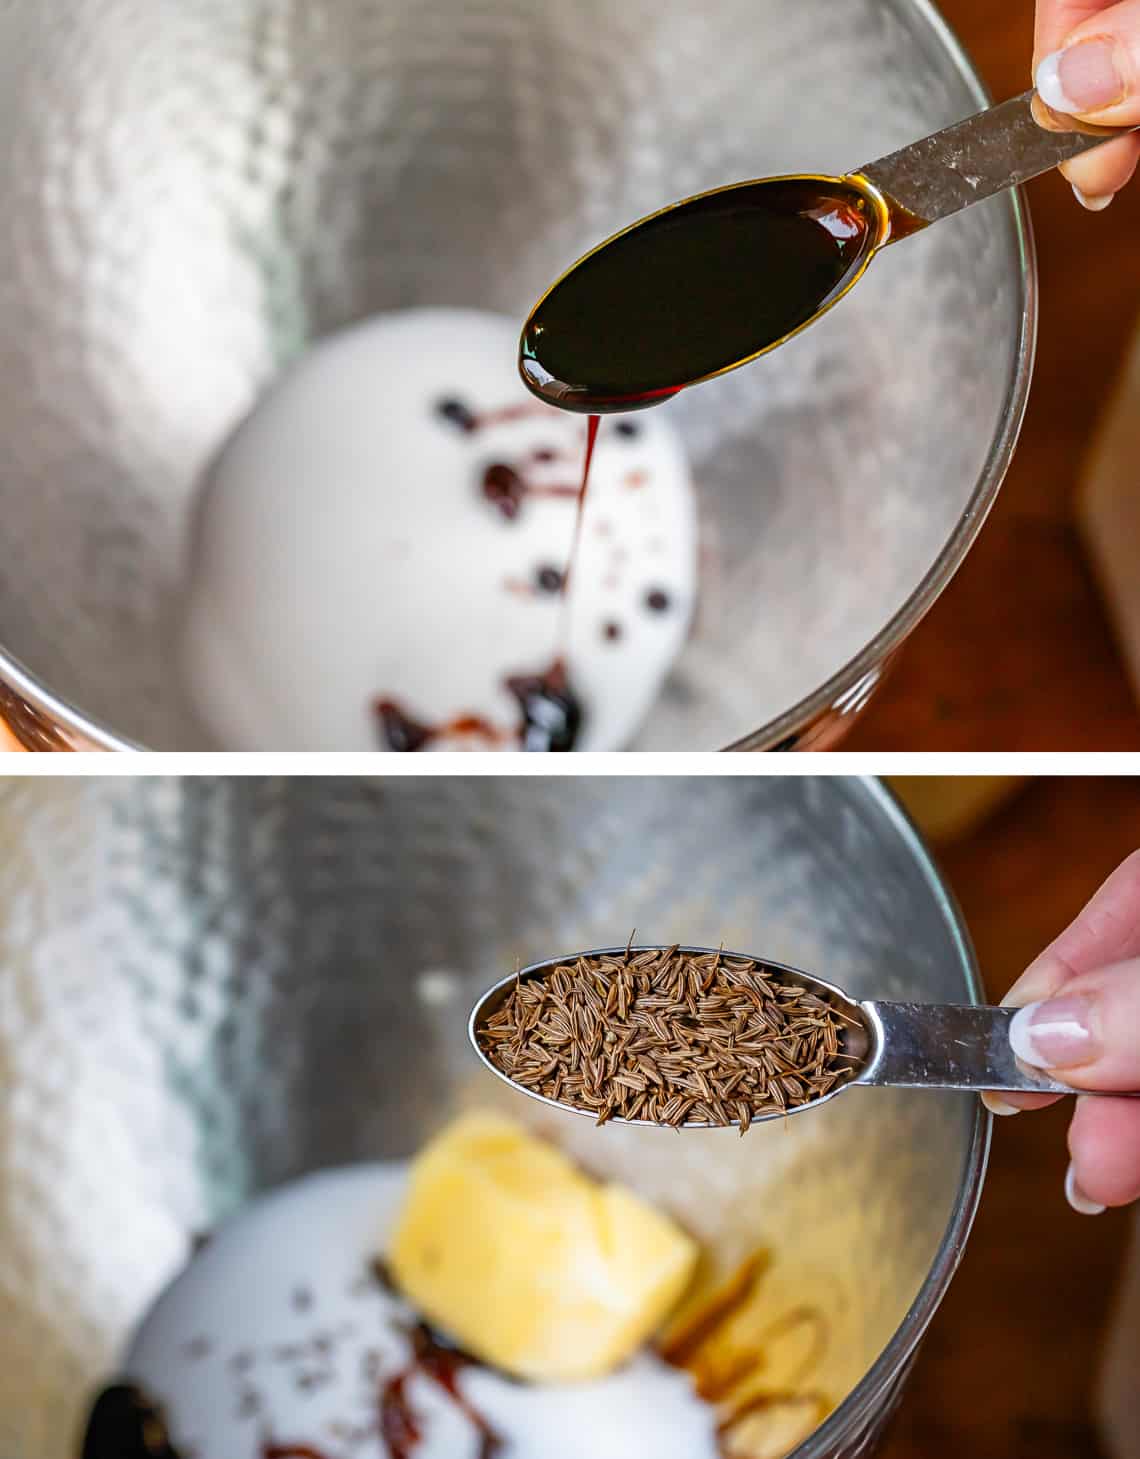
Now it’s time to add in that classic rye bread flavor:
Molasses adds a deep, complex sweetness, and caraway seed intensifies rye flour’s already earthy, bright, and slightly bittersweet flavor. Have you used caraway before? So delicious.
We’re also adding in more water, sugar, shortening, and salt. Scroll down to the recipe for all the details! I just want to show you pictures of the important parts so you can see the technique.
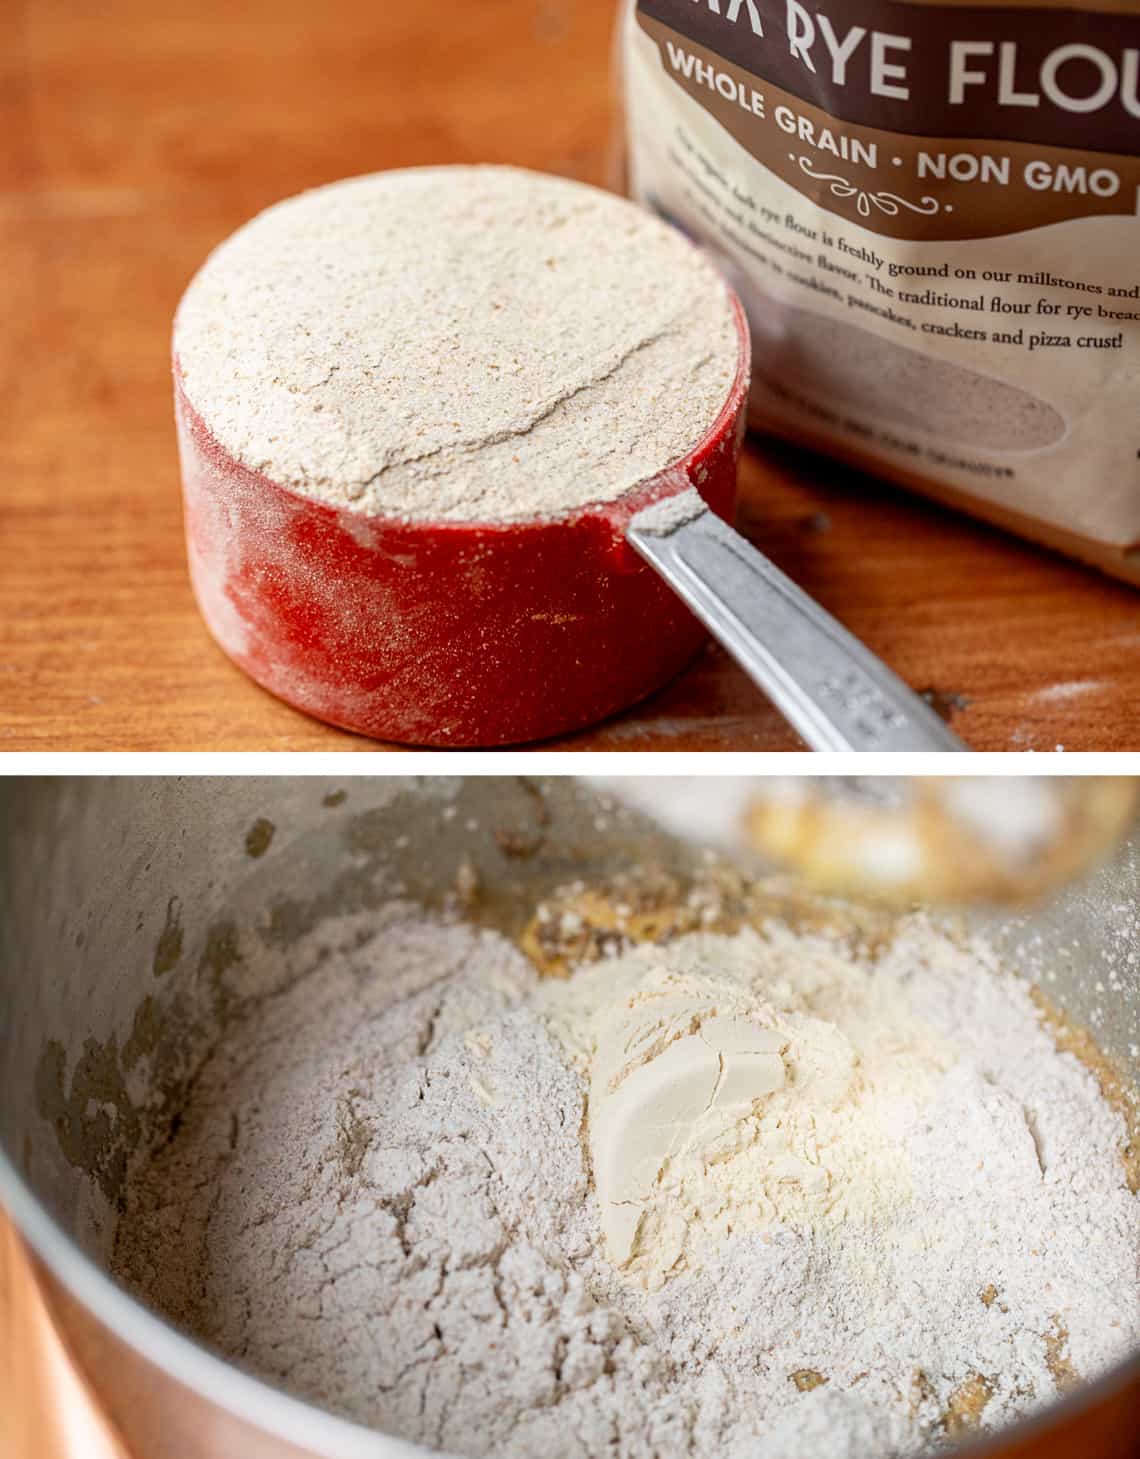
Here is what rye flour looks like. It’s a little more grainy, it’s not as fine as all purpose white flour. Flavor you can SEE! Someone on the Grains Council should hire me to advertise for them.
Add in your rye flour, vital wheat gluten, and 3 cups of the all purpose flour, don’t add in that last 1/2 cup! Be sure to spoon and level your flour. That means use a spoon to add the flour to the measuring cup, then level off the top.
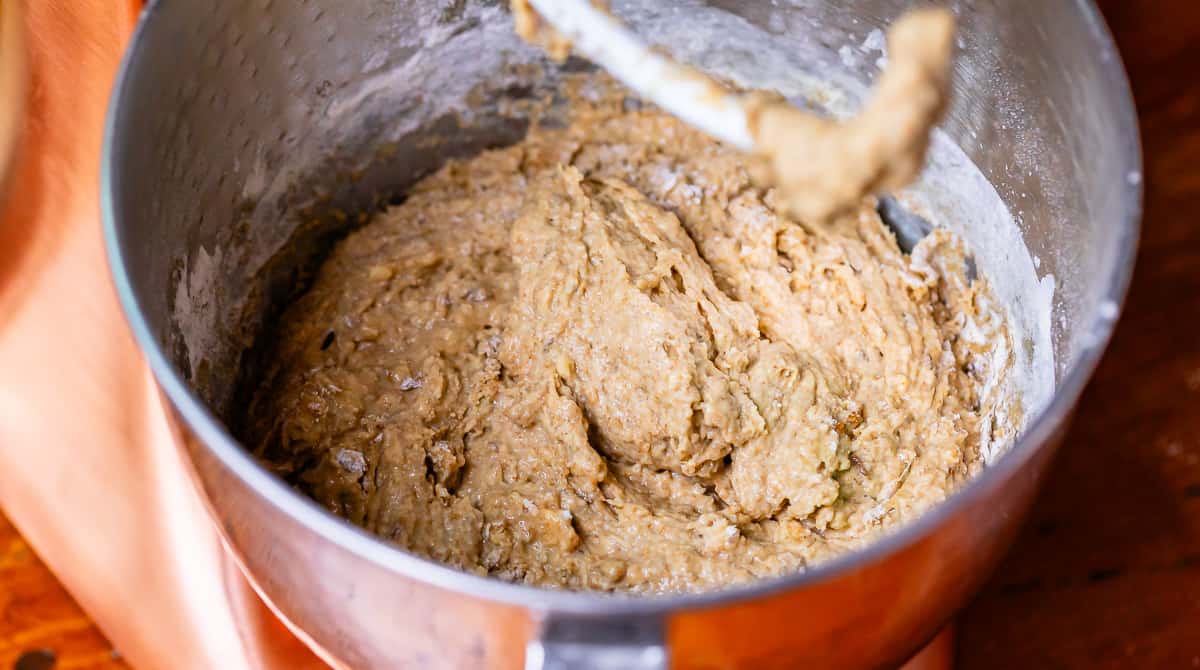
Stir it up until it looks wet and sticky like this. DO NOT be tempted to add more flour right now! It is supposed to be wet and sticky. It is not like normal bread dough. If you haven’t been using the dough hook, make the switch now.
It’s time to get kneading. You want to keep this dough moving for a solid 5-8 minutes. Kneading dough causes the two proteins in wheat flour to combine, making gluten. Gluten acts like a ladder or web, trapping the carbon dioxide emitted from developing yeast, pushing your bread up. Science! One more fun fact: wheat flour has about 3x the amount of gluten as rye flour. This is why we have to combine flours! Rye flour by itself just won’t rise as high.
(If you are kneading this by hand, use the least amount of flour you possibly can! Knead on an oiled surface rather than a floured one.)
As the dough is kneading, measure out your final 1/2 cup of all purpose flour. Add it to the dough a shake or two at a time, with the mixer on, until it is all added in.
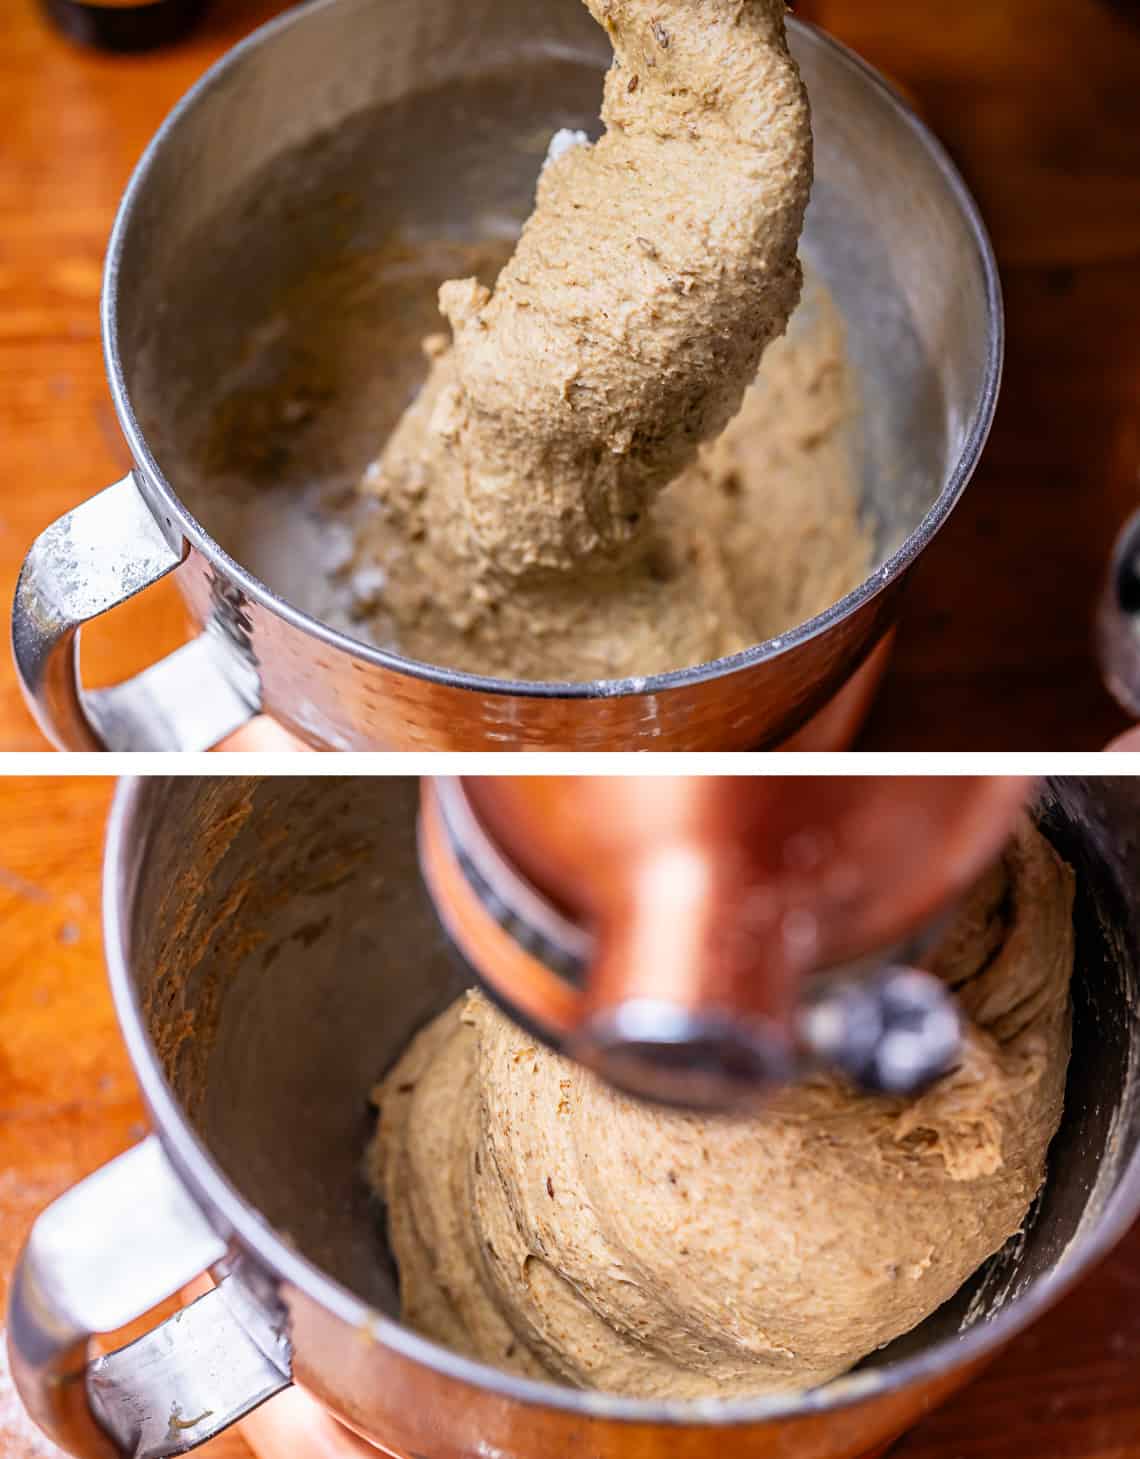
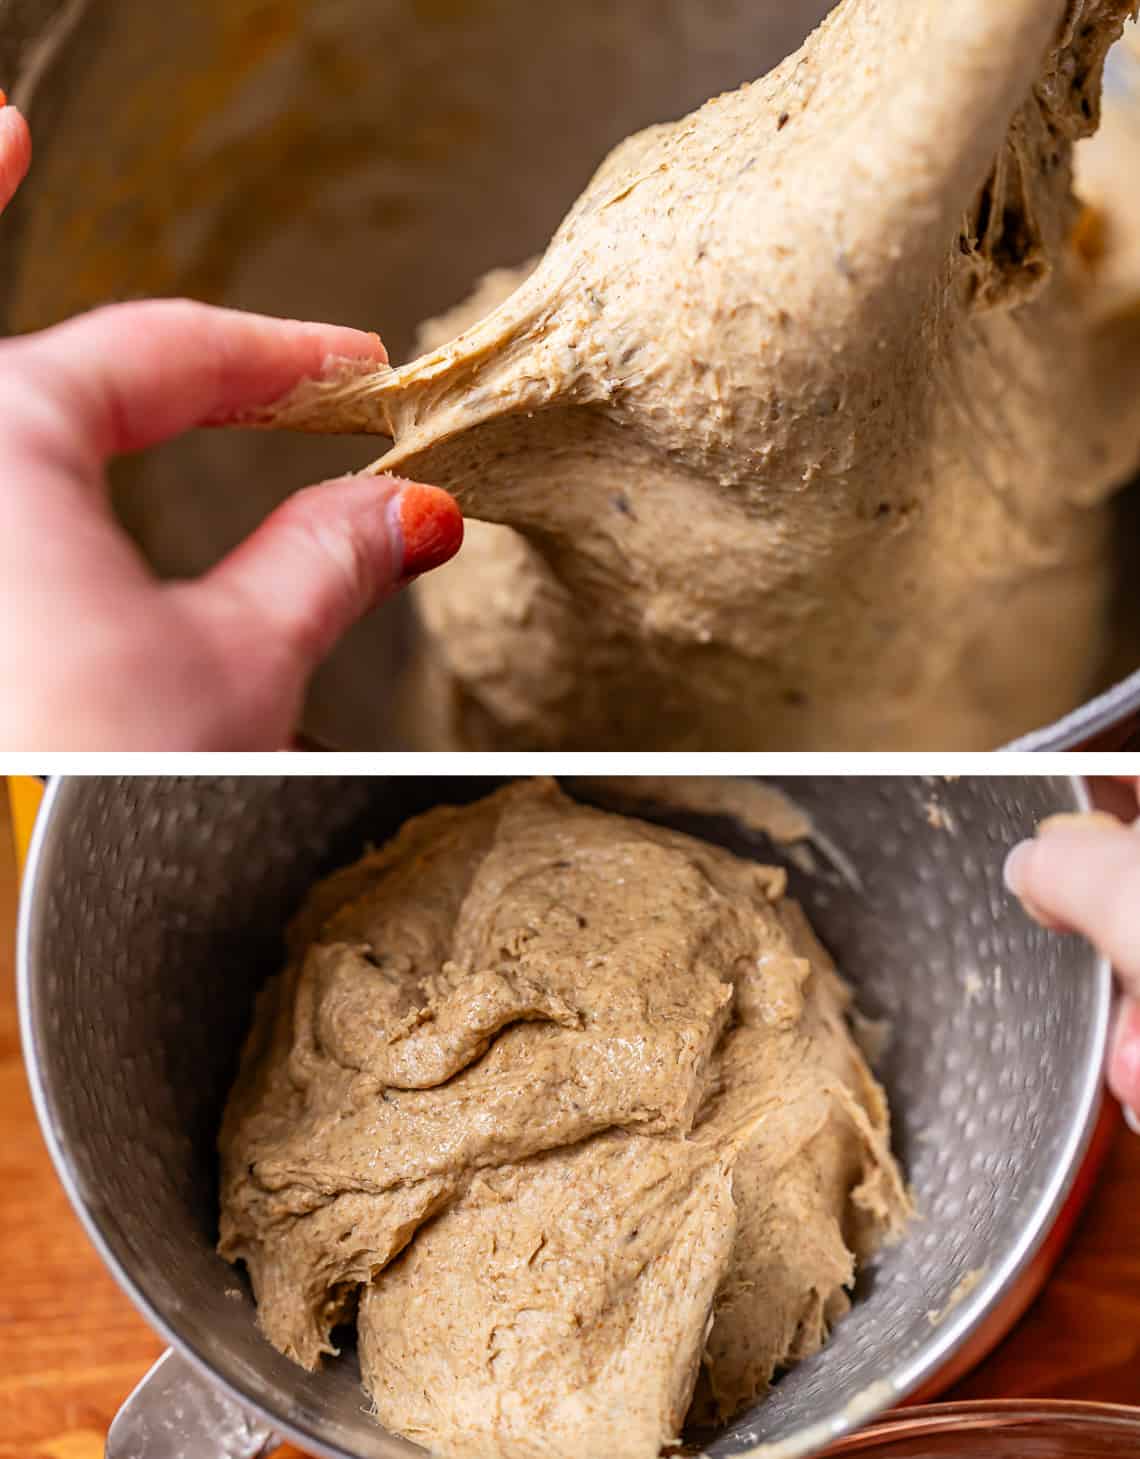
Once all the flour is added in, and it’s been kneading a few minutes, your dough should be kind-of-almost cleaning the sides of the bowl (not the bottom). If it still looks sticky all the way up to the top, add in a couple more tablespoons of flour. But DON’T overdo it! I’m telling you, this is the moment that will make or break your bread, so don’t go crazy with the flour.
This is the final dough, after it’s been kneaded and all the flour has been added. It will stick to your fingers. It is mostly coming together, but is not quite a solid ball of dough.
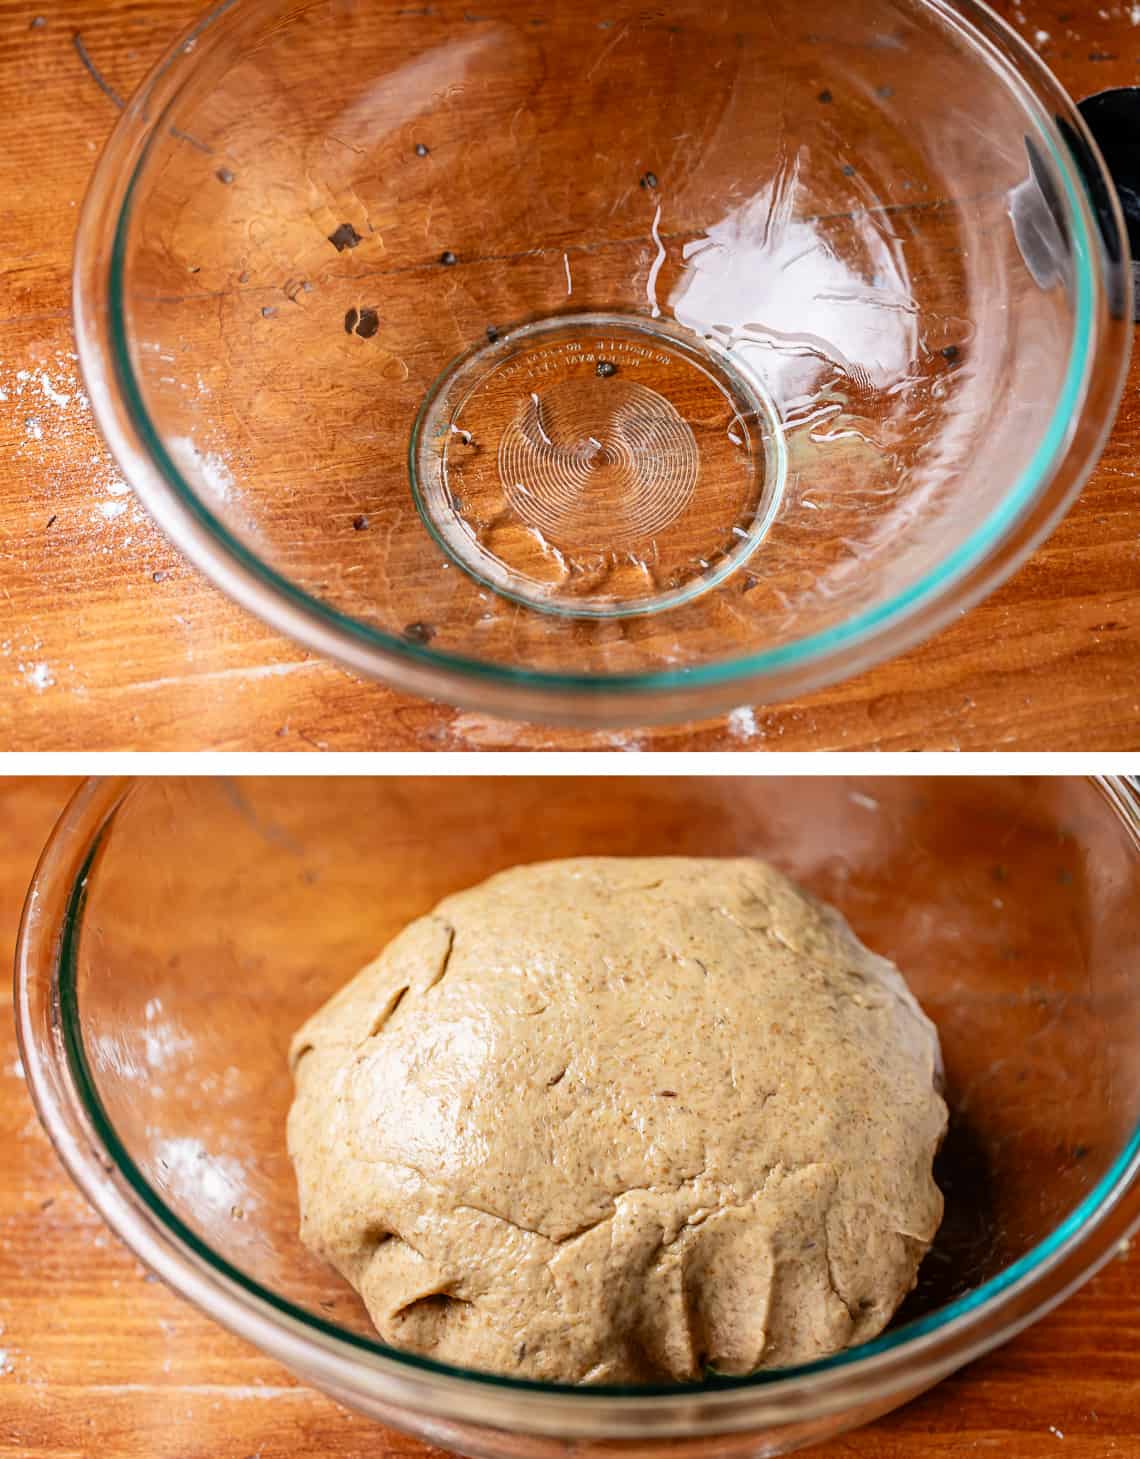
Next oil a clean bowl with a lot of oil, like a full tablespoon. Use your fingers to spread the oil around. We do not want this dough drying out, and we don’t want to add ANY more flour. It’s oil or bust from here on out.
Use your oiled fingers to transfer the dough into the bowl. Shape it into a nice ball, then turn it over so that it’s completely coated with oil.
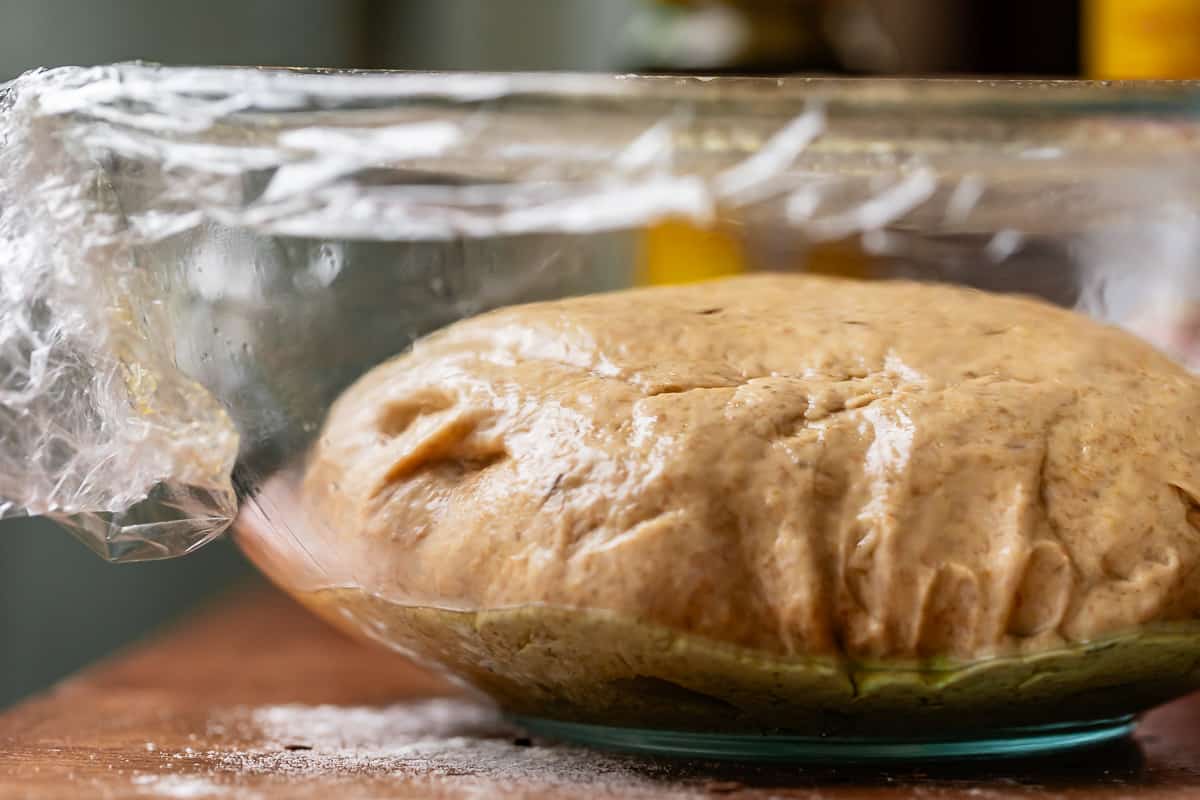
Spray some plastic wrap with nonstick spray and loosely cover the bread. Let the dough rise in a warm place for 1 hour.
I like to turn my oven on to 350 for about 45 seconds, then turn it off. You don’t want a hot oven, just warm. If you can’t touch the racks with your fingers, it’s too hot (leave the oven door open until it’s cooled a bit.) I can’t tell you how many times I have turned my oven on “just for a second” to rise some dough and ended up with a fully hot oven, so set a timer if you’re a doofus like me.
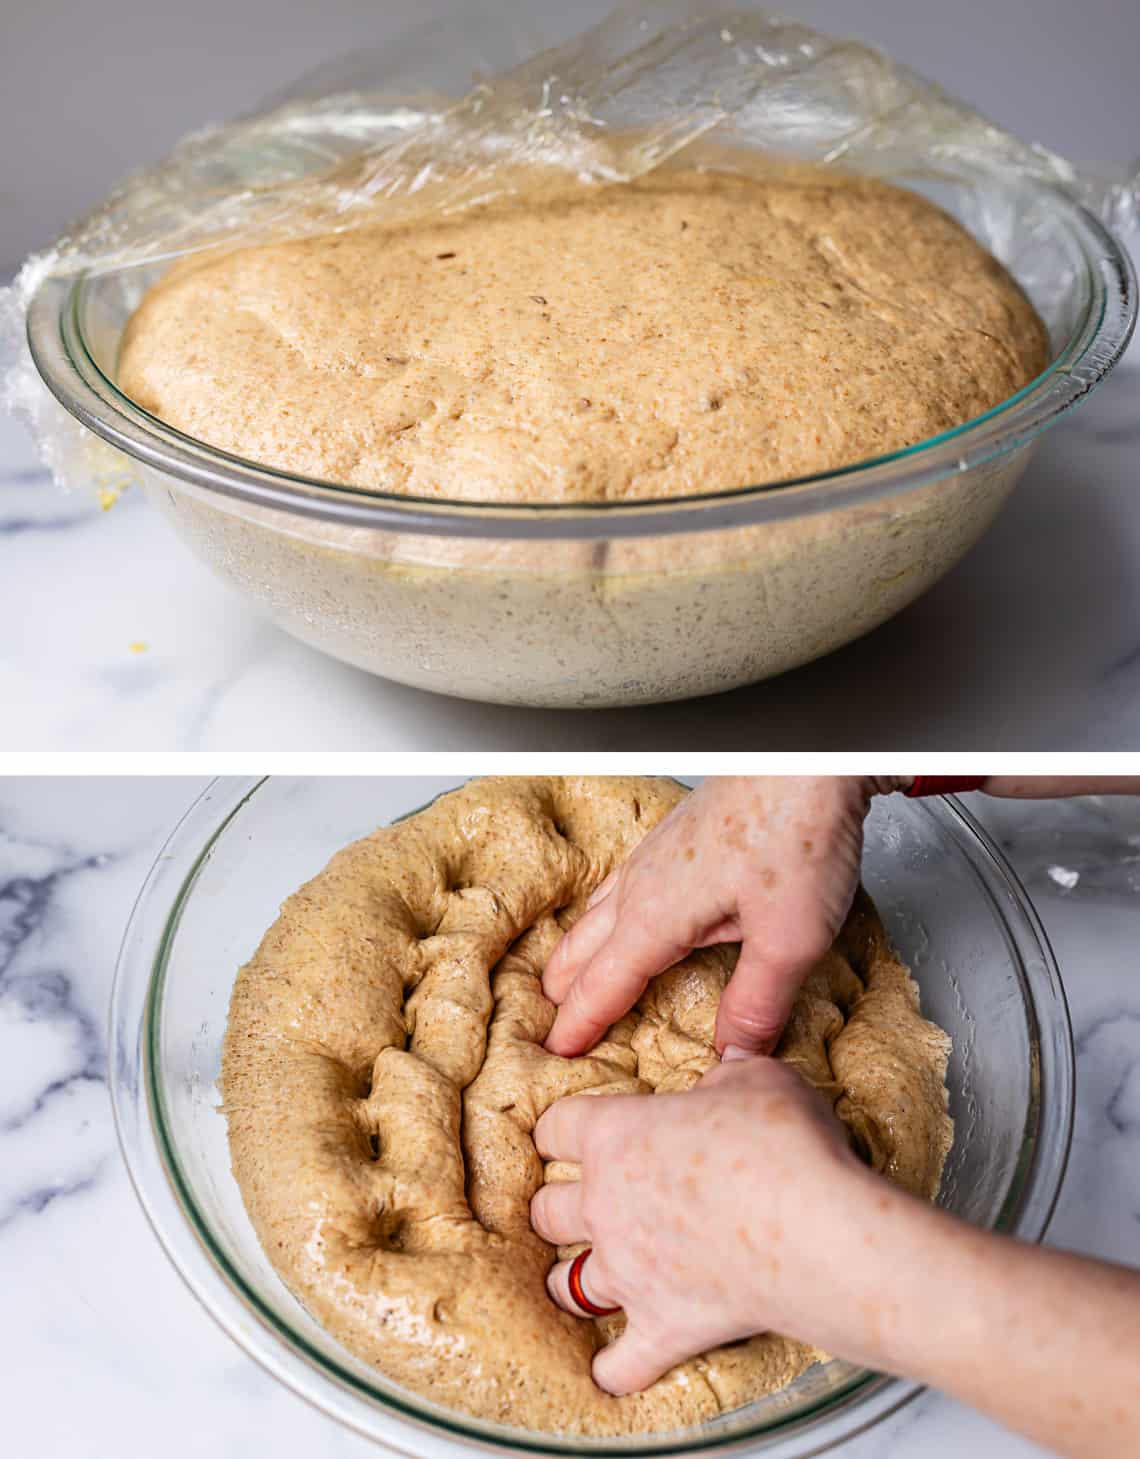
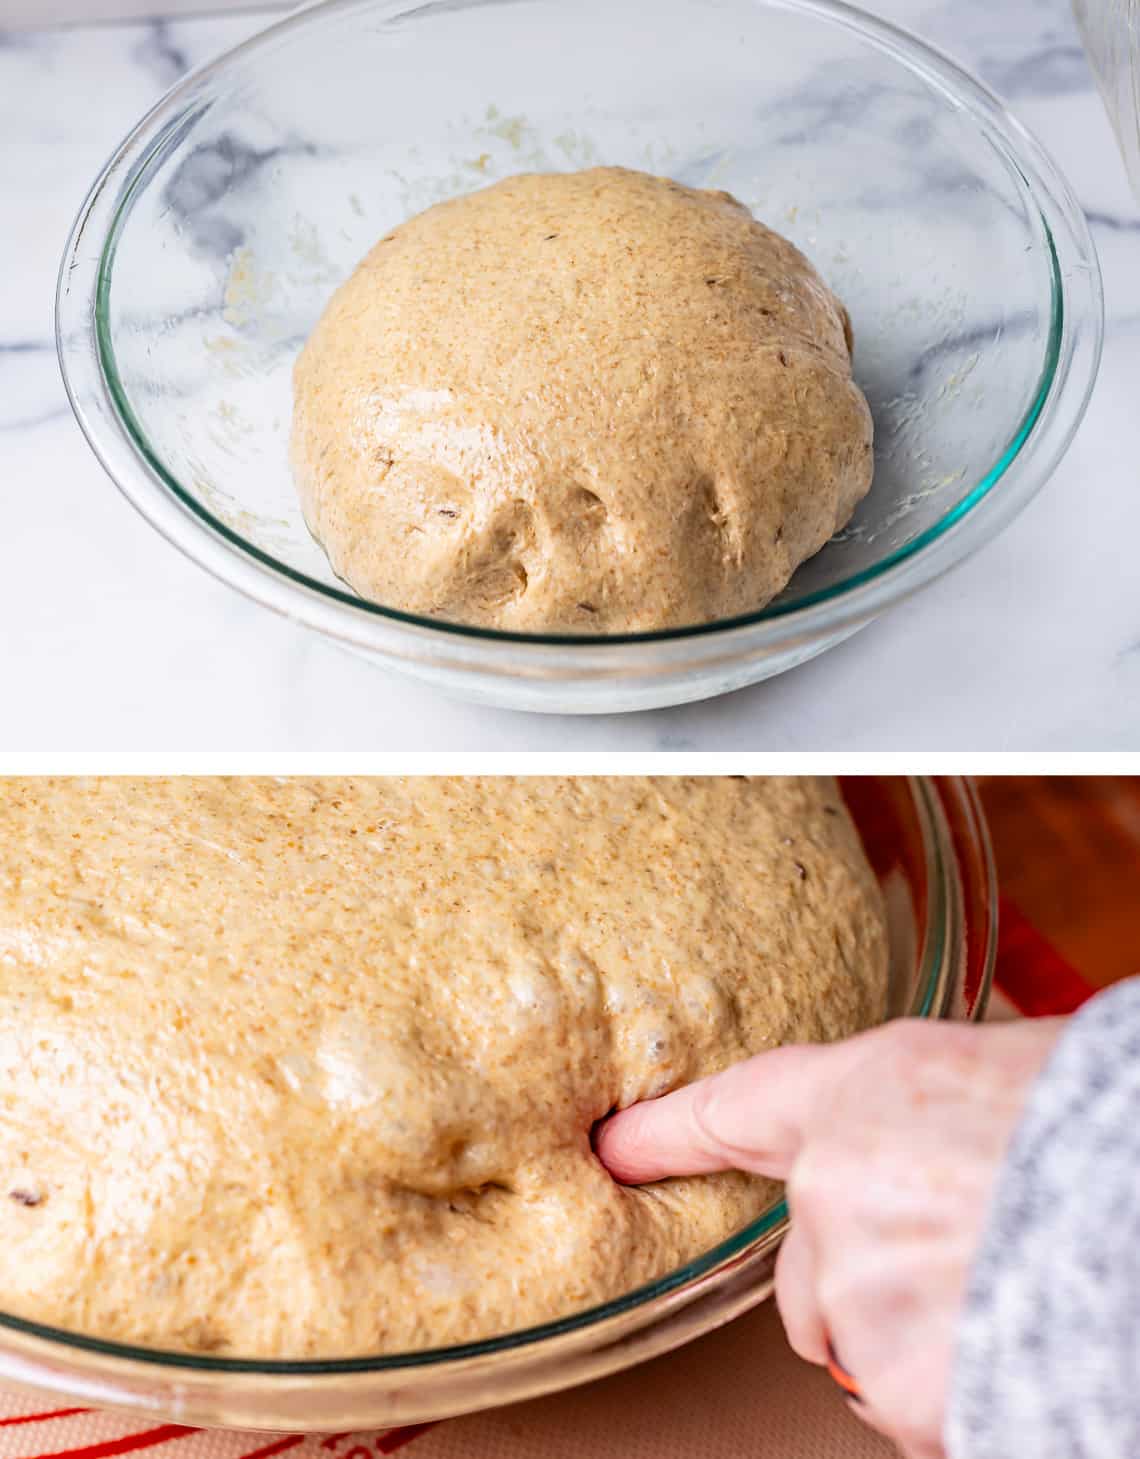
Here she is after the first rise. Beautiful! Now punch it down, reshape, and do it all again; grease the bowl again, rewarm your oven and everything. You really can’t skip this.
After the second rise, you should be able to poke your finger in the dough and leave an indentation. The dough should not spring back immediately.
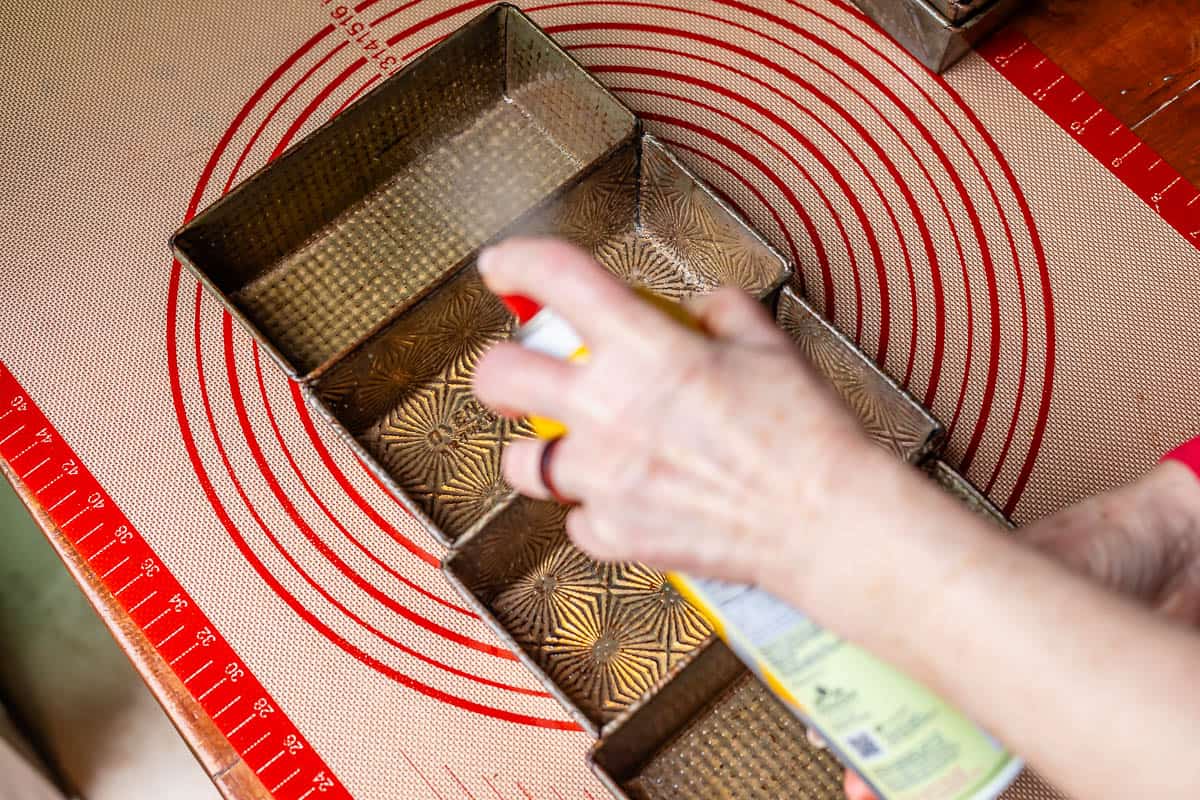
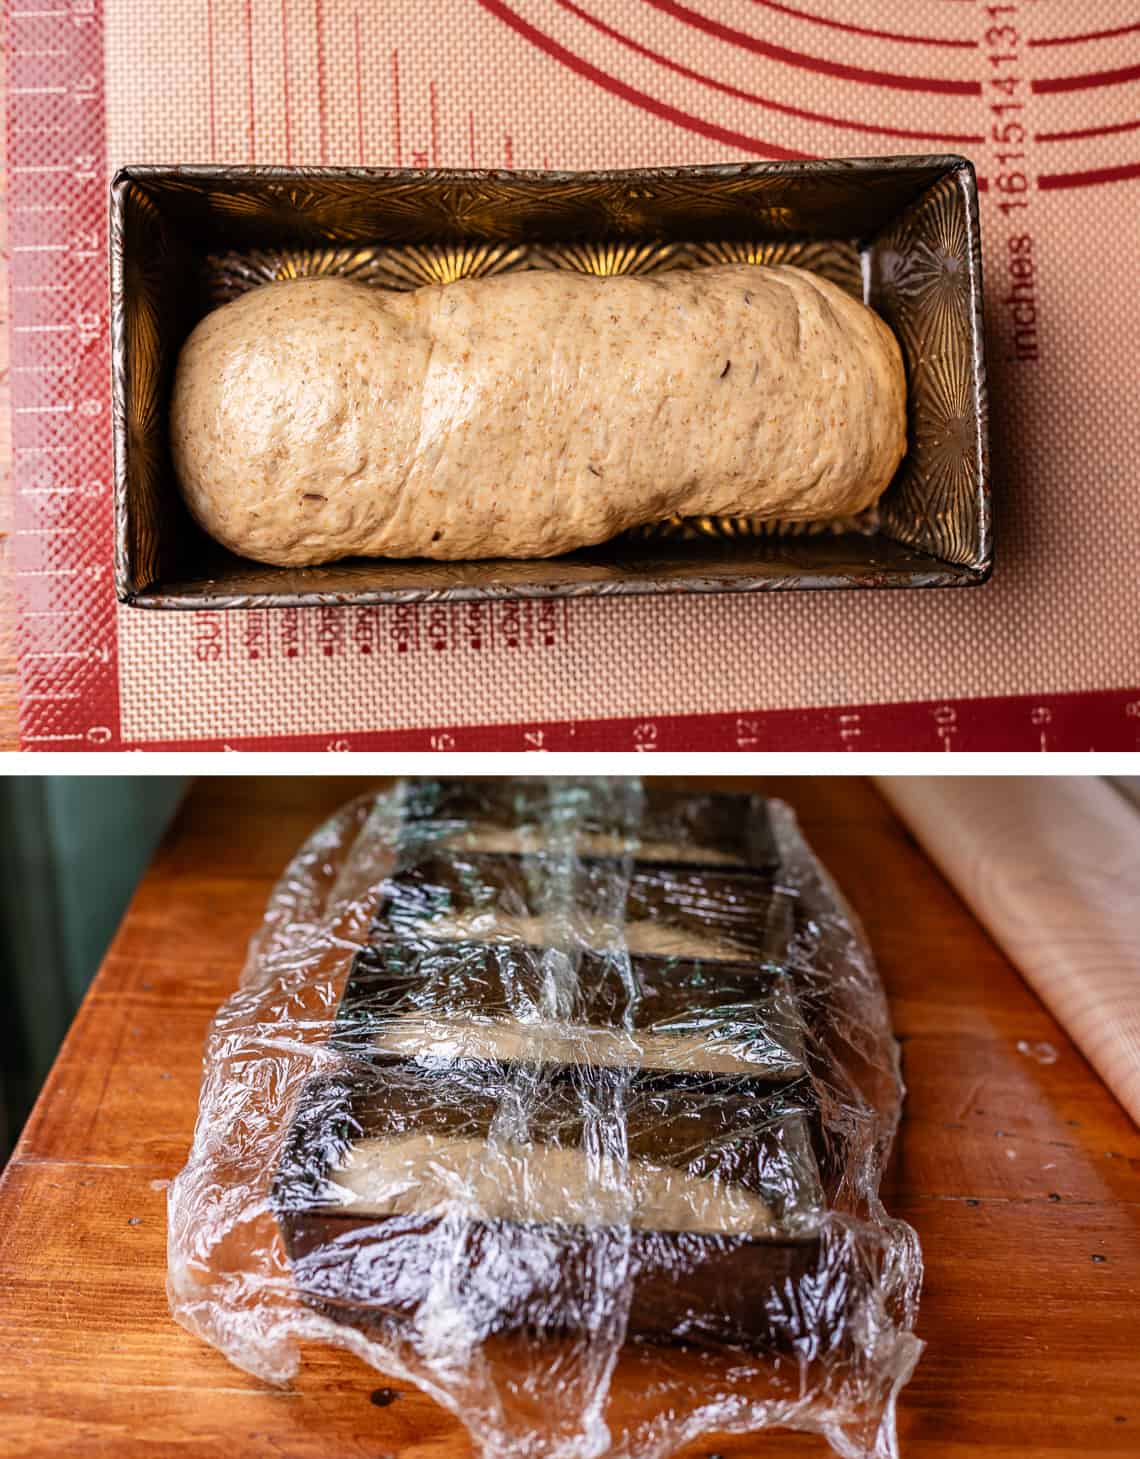
Spray your pans generously with nonstick spray. We are using Prudy’s 7×4 inch pans, which makes 4 loaves. There are notes in the recipe card about using 9×5 inch pans. This will make two larger loaves, better for sandwiches.
Lay out a silicone mat on your work surface and drizzle with a tablespoon or so of oil. If you don’t have any silicone, drizzle oil directly on a flat non porous counter top. Spread it around with your hands.
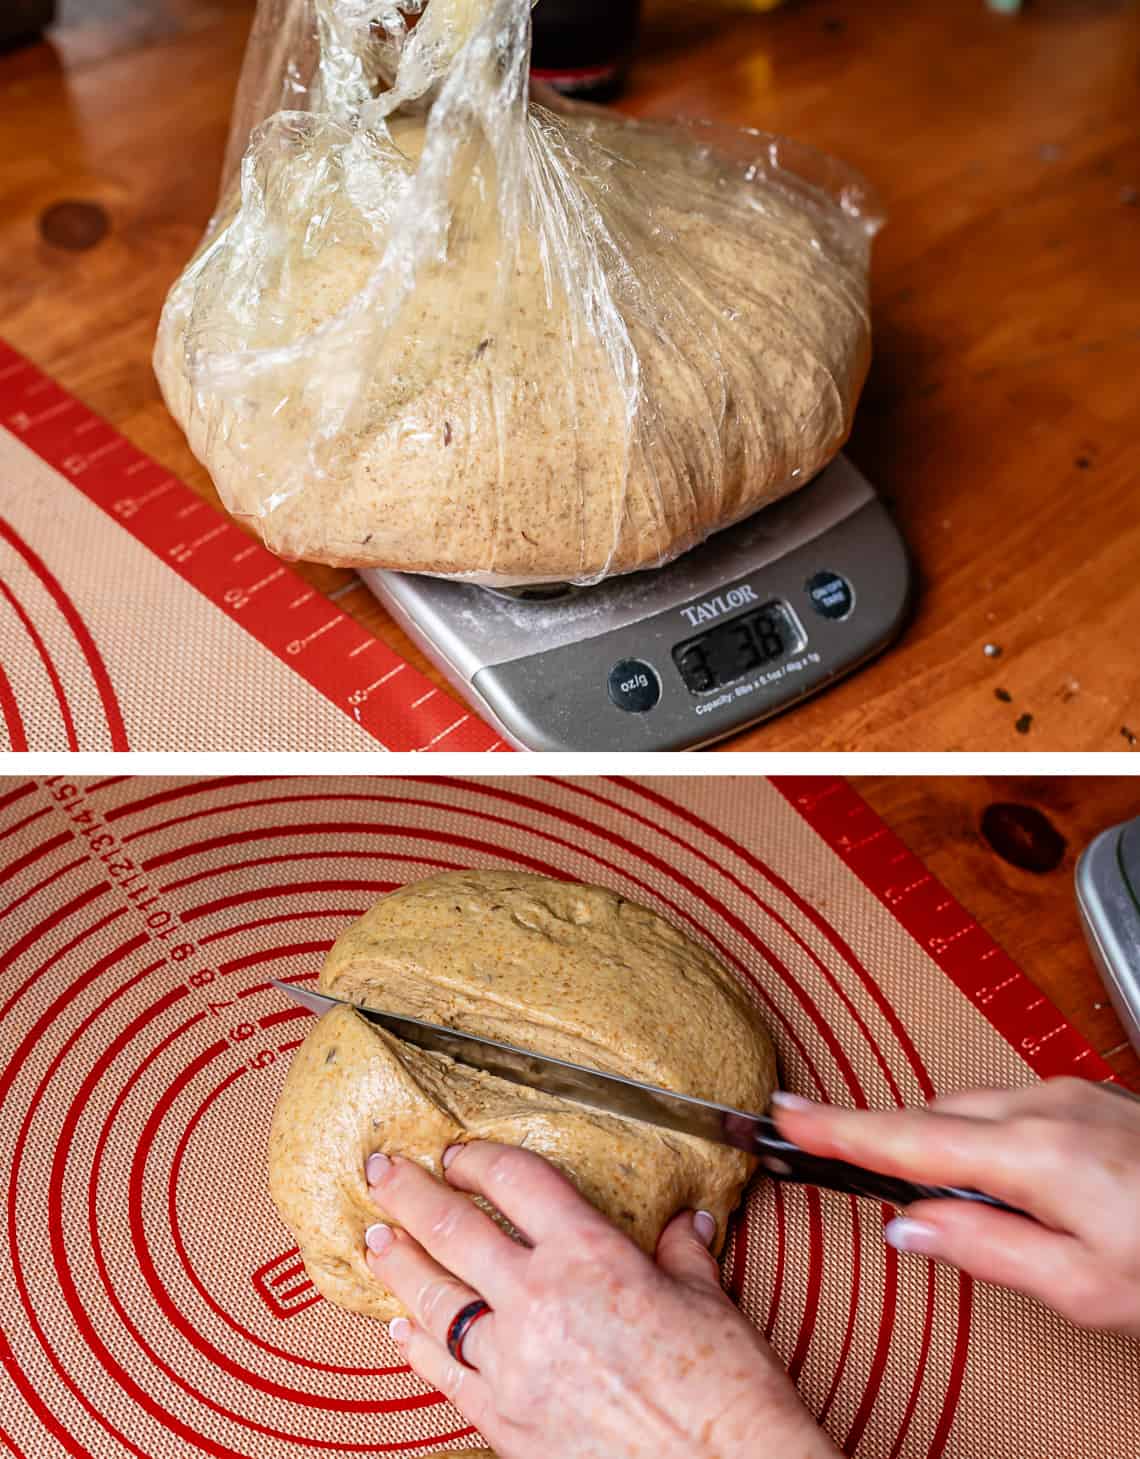
Kris always weighs her dough to make sure the loaves are equal, but if you don’t have a scale you can just eyeball it. You need to split the dough into 4 pieces for 7×4 inch pans, or just in half for 9×5 or 8×4 inch pans.
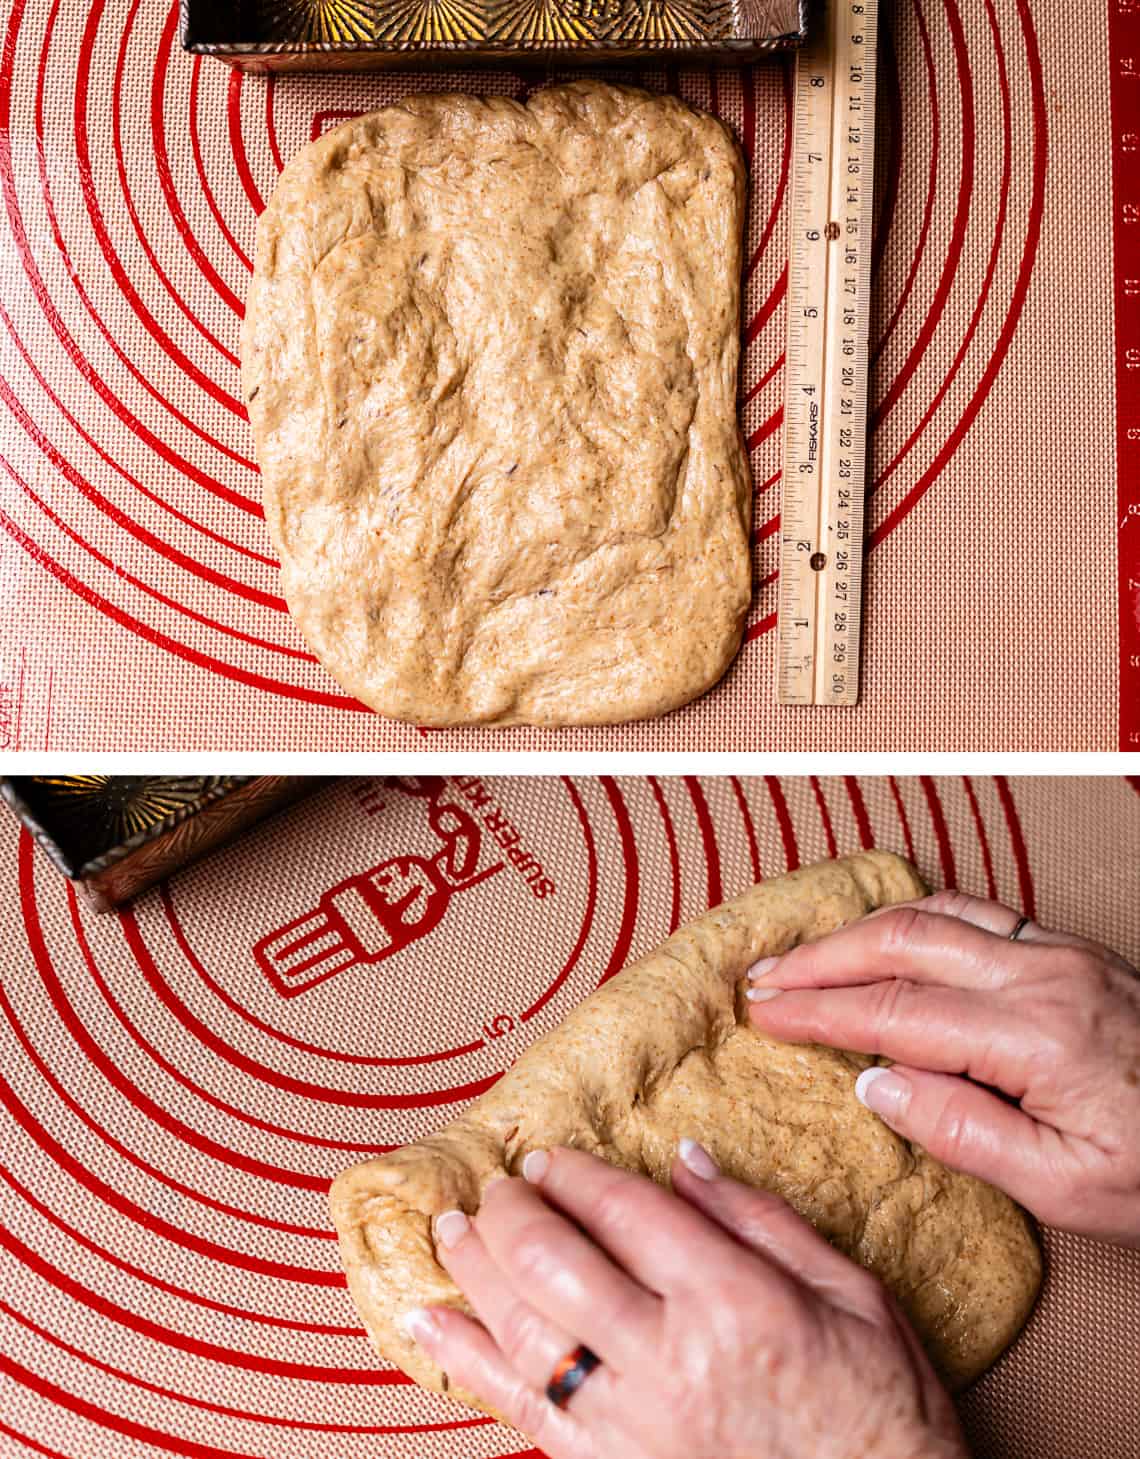
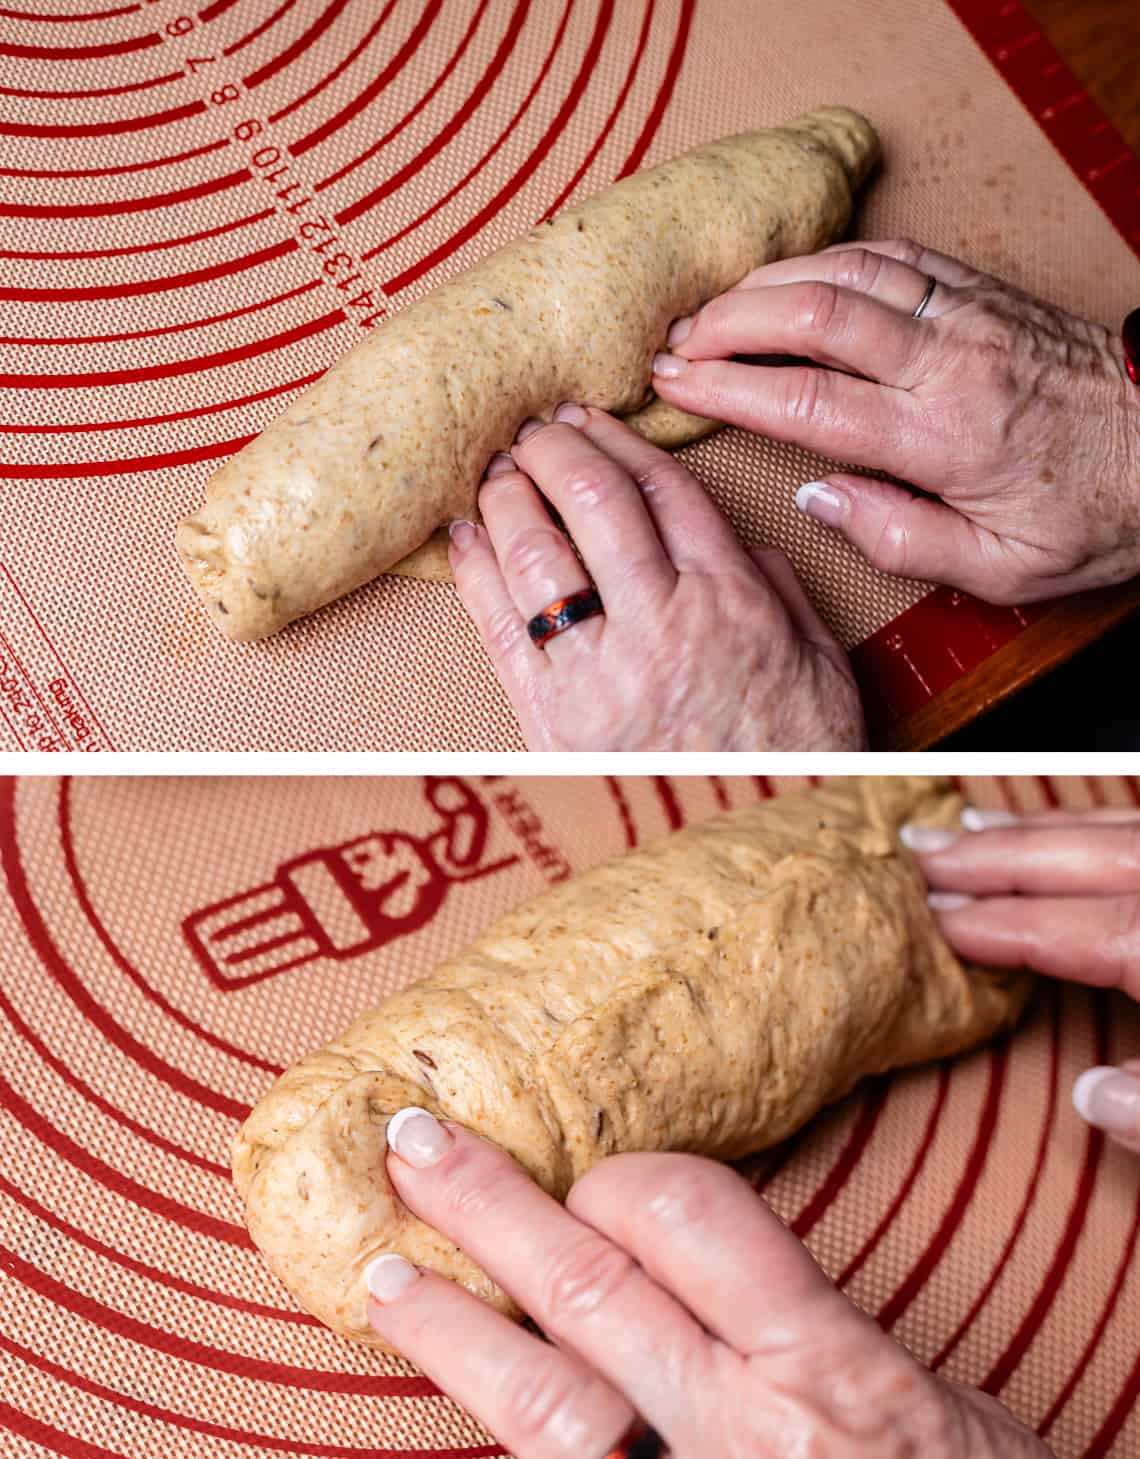
Press the first portion of dough into a rectangle. The dough should be soft and pliable, and you hopefully won’t need a rolling pin. Can you see Kris’ finger marks all over the dough? She just patted it down. You want to make sure the rectangle is about the length of your bread pan, whatever size it is.
Take the end of the dough that is about the length of your pan and start to roll-pinch it up. This is a very technical term, meaning that you roll and then lightly pinch, and I just made it up. But you get the idea right?
Tuck the ends of the loaf underneath where the seam is, and smooth your baby burrito bread into itself a bit. Lift it gently and place seam side down in the well-greased pan. Cover well and let rise again.
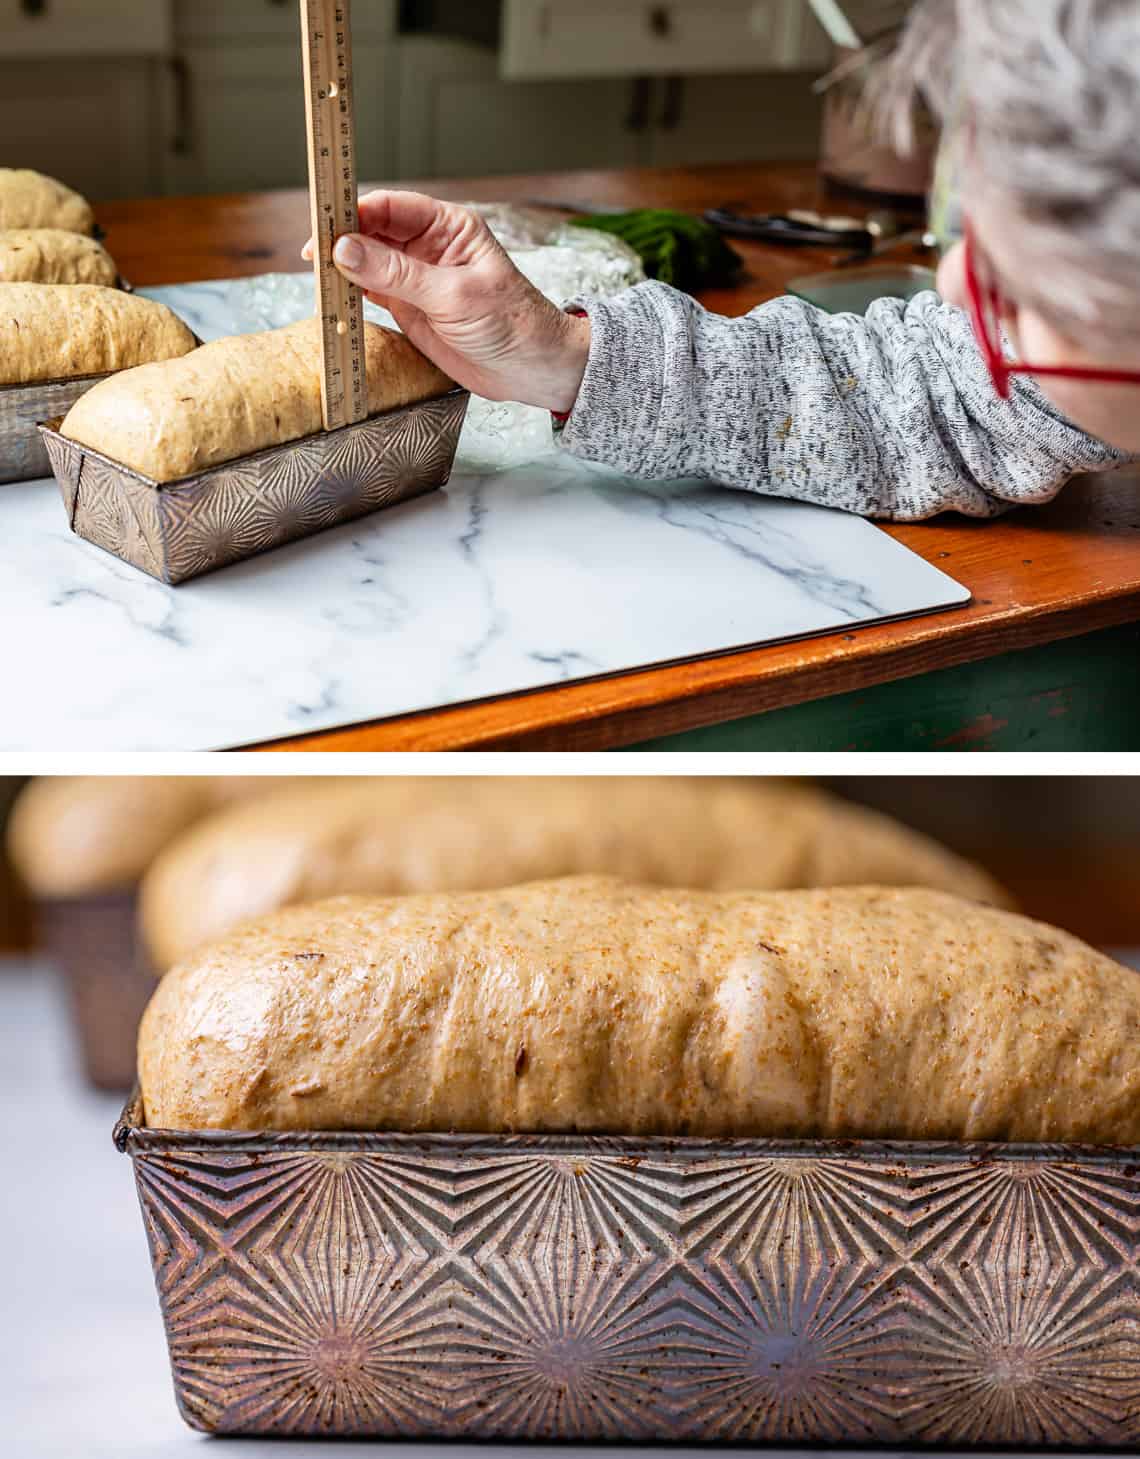
Here is dear Kris measuring her rye bread to make sure it has risen as least an inch over the top of the edge of the pan.
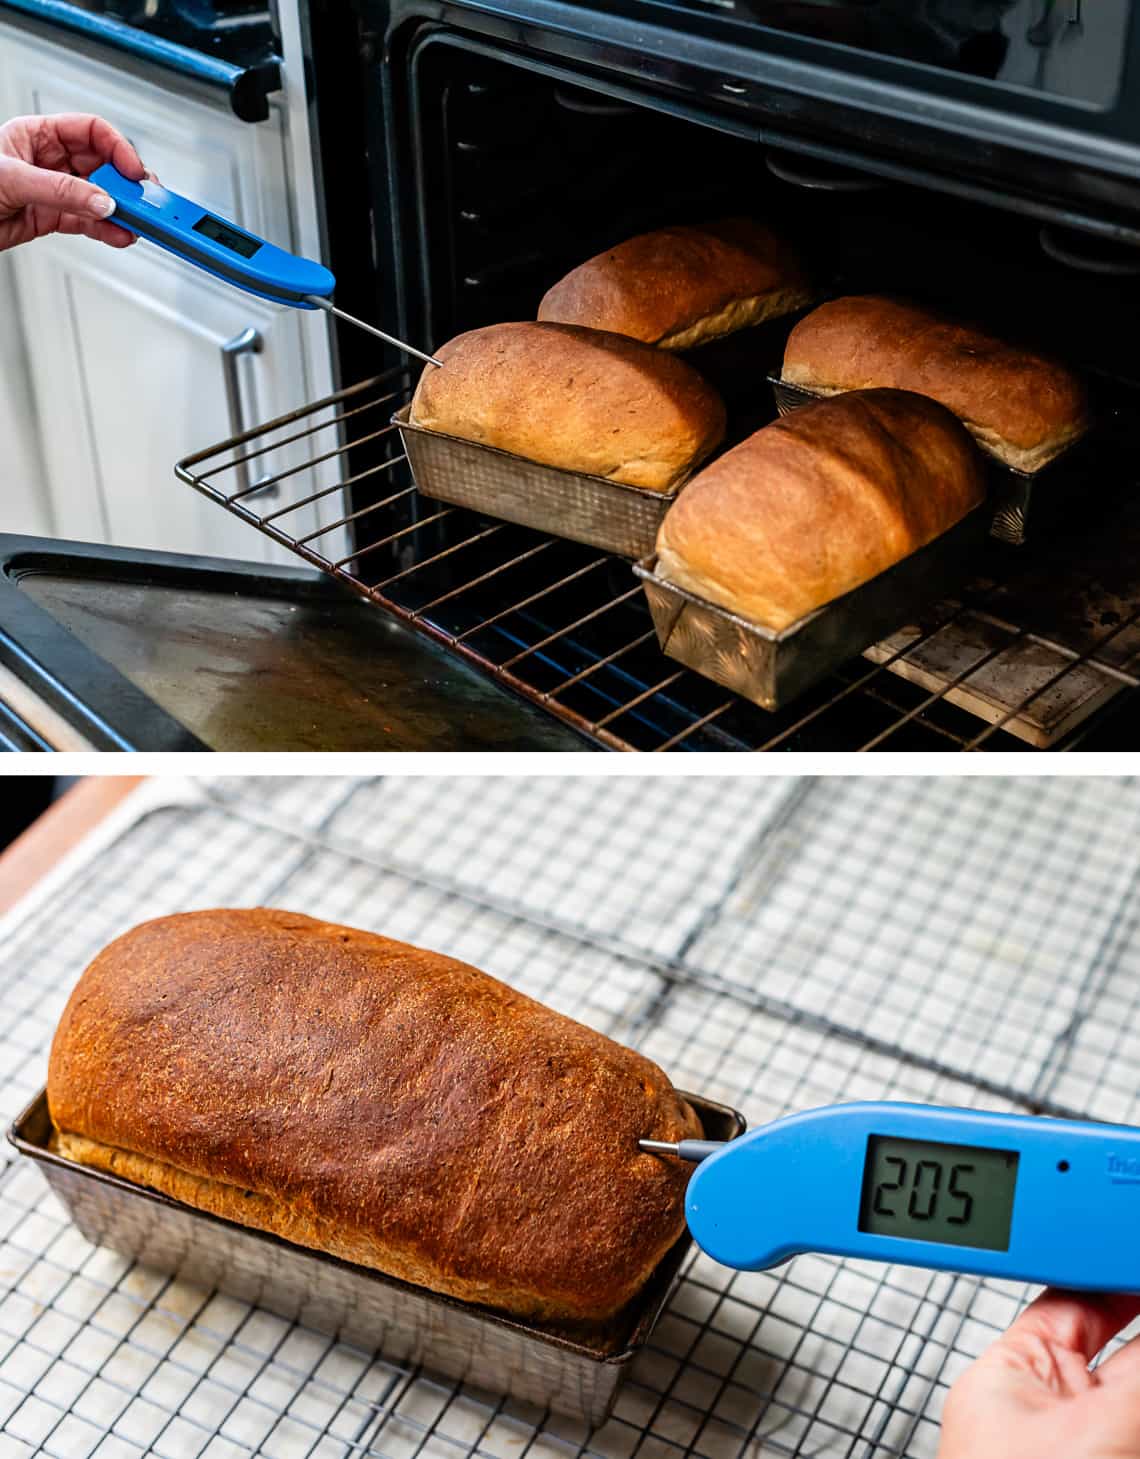
You can bake the bread all at once, the tiny pans fit on one rack. Do not take the bread out of the oven until it reaches 205! If you don’t have a thermometer, wait until the bread looks almost burned on top. Seriously. Rye flour is darker than white wheat flour. You do not want to under bake this bread.
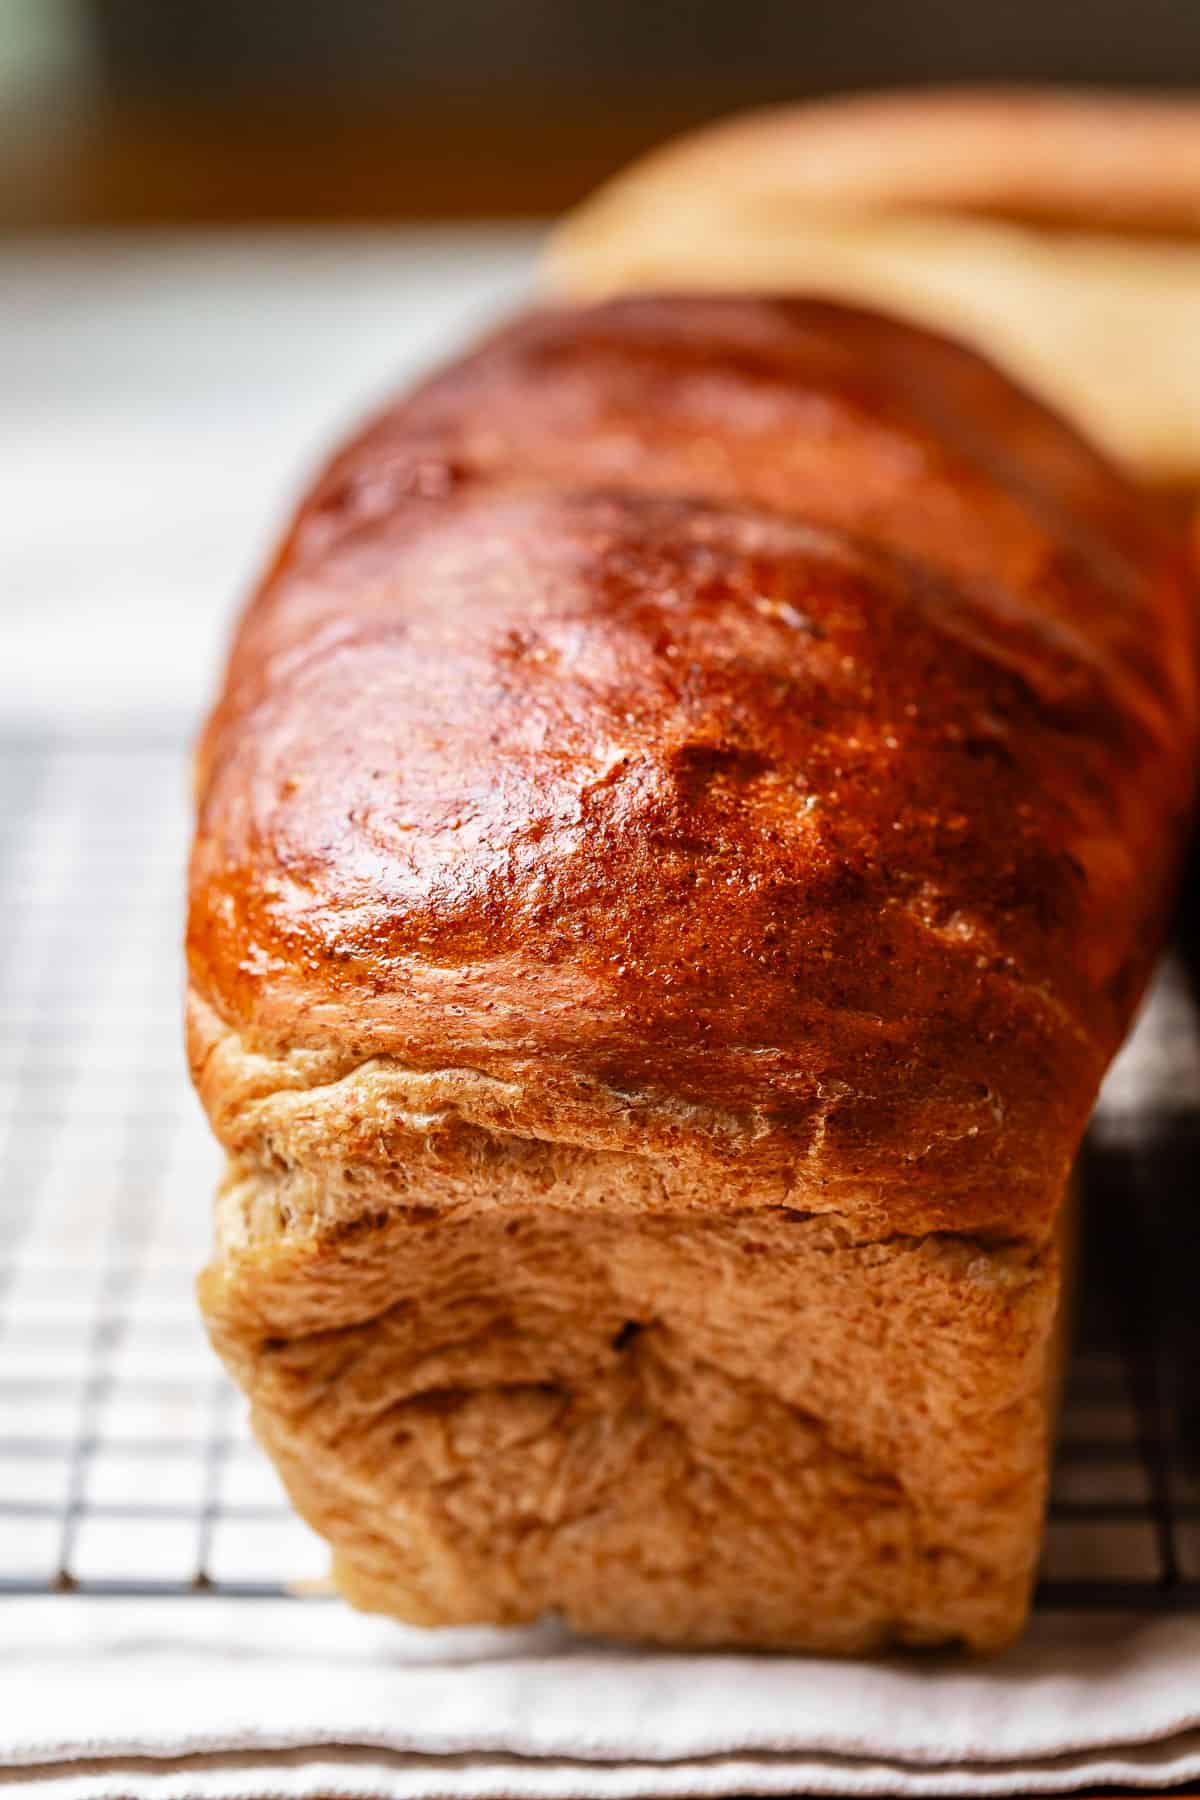
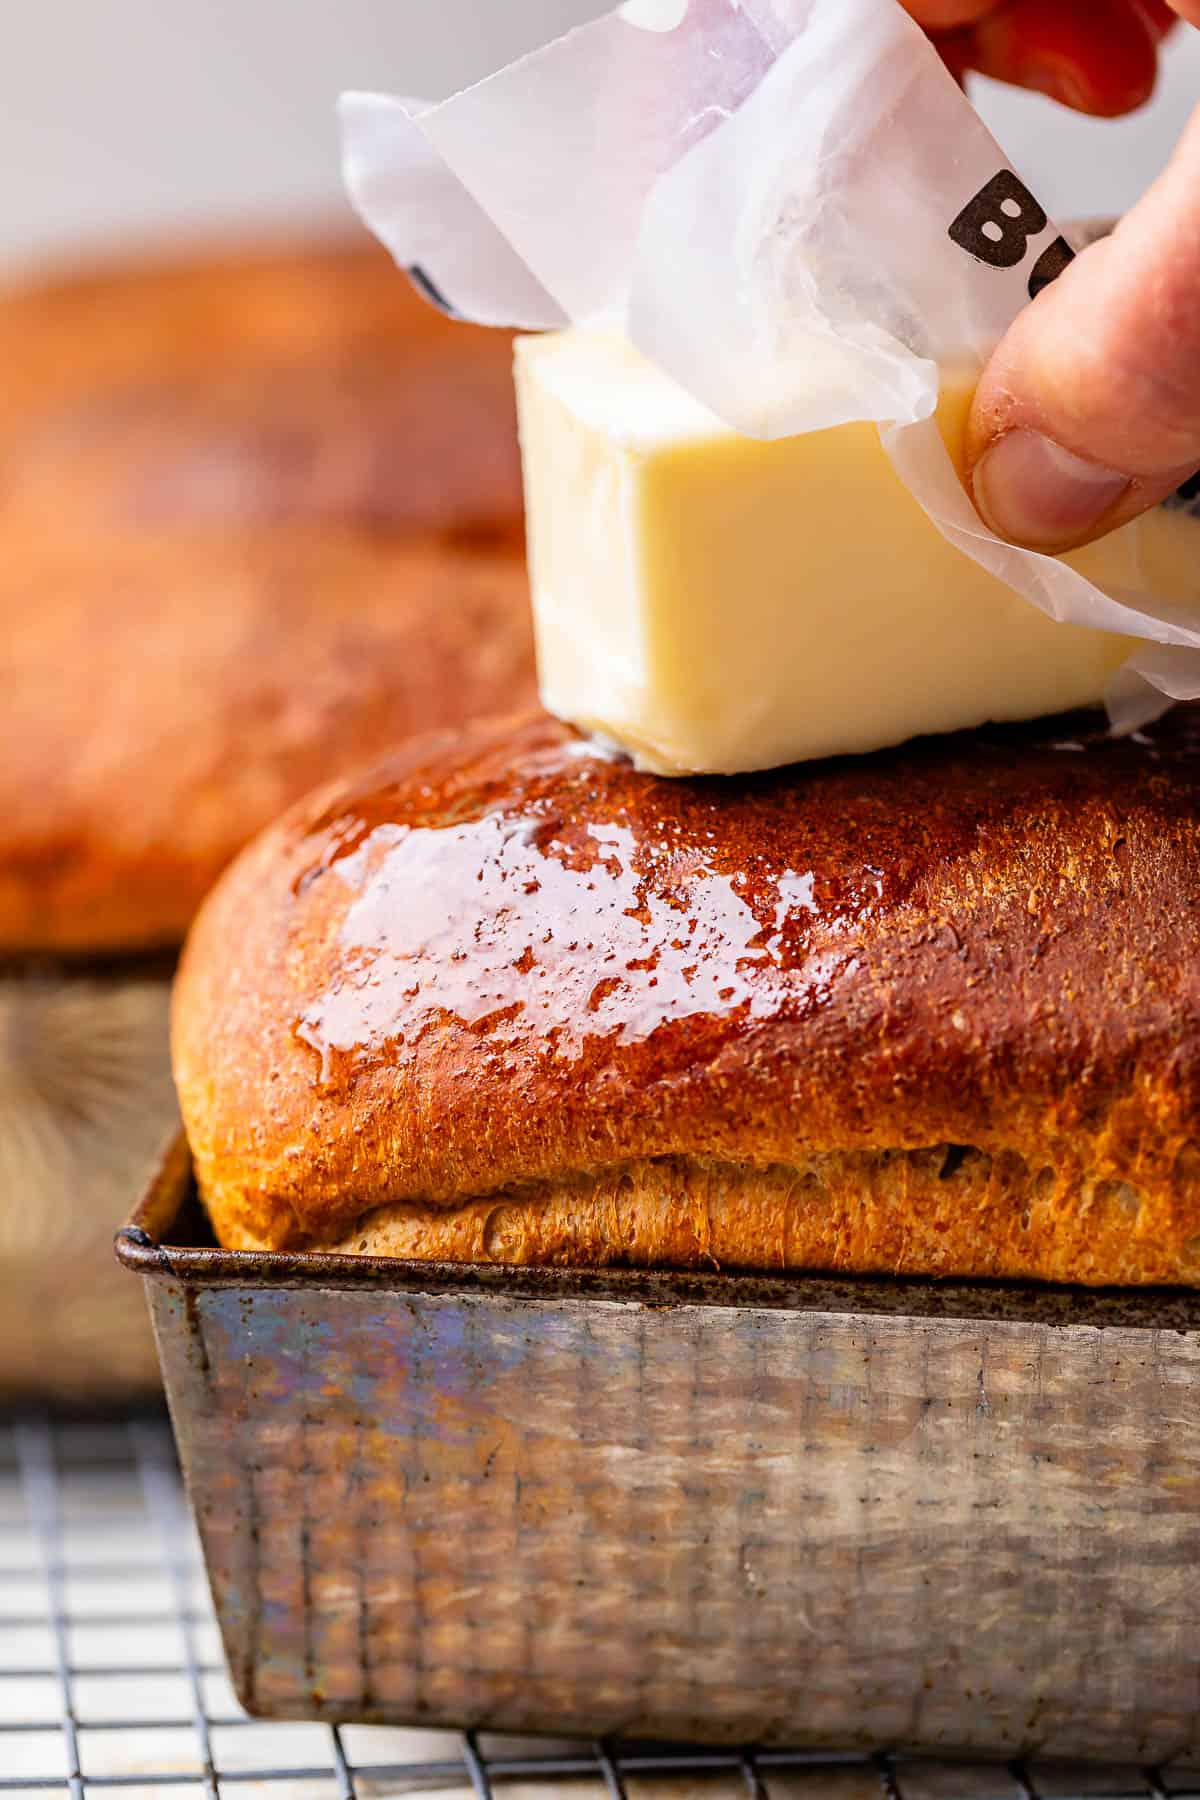
Rub a stick of butter on top of the bread until they are all coated with melted butter.
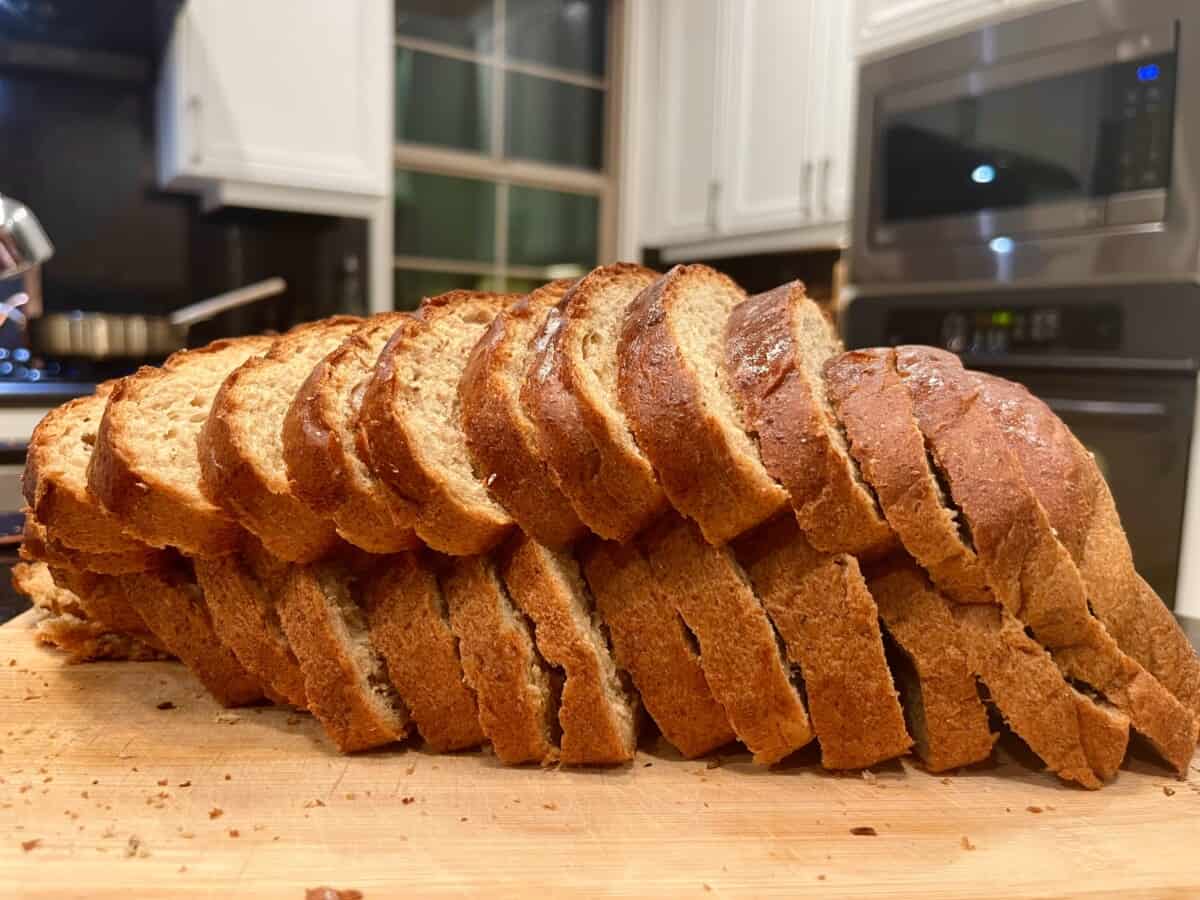
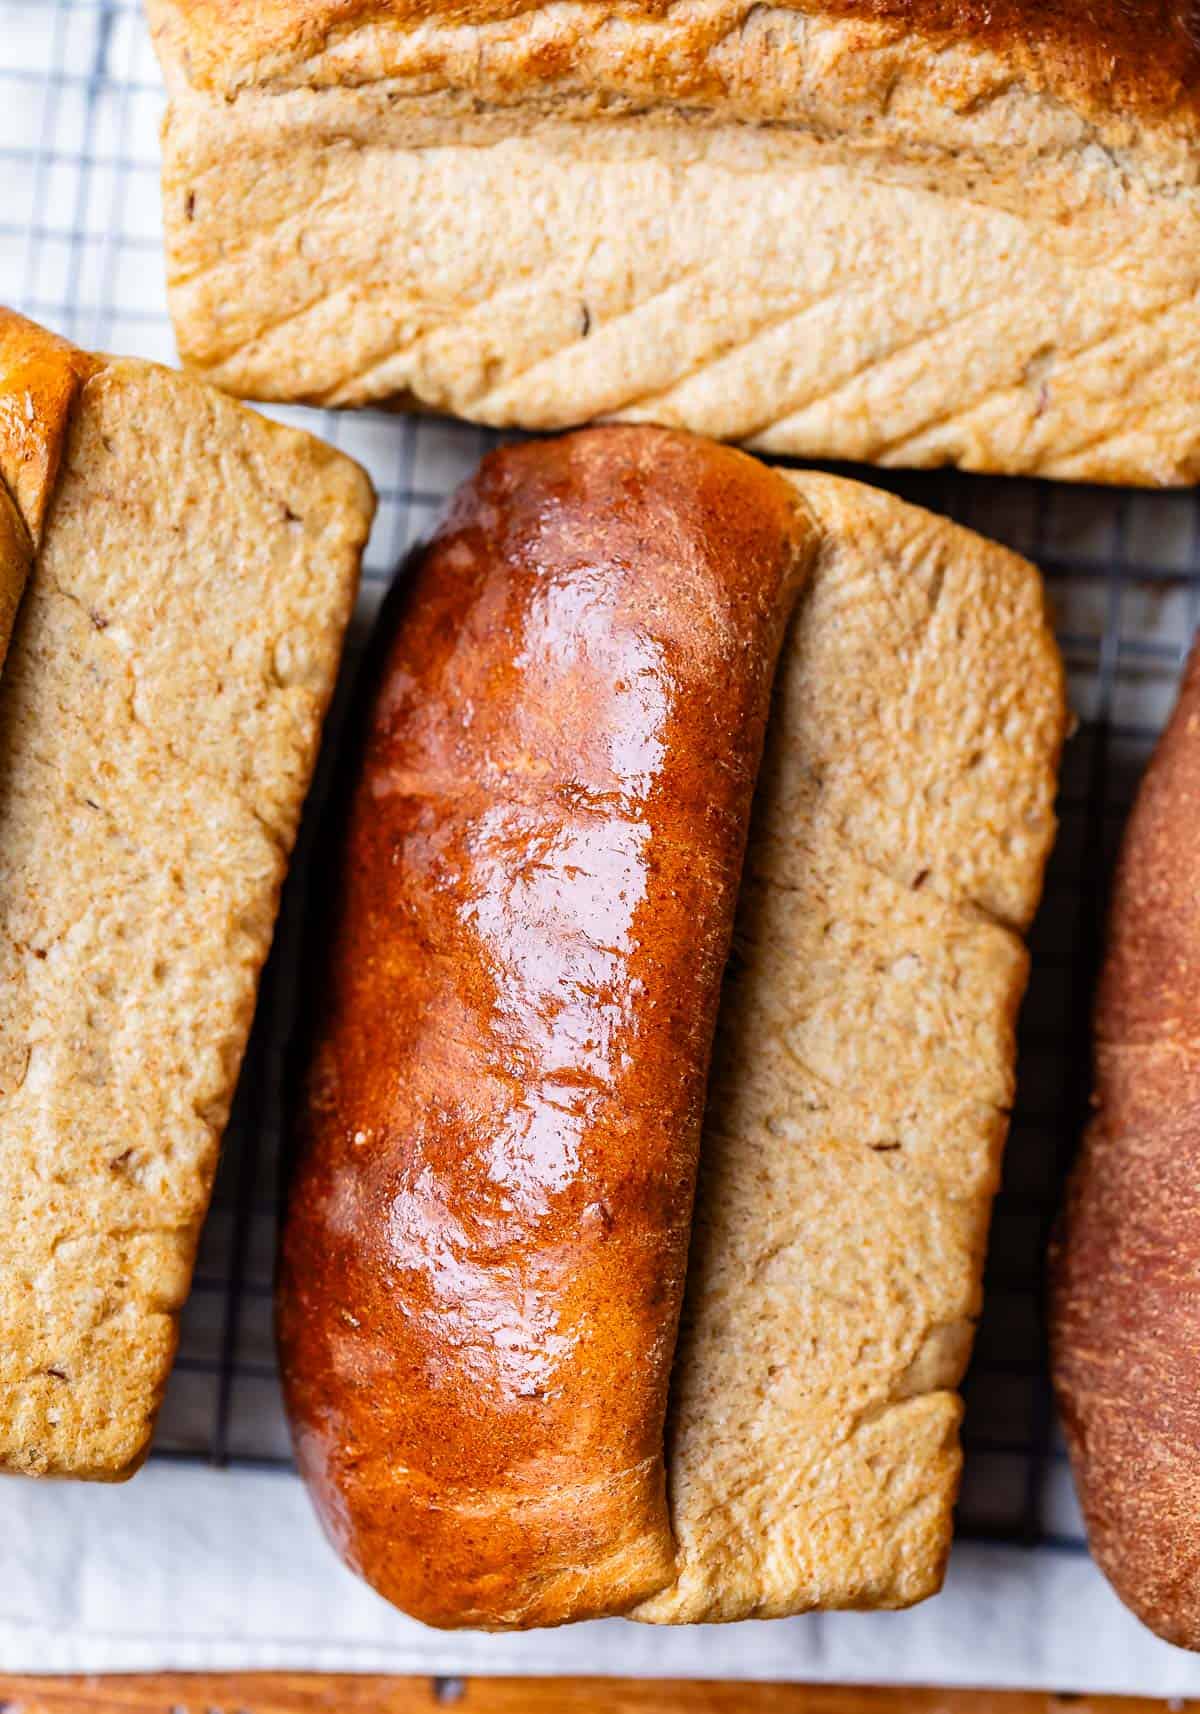
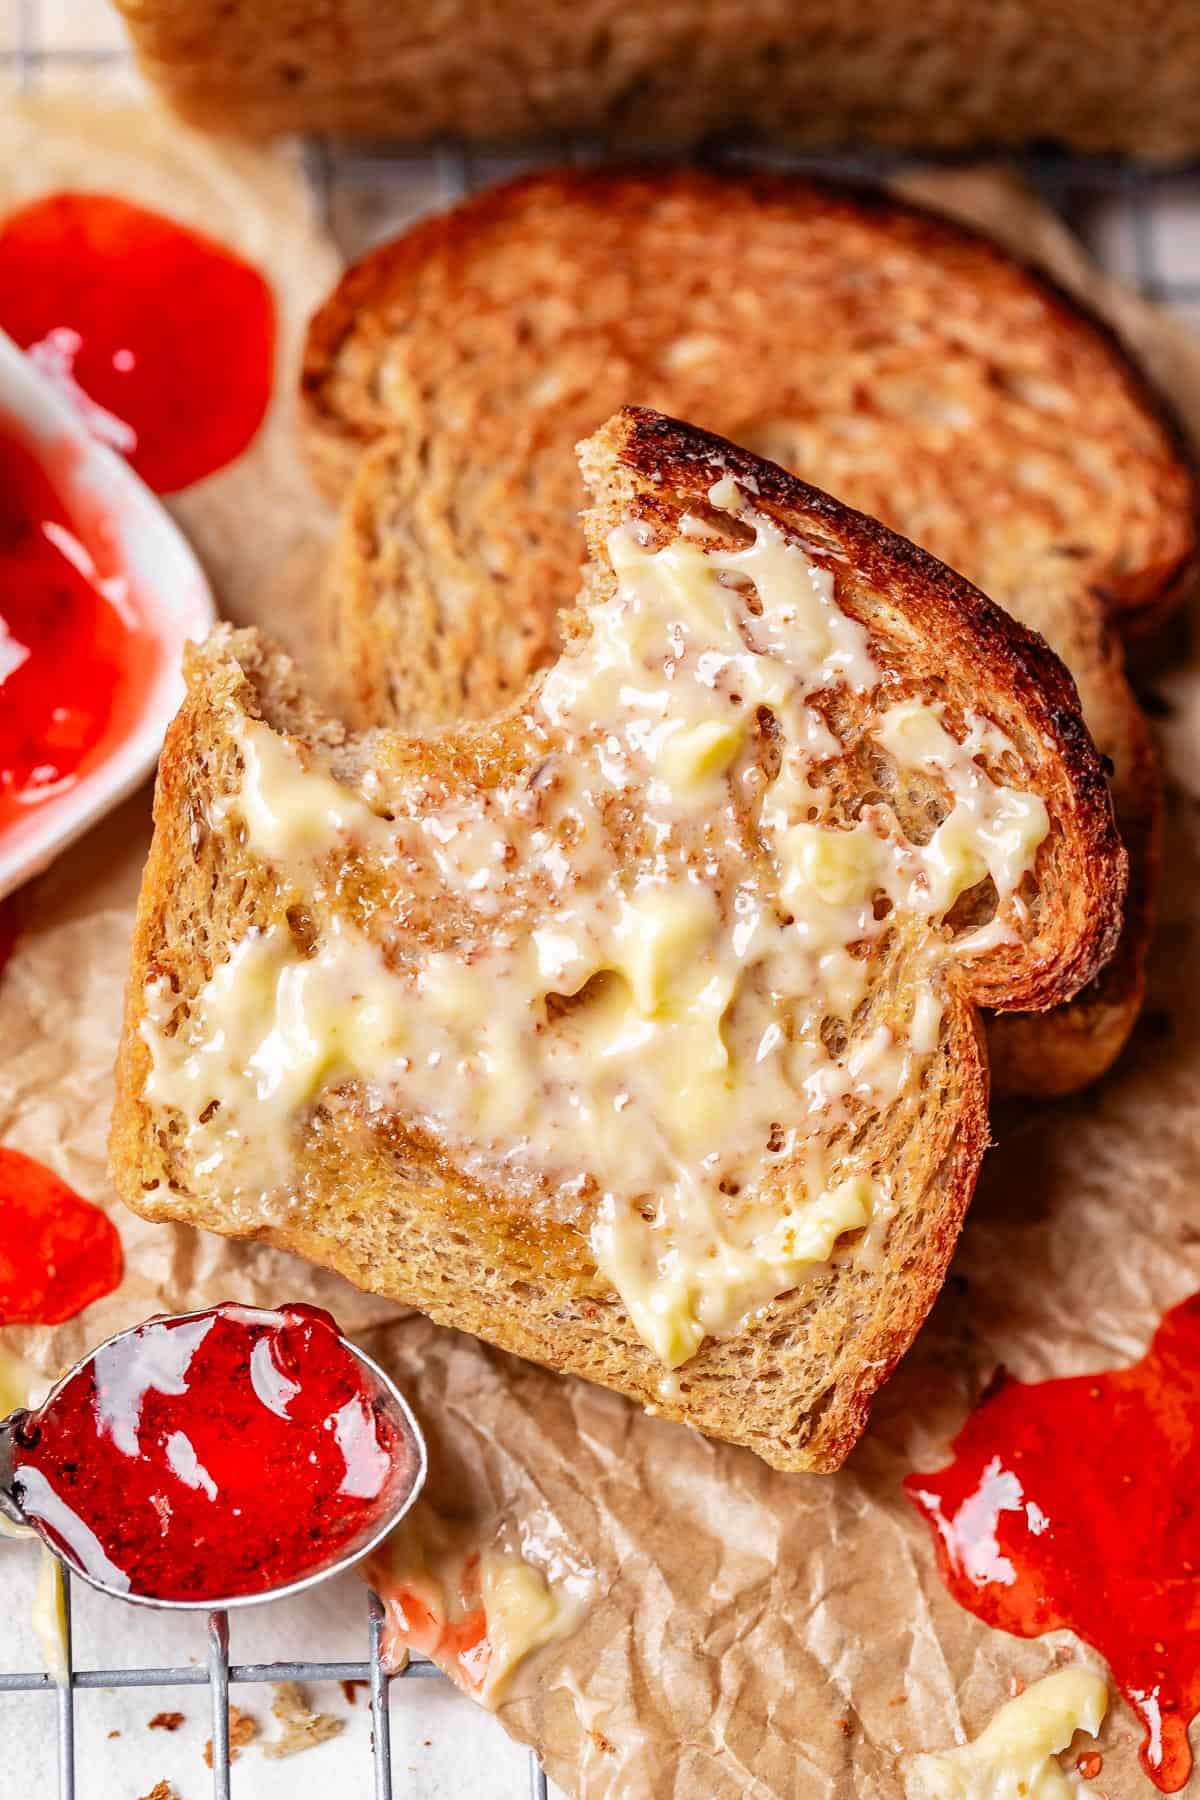
Then right away, turn the bread out onto a cooling rack, turned on it’s side so you don’t smoosh the bottom, and let cool. I know this is so hard! But Rye bread is very tender, and if you slice it while it’s hot it will crush the bread. And that is it! Time to devour with butter! Or see below for sandwich ideas!
To freeze, make sure the bread is completely cool. If there’s a hint of warmth, the steam will be trapped in with the bread and could make it soggy. Next, wrap each loaf really well a few times in plastic wrap. Then you can either stick the loaves in freezer ziplock bags, or wrap well in aluminum foil. It will be good in the freezer for up to 3 months, but is best within 1-2 months so it doesn’t start to get dried out from all that cold air circulating.
To eat, thaw the bread at room temperature, still in its wrapping. If you prefer it warm, make sure you remove all plastic and wrap it in foil to keep moisture in. Put the loaf in a 350 degree oven for 5-10 minutes. The amount of time will depend on the size of your loaf, so just keep an eye on it!
The Only White Bread Recipe You’ll Ever Need » fast, easy, and tons of buttery flavor Quick and Easy French Bread Recipe » this is a ONE HOUR recipe, guys! Best Irish Soda Bread » I love how tender and flavorful this bread is, perfect with tea Garlic and Rosemary Skillet Bread » the crust on this bread is unreal. Kind of like a deep dish pan pizza! Samoan Coconut Rolls » if you like Hawaiian rolls, you’re going to love these, promise Big Fat Crescent Rolls, yeah » the best ultra light and fluffy crescent rolls of your life, no joke Soft and Fluffy Parker House Roll Recipe » cloud-like, with a swoon worthy swirl of butter in the center Artisan NO KNEAD crusty bread from Recipe Tin Eats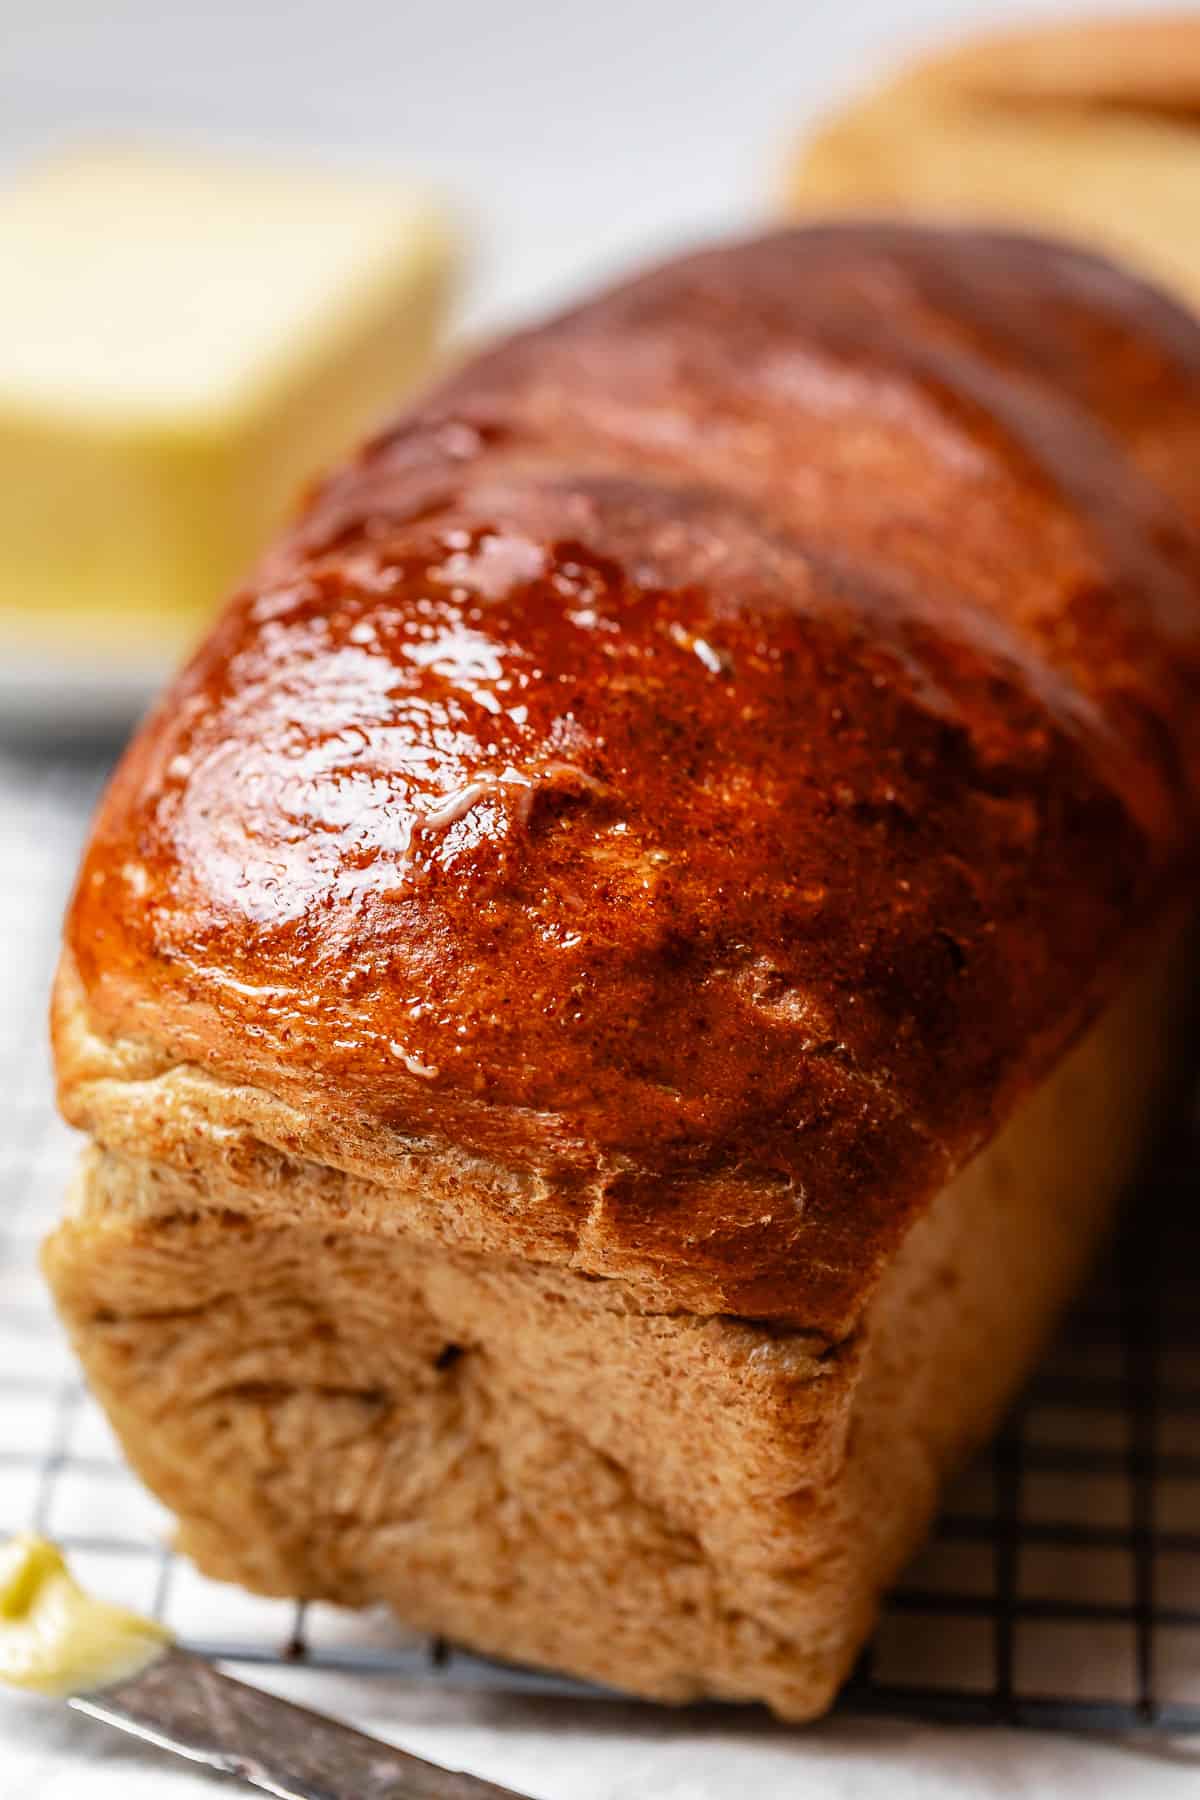


![]()