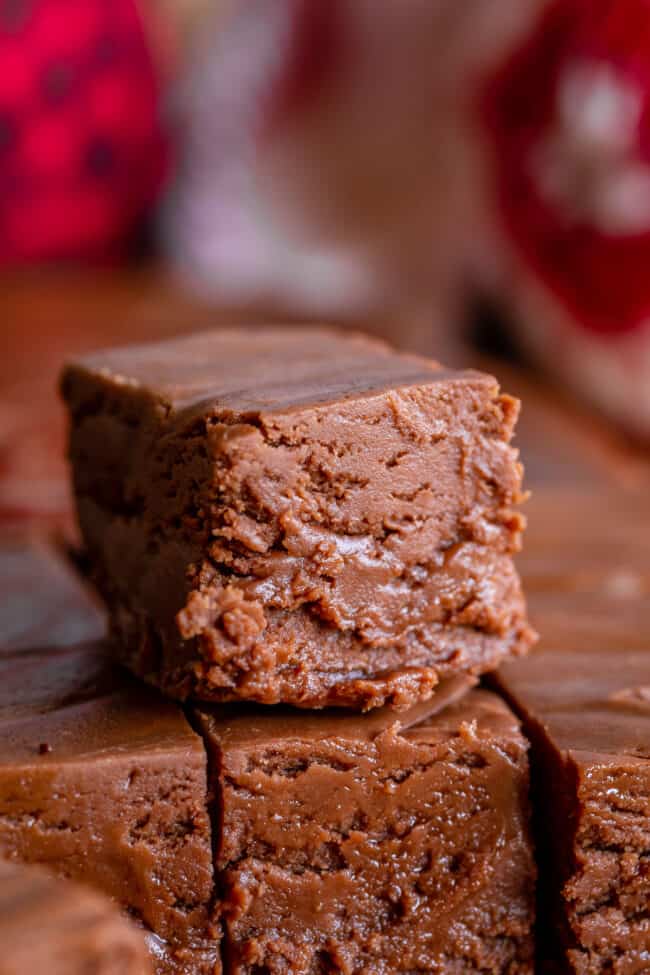
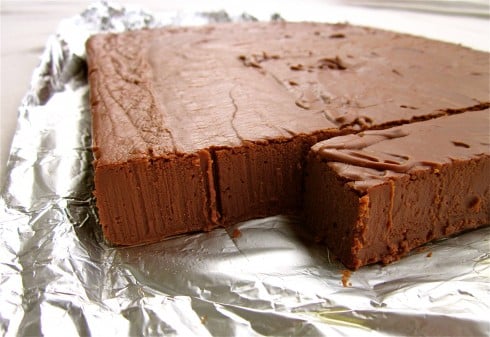
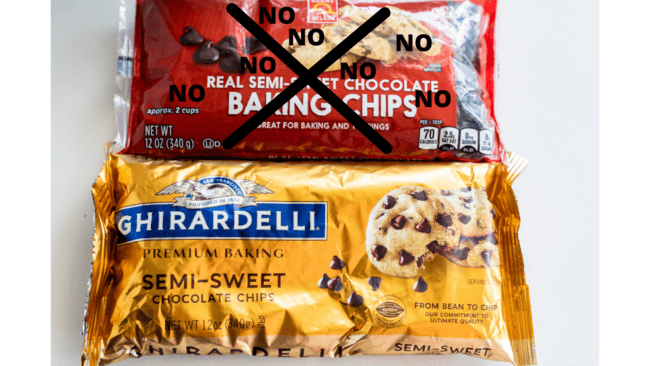
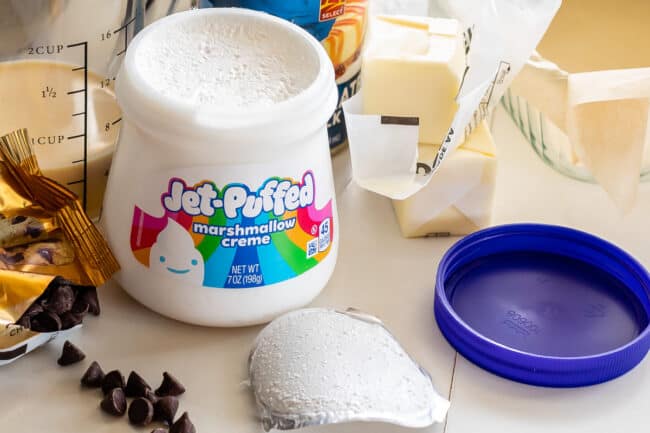
Boom. Straight up, no messing around chocolate fudge. (This was one of the first recipes I posted on the blog back in 2012. Check out this picture from yesteryear, yikes!) And by “no messing around” I mean no nuts, no peanut butter, no peppermint, no swirls, no fuss. Just pure semi-sweet, melt in your mouth goodness. (I have nothing against fudge-embellishments by the way. But sometimes you just can’t beat the classic.) She always poured a little bit into a small bowl, presumably so that it would set up faster for us. We never waited though. (I mean, have you eaten warm fudge?) My sister Nikki has been known to consume an entire batch of this fudge in a 12 hour period. Most of the time we would give it away to friends and neighbors, which is of course a very effective way to spread Christmas cheer. One time it backfired on us though. We brought a plate of fudge for some friends and left it on the doorstep, figuring they would be home in a few hours. They came back from vacation a week later with an entire colony of ants on their porch. Nothing says Merry Christmas quite like a pest infestation. I’m about to give you ONE THOUSAND details for this recipe. Fudge is simple, but it is still candy, and it’s easy to screw up if you are not particular about the small stuff. You might think I’m being nit-picky, but I’m just trying to be thorough. Check the 300 comments that have been given over the past 10 years: mixed with the hundreds of glowing reviews, there are also a lot of commenters with sad, dry, crumbly fudge. I’m here to make sure this doesn’t happen to you! Facebook | Pinterest | Instagram I get it, I get it. Maybe marshmallow creme is tough to find where you live. Maybe you just had a baby and can’t leave the house, but you NEED some fudge and all you have are minis. Or maybe you’re just being SUPER lazy and have no excuse. Here’s the thing. While fudge made with regular marshmallows CAN turn out okay, I don’t recommend using them unless you’re desperate. Marshmallows are coated in cornstarch to keep them from sticking to each other in the bag. In fudge, the cornstarch dries out the fudge and makes for a not-quite-as-smooth texture. The older the marshmallows, the drier and tougher your fudge will get. Regular marshmallows should be a last ditch effort for fudge. So get your booty down to the store and buy the real stuff, if you can get your hands on it! If you do plan to use marshmallows, it’s best to use a kitchen scale to weigh out 7 ounces of marshmallows (the amount in a tub of marshmallow creme) rather than relying on cup measurements.
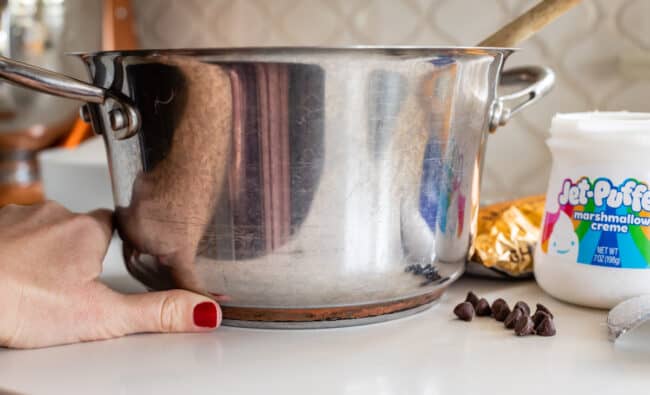
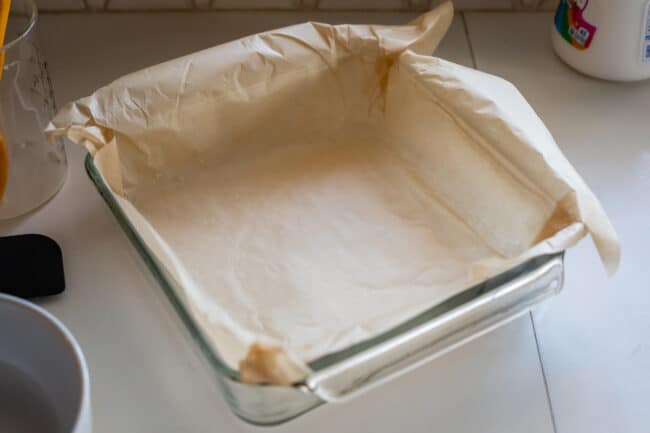
Have all your ingredients measured out before you start making the fudge. Use high quality chocolate. Use marshmallow creme, not mini marshmallows. Use a heavy-bottom pot. Line your pan with parchment paper. Don’t get any sugar crystals on the side of the pan or on the spoon. Stir the whole time, 5 minutes, or until a thermometer reaches 234-236 degrees F. Pour the fudge into the pan but don’t scrape the edges of the pot well. I will explain everything below!!
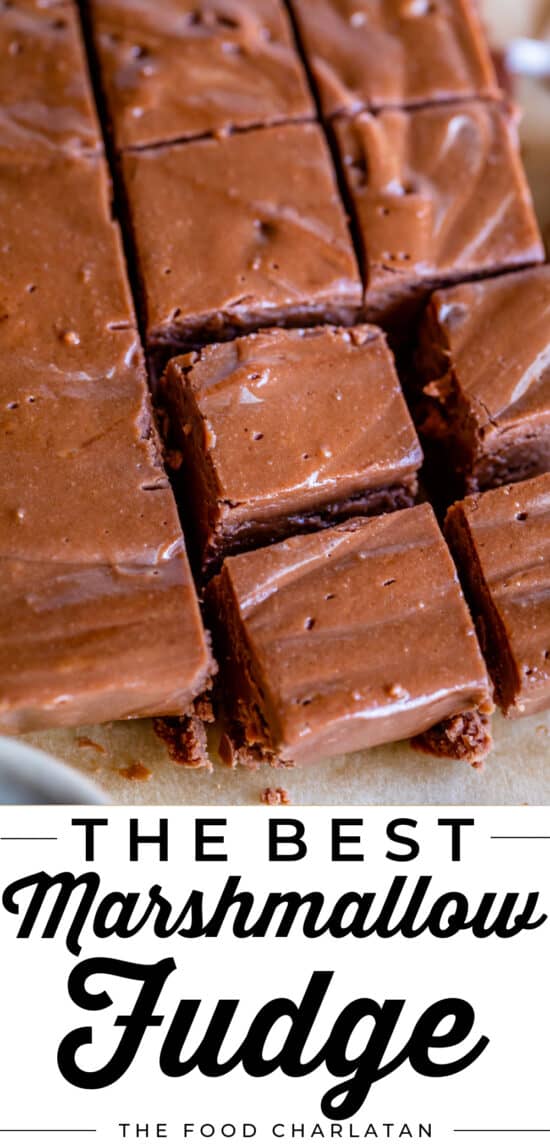
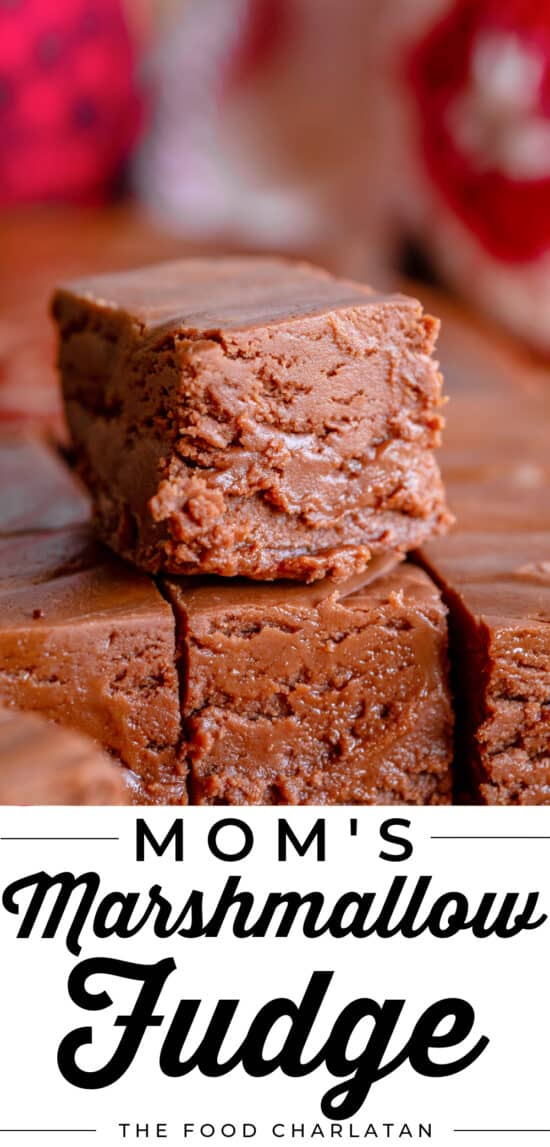
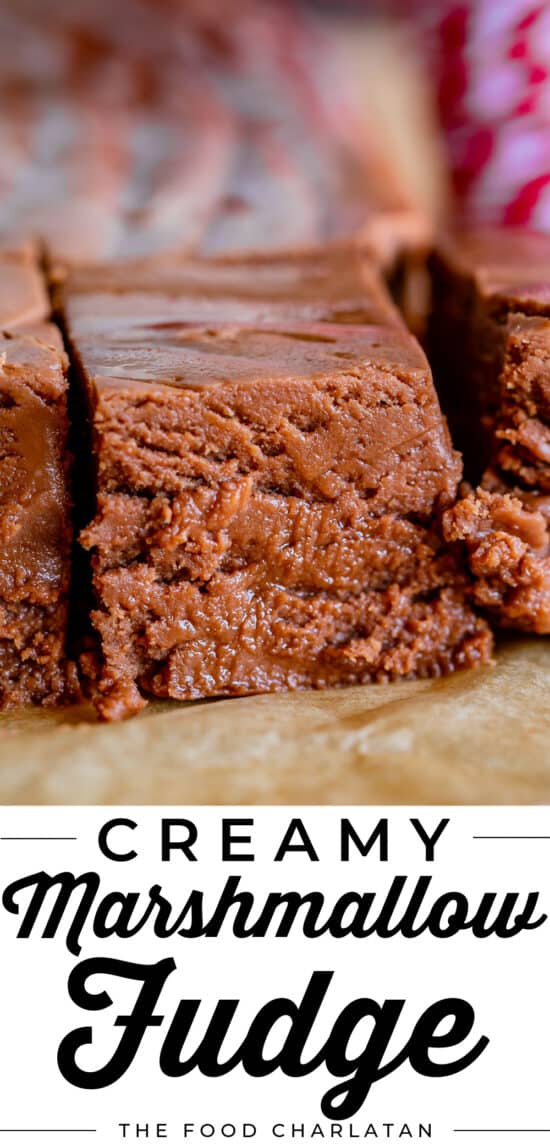
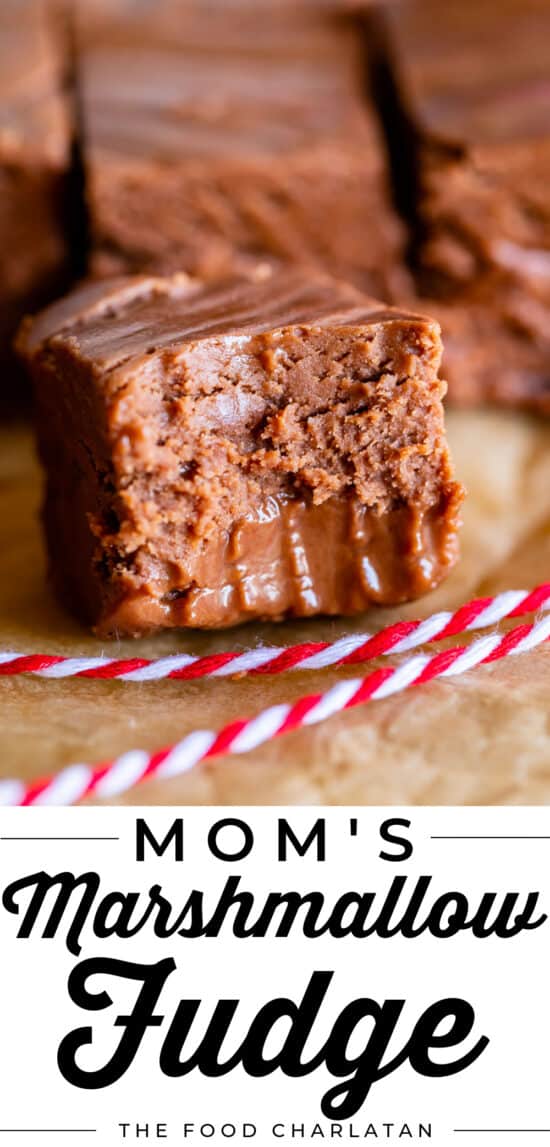
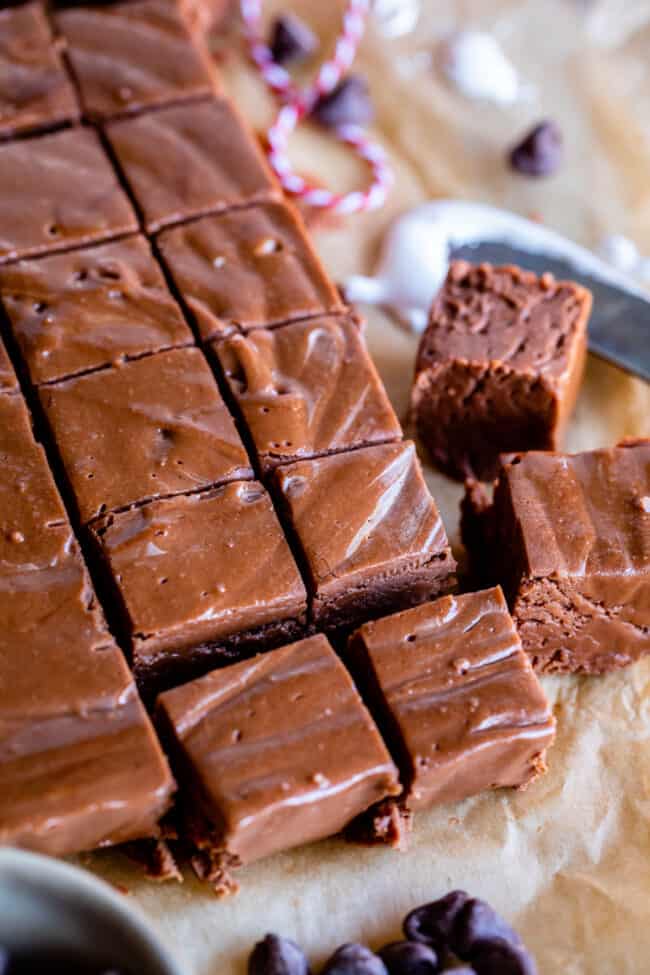
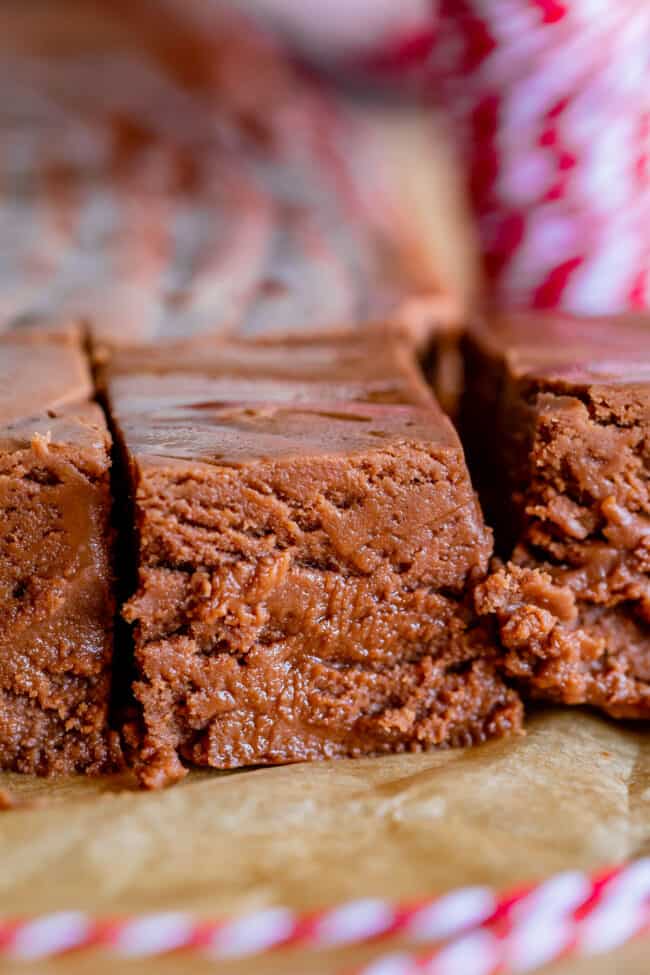
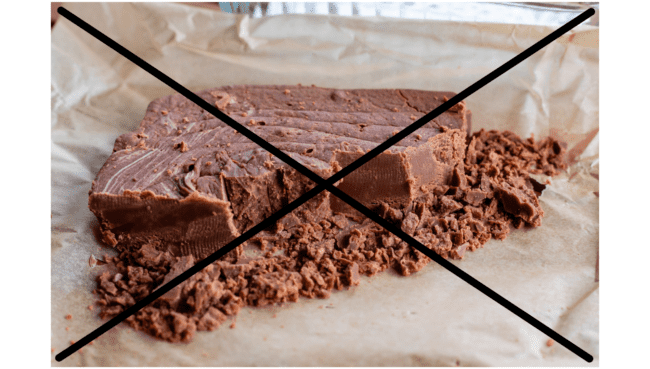
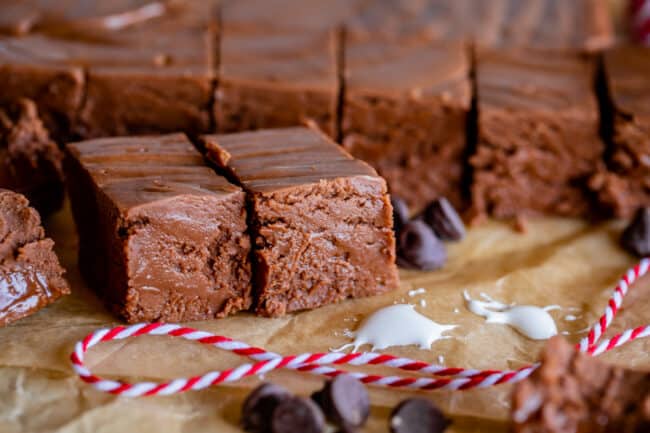
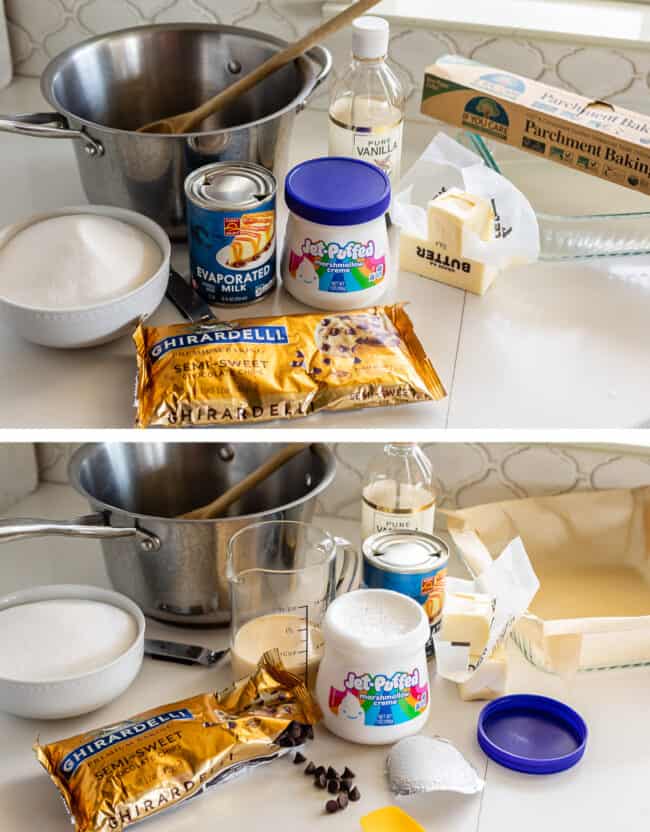
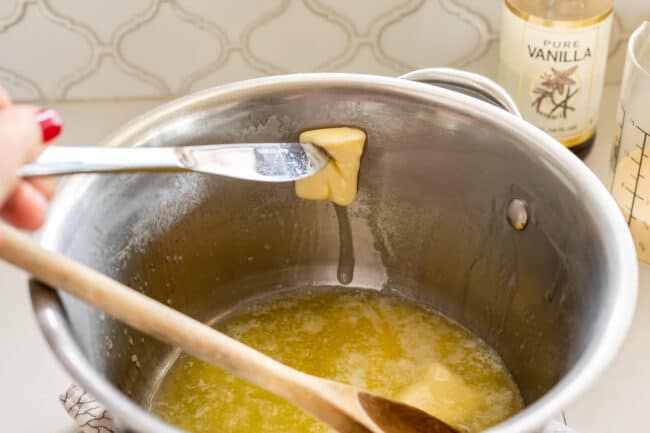
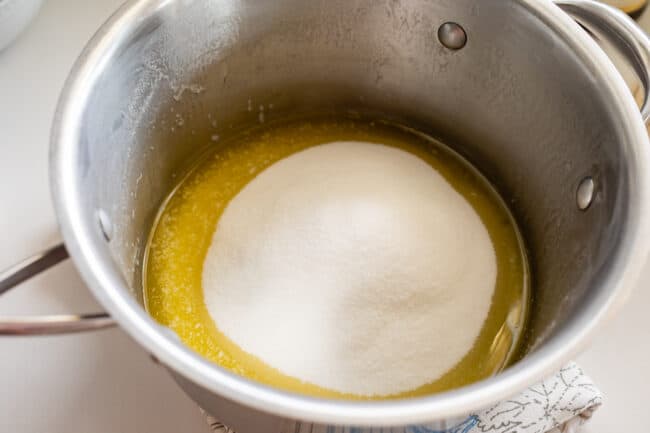
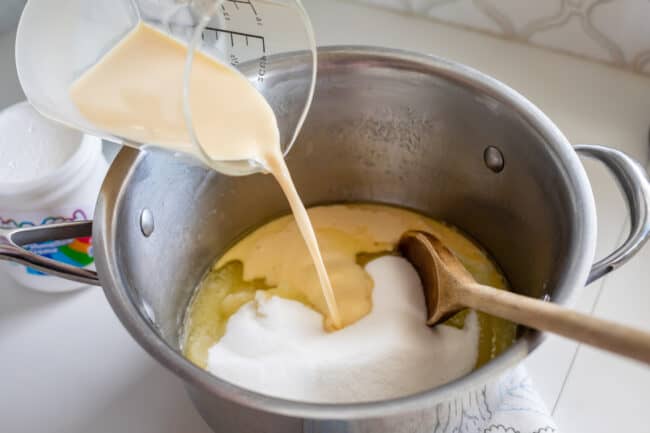
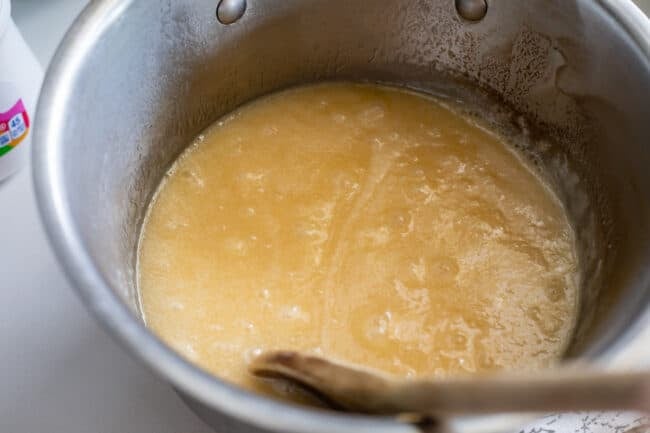
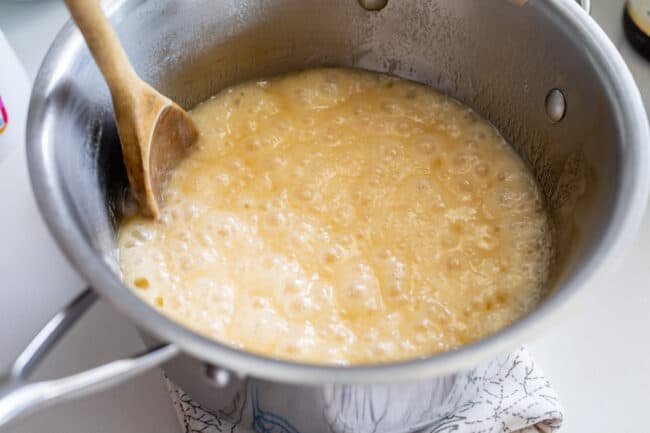
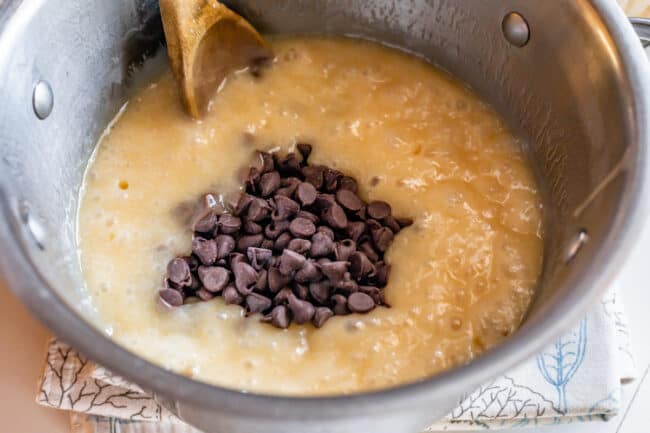
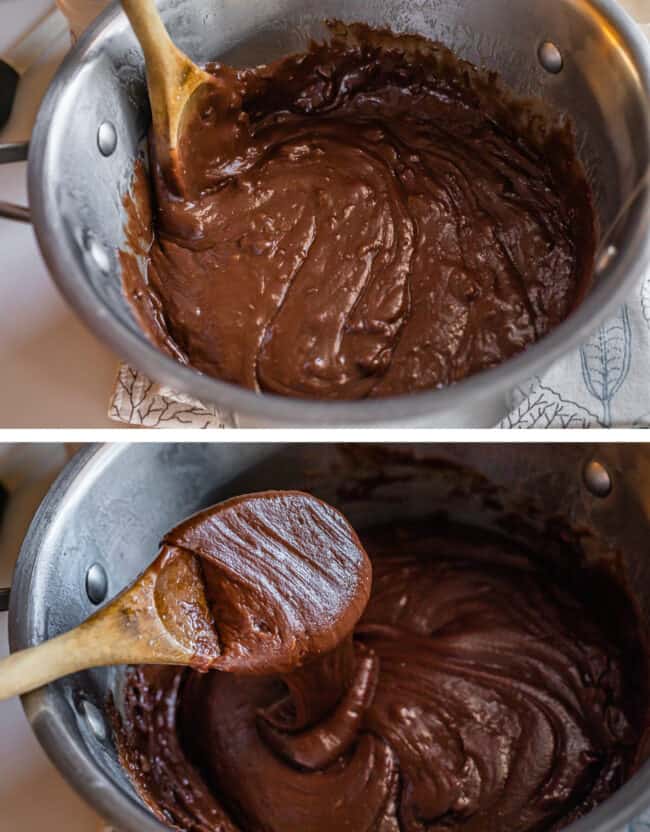
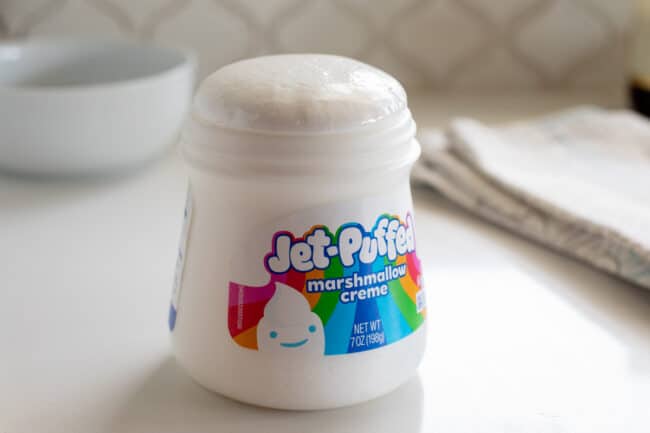
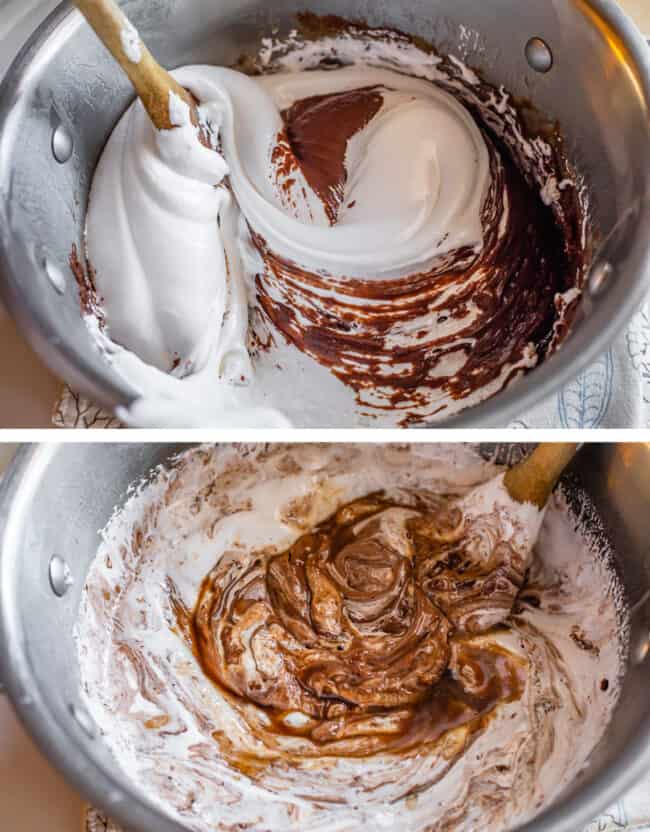
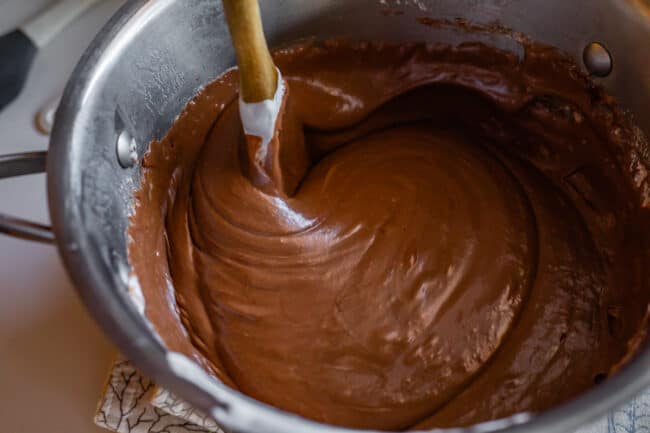
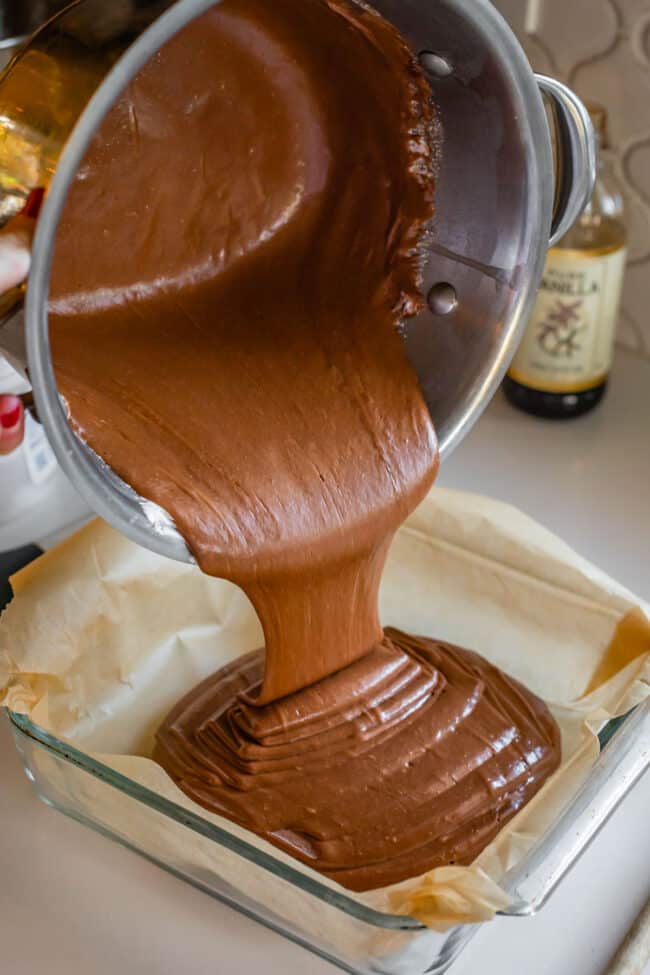
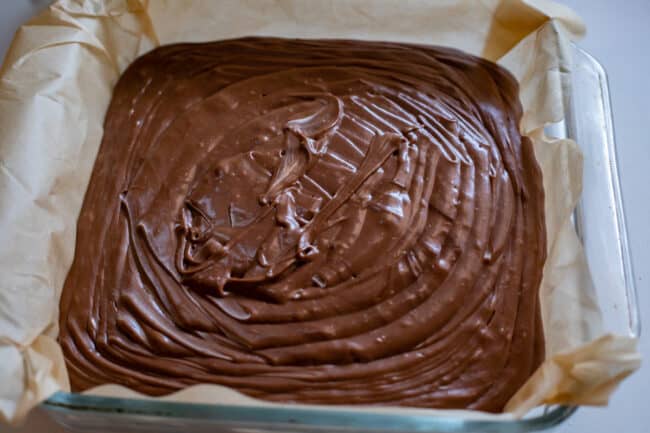
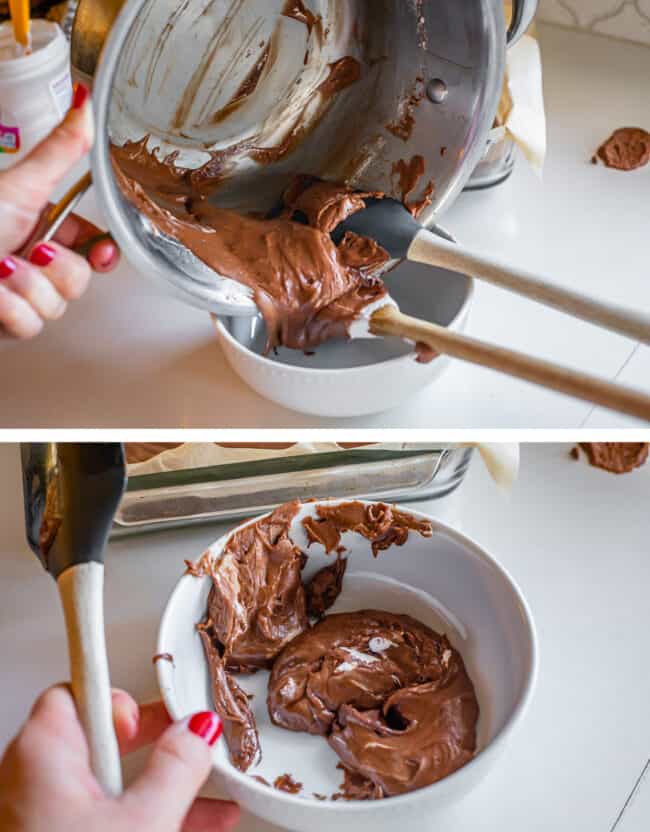
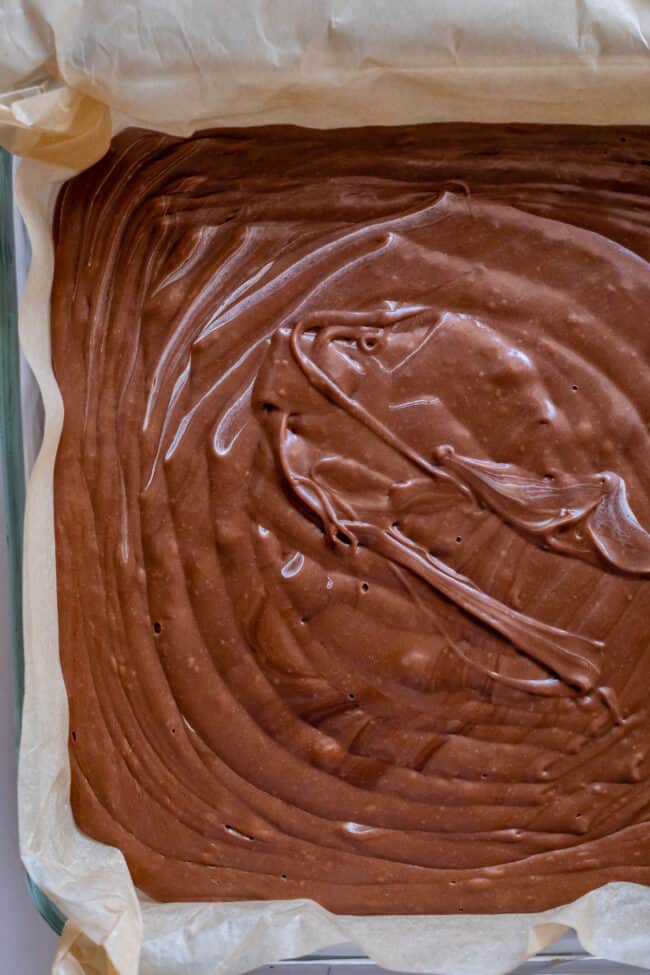
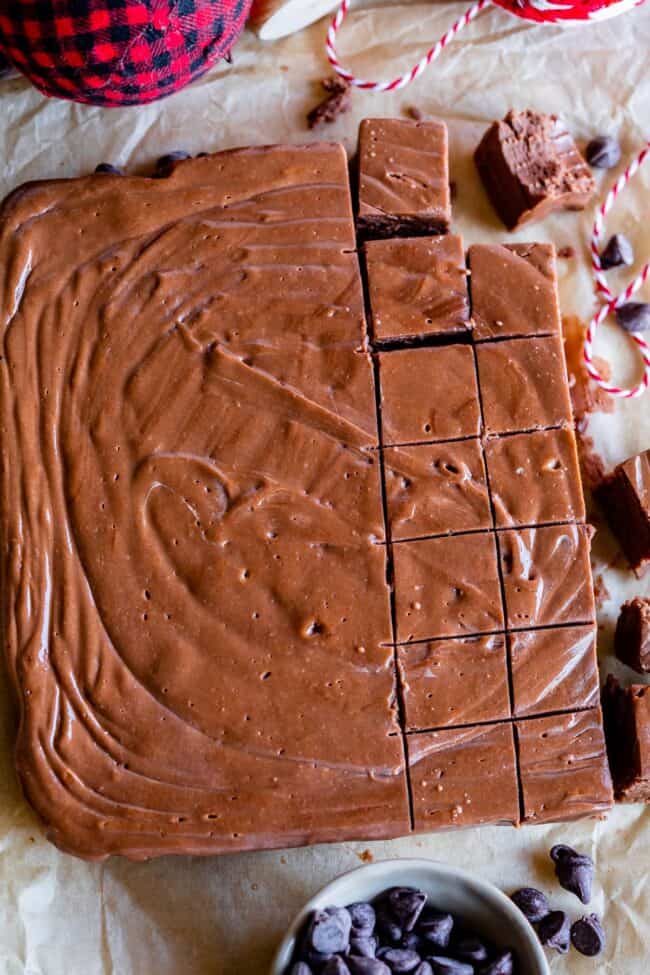
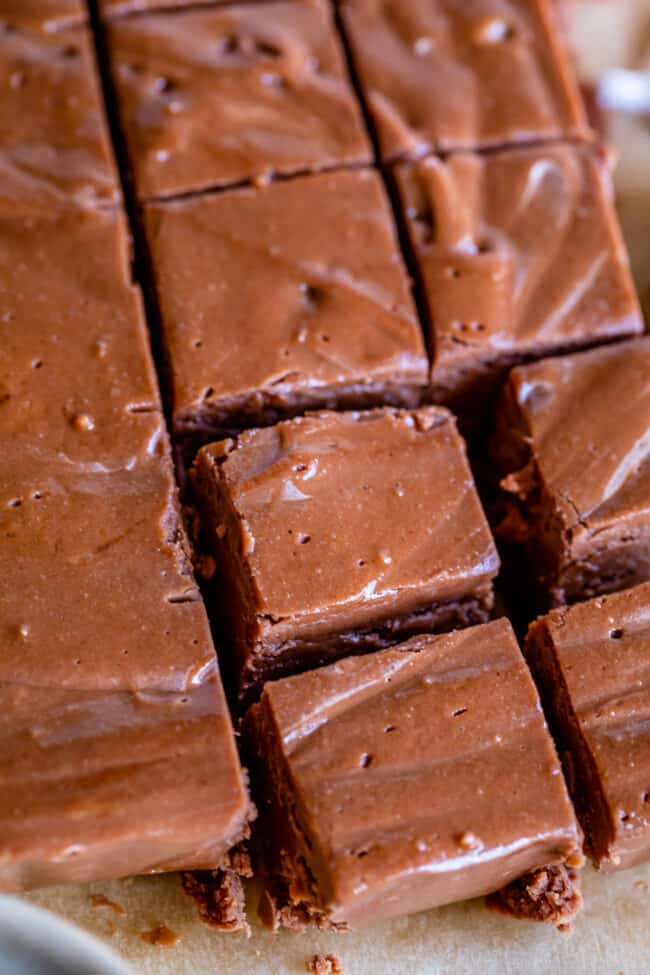
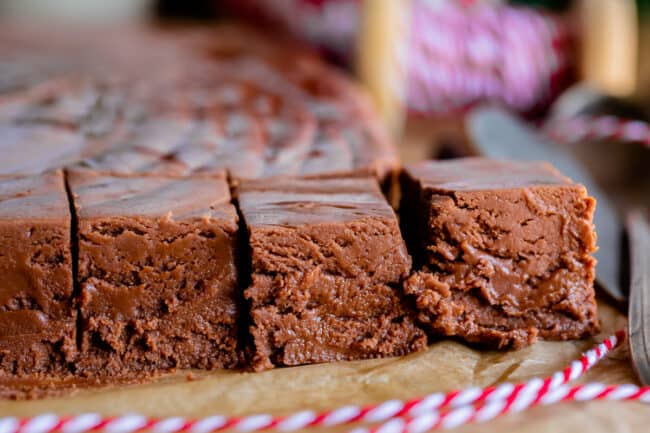
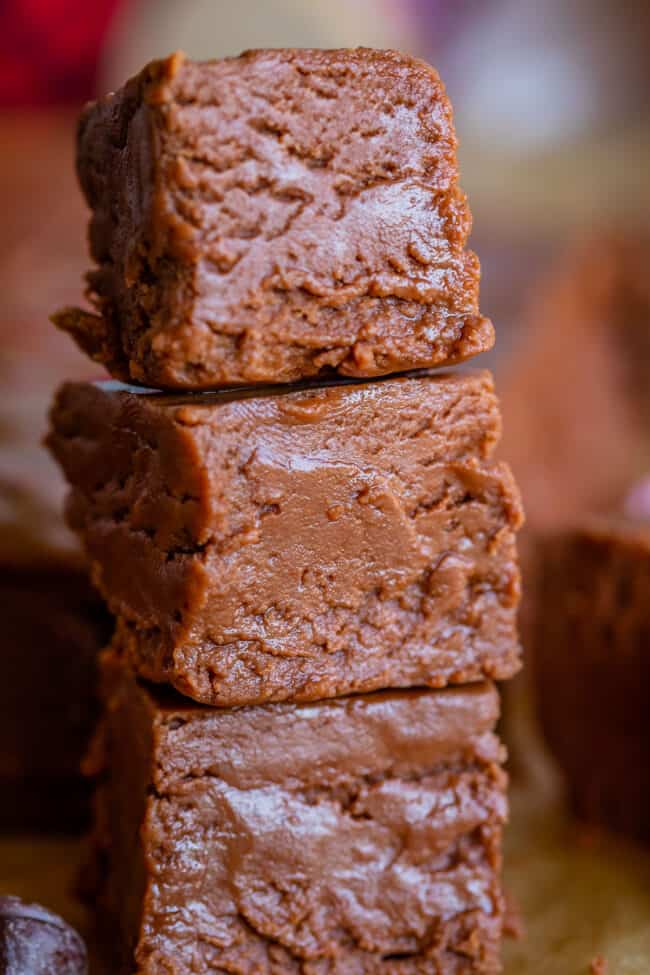
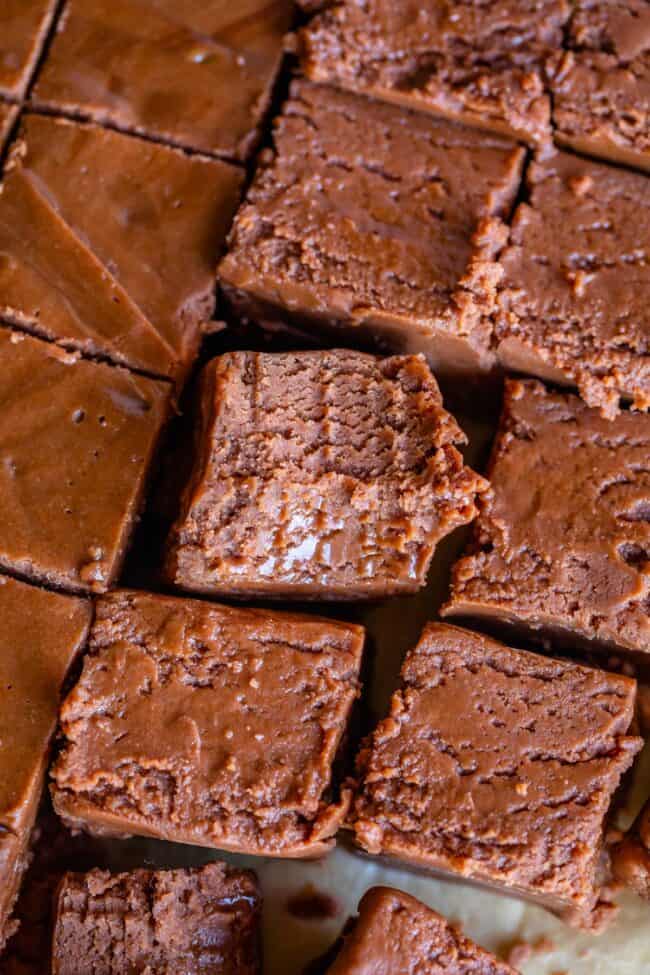
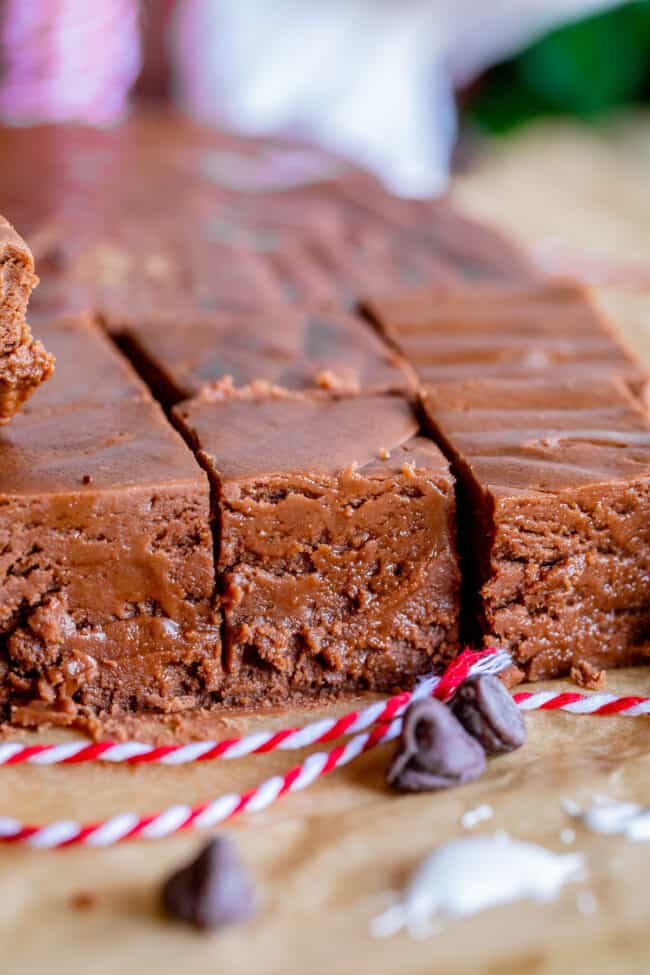
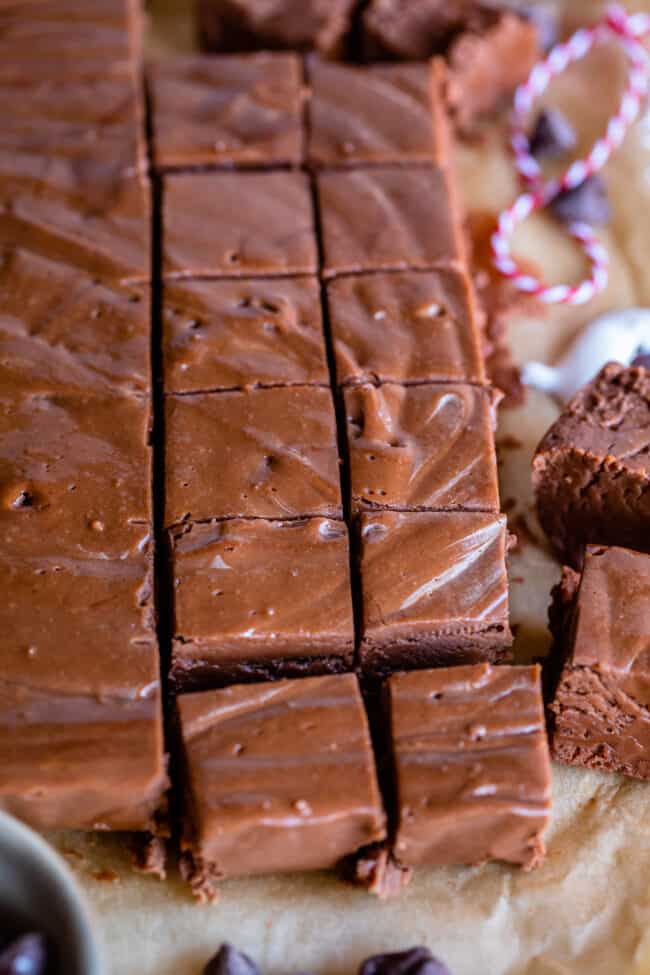
One of these things is not like the other…In the second photo, I’ve peeled off the top of the marshmallow creme. I’ve measured out 2/3 cup evaporated milk. I’ve lined my pan with parchment paper. I’ve even torn open my bag of chocolate chips and spilled them artfully over the counter. (okay fine, you can skip that step.) I know you feel like I’m being bossy, but I promise, you do not have time to do this stuff later! 2. Once the butter is mostly melted, slowly pour the sugar into the center of the pan as carefully as you can, making sure to not get any sugar on the side of the pan. With a long wooden spoon, draw the butter in from the edges toward the center, going slowly all the way around the pan until the edges are moistened. A cheap thin pan will heat your fudge unevenly, creating “hot spots” and causing it to scald. This leads to dry, crumbly fudge. The pan quality REALLY CAN BE the difference between perfect fudge and failure fudge. Trust me! Open your can of full-fat evaporated milk and measure out 2/3 cup into a liquid measuring cup, and have your vanilla nearby with the teaspoon ready to go. All your ingredients should be really close to the stove, within arms reach. Once the fudge making starts you can’t leave. Get ready to holler at anyone in the house in case the doorbell rings or something. Trust me, I’ve done my fair share of fudge-hollerin. Whew! Now that we’ve gotten through all our prep, we can actually get to fudge making. 3. Add the evaporated milk and turn the heat up to medium high. Stir to mix evenly, but avoid touching the sides of the pan with your spoon. And let’s get this out of the way: 4. Bring your butter-sugar-evap-milk mixture to a boil, STIRRING GENTLY AND CONSTANTLY. Bubbles showing on the edges of the pan is not enough. Light bubbles must be coming up from the center of the pan, even when you swipe your spoon across the pan. 5. Immediately set a timer for 5 minutes, and turn the heat down to medium so that you don’t burn your fingers off. It should be boiling the full 5 minutes. STIR GENTLY AND CONSTANTLY. If the boil isn’t constant or starts to die a bit, the heat is too low and you need to turn it up a smidge. Keep stirring. Your hand may feel like it’s on fire at times. In fact, your arm might fall off from stirring this much, but you’ll be glad you burned some calories when you realize how much of this fudge you’ll be eating. 6. As soon as the timer rings, turn off the burner and move the fudge pot off the heat. Immediately add all the chocolate chips at once. Stir with your wooden spoon until all the chocolate chips are melted and mixture is smooth. If you have chunks in this mixture, you will have chunks in your fudge, so be sure to stir until they melt completely. Another way to check for doneness is to use a candy thermometer, removing from the heat once the temperature reaches 234-236º F. My mom never did this, and I don’t either usually. But if you are nervous, 234-236 is the temperature you are shooting for. If you cook it to a higher temperature, your fudge will turn out dry and crumbly. Be ready the last few seconds before the timer goes off, all the next steps happen very quickly! 7. Put your marshmallow creme in the microwave for about 10-15 seconds (no lid! no bits of foil! Ignore the “do not microwave this container” warning!) Watch it and take it out when the mallow rises about a bit over the lip of the container. This step makes scooping the mallow creme out of the container like 10x faster, but you can skip it if you just love struggling with a spatula and getting marshmallow up to your elbows. 8. Add the marshmallow creme to the chocolate mixture and beat with a wooden spoon until mostly incorporated, then add the vanilla and stir until everything is even in color and well-blended. Once you don’t see any more marshmallow swirls, STOP STIRRING. The fudge will start to set as soon as it starts cooling, even right there in the pot, so get a move on. 9. Pour the fudge into the prepared pan and gently shake it to help the fudge settle in. Do no touch the top of the fudge or spread it with a spatula. It should be gorgeously ridged on top, like this: DO NOT scrape out the pot well! You will just be covering the top of your beautifully rippled fudge with already-crumbly-dried-out-edge-of-the-pan-bits. Don’t ruin the top of your fudge. I don’t even use a spatula, just the same wooden spoon I used to stir. Once all the smooth liquid fudge is in the pan, get a spatula and carefully scrape all the remaining fudge into a small bowl. Then by golly, have at it with a spoon. Treat yoself. Everyone else has to wait hours to try this fudge, but not you, oh no. This bowl is a special treasure that no one else even has to know about. 10. Let your pan of fudge cool to room temperature before cutting into it. The fudge needs to set for several hours before it is ready to be lifted out and sliced, otherwise it will crack when you move it. If you’re leaving it in the pan you can cut into it while it’s warm, it’ll just be soft-set instead of firm. 11. Once it is totally cool, slice and serve! Store on the counter covered with plastic wrap. Do NOT store fudge in the refrigerator. It dries out super fast. I only cut pieces from the block of fudge as they are needed. The longer already-cut pieces sit out, the more dry they become. If you are only using part of the fudge, only cut what you need. If you are cutting the entire block for a party or to distribute on Christmas plates, wait until right beforehand to cut the pieces. The easiest way is to grab the edges of the parchment paper and pull the entire block out of the pan. Use a long, sharp knife and cut several rows in one direction (wiping the knife between slices), then turn the block 90 degrees and cut more rows in that direction to make small pieces. The size of the pieces can be adjusted to however big or small you like. Remember that this fudge is rich and a little goes a long way! I usually cut fudge into rows of 7×7 to give me about 49 pieces of two-bite fudge.
How long does fudge last in the fridge?
Fudge shouldn’t be kept in the fridge at all. Don’t do it!! It will become dry and crumbly because all of the moisture will be drawn out. I promise it’s ok to leave it on the counter! If you do want to make it ahead of time and save it for later, then I recommend freezing it (see instructions below).
How long does fudge last unrefrigerated?
Fudge is good on the counter for 2-3 weeks. It shouldn’t be refrigerated; keeping it on the counter is the best way to store it.
More Christmas recipes you will love!


![]()