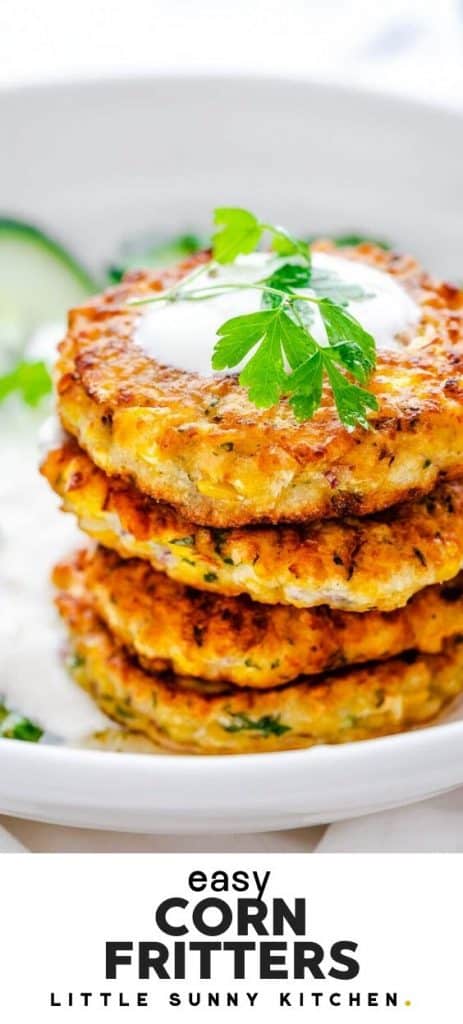
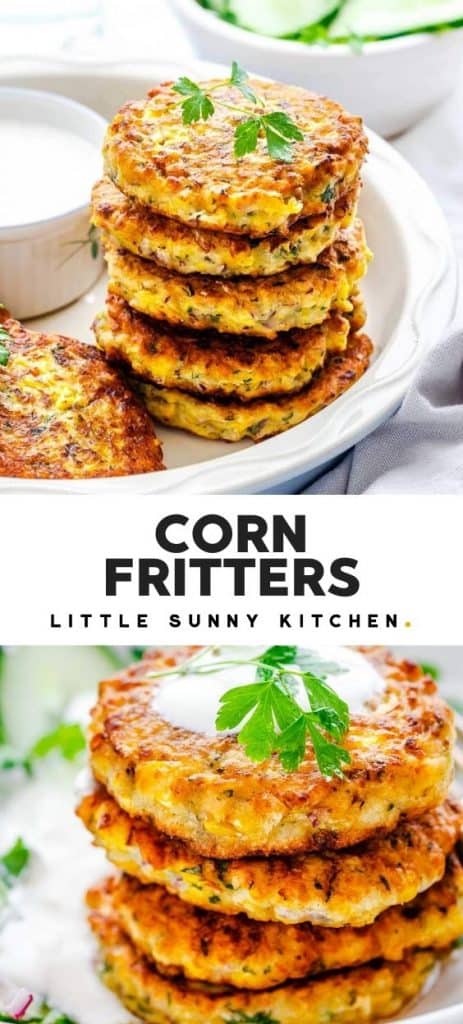
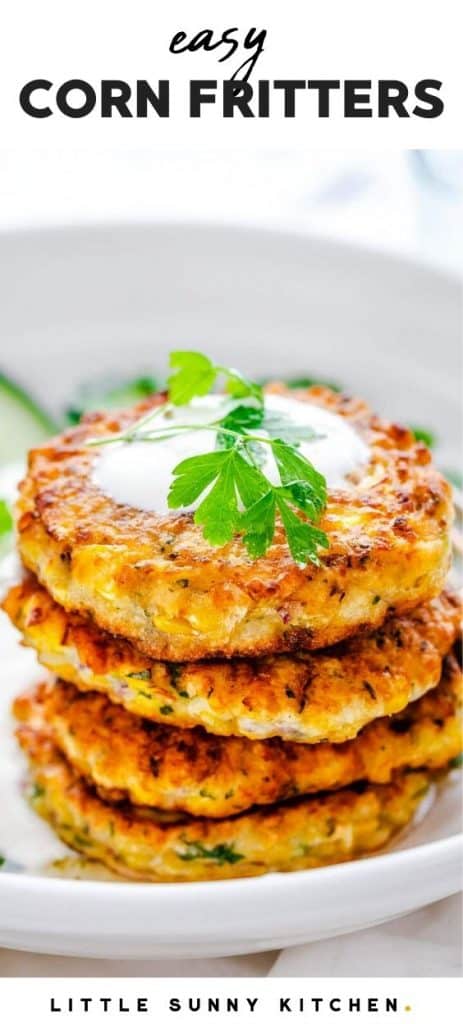
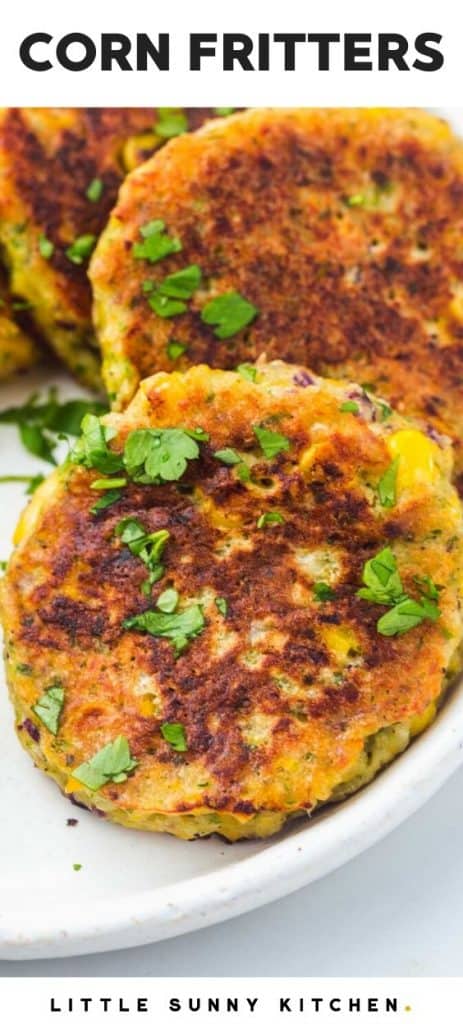
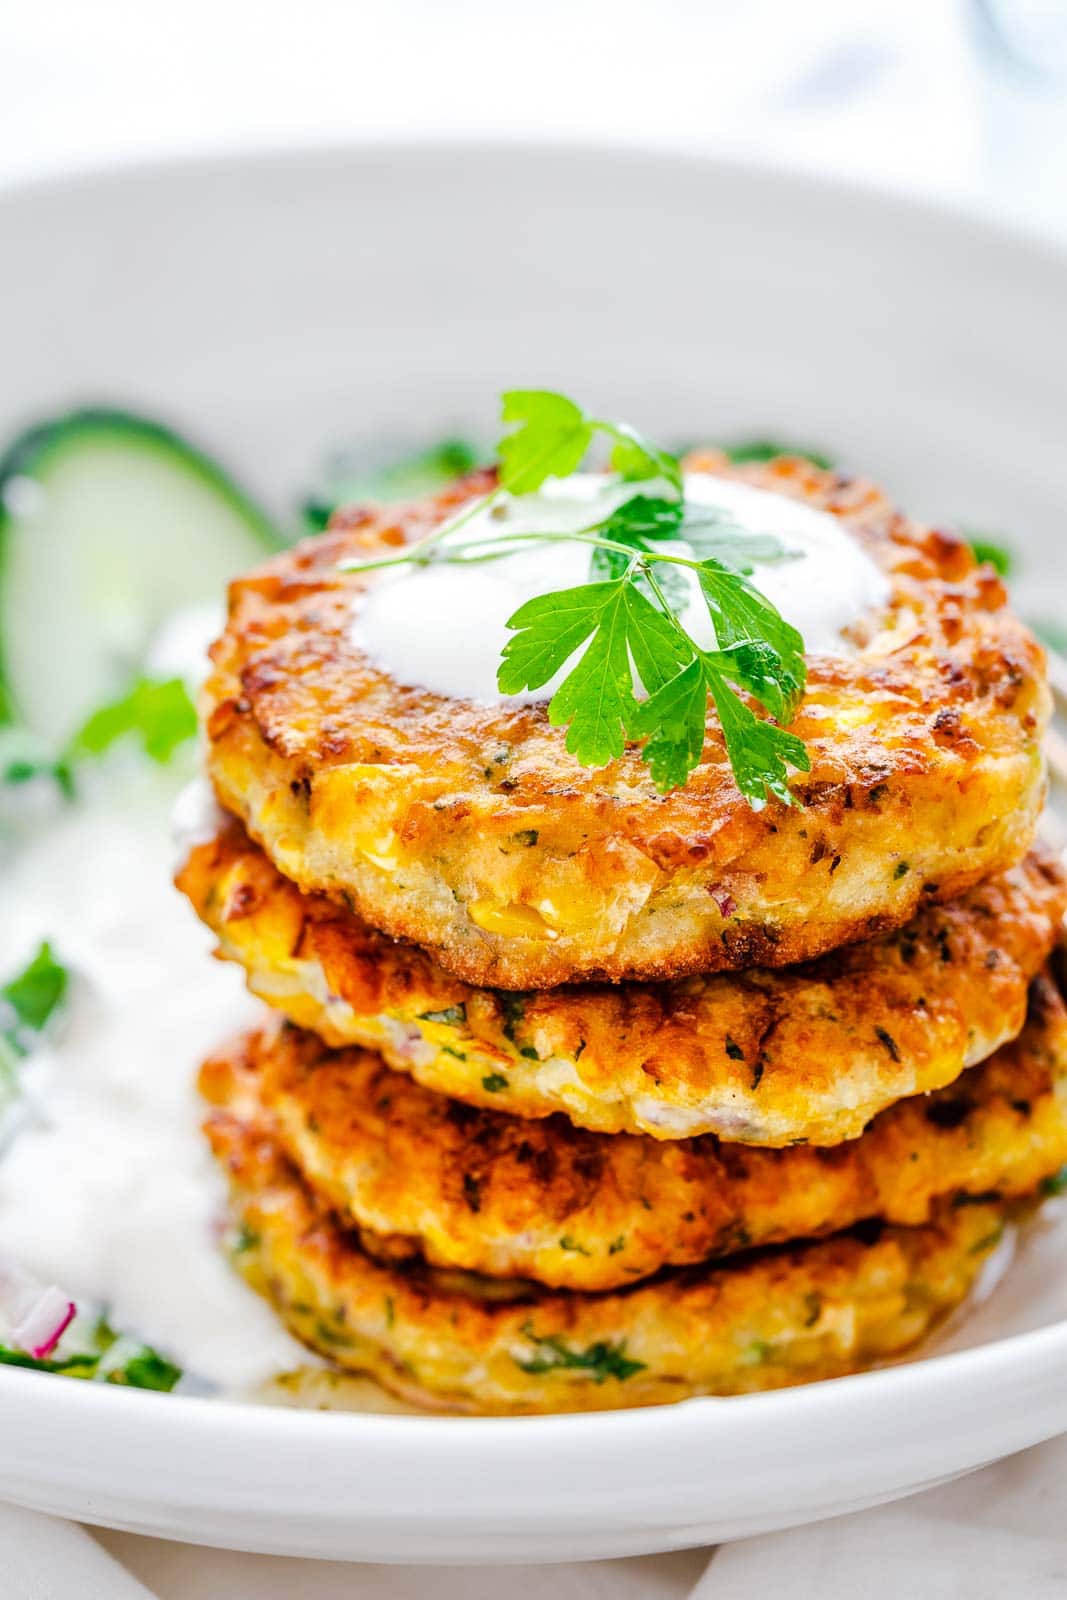
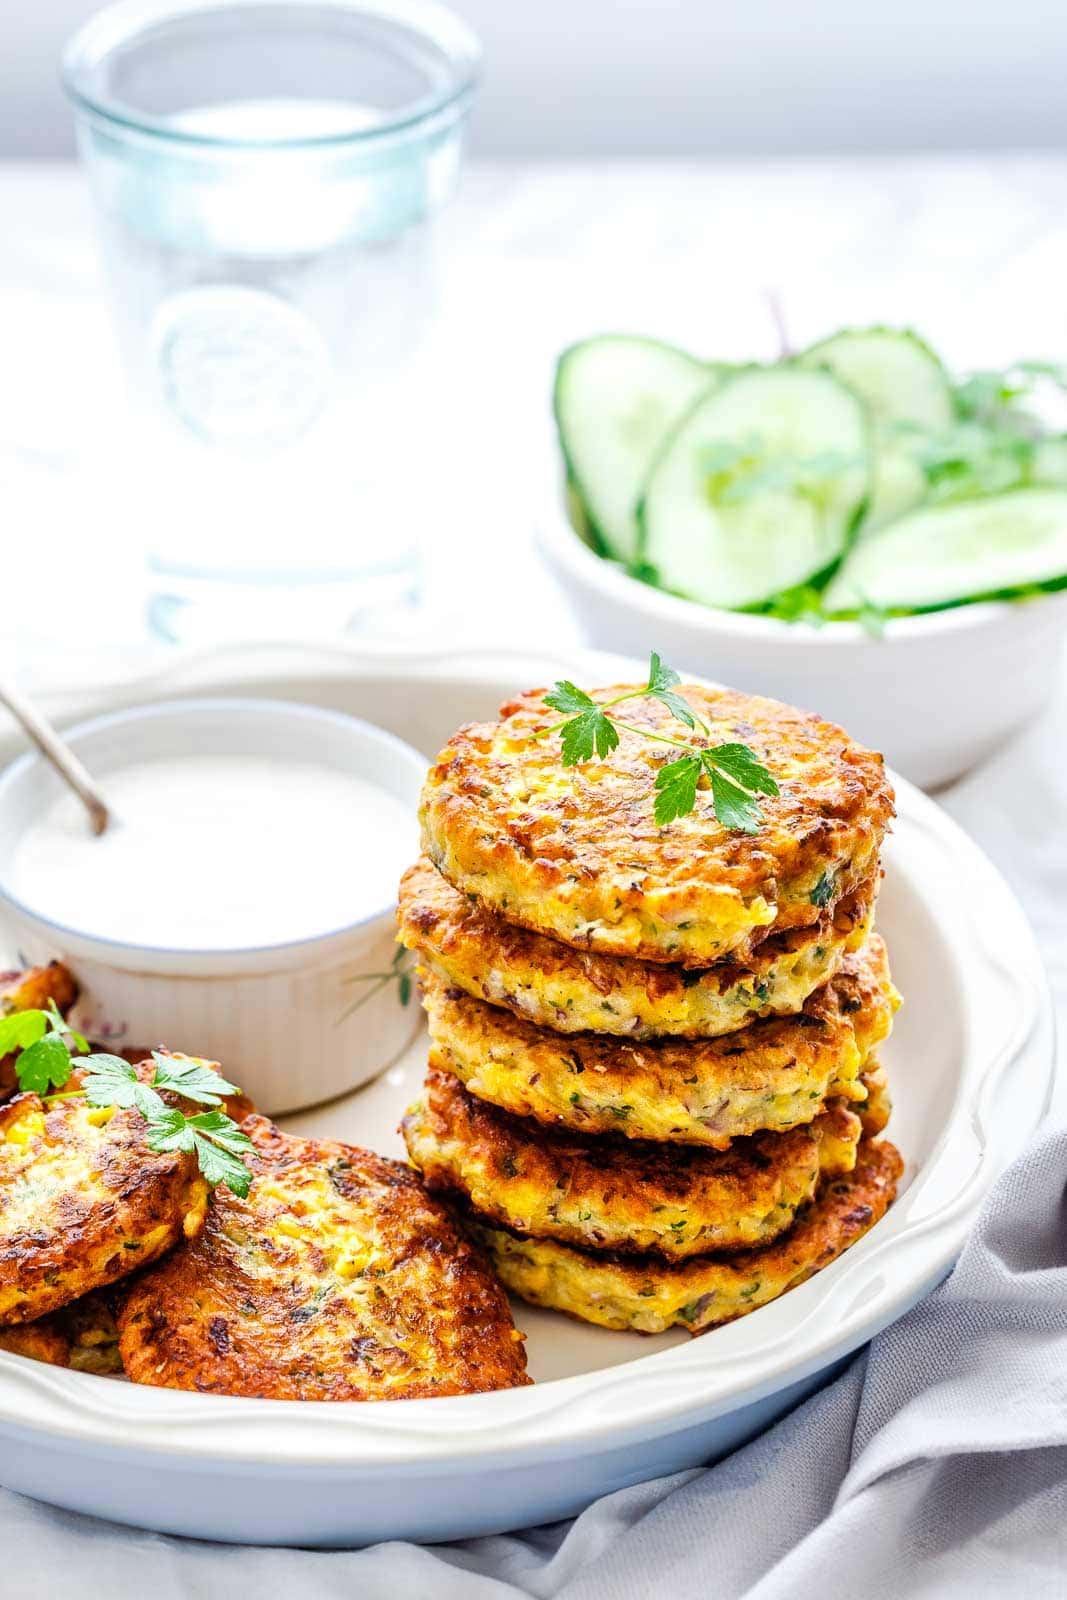
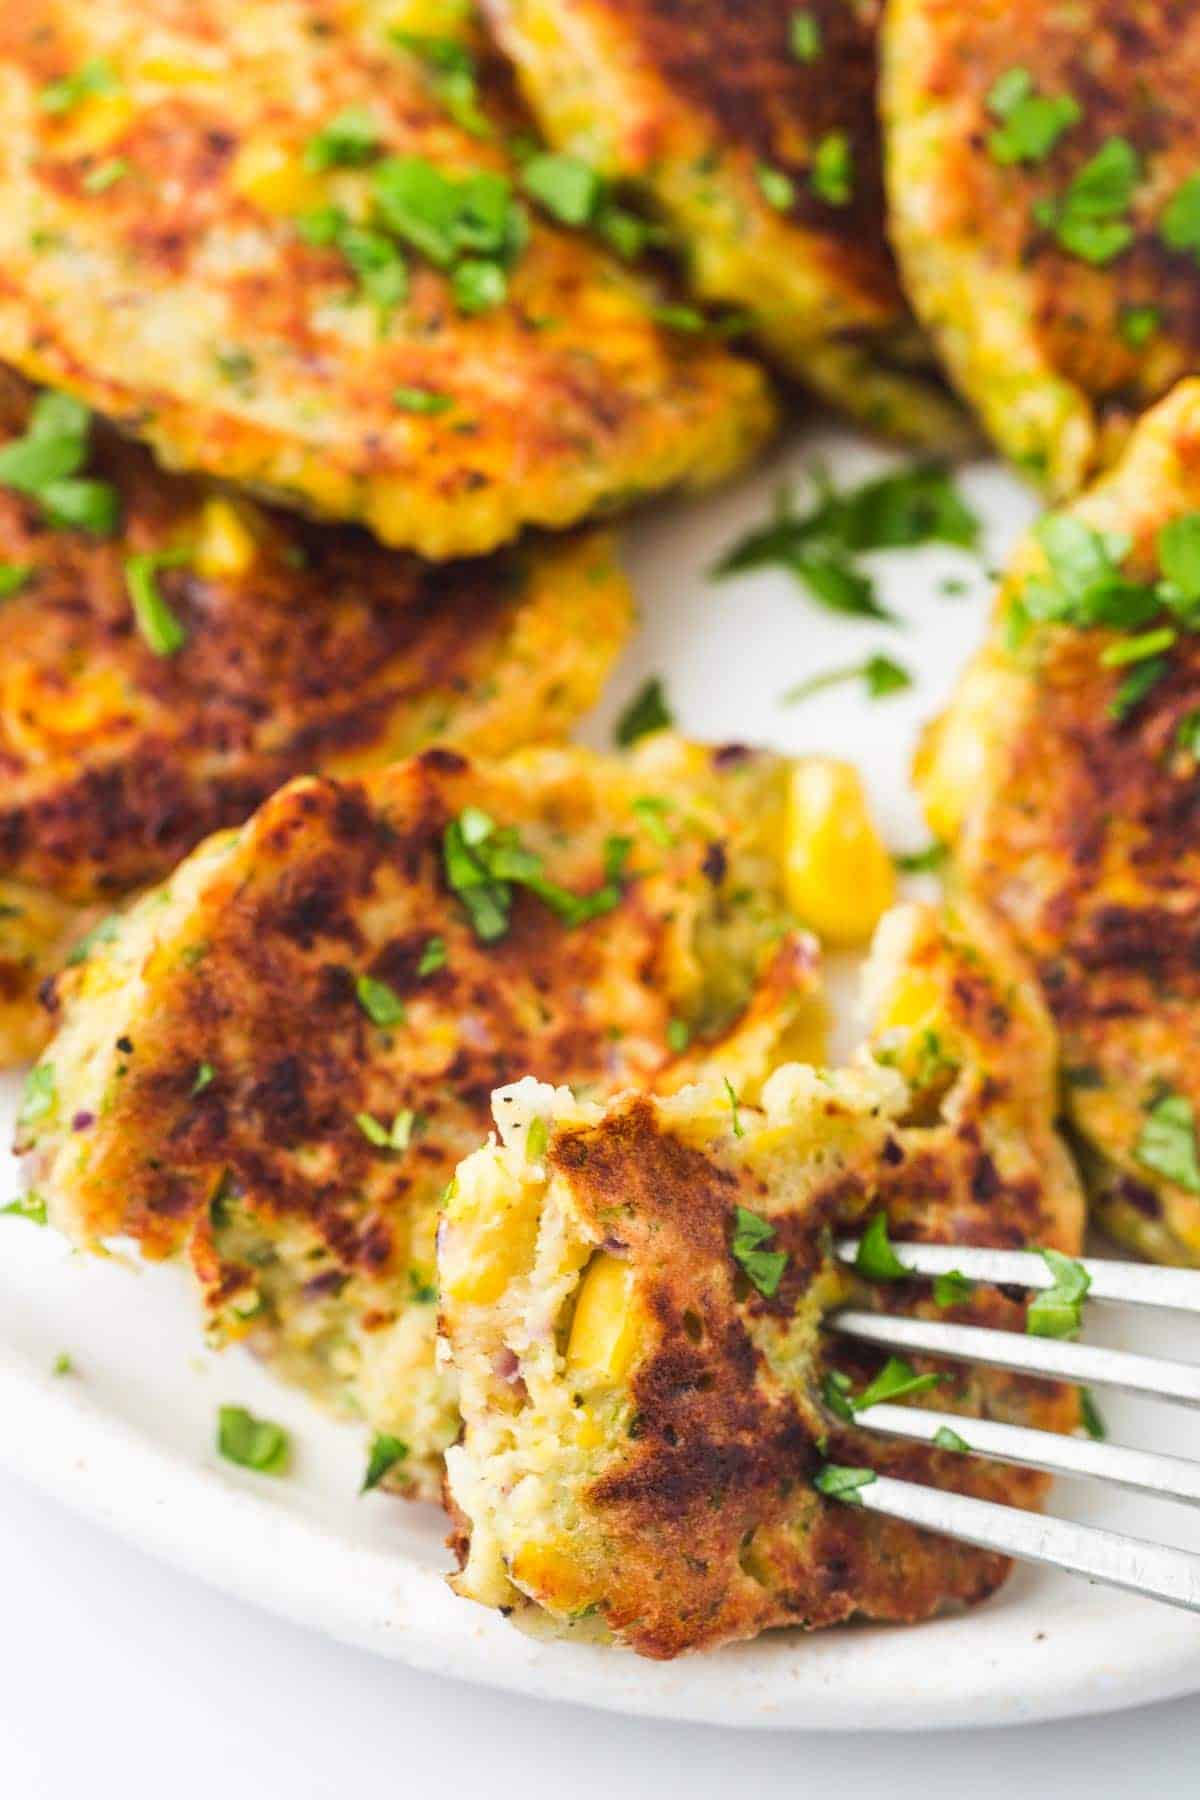
We love corn fritters in my family, and I’m going to share with you how to make corn fritters that are quick, easy, and delicious. Made from a flavorful batter with sweet corn kernels, they’re gently shallow-fried in oil for a crispy exterior and a tender, moist center. This recipe is a savior on days when you’re unsure of what to cook, offering a light but hearty option for snack, breakfast, lunch, or even dinner.
Key Ingredients
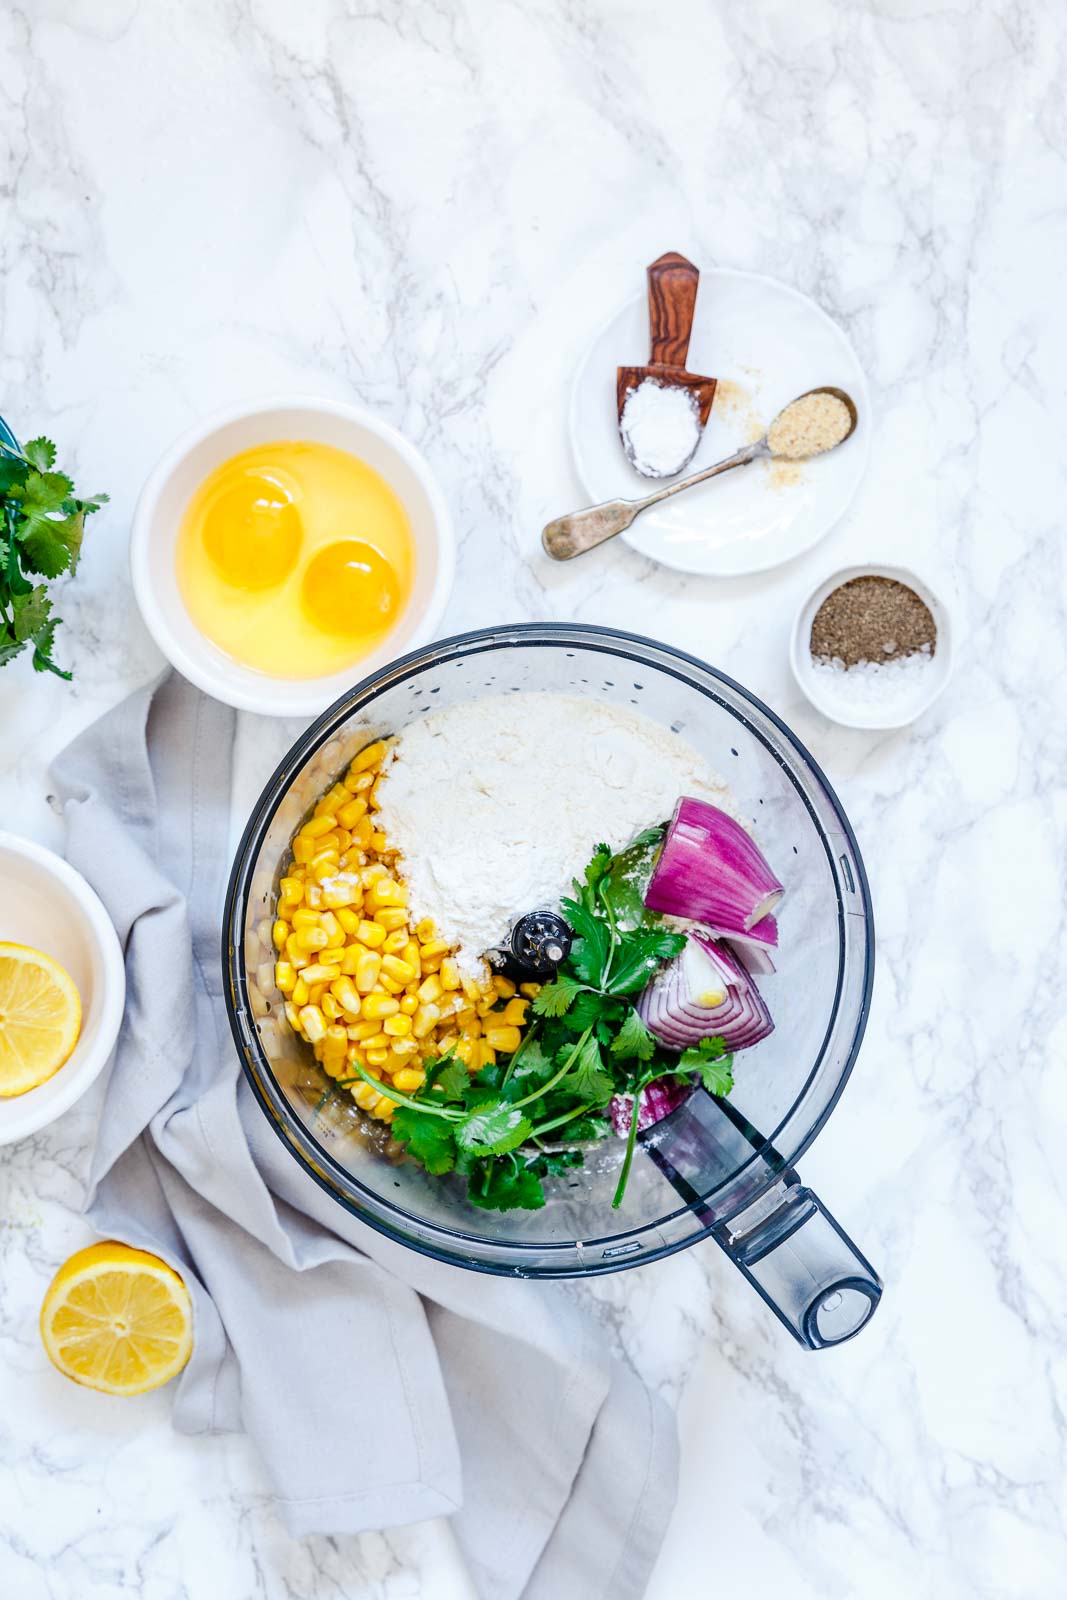
The process of creating sweet corn fritters is simple, and here are key ingredients you will need to make them:
Corn: I recommend that you use either fresh corn, or canned or frozen corn kernels. If you have a fresh ear of corn, you will get a fresher flavor but to be able to make them all year round I just go for frozen or canned corn. Eggs: Eggs are important to bind the mixture together, I also tested this recipe with chia eggs and it turned out great. For a chia egg, you need 3 tablespoons of water and 1 tablespoon of ground flaxseed. Onion: For taste and crunch. I usually go for red onion for color, but you can use yellow or white onion if you prefer. Flour: I use all-purpose flour (plain from the UK) to help bind the ingredients, and turn them into a fritter that holds its shape well. Gluten-free flour also works here.
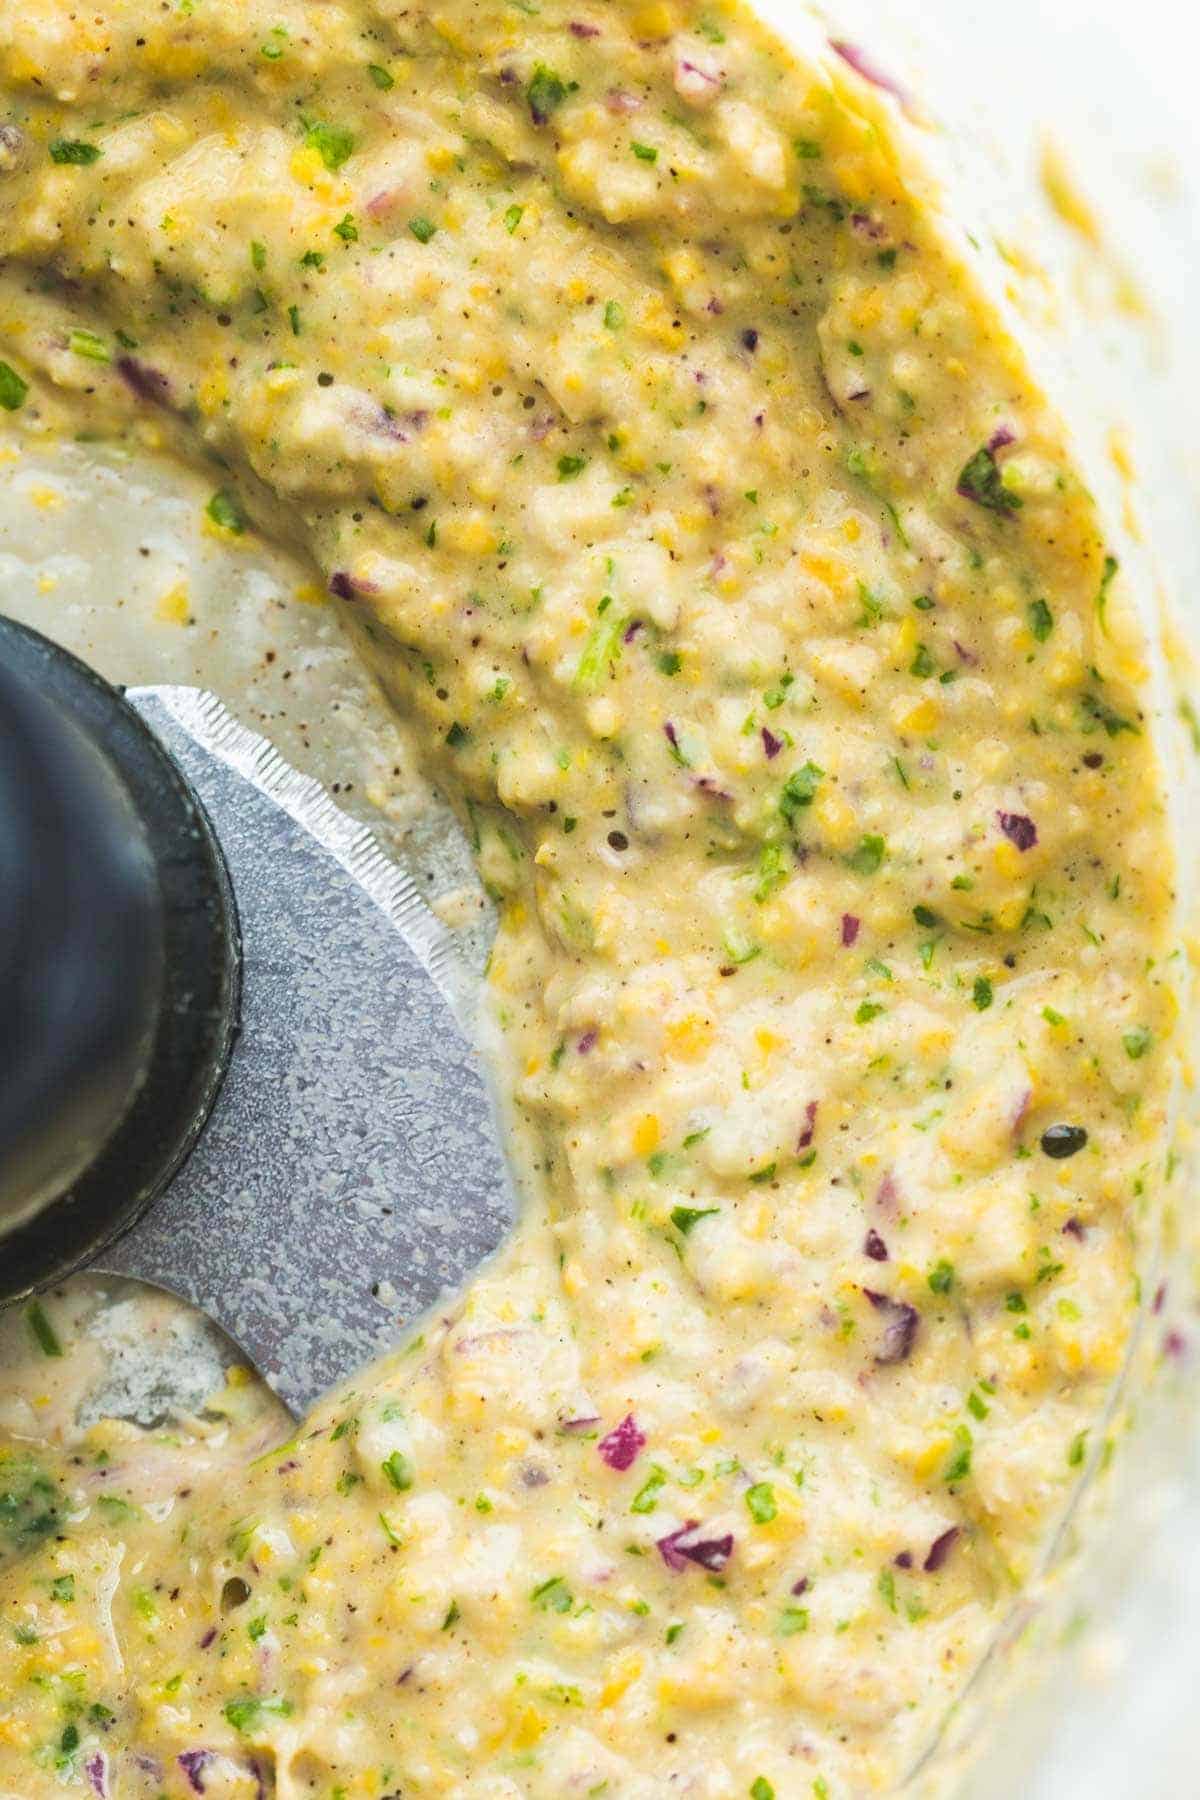
How To Make Corn Fritters
Recipe Tips
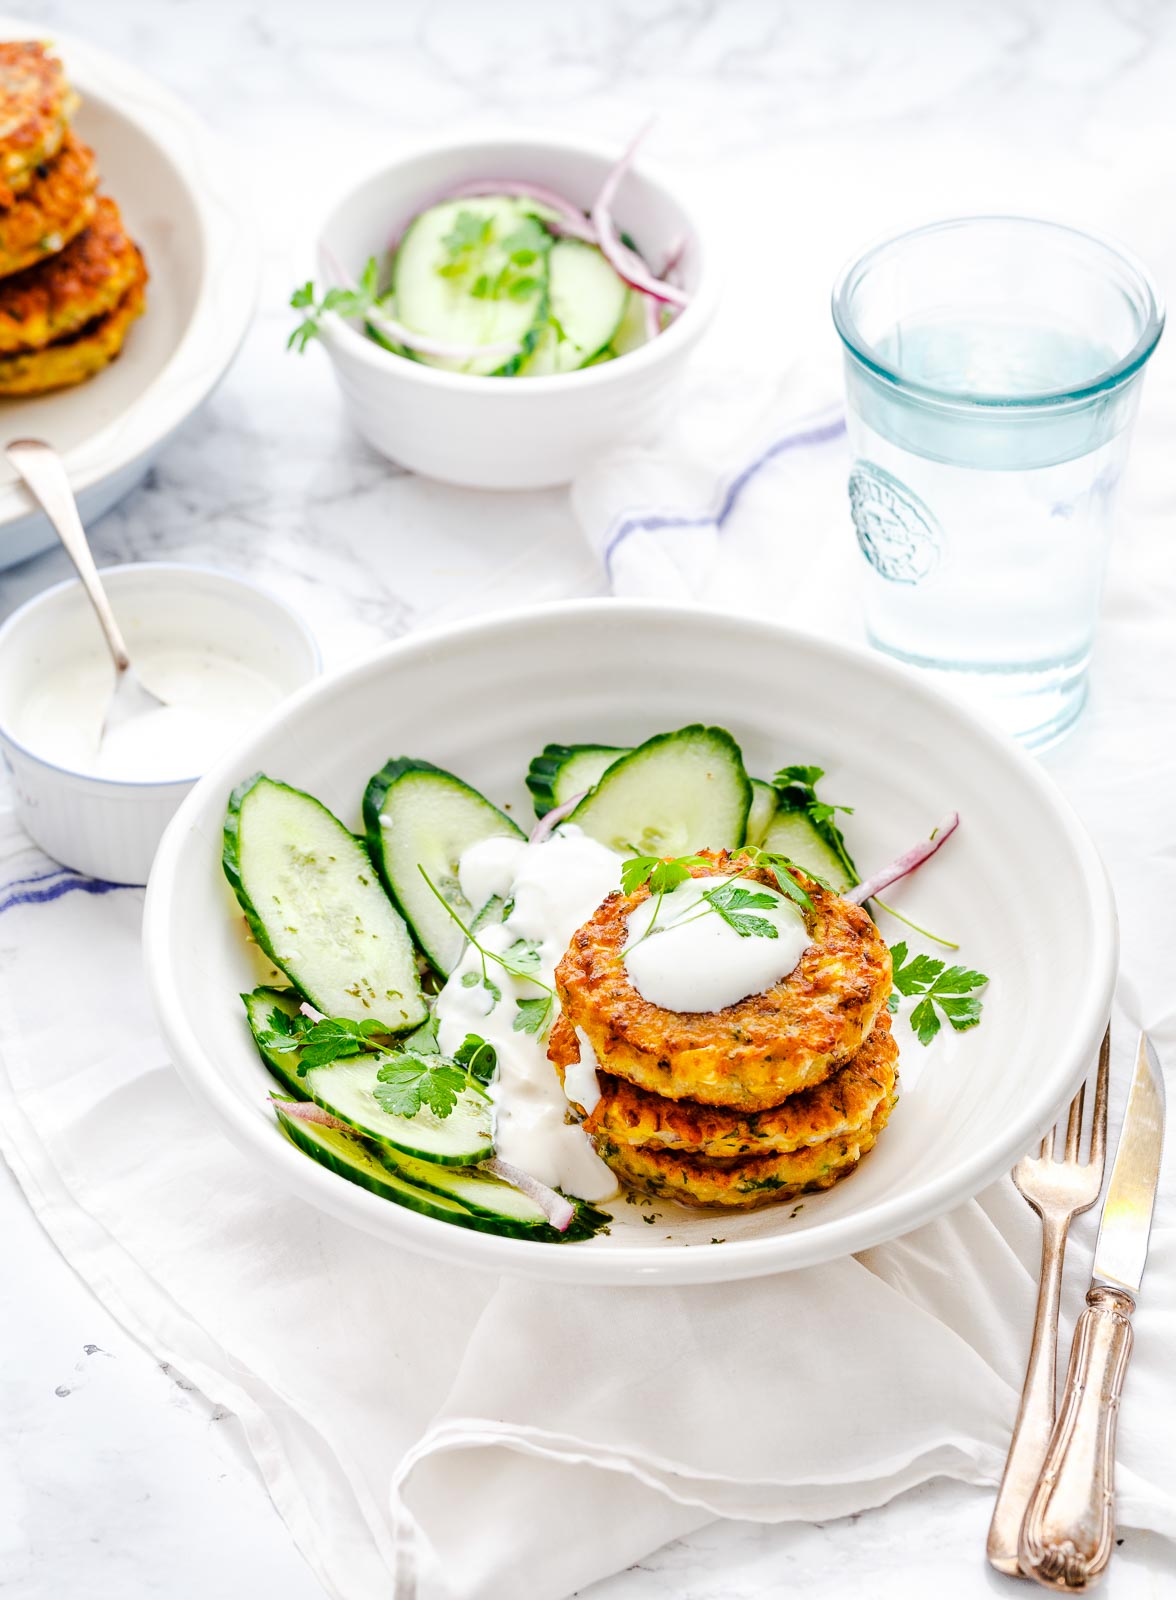
Add more spice – Want to give your fritters a little extra kick? Don’t hesitate to toss in your favorite dried herbs or spices. Cumin, cayenne, garlic powder, onion powder, smoked paprika, dried parsley – they all work great! And if you’ve got some fresh herbs like dill or green onions, throw them in there too. Hot oil: Make sure your oil is hot before you start dropping in the fritter batter. Even though we’re not deep-frying these fritters, hot oil is key to getting that crisp exterior and tender, melt-in-your-mouth interior. Cold oil just won’t do the trick. No high heat! If you cook on very high heat, the outside of your fritters will get all crispy and brown before the insides have a chance to cook fully. And hey, remember you’ve got raw eggs in the mix, so it’s really important to get those fritters cooked all the way through! Fry in Batches: Depending on your pan size, I usually fry about three fritters at a time. Got a smaller pan? No problem, just do two at a time. Make sure they’ve got some space and aren’t touching. Oh, and don’t forget to gently flatten them with your spatula while frying. Drain the Excess Oil: After frying, set your fritters on a plate lined with kitchen towels or a wire rack. This helps to get rid of any leftover oil. Try Grilled Corn: Feeling adventurous? Give these corn fritters a smoky twist by using grilled corn! Serve it Up: Once you’ve got your golden, crispy fritters ready, serve them up warm or at room temperature. They’re amazing with a dollop of sour cream or a drizzle of yogurt sauce, and a side of cucumber salad. Check out the recipe card below for those extra bits!
Storing Tips
Storing your homemade corn fritters properly will ensure you can enjoy them at a later time.
Prep in Advance: If you’re thinking ahead, you can prepare the corn fritters batter a day before you plan to cook them. This is especially handy if you fancy having these fritters for breakfast. Fridge Storage: Got leftovers? No worries! Tuck them into an airtight container and they’ll keep in the fridge for up to 3 days. Freezer Storage: If you’ve cooked more fritters than you can eat, just freeze them! They’ll stay good in the freezer for up to 3 months. When you’re ready to enjoy them again, reheat in your toaster oven or in a pan for a quick meal. Just remember, if you use the microwave to reheat, they might lose some of their crunch.
Recommended Tools for This Recipe
Non-stick frying pan. I like to shallow fry fritters and vegetable cakes on a good quality wide non-stick heavy-bottomed pan, it ensures that the fritters never stick to the pan and they always cook evenly. Food processor. This is the food processor that I love and recommend! Glass bowl. This is the set that I have and use for everything from baking to cooking. Stainless steel measuring spoons. I’ve had this set for so long now, honestly, the quality is amazing and they will last you for ages! Turner. Always make sure that the turner that you’re using is heat-resistant!
© Little Sunny Kitchen