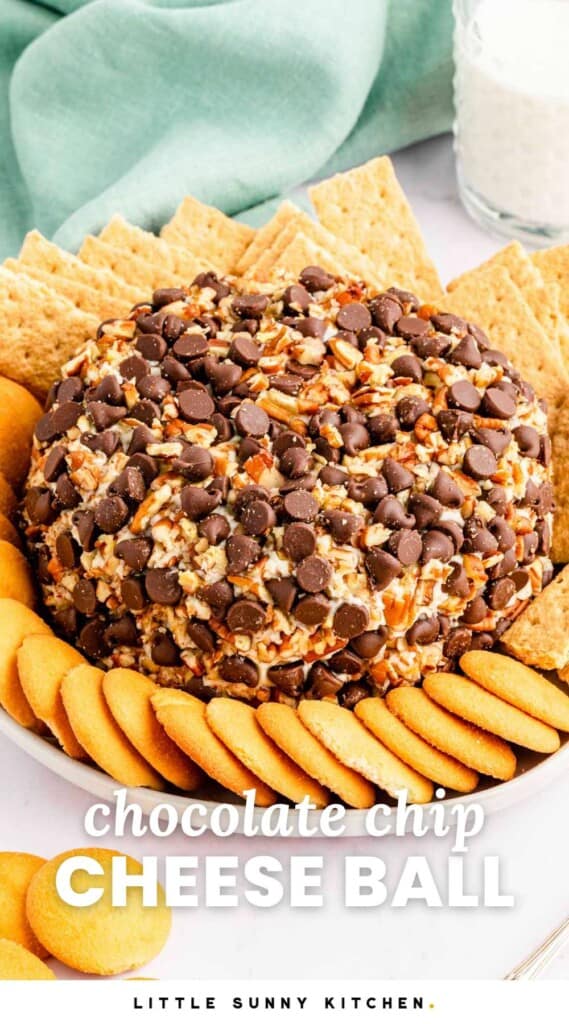
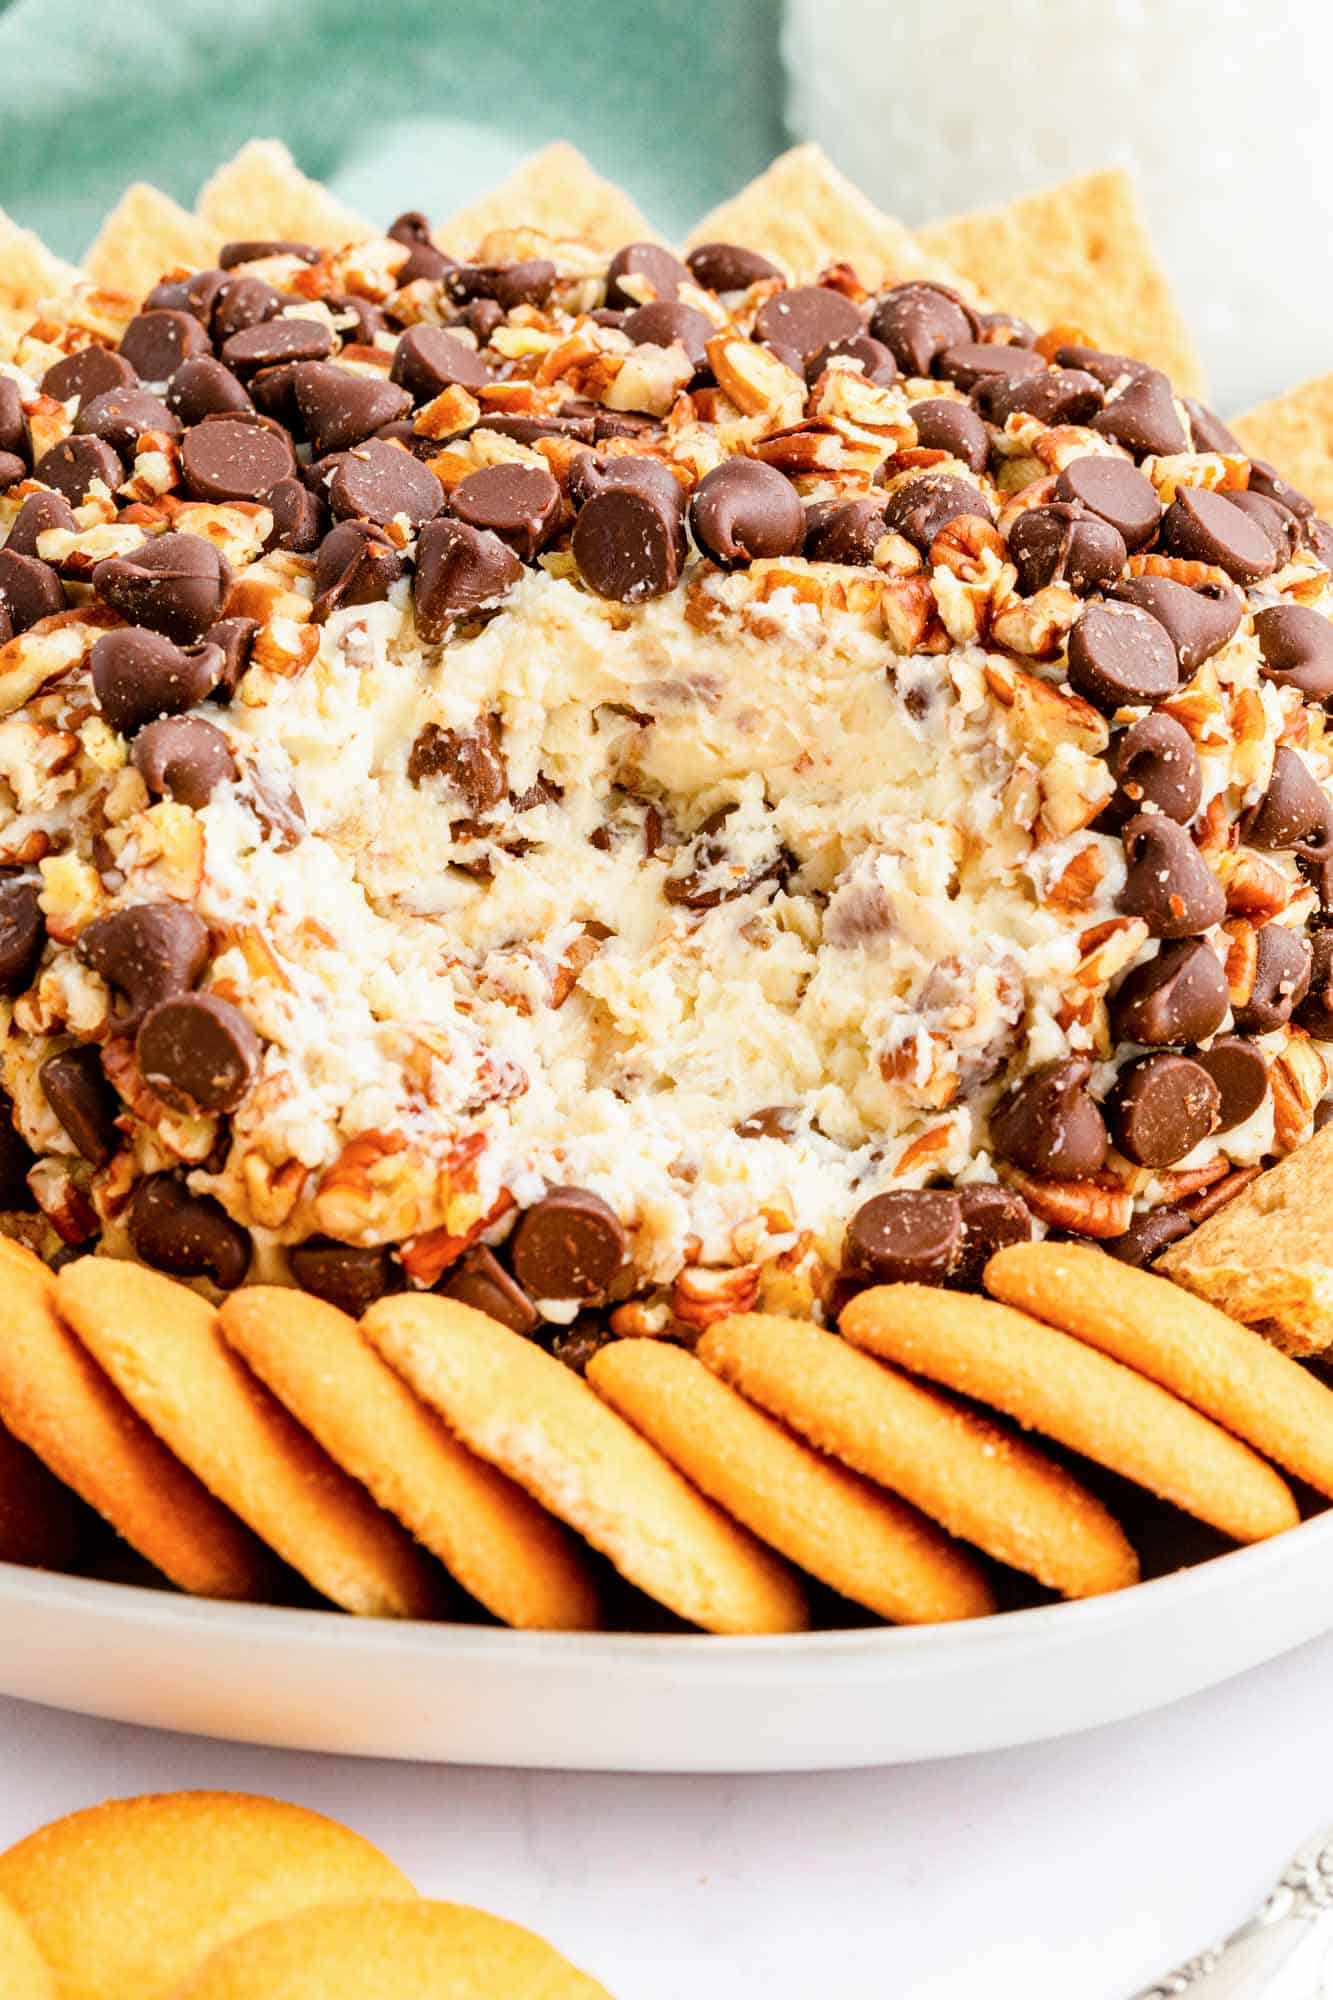
Don’t let savory cheese ball appetizers get all the recognition. This cream cheese ball is sweet, decadent, and flavored with brown sugar and vanilla so that it tastes like the perfect marriage of cheesecake and chocolate chip cookie dough. Just like a savory bacon ranch cheese ball or this Christmas tree cheese ball, You can make a dessert cheese ball ahead of time, and pull it out when your guests arrive! Serve this Chocolate Chip Cheese Ball recipe at a football party, holiday party, or a festive night in with friends. If you’re having a party, you should have some cocktails too! Apple Cider Margaritas are delicious and perfect for autumn, and my Christmas Vodka Cocktail is a beautiful red drink to enjoy for the holidays.
Why You’ll Love This Recipe
Ingredients In This Chocolate Chip Cheese Ball
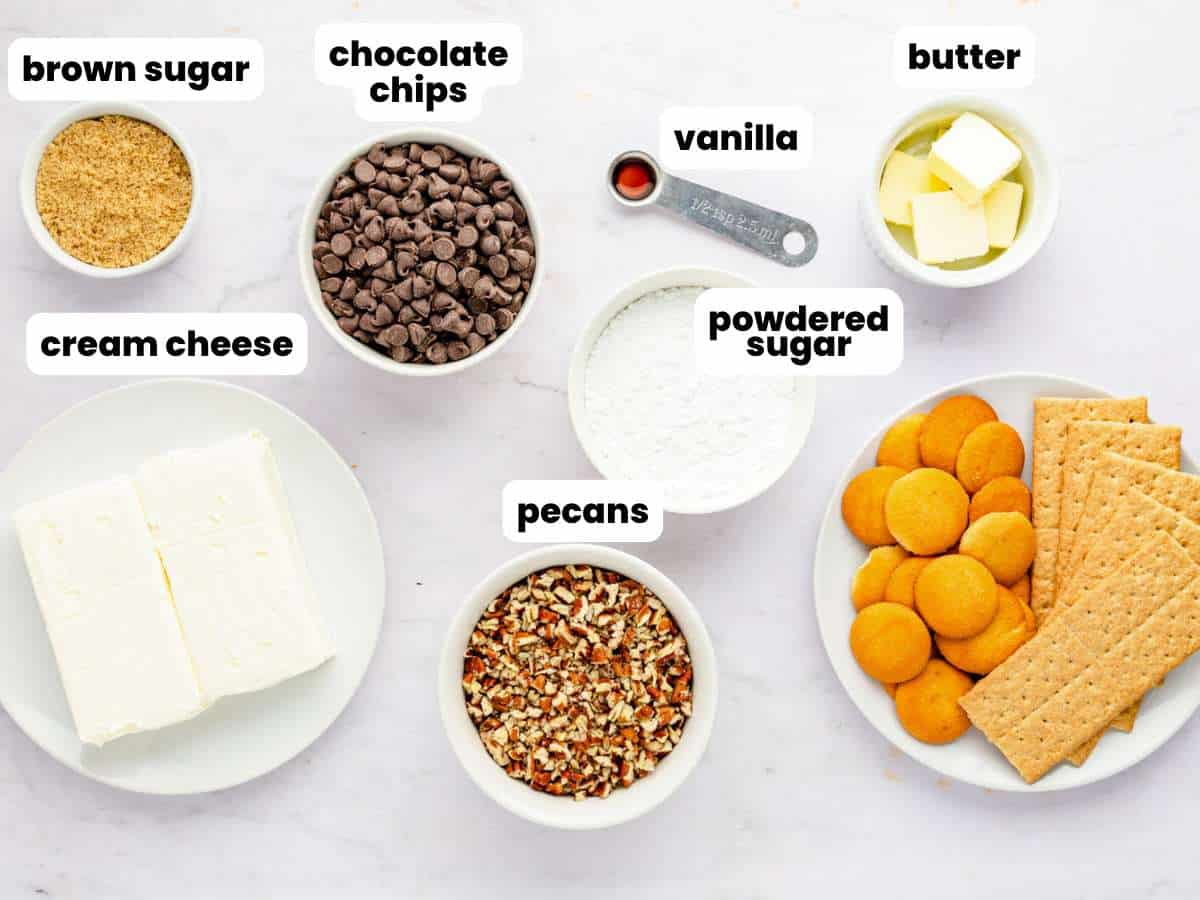
Here’s what you need to make this dessert dip cheese ball with chocolate chips: Complete list of ingredients and amounts can be found in the recipe card below.
Cream Cheese and Butter: Soften the cream cheese and butter so that they’ll blend together seamlessly to create a rich cheese ball base.Powdered Sugar: Powdered sugar sweetens the cream cheese, and thickens it so that it will hold together into a ball.Brown Sugar: Light brown sugar is mostly here for its flavor. It gives the cream cheese a cookie dough-like sweetness.Vanilla Extract: I always suggest using pure vanilla extract, especially in recipes like this one that aren’t baked. The better the vanilla, the better the flavor of your chocolate chip cheese ball. Chocolate Chips: I am using regular semi-sweet chocolate chips. Miniature chocolate chips could also be used, or dark chocolate chips.Chopped Pecans: Chop the nuts coarsely so that there are variations in the sizes.
How To Make A Chocolate Chip Cheese Ball
Recipe Tips
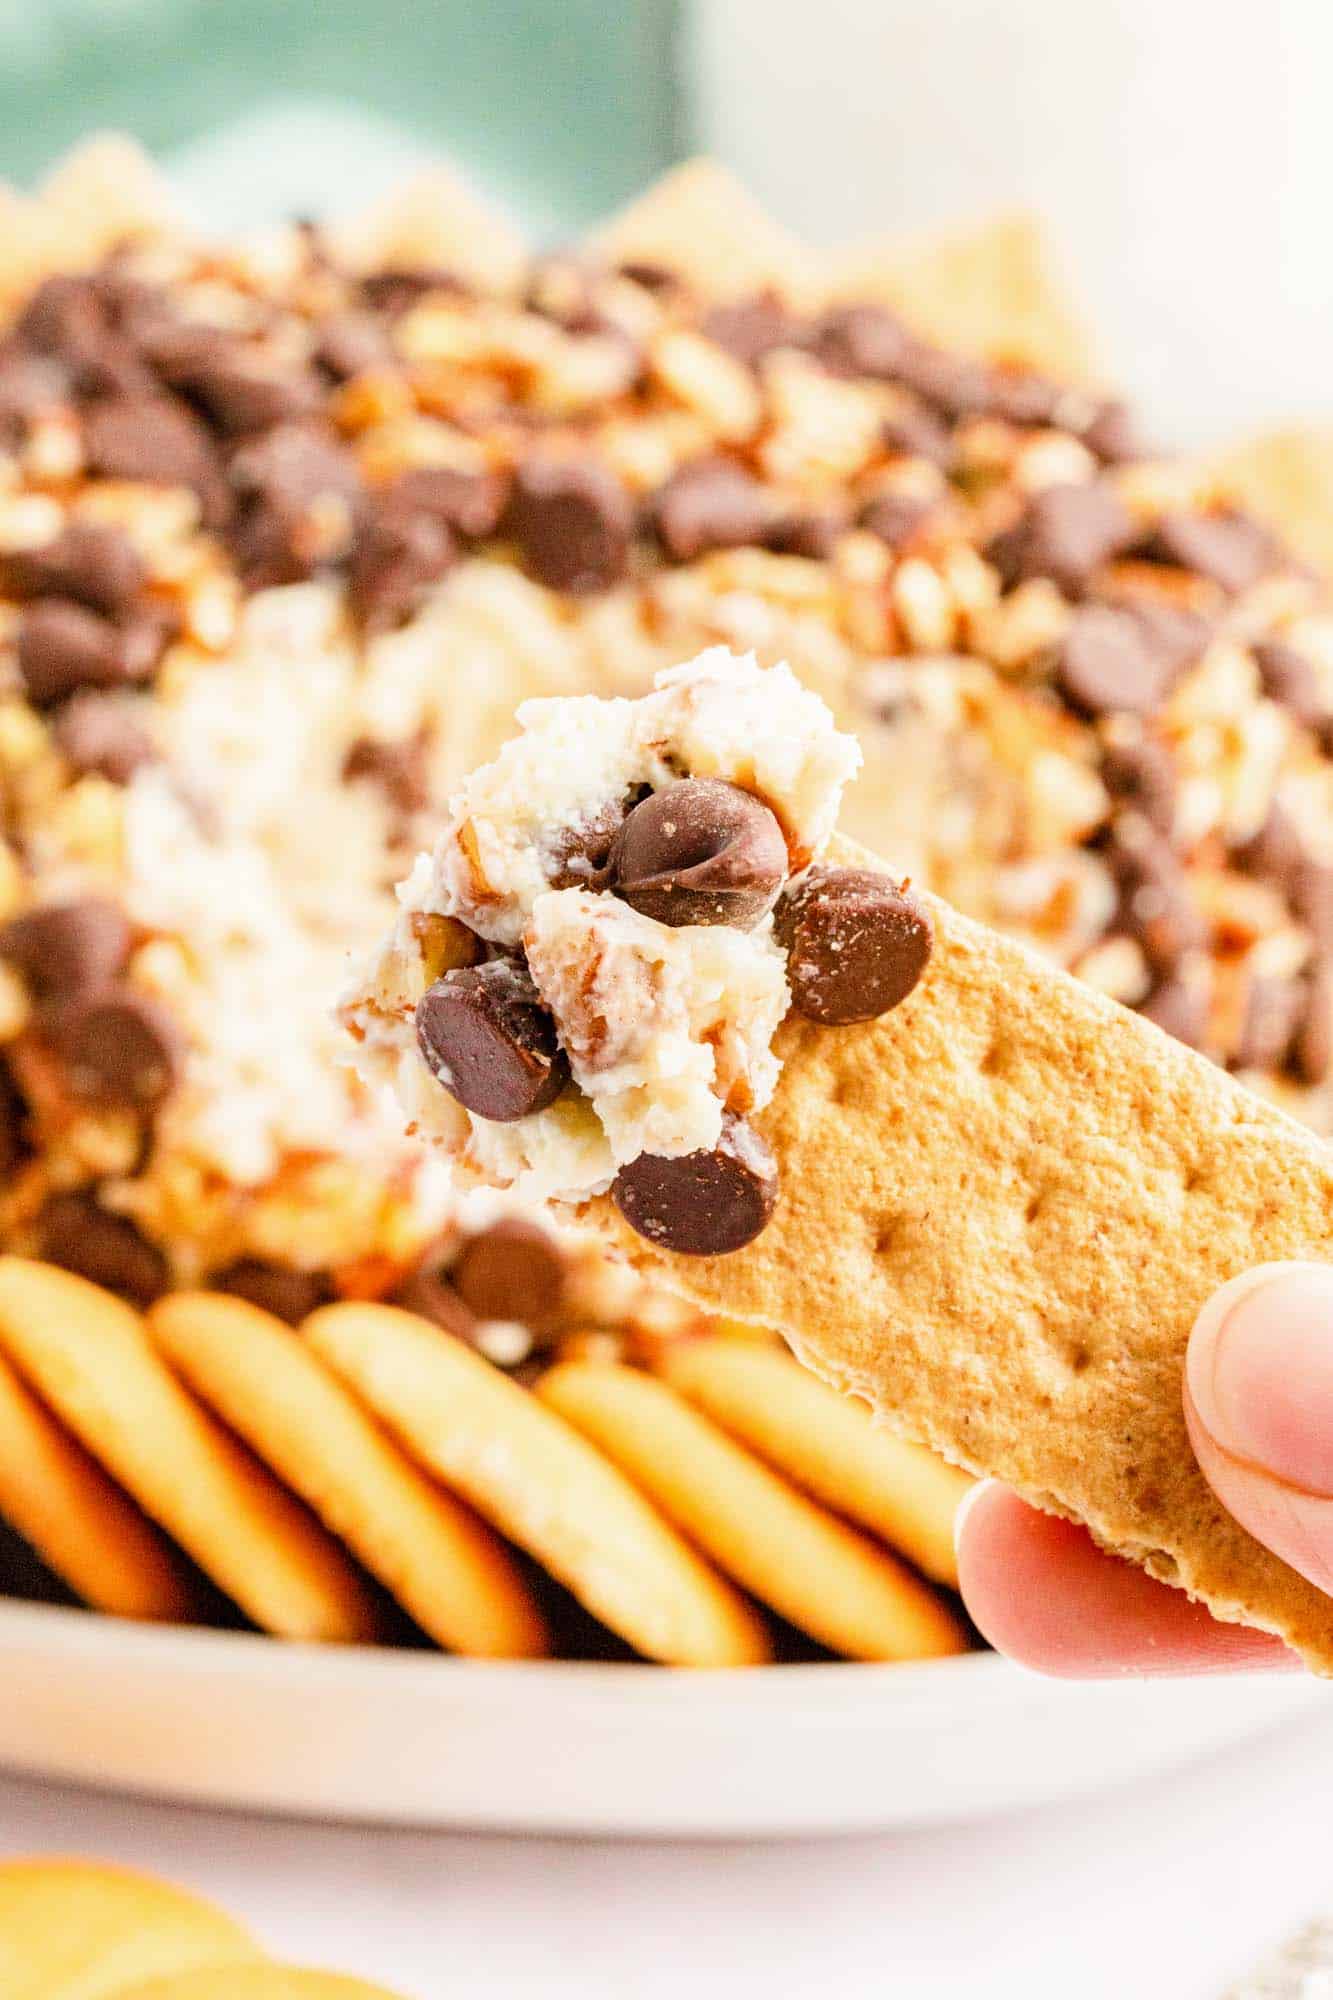
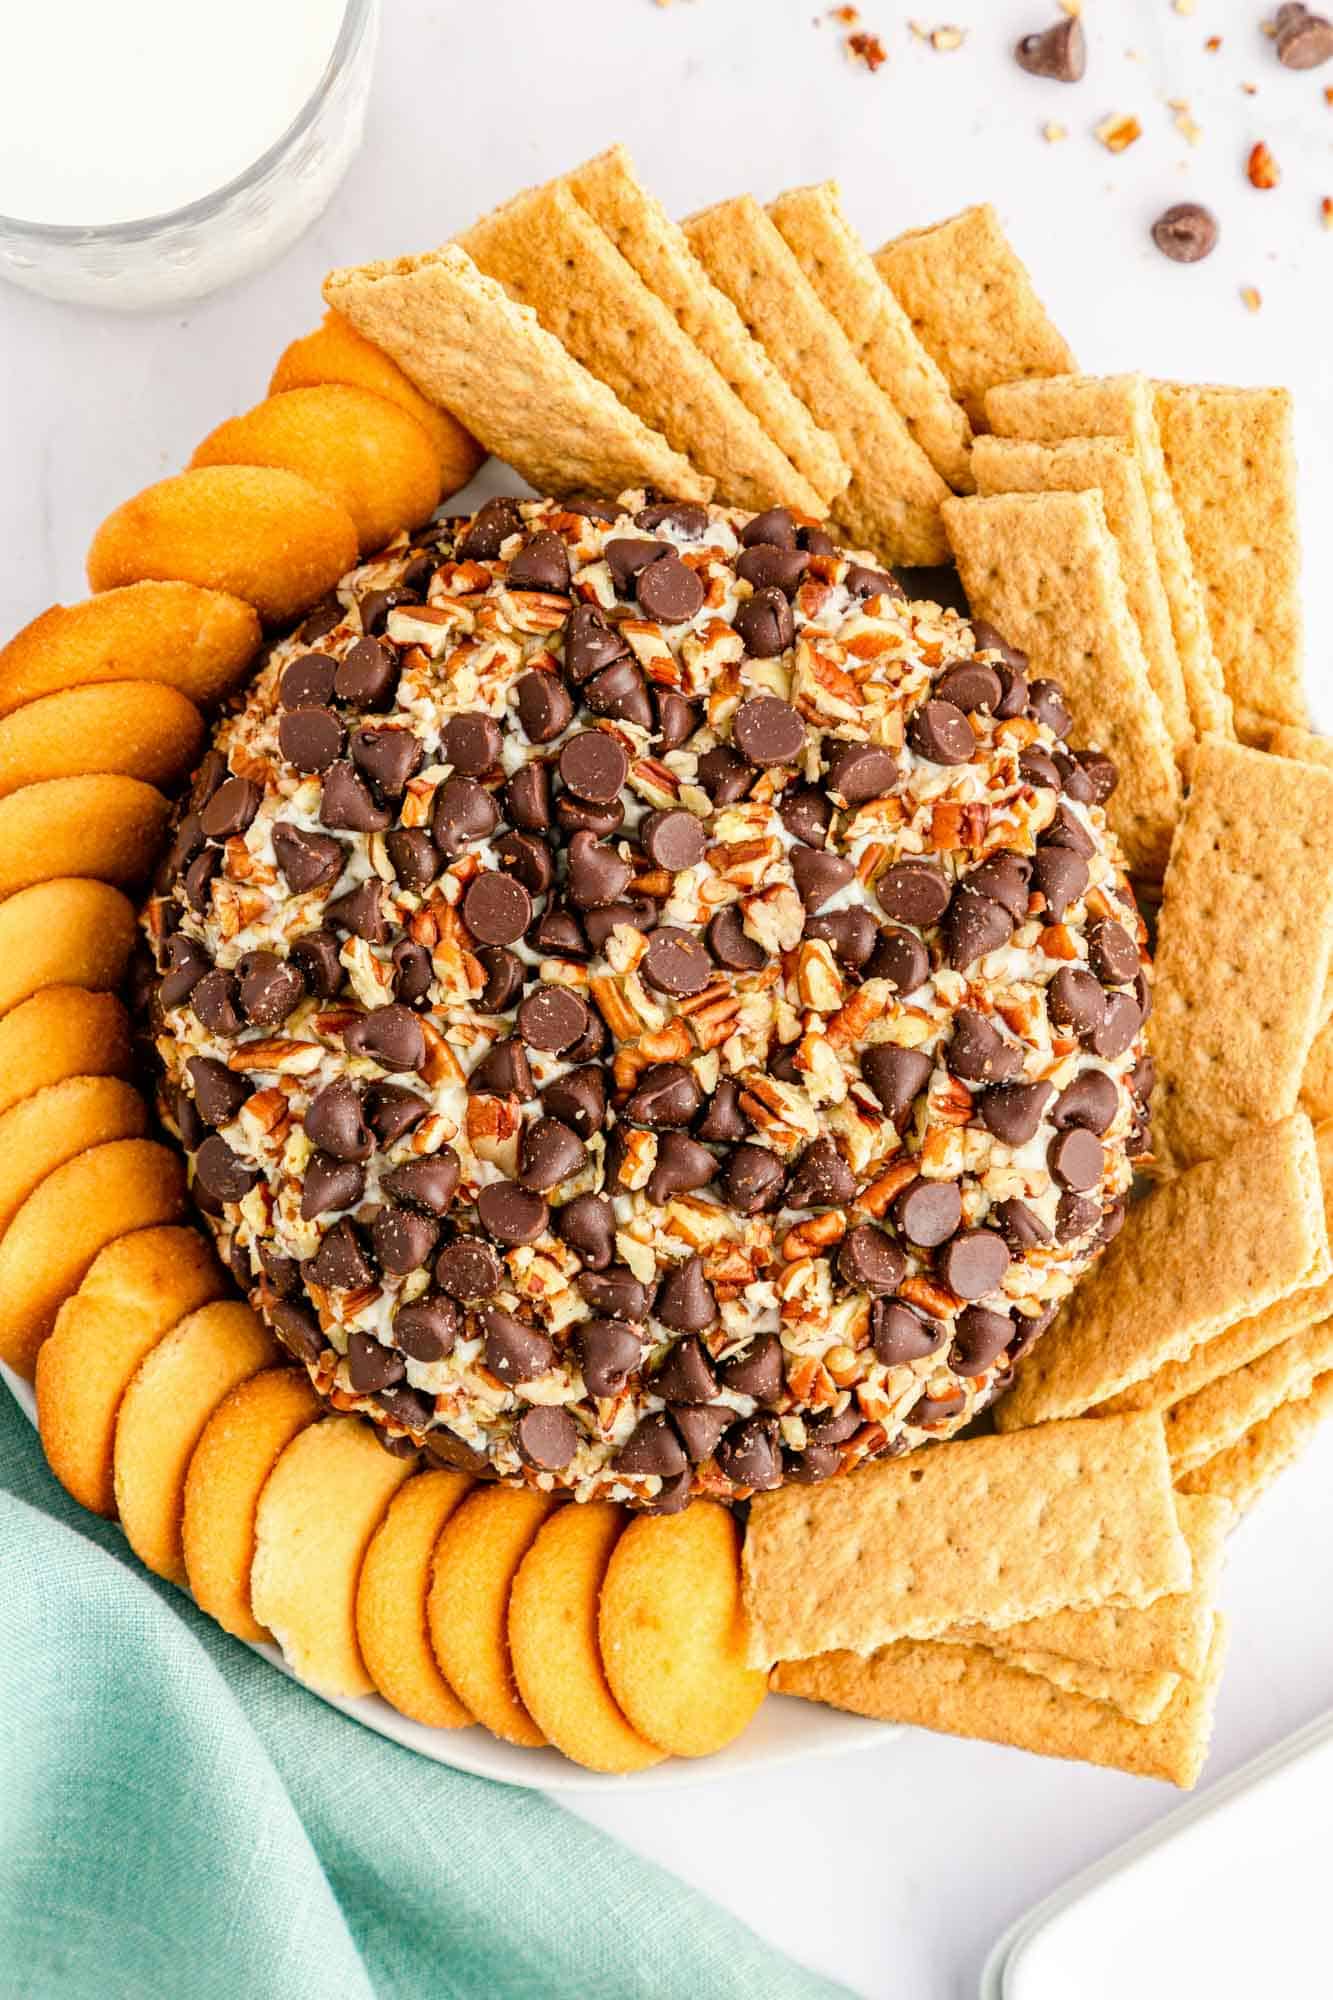
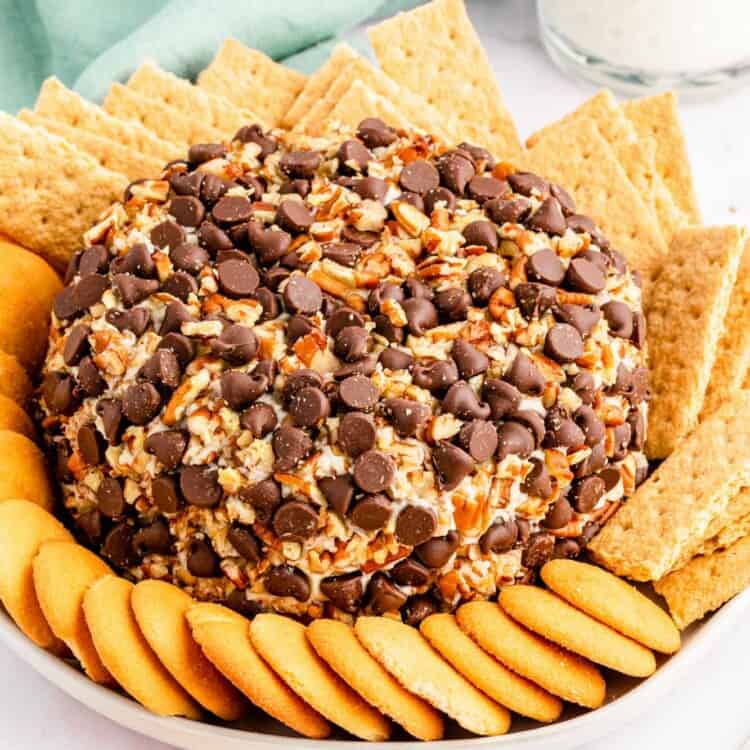
Serve this Chocolate Chip Cheese ball with Nilla Wafers, graham crackers, Ritz Crackers or Pretzels. It’s fun to have some sweet and some salty dippers for people to choose from.Make this dessert nut-free by replacing the pecans with an equal amount of chocolate chips, white chocolate chips, or your favorite nut-free candy bars, chopped up. The nuts on the outside can be replaced with crushed cookies if you like. You can also swap out the pecans for your favorite nuts. Walnuts or cashews would be delicious. Toffee bits or Heath bits can be added to the dip. They will melt during refrigeration and create little bits of caramel inside. I’d avoid adding toffee to the outside of the cheese ball for this reason though. Avoid overmixing the cream cheese dip. Too much air in the mixture will make it hard to form into a solid cheese ball. If you’ve already over-softened the cheese, mix in an additional ¼ cup of powdered sugar to firm it up. Make Ahead: This dessert will stay fresh in the fridge for up to 5 days, as long as it’s well-wrapped. You can prepare the dessert cheese ball and keep it in the fridge until you’re ready to serve it. Decorate It! Go see how I turned this cheese ball into an adorable Turkey Cheese Ball for my Thanksgiving table.
Storing Tips
Dessert cheese balls made with cream cheese can be stored in the fridge for up to a total of 5 days. You can re-refrigerate leftovers as long as the cheese ball hasn’t been sitting out for too long. It’s recommended that you don’t leave cream cheese out of the fridge for more than 2 hours. For longer storage of a chocolate chip cheese ball, wrap it well with plastic wrap and store it in the freezer for up to 2 months. Allow it to thaw overnight before serving.
More Easy No Bake Desserts
If you like this dessert cheese ball recipe, I bet you’ll love these other desserts! None of them need to be baked and they can all be made ahead of time:
Lemon Icebox CakeOrange Jello Pretzel SaladNo Bake Oreo PieMillion Dollar PieChocolate Covered Strawberries
I won’t tell anyone how easy it is to make this chocolate chip cheese ball if you don’t want me to! Let everyone think you’re a brilliant cook who worked hard to make them a fancy dessert. This recipe is so delicious, you’ll be asked to bring this sweet treat to all of the gatherings from now on! Pin the recipe so that you can find it again later. © Little Sunny Kitchen