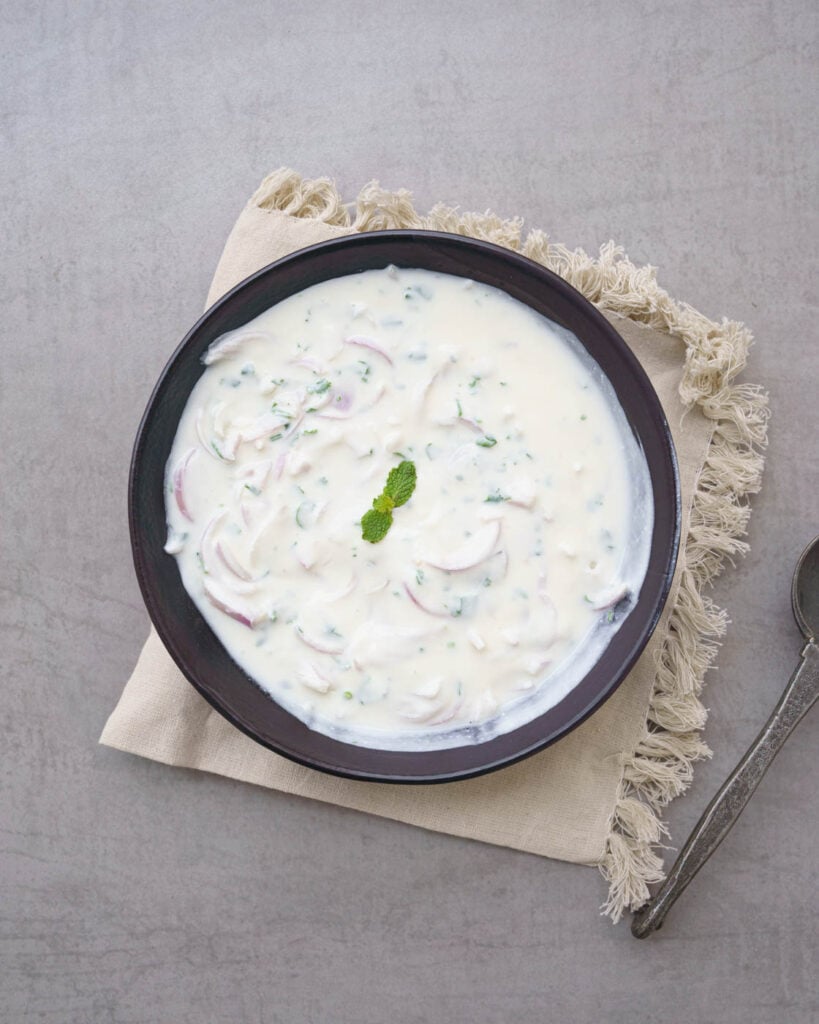
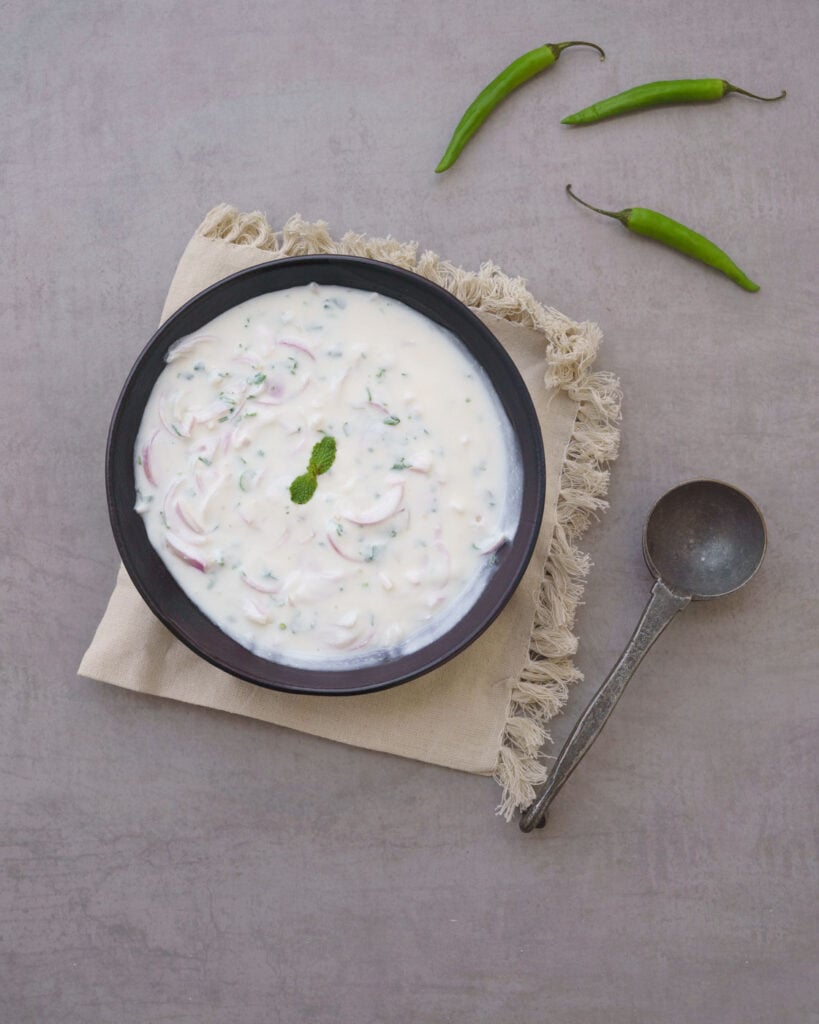
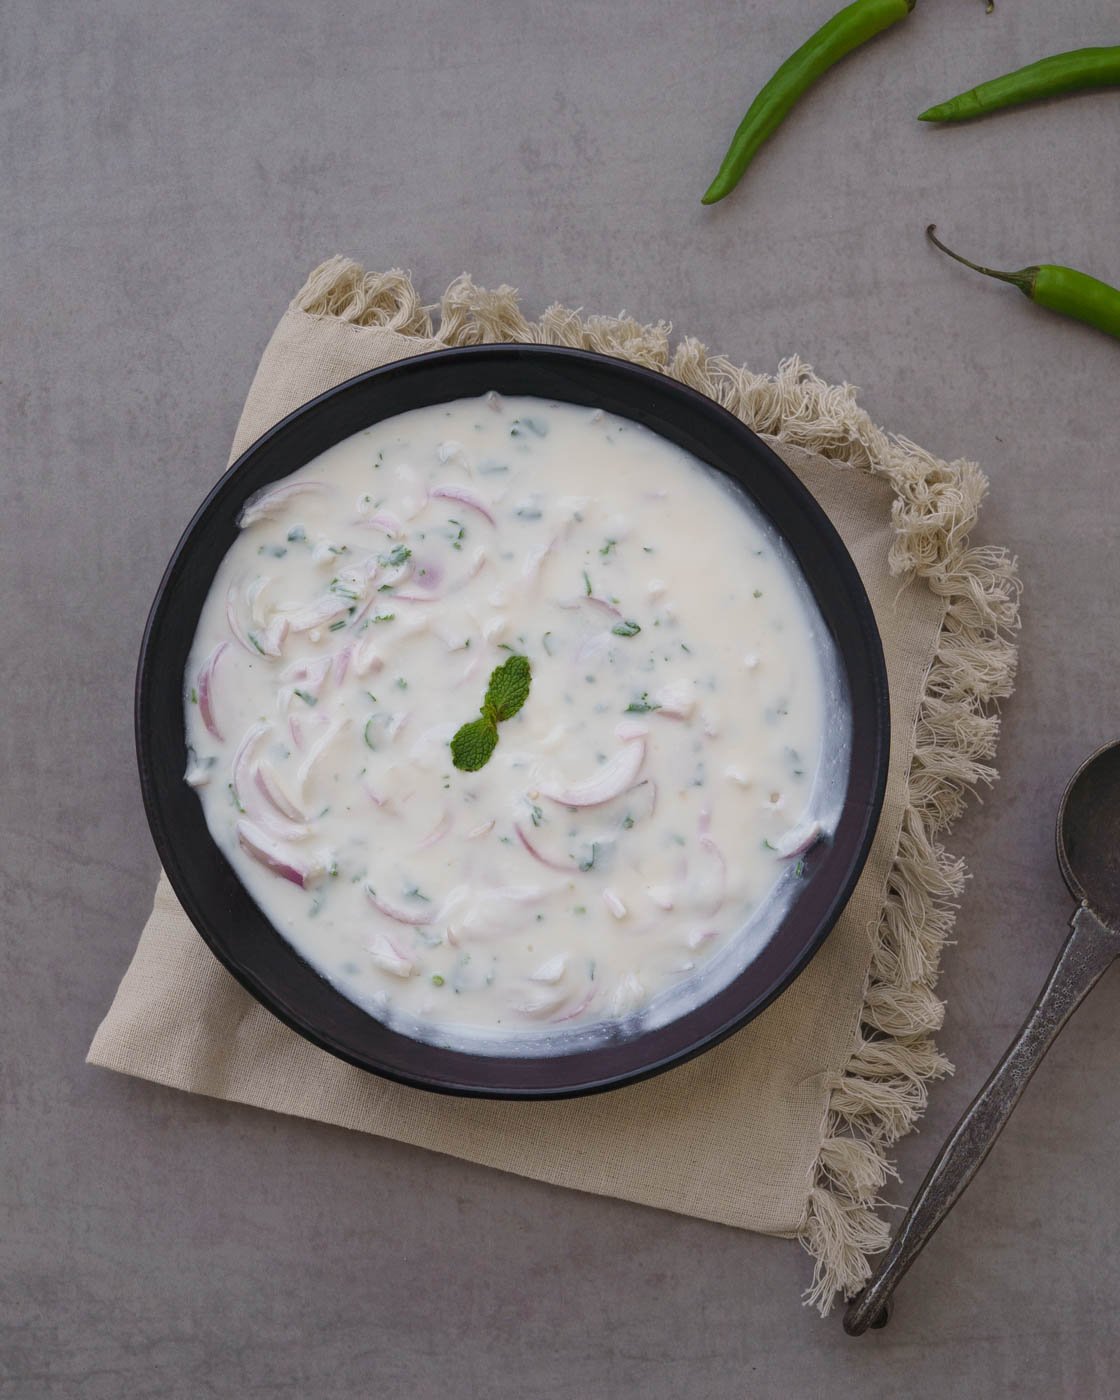
TEXTURE : Smooth yogurt with sliced onionsEASE: Very EasyServe with : Biryanis, Pulavs, Curries & Parathas Raita is an Indian yogurt sauce that’s served cold. It’s usually flavored well whisked yogurt that’s served as a side dish. A refreshing and creamy yogurt-based accompaniment that perfectly complements the aromatic flavors of biryani. This Onion Raita is super simple to whip up! No biryani is complete without Raita. The more spicy the biryani, milder the raita. There are so many different types of biryanis - from Awadhi, Hyderabadi, Kolkatta to Ambur and Malabar Biryani. These are usually highly complex recipes that not only take a lot of time but also a considerable amount of skill. Though Biryanis can be tricky to make , their side dish, Raitas are easy to make. This Onion biryani Raita is usually served with South Indian Biryanis.A great North Indian raita is the Boondi Raita. It’s a north indian staple. All you need is a few ingredients and voila, you have the most soothing, accompaniment to the biryani. Here is what we will do
Prep our ingredients & mix everything Serve cold
Why you will love this Onion Raita
This is my all time favorite type of raita- to eat and to make. Off course there are a lot of different raitas, some with more ingredients like cucumber , some with pineapple and some simple like this one. Here is why we love it Another famous, soothing recipe is the Tempered Curd Rice or yogurt rice- It’s something you have to try!
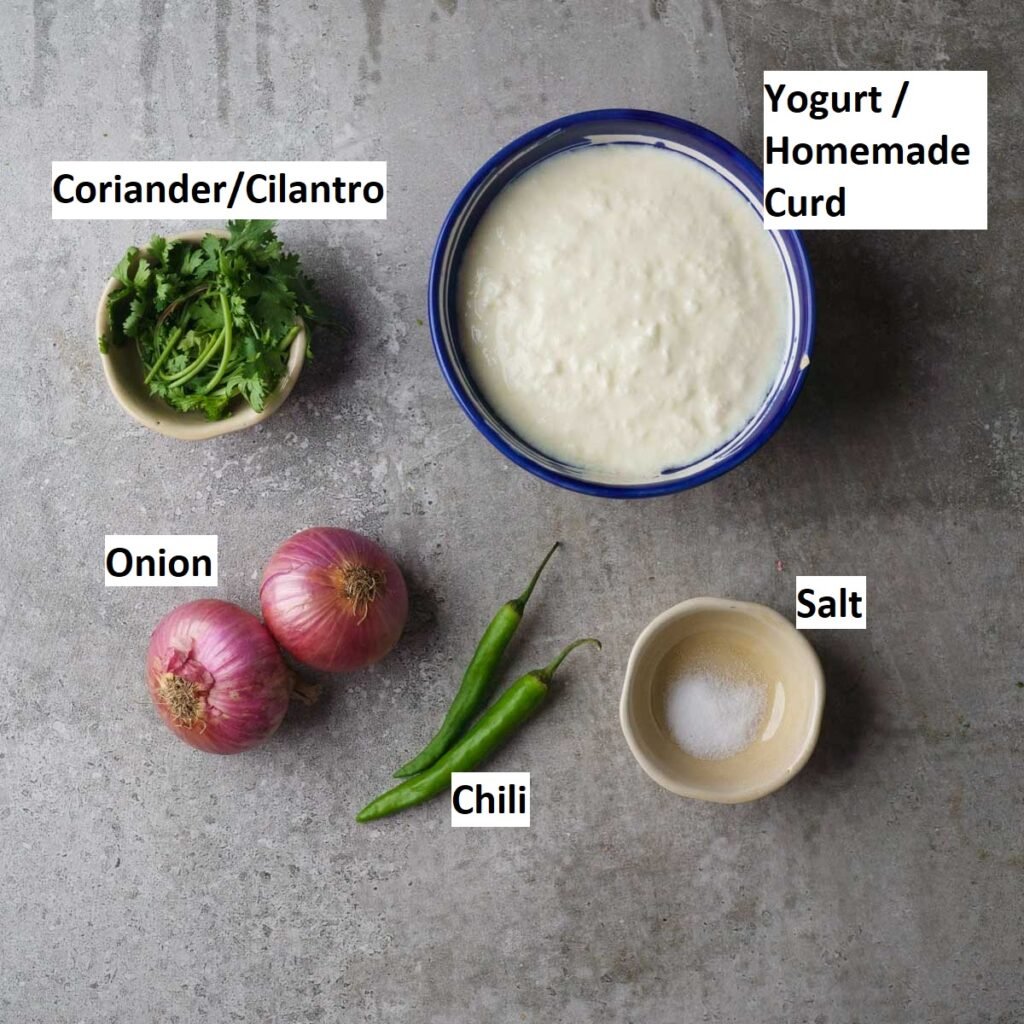
Ingredients for Biryani Raita
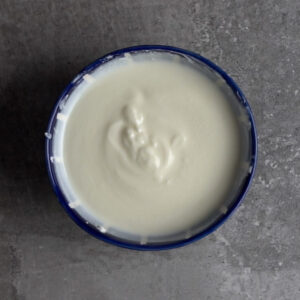
Yogurt
For this Onion raita, you can use any kind- homemade, Full fat, low fat or even greek yogurt. The main requirement though is that the yogurt is whisked well. In fact that’s true for any raita you make. That’s one single thing that differentiates the cook from novice to experienced. Some folks prefer to make this with thinner yogurt. With more onions than yogurt. That’s usually how this raita is served in the south India, along with hyderabadi, Malabar and Ambur biryanis.
How to Make Raita for Biryani
The main thing while making this raita, you have to remember to “steep” the raita. Give it at least 5-10 minutes to sit. You need to let the ingredients mesh together.
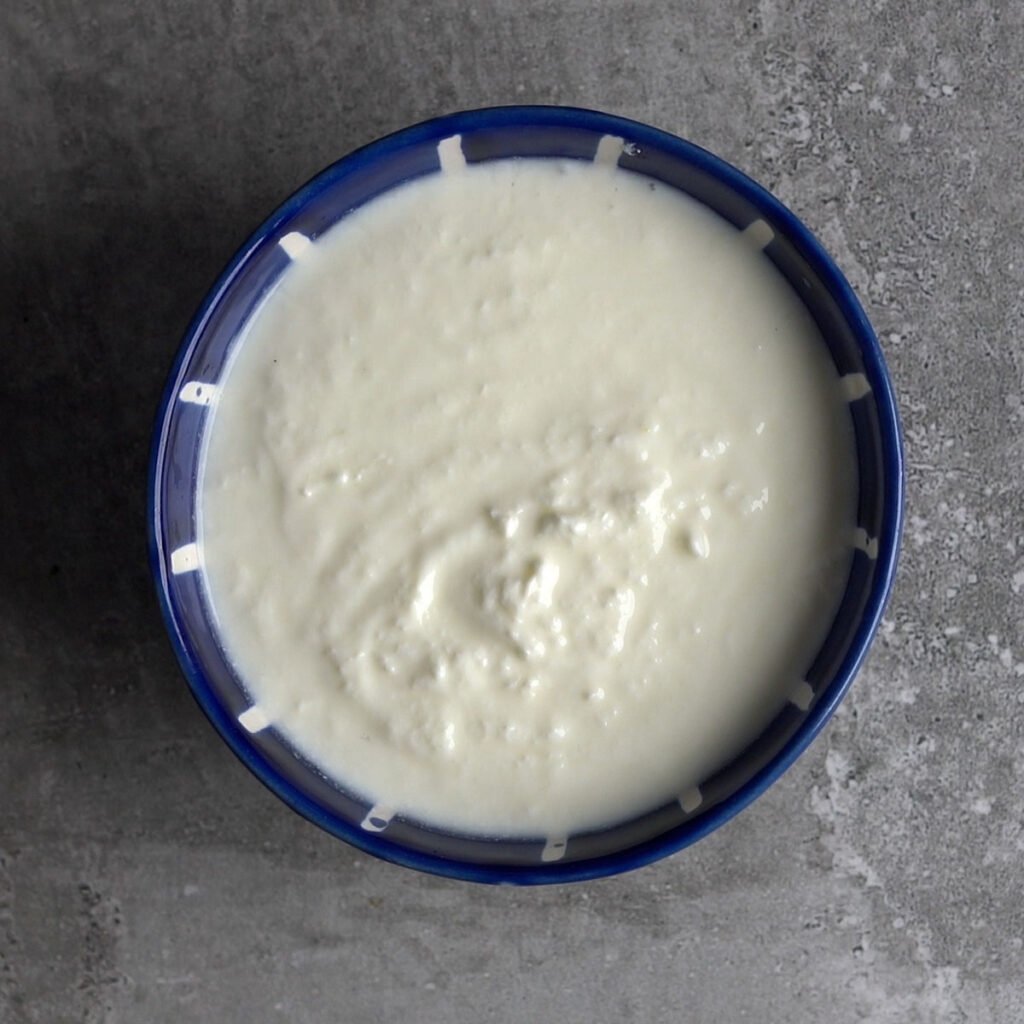
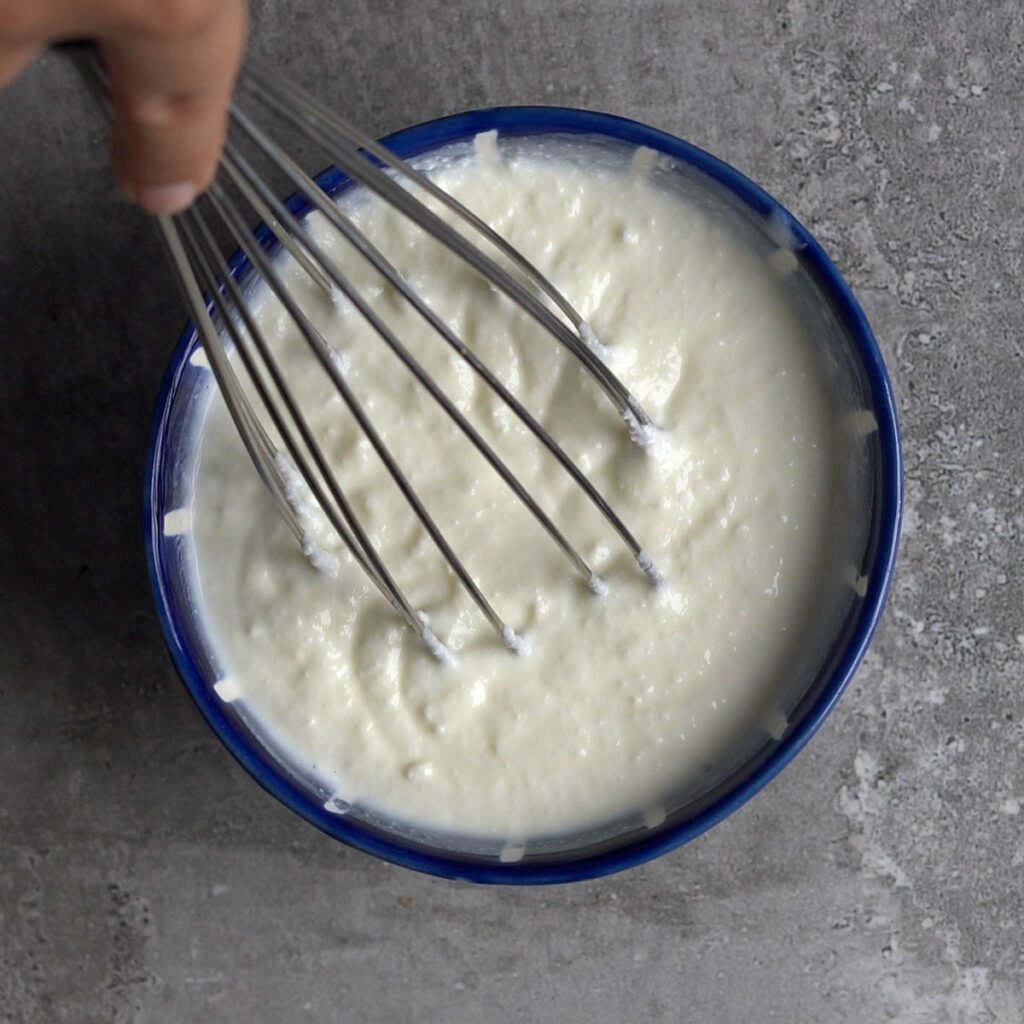
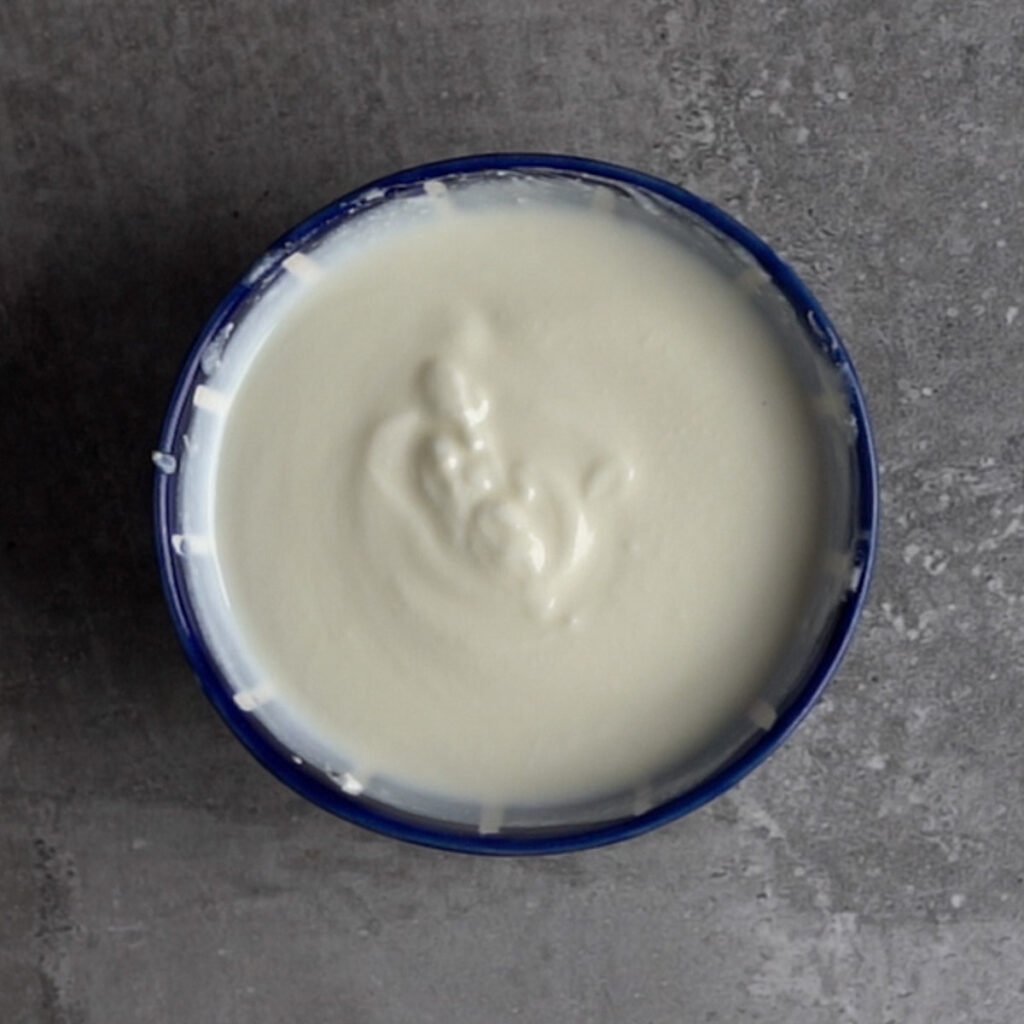
Step 1: Whisk the Yogurt
Whisk the yogurt till you see it as a uniform and creamy texture. You want it to be a smooth texture, without seeing individual flecks of yogurt. This step has to be done every single time you make any kind of raita. In fact, most often, this one step differentiates a bad raita from a good one. Yes..Something as simple as whisking the yogurt.
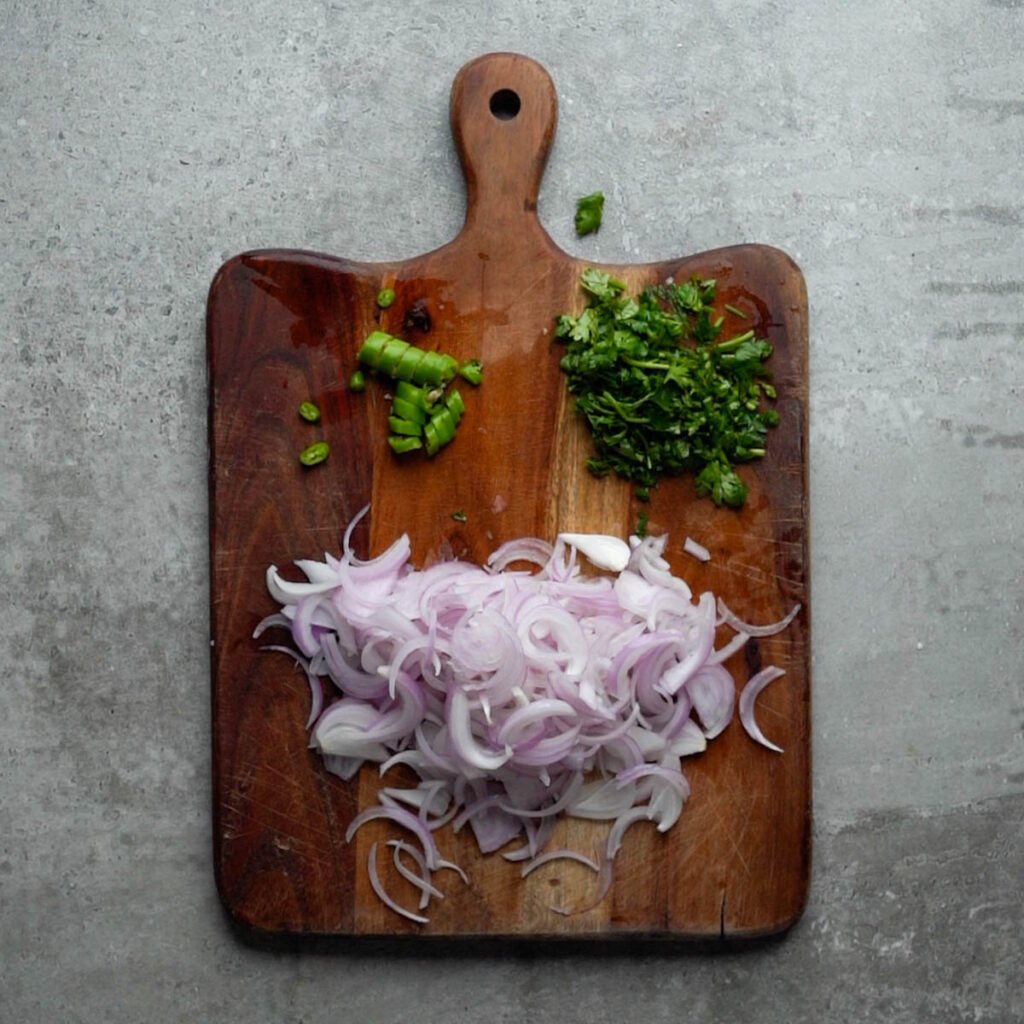
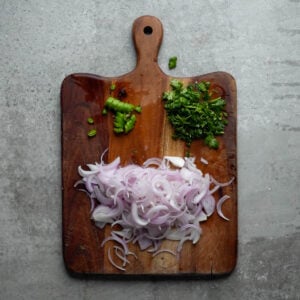
Step 2: Cut the onions
For this Raita, we will slice the onions into half moons. You can use red or yellow onions here. Green chili has a great flavor, especially in curd. To get the flavor and not the heat, you can add the green chili whole and remove it just before serving. If you want a bit of a kick, then you could slit, slice or chop up the chilies. Slit chilies will give the least heat and chopped up chilies will be the hottest.
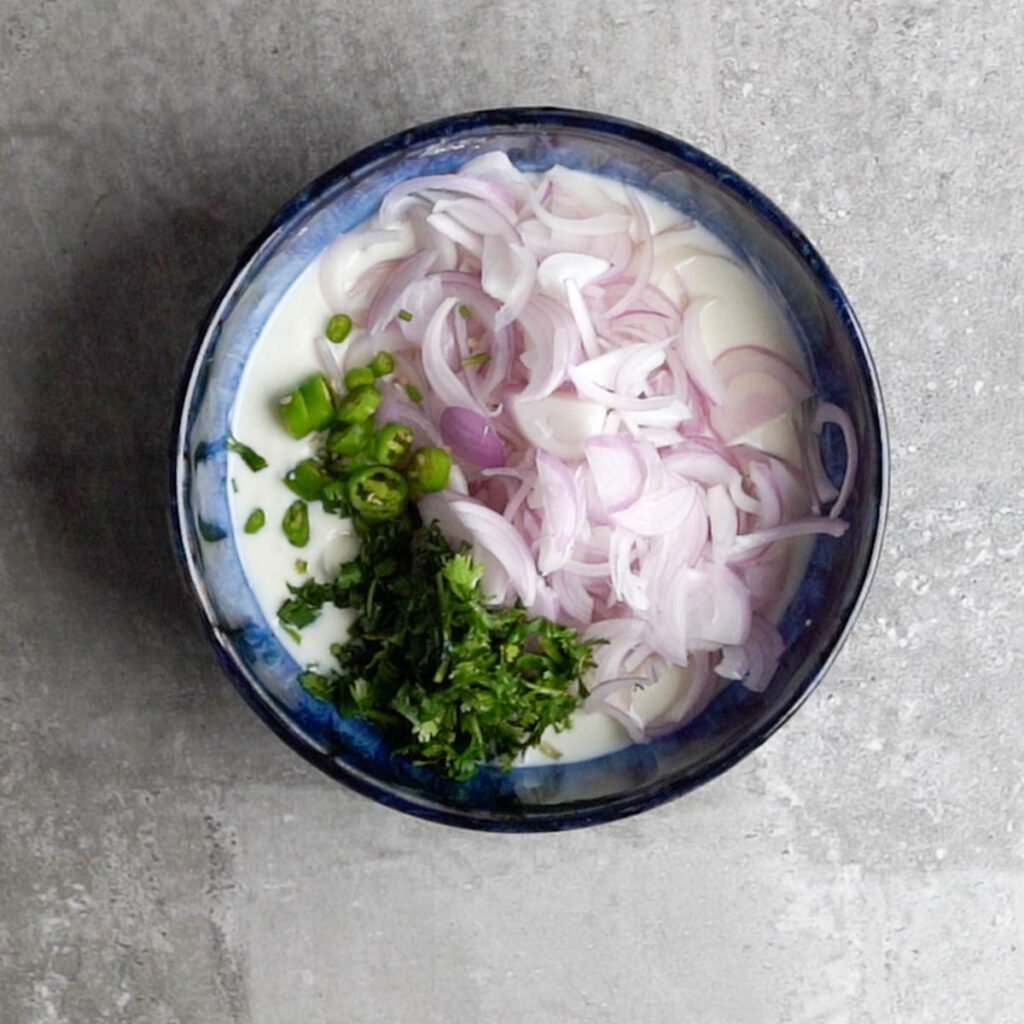
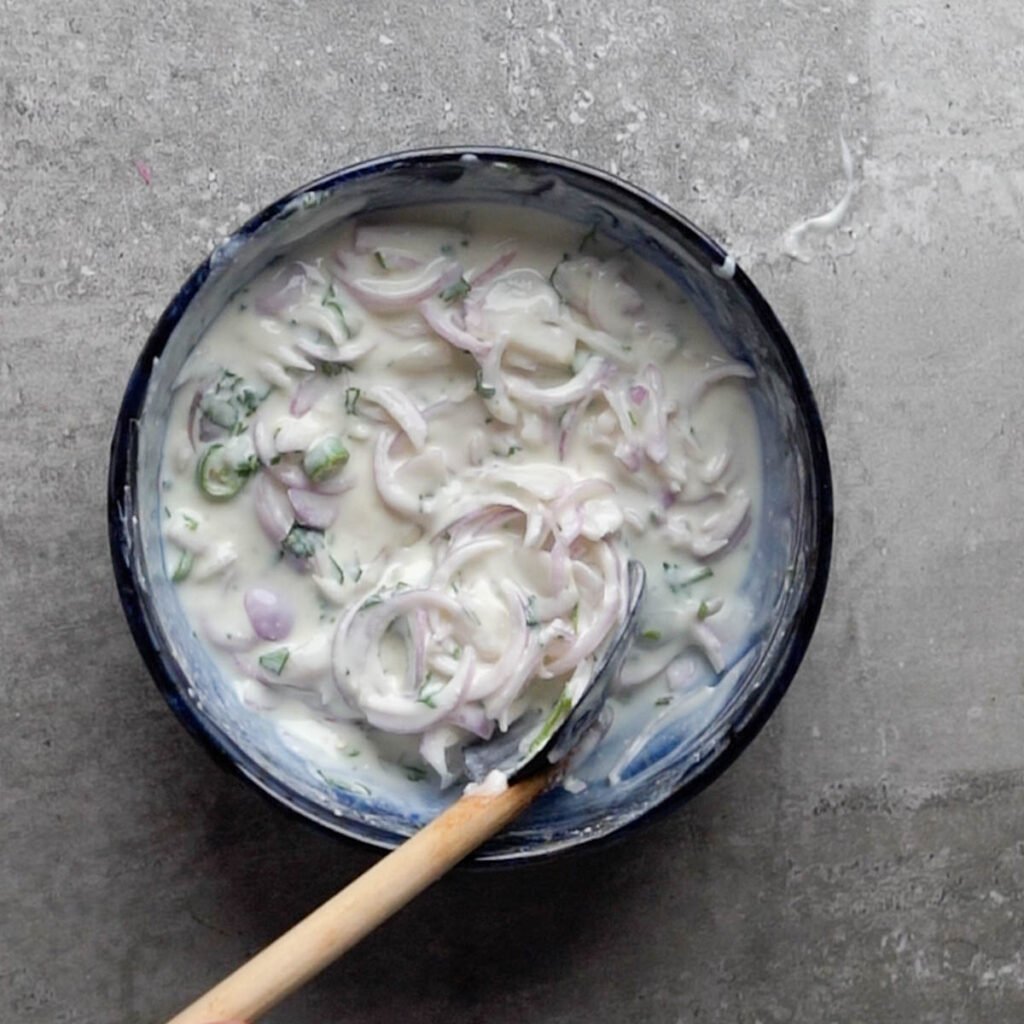
Step 3: Mix everything together
Just mix everything together. Make sure you have whisked the raita before you add the onions. Once you add the onions, it will be almost impossible to whisk the yogurt into a creamy consistency.
Step 4: Chill
This raita is served cold. The texture, temperature, heat and flavors clash with that of a complex biryani beautifully. If you have to serve the raita immediately, use cold yogurt. But the best thing to do would be to refrigerate the raita for a couple of hours. That way the onions will release all their gorgeous flavor into the yogurt.
How to Serve Raita
Serve the Raita cold. That’s when it’s at it’s peak awesomeness! This particular raita is usually served along side biryani but you can serve it with any other indian foods too. This is a great Indian side dish which can be served with most indian meals, be it Pulavs, Khichdis and parathas.
Variations
There are many raita recipes. Curd is quite a staple in Indian houses. Raita is almost always served with lunch or dinner, whether you are eating a basic meal at home or hosting someone. This particular recipe is the raita usually served with Biryani. Besides this, there are a lot of other raita recipes too. Here are some that we love and make almost weekly
Cucumber Raita Beetroot Raita Pineapple Raita Boondi Raita Ghiya or Bottle Guard Raita
Notes, Tricks & Tips
Here are a few tricks to make the best Raita ever
Whisk Whisk Whisk the Yogurt Use fresh yogurt that’s not too sour. Let the raita chill for a couple of hours before serving Garnish it with cilantro or a sprinkling of Chaat Masala and if you have it, bhuna Jeera Masala or Roasted Cumin powder.
Storing Onion Biryani Raita
This raita can stay in the fridge for 4-5 days but that completely depends on the shelf life of the yogurt used. I don’t think there is a need to freeze the raita because you can whip it up in less than 5 minutes if you have everything on hand.
Pairing
These are my favorite dishes to serve with this biryani Raita
More Yogurt Dishes