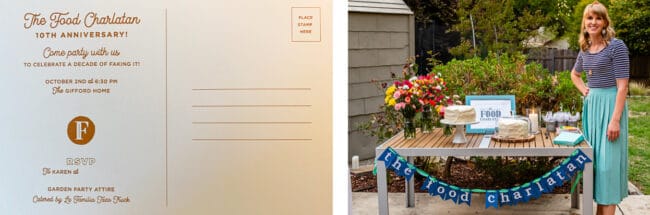
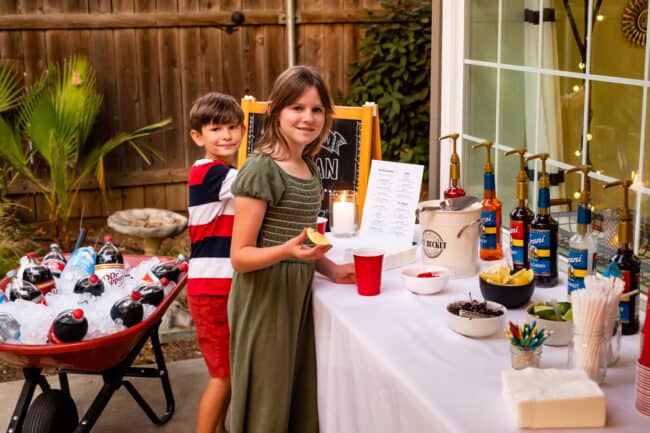
Ten years ago, I sat down at my computer to write the story about this one time when Eric and I knocked on the neighbor’s door to share a plate of cookies. Dude answered the door in nothing but a towel. We all just stared at each other for a moment, eyes wide, and he finally said, “I thought you were someone else.” Well, here we are years later, and I’m still telling slightly inappropriate stories and throwing my food at strangers. I guess things haven’t changed much?? This month marks 10 years since I wrote my first story and shared my first recipe here on The Food Charlatan. 10 years of blogging you guys!! (Who’s been here from the beginning, or early on? I want to hear from you in the comments!) Instead of getting mushy and whimsical about all the amazing opportunities, personal growth, friends, income, and ridiculously good food that has resulted from this bloggity-blog, I decided to throw myself a giant party to celebrate! I wish I could have invited all of you to this party, so that I could show my appreciation for all your support over the years! Google and Pinterest passers-by will come and go, but if you are reading this, you are a cut above the rest. Thank you so much for being here, for all your comments and questions, for every “like” and 5 star review, for sending me pictures of your creations. YOU are the community that I set out to build 10 years ago, and look at all we’ve done together! Sharing recipes and stories with people who love to cook and connect is still the heart of The Food Charlatan. I feel so blessed to have a space like this where I can spend my time and energy. Isn’t The Food Charlatan a cozy place to be? Thank you so much for hanging out in my virtual kitchen over the years! Every year I bake a cake for my anniversary. Here are all the posts if you want to take a walk down memory lane!
The first blog post on The Food Charlatan (2011): Pumpkin Oatmeal White Chocolate Cookies 1st Anniversary (2012): Cake Mix Coffee Cake 2nd Anniversary (2013): Pumpkin Oatmeal White Chocolate Chip Cookies (I did a reshoot of my first recipe, which I totally regret!) 3rd Anniversary (2014): The Food Charlatan’s New Blog Design 4th Anniversary (2015): The Best Chocolate Cake I’ve Ever Had 5th Anniversary (2016): Death by Chocolate Bundt Cake 6th Anniversary (2017): Upside Down Almond Crunch Cupcakes 7th Anniversary (2018): Ginger Sticky Toffee Pudding Cake 8th Anniversary (2019): Sour Cream Coffee Cake, with a Ridiculous Amount of Streusel 9th Anniversary (2020): Homemade Spice Cake
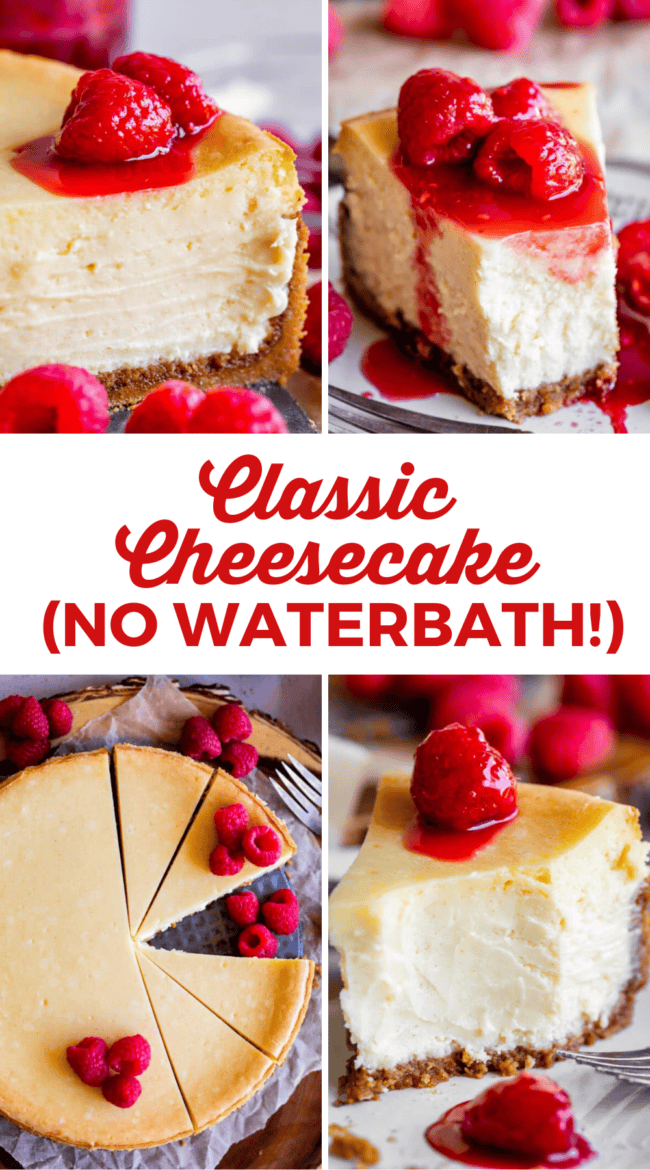
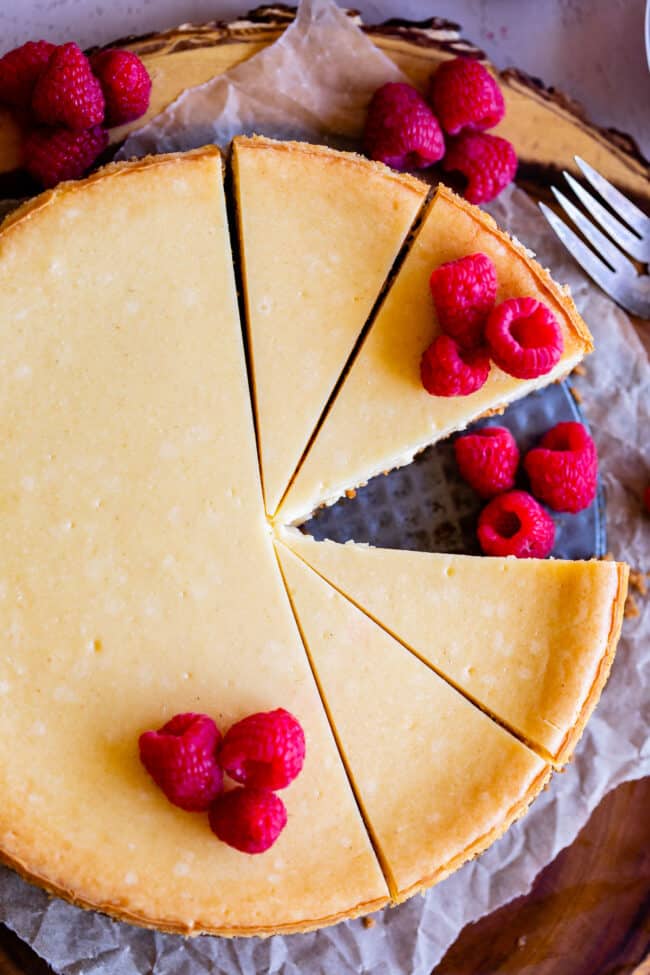
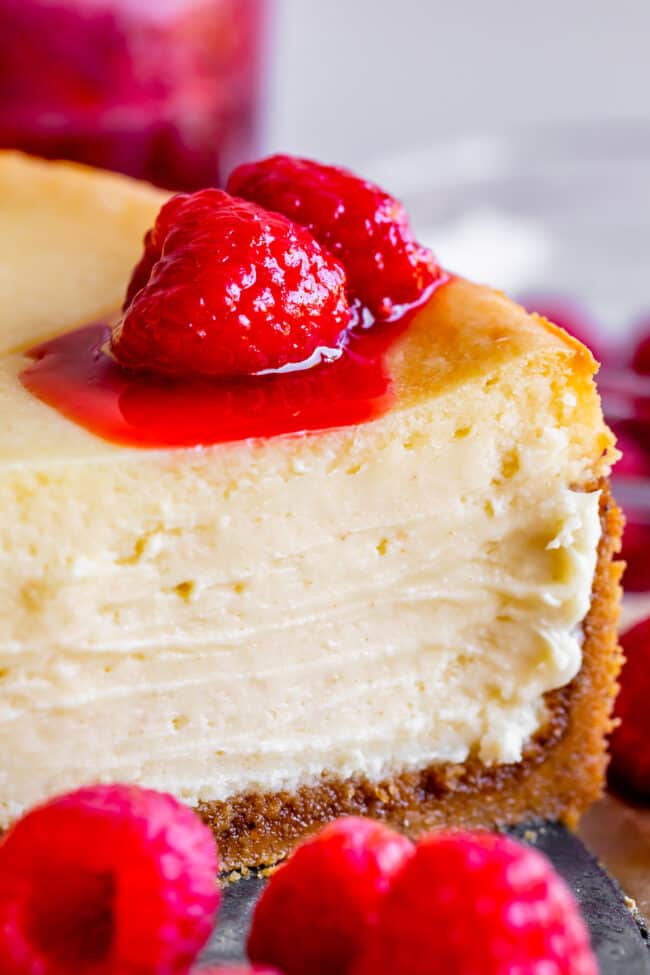
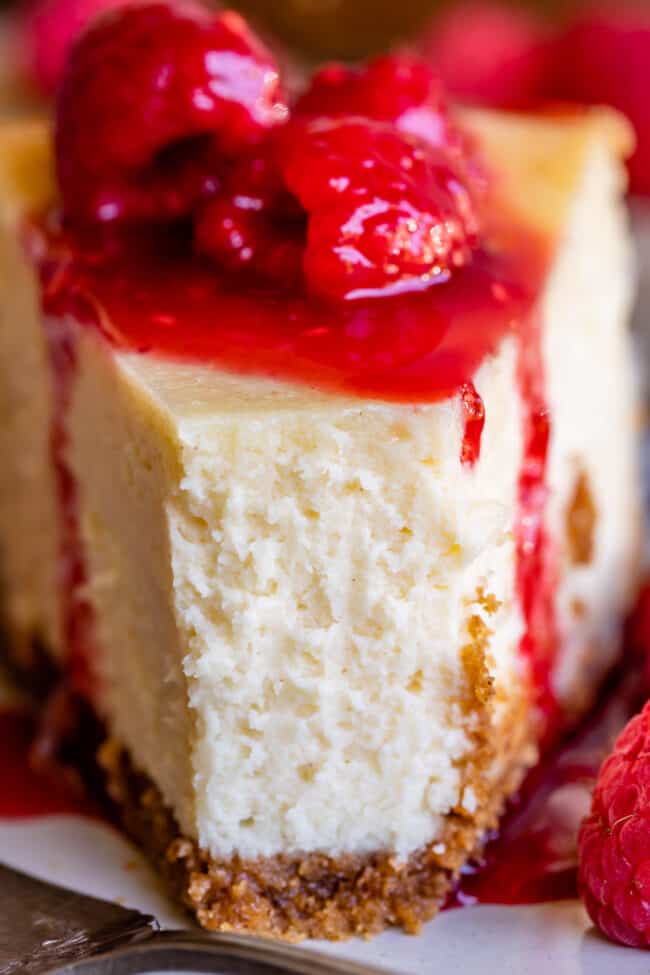
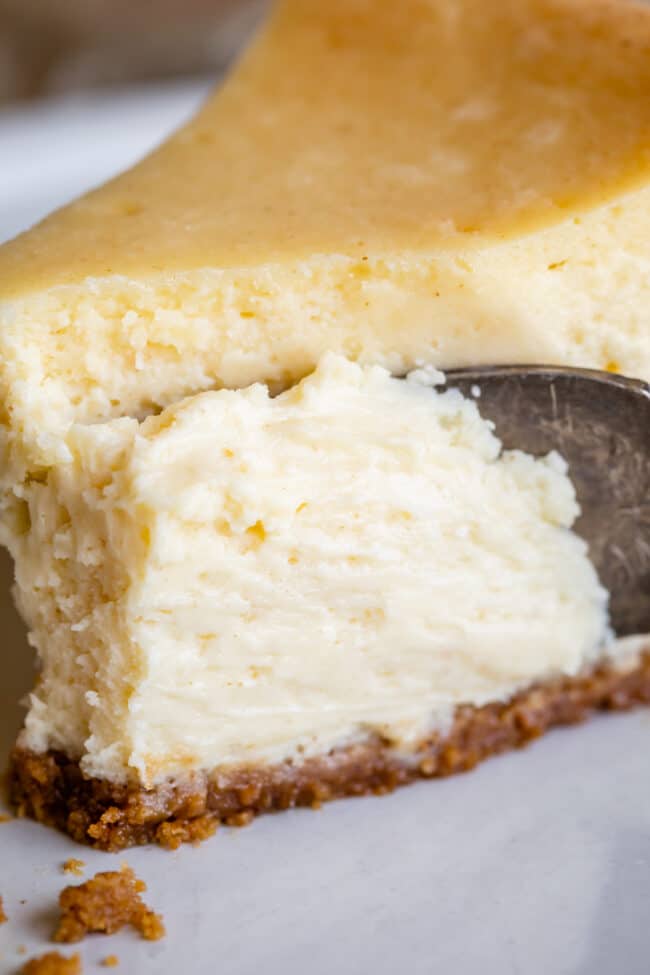
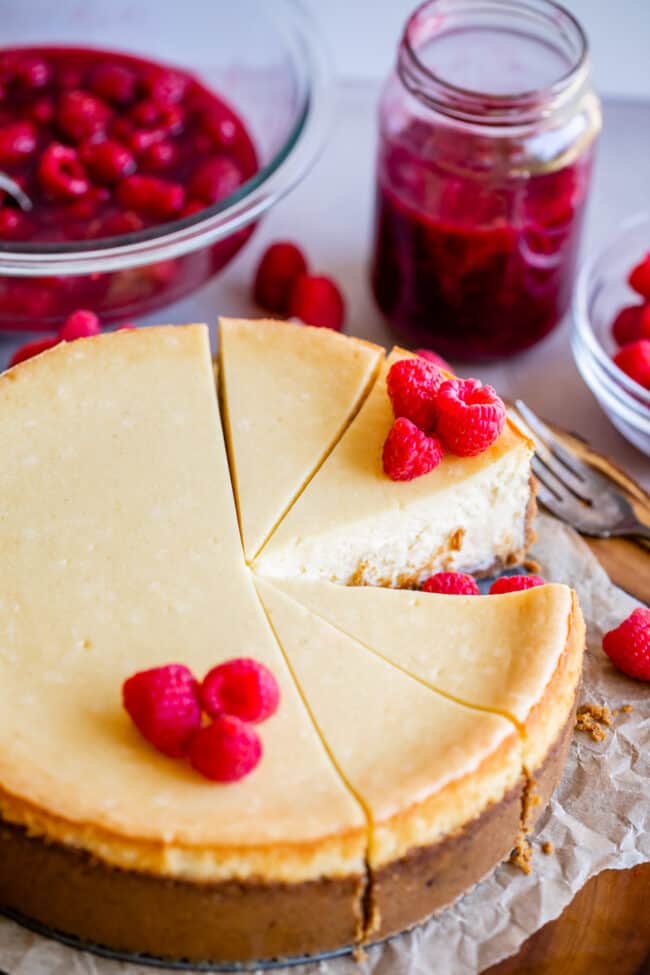
The best Classic Cheesecake of your life!!
Are you a cheesecake person? I feel like it’s a love it or hate it kind of thing, and I LOVE IT. If you are in the hate-it category, might I suggest this recipe? It might just change your mind!! It is a thick and dreamy combination of rich, decadent ingredients, with an extra flavor boost from a secret ingredient. But before we get into that, let’s clear up a few things:
What’s the difference between New York Cheesecake and regular cheesecake?
“Regular” cheesecake, as it was originally made, is nothing more than cream cheese, eggs, and sugar. It is quite simple. (and maybe a lil boring…sorry regular) New York Cheesecake, on the other hand, is much more decadent and rich. It typically uses even more cream cheese, and often has the addition of either sour cream or heavy cream, making the cheesecake richer and heavier. Extra eggs or egg yolks are also sometimes added. It’s like regular cheesecake 2.0, basically. If you live in the United States, most cheesecake you have tried is New York style. Because Americans don’t really do simple desserts. It is just not our thing. Go big or go home. Bring on the rich, decadent, over-the-top-flavor! Today’s recipe is a New York style cheesecake, and in addition to the extra sour cream and egg yolks, we’re adding one more flavor element…
The secret to my Homemade Cheesecake
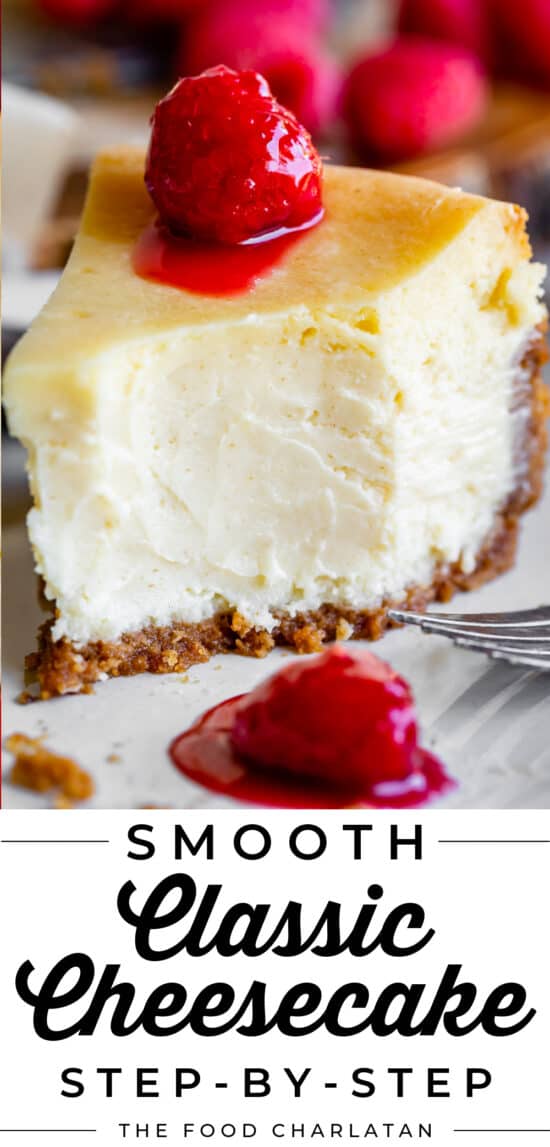
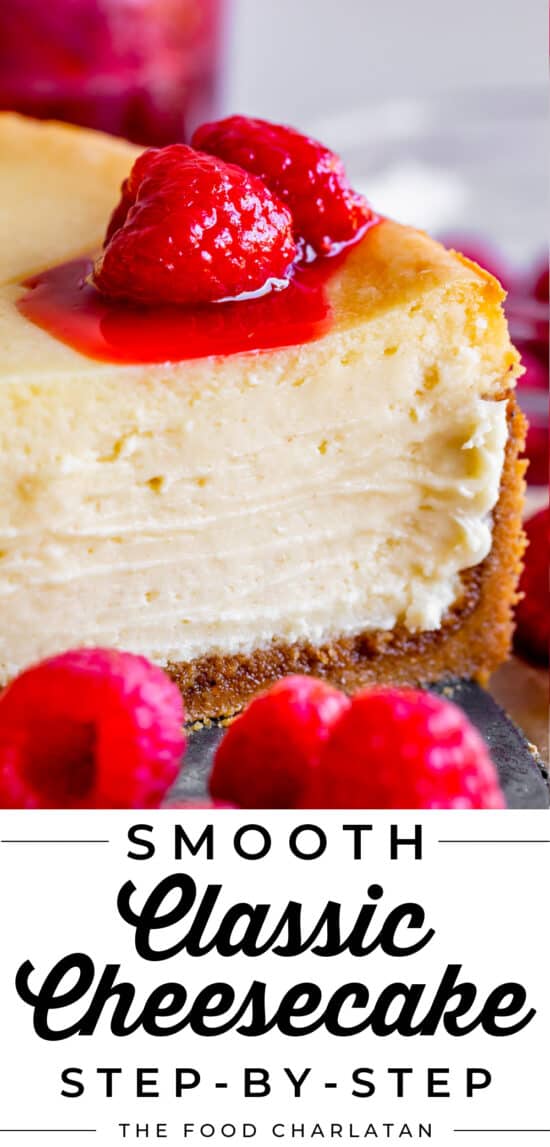
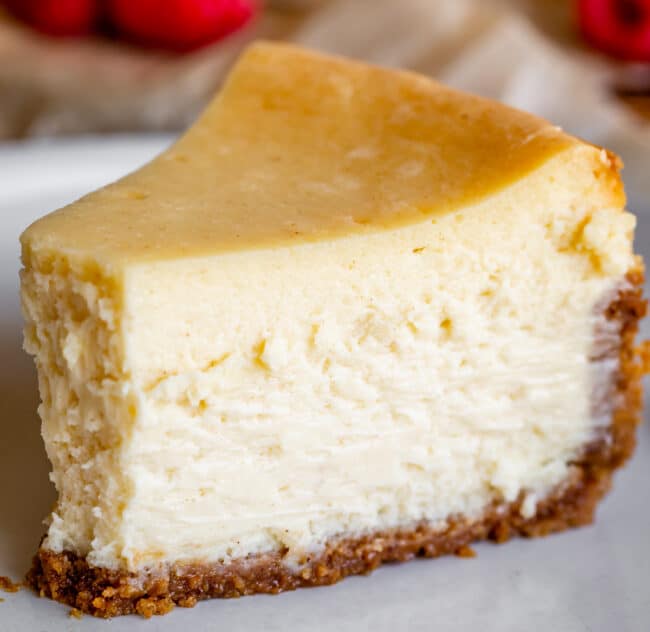
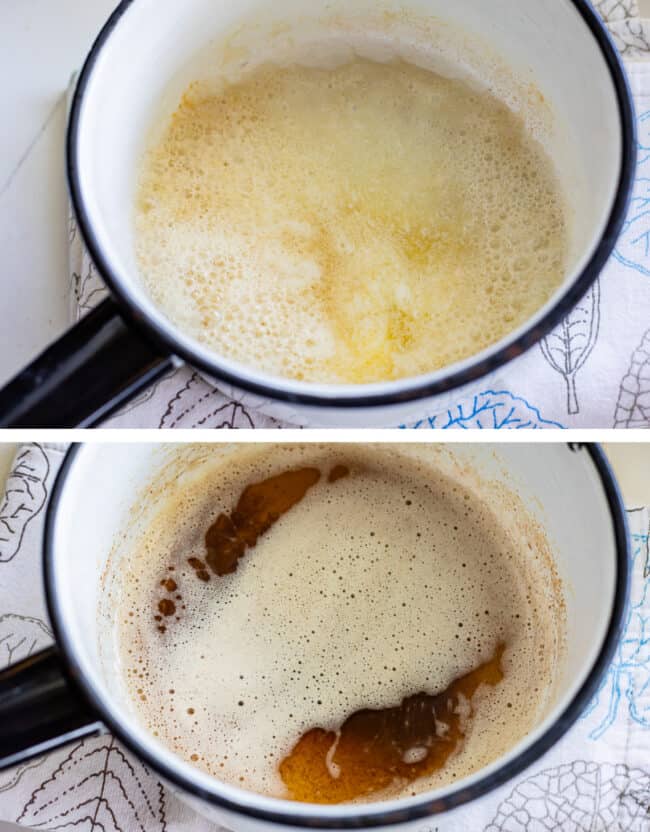
This recipe has the classic texture and richness of a New York cheesecake, but there is one unique ingredient that you won’t find in other recipes: browned butter. Yes, I’ve done it again. Browned butter just makes every dessert better, okay?? Cheesecake is no exception. It adds a boost of flavor without distracting from the cheesecakey-ness of it all. When people taste it, they will say, holy smokes, this is an amazing cheesecake. They are not going to ask what your secret ingredient is, because it’s not obvious that there is one. Browned butter just makes your cheesecake next-level-rich-and-tasty. If you squint, you can see tiny little browned butter bits in the cheesecake itself. Tiny little specks, huge boatloads of flavor!
How to make Classic Cheesecake
I will show you step by step how to make this glorious cheesecake! First you should know though: cheesecake is a lesson in patience. It is not hard, but there is a lot of waiting involved. So plan ahead! Here’s what you need:
Baked Cheesecake ingredients
How to make the Best Cheesecake Recipe Ever
Best Cheesecake Recipe Tips
How to bake Homemade Cheesecake without a water bath
Water baths are useful because they provide a very humid environment for a cheesecake to bake in. Without this humidity, the eggs in your cheesecake will rise too quickly (and fall too quickly!) It makes the cheesecake dry out and then the texture is all wrong.
Graham crackers Sugar Salt Butter
Cream cheese Sugar Sour cream Vanilla Lemon juice Eggs Salt
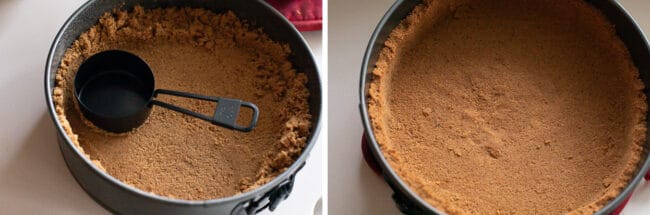
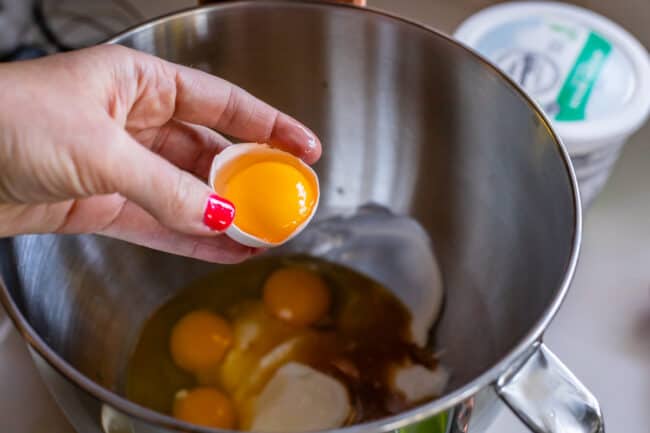
Next make your graham cracker crust! We are browning the butter for the crust, in addition to adding browned butter to the cheesecake itself. You can skip browning butter for the crust and it will turn out just fine! But I truly love the flavor it adds. It provides an interesting and slightly salty contrast to the creamy cheesecake! Be sure to press it into the pan with a measuring cup to get yourself a nice firm crust that doesn’t crumble when you slice your cheesecake later. Bake it for about 12 minutes and set aside to cool. In a mixing bowl, add the eggs and egg yolk, the sour cream, vanilla, salt, and lemon juice. This is not a lemon cheesecake, but you need the lemon to brighten up the flavors of all the other ingredients!
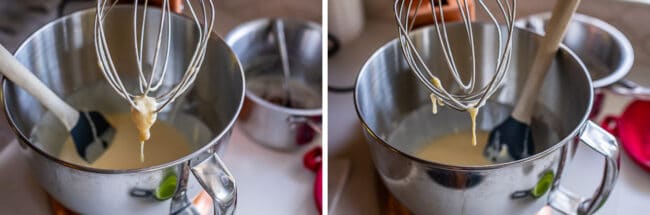
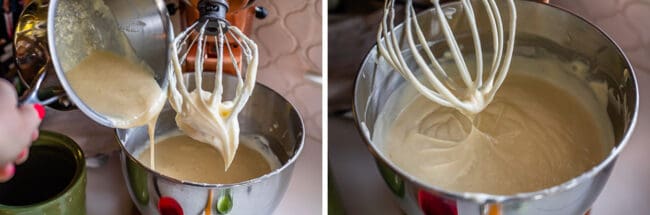
Step 2. Do not over beat your Cheesecake batter.
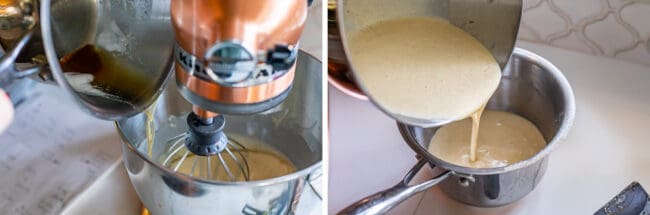
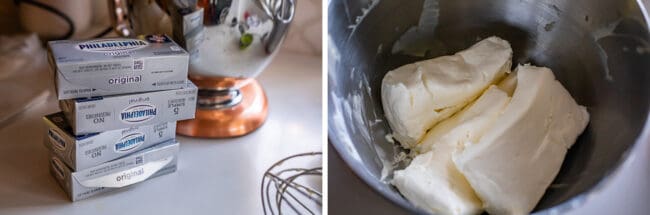
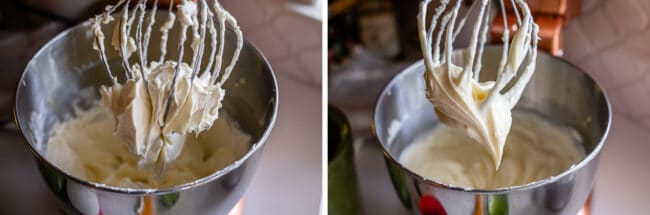
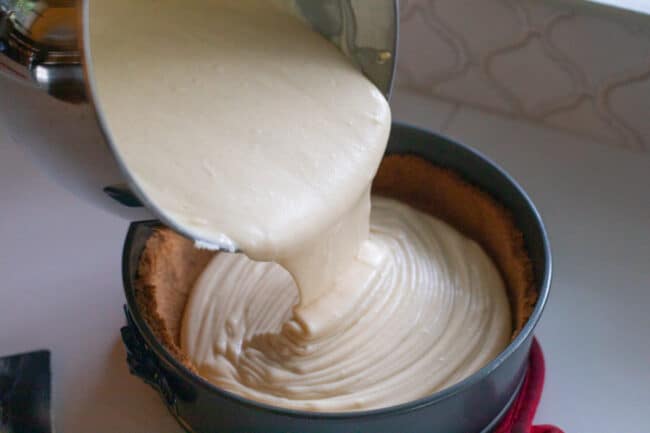
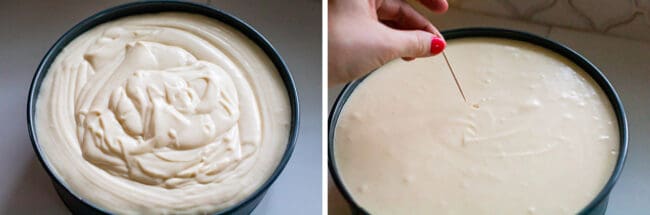
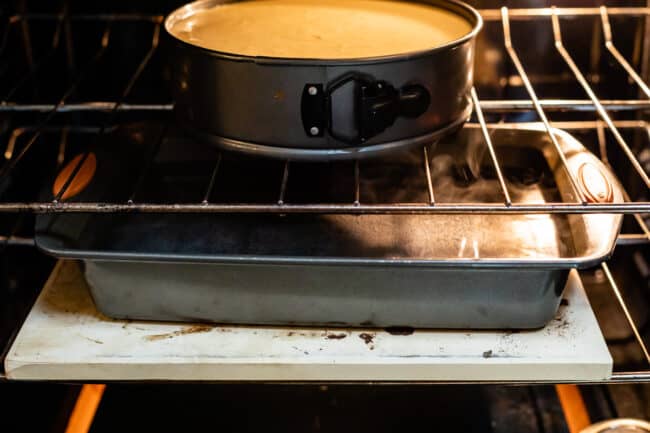
Over mixing cream cheese whips too much air into the batter, making your cheesecake bubbly and more likely to fall and crack. We don’t want it to be light and airy. This is CHEESECAKE people. We live for its dense creamy glory. But! We need to beat those eggs really well to make sure we don’t get any weird egg lumps in our final cake. Solution? Beat all the ingredients together BEFORE adding the cream cheese. This is the sour cream mixture. Do you see all those lumpy egg whites? Beat it longer. We don’t want any lumps in our cake. Beat the heck out of it until they are gone! You can beat til your heart’s content before mixing in the cream cheese. Use the same pot from before to brown another stick of butter. If your butter is still hot, add it while the mixer is on so you don’t scramble your eggs! Then, pour the whole mixture into another bowl, or the pot that you browned the butter in. It’s cream cheese time. Make sure you buy Philadelphia cream cheese. It really is the best on the market. Don’t bother washing your bowl, just toss in the cream cheese. Add 2 cups of granulated sugar. I know I said not to over beat, but you have to get all the lumps out. On the left: not quite beat enough. On the right: dreamy creamy cream cheese perfection. Add in the sour cream mixture. Mix until it is completely combined and lump free, stopping often to scrape down the sides. The completed batter isn’t too thick. Pour it into your (completely cooled!) crust, and shake and smooth it a little to make the batter even on top. Pick up the whole pan about an inch from the counter and drop it a few times. You want to get rid of all the air bubbles in your cheesecake. Wait 10 minutes for more air bubbles to rise, then use a toothpick to poke as many bubbles as you can find. Now it’s time to bake! I love to bake this cheesecake with NO water bath. The problem with water baths is that you run the risk of making your graham cracker crust soggy if your foil gets a tear in it (this has happened to me and it’s THE WORST.) Plus water baths are just kind of a pain to put together. The solution? Steam! Boil a pot of water. Place your cheesecake in the preheated oven. Pour the boiling water into a 9×13 inch metal pan directly below the cheesecake. Shut the oven door and DO NOT OPEN IT AGAIN! Voila! Humidity heaven!
Do not open the oven door while baking cheesecake. Not even once!
A rapid change in temperature is what causes cheesecake to crack on top. Keeping a very steady temperature and humidity level in your oven is going to help your cheesecake bake evenly. Opening the oven door even once can mess with the temperature and humidity enough to ruin your beautiful cheesecake with a crack. Don’t do it! Turn on the oven light and check it through the window. This rule applies for baking in a water bath or using the steam method. It’s not necessary, but I also recommend baking your cheesecake on a pizza stone if you have one. You can see mine in the photo up there. Pizza stones are designed to help regulate the temperature of your oven, which helps a cheesecake bake evenly. Read all about stones on my Homemade Pizza post! If you don’t have one that’s okay.
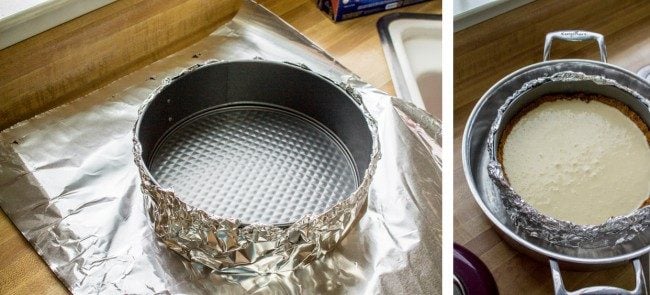
How to bake Homemade Cheesecake WITH a water bath
If it sounds safer to make your cheesecake using a water bath, here are some more details! A water bath is made by wrapping the springform pan in heavy duty foil, then placing the whole pan inside of another pan that is filled with boiling water. The cheesecake bakes directly in a pan of water. Pros: It is much easier to make sure your cheesecake doesn’t crack if you use a water bath. It is also a faster process because you can put it in the fridge to chill only a relatively short time after baking. (Because even when you remove the cheesecake from the oven, it’s still in a nice warm bath for a while. Remember: temperature changes are what cause cheesecake cracks.) Cons: If there is even a tiny tear in your layers of foil, your crust will be get waterlogged and soggy-sad. This is the bane of my existence. I cannot stand a soggy crust. That is why I prefer to use the steam method rather than a water bath.
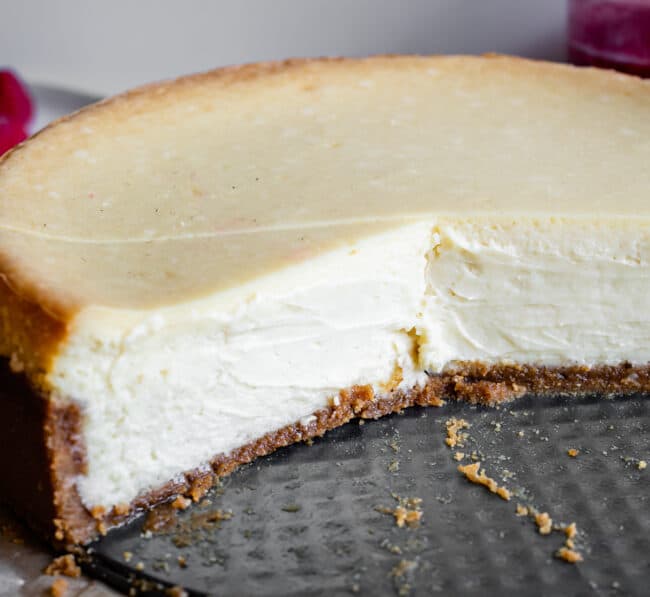
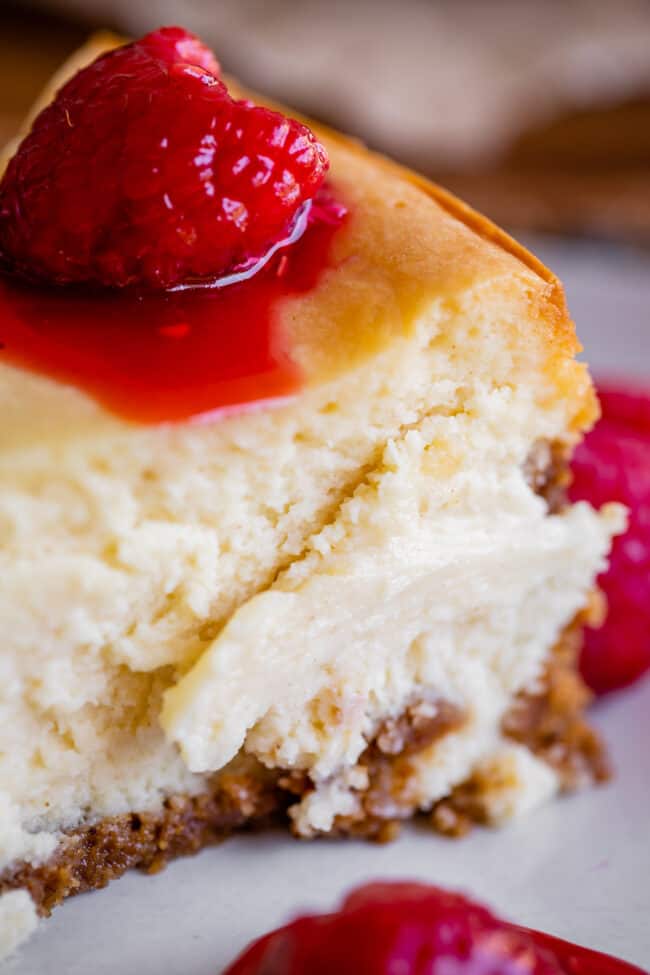
How do I know my cheesecake is done baking?
Water bath or steam method, get your cheesecake baked. The next question is when to turn off the oven. You will know your cheesecake is done when the edges of the cheesecake look set. The whole center of the cheesecake should still be slightly wobbly, but not liquid-y. I know, this is hard to tell when you are not supposed to open the oven door. More details in the recipe! The top of the cheesecake should not be brown when you turn off the oven. I’m going to make a bold statement here and say that the problem with every bad cheesecake you’ve ever had was OVER BAKING. I can’t emphasize this enough. Write it down in your soul. Etch it into your heart. (There is no such thing as an under baked cheesecake, in my opinion. Those ones are just extra-creamy 😉) But over baked cheesecakes will ruin your dessert bliss faster than you can say “spongey texture.” (SAY NO TO THE SPOOONGE!)
Why did my Baked Cheesecake crack?
Because the temperature changed too quickly. You cooled it down too fast. It’s as simple as that. When you take cheesecake out of it’s warm and cozy oven environment, it starts to fall (all those eggs made it rise up!) Falling creates cracks and imperfections. We want to cool our cheesecake as sloooowwwwwly as possible. I leave my cheesecake to cool in the oven for hours, even overnight. Leaving it in the oven for a while is really the only foolproof way to make sure your cheesecake doesn’t crack. When the timer goes off and you have determined that the cheesecake is set on the edges (okay fine, you can open the oven door to shake the pan a little bit), turn the oven off but do NOT take the cheesecake out of the oven. Leave the door ajar for at least an hour (or longer!) to slowly let the oven and cheesecake come to room temperature. See the recipe for more details!
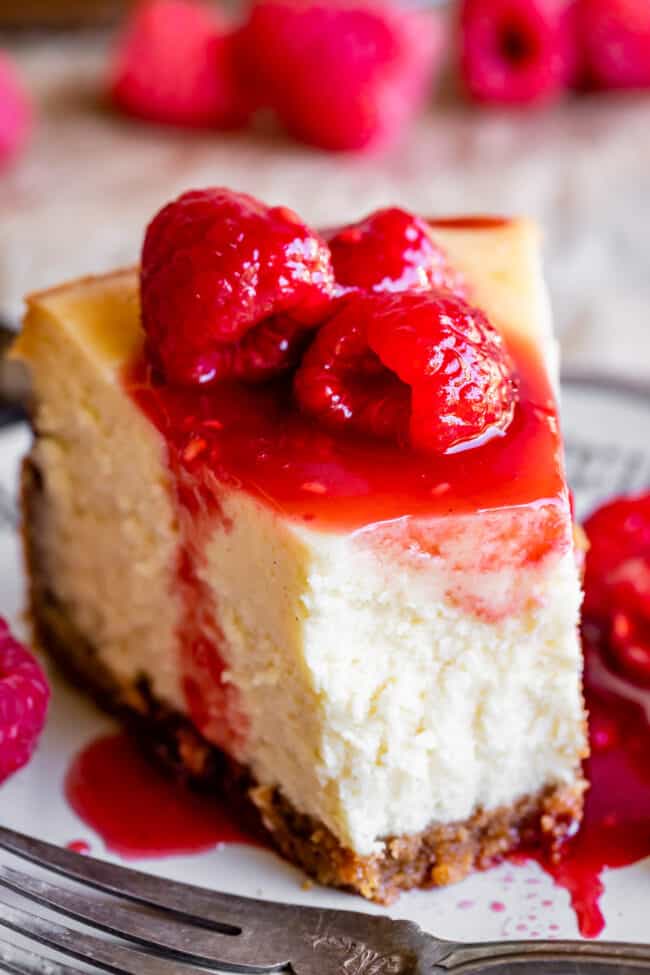
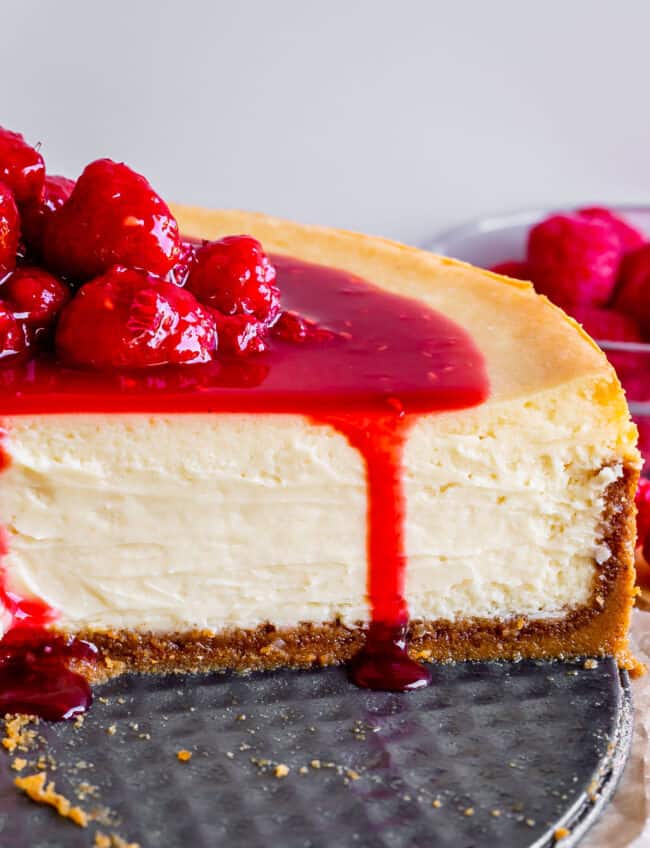
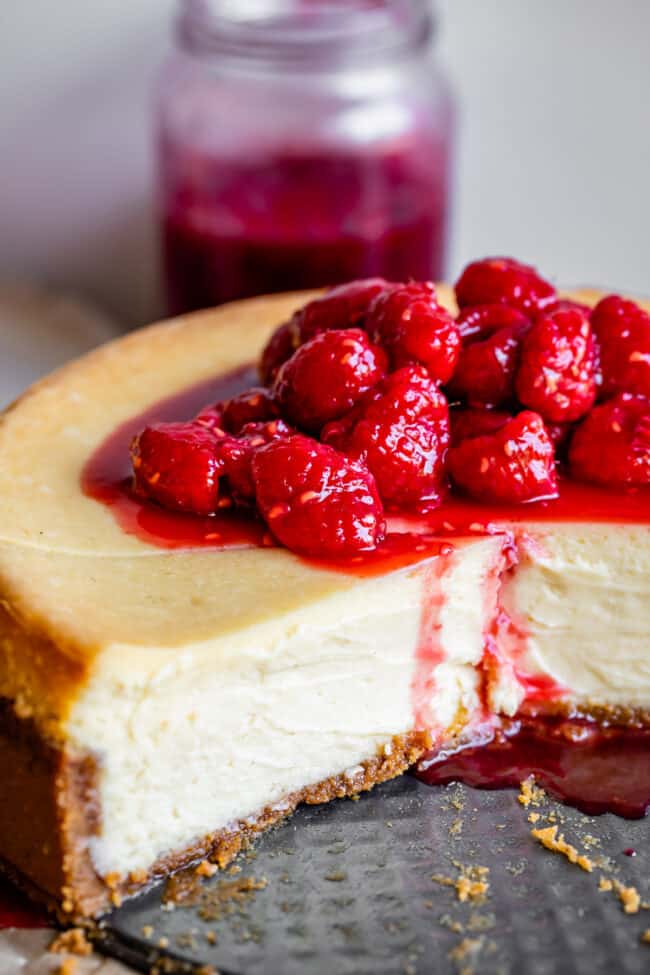
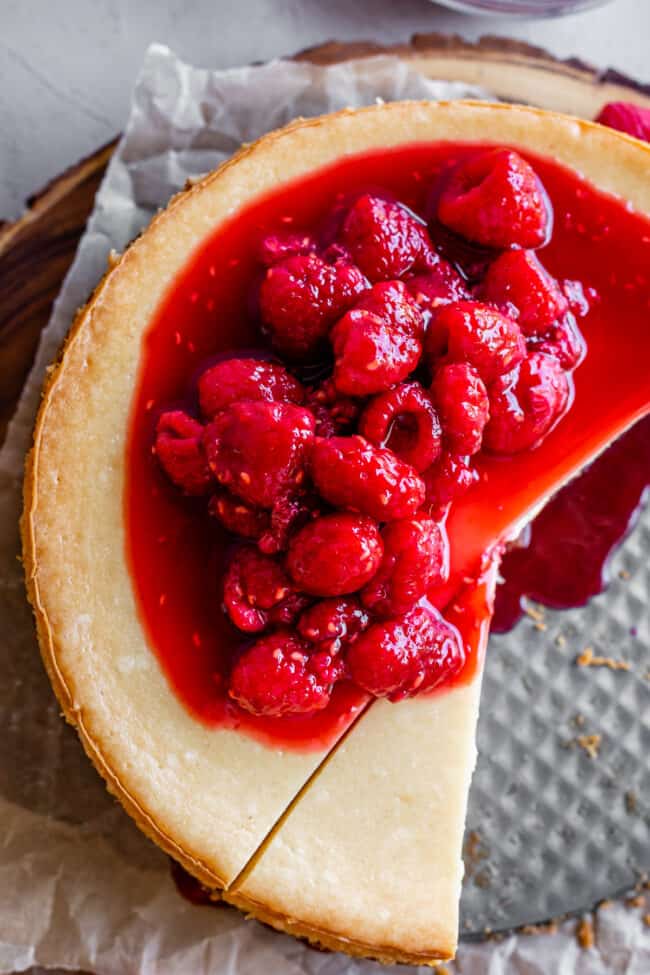
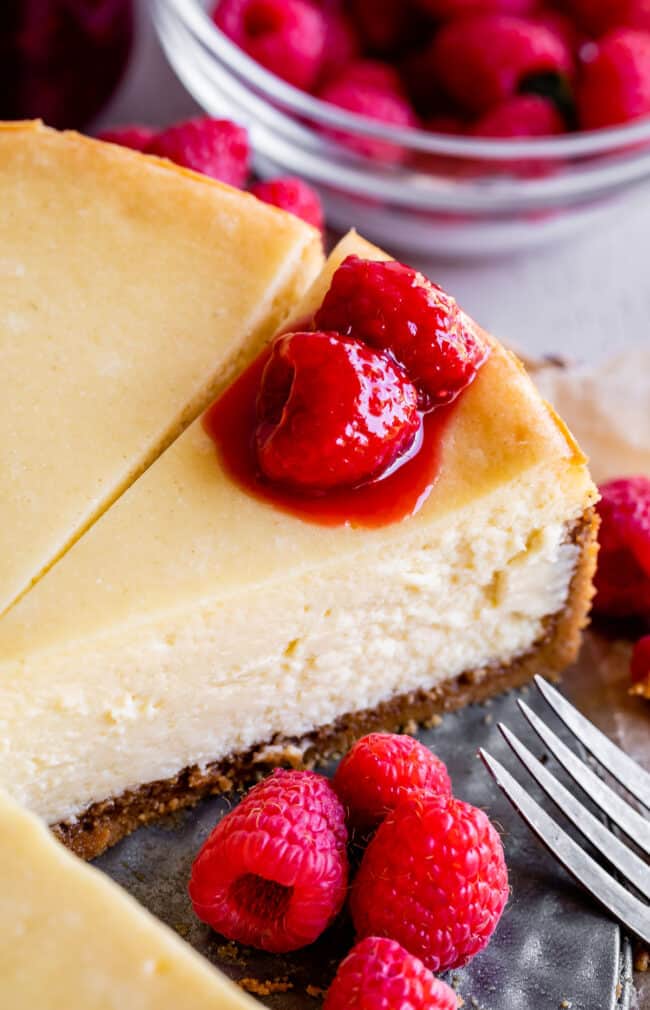
Cheesecake Toppings
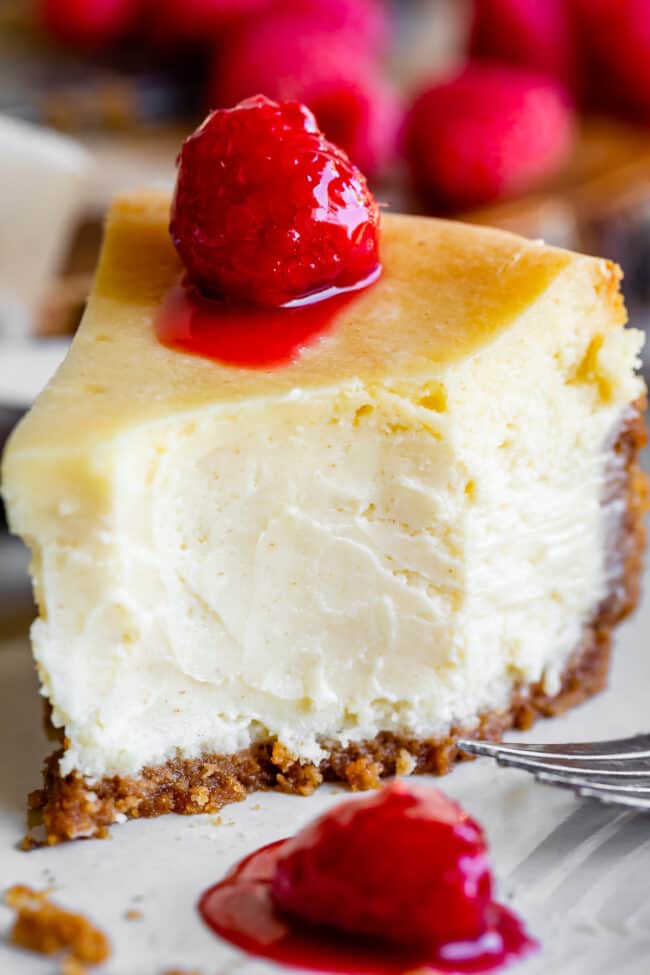
With a plain cheesecake like this one, you can really take it in any direction with the toppings! Fresh berries of any kind are always delicious if you want to keep it simple. I jazzed up my raspberries with a sauce similar to this Fresh Strawberry Topping (which would also be delicious!) The recipe is in the notes on the recipe. You could also top it with this Homemade Lemon Curd, oh my gosh that would be amazing. Or how about make the salted caramel from these Salted Caramel Brownies and drizzle it on top? Make the ganache from this Flourless Chocolate Cake. Or make some of this Easy Dulce de Leche and top with sea salt. If you’re making this for Thanksgiving or Christmas, top it with this incredible Cranberry Sauce!
More cheesecake recipes you will love!
Facebook | Pinterest | Instagram If you want to freeze individual slices of cheesecake, it’s best to flash freeze. Slice completely cooled cheesecake and place each slice on a pan, not touching. Freeze the pan of slices for about 3 hours. (Set a timer so you don’t forget!) Then wrap each individual piece in plastic wrap, and then store in a ziplock bag. Let thaw in the fridge. Don’t let anyone tell you you can’t have cheesecake on a random Tuesday afternoon! Treat yoself.


![]()